
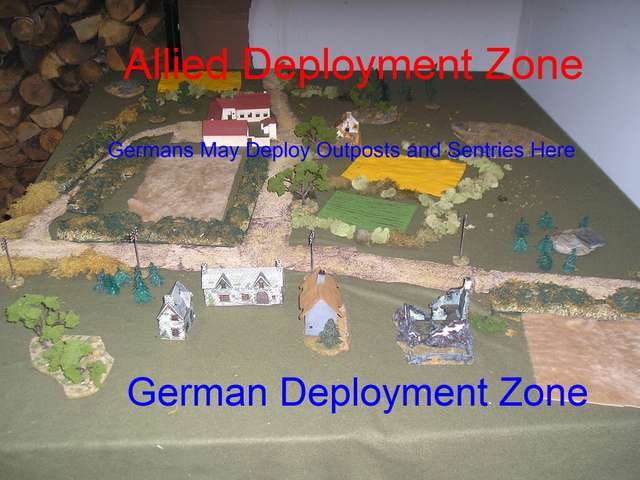
The scenario assumes a leading platoon of a British battalion pressing inland on the late afternoon of 6 June, and encountering resistance from the German 716th Divison, which is scattered and badly disorganized after the day's fighting. the platoon commander has orders to advance to a crossroads and take up a blocking position.
Here's the table - I wanted to see how "hedgey" I could make it, to give the impression of the closed-in countryside of Normandy. Yes, indeed, that farm in the center is the old Airfix Battle of Waterloo Hougoumont farm, and across from it is the Airfix field HQ/bombed out house.
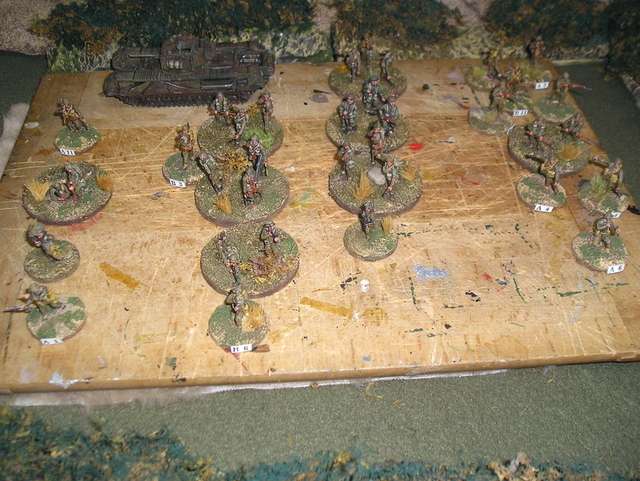
The British force - I used the charts in TWAT to generate a British rifle platoon. The platoon commander is a level 2 leader, without a platoon sergeant (wounded on Sword Beach?) but equipped with a sniper and a three man 2" mortar section, who also carry a PIAT ((anti-tank) and double as the anti-tank section. He has three rifle sections, two of ten men and one of nine. Each section has a 3 man Bren LMG team, a 6 man rifle team, and a section leader. In TWAT terms the section leaders are all level 1 or 2 Big Men. The British also enjoy the support of a Churchill tank (I'm not sure if the British landed Churchills on D-Day but I like the model).
The Germans.
I decided to give the Germans only two sections, which each turned out to be two men understrength, suggesting a unit badly battered by the day's fighting and by RAF strafing. Fortunately the Germans have a proper Leutnant as commander, with a sniper, a Panzerschreck tank-hunting team, and two seven man sections, each with a 2 man MG42 LMG team, a four man rifle section, and a section leader. The Germans also have two minefields to place on the board, preplaced by the designers of the Atlantic Wall.

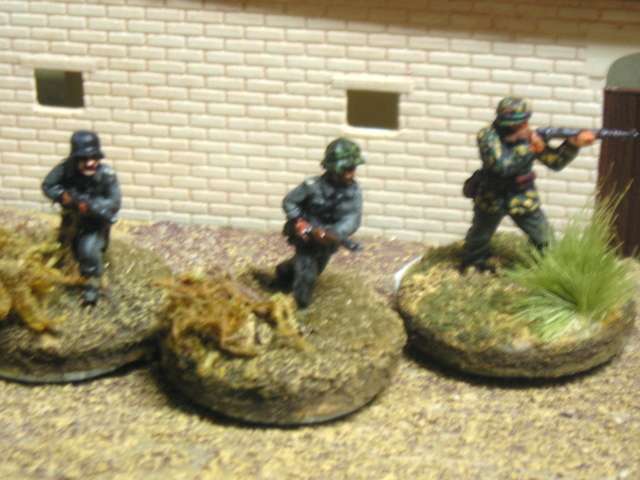
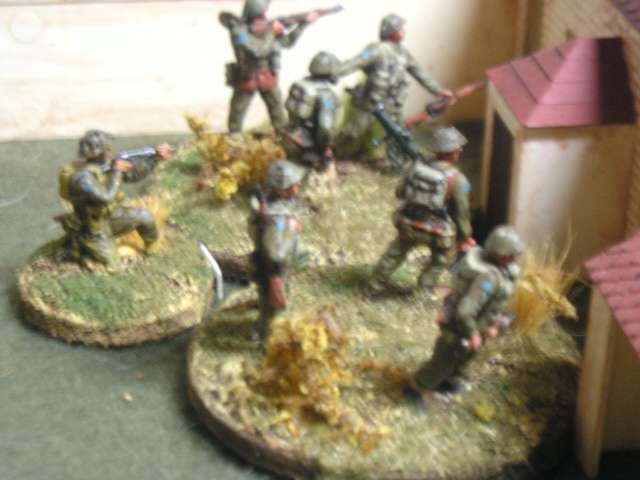
The scenario allowed Leutnant Muller to use the sentries and outposts rule to place some elements in the middle of the table. He designated two rifelmen, Hans and Frans, from one of his two sections to maintain a sentry position in the walled farm, and also assigned his sniper to that area. Hopefully these measures would give him a tripwire should the Tommies push up the road from their bridgehead, alerting him and giving him some time to hold the crossroads until support from 21 Panzer Division arrived. The two riflemen are A&B Figures minis, and the sniper is by Revell.
The German dispositions. All units start the game under blinds. Two of these four blinds are the German rifle sections, one is the HQ element, and one is a dummy. Since I was playing solitaire, I designated the HQ blind in the village but left it up to the dice to decide which of the other three blinds was fake. That way, playing the British side, I'd have some uncertainty to deal with.
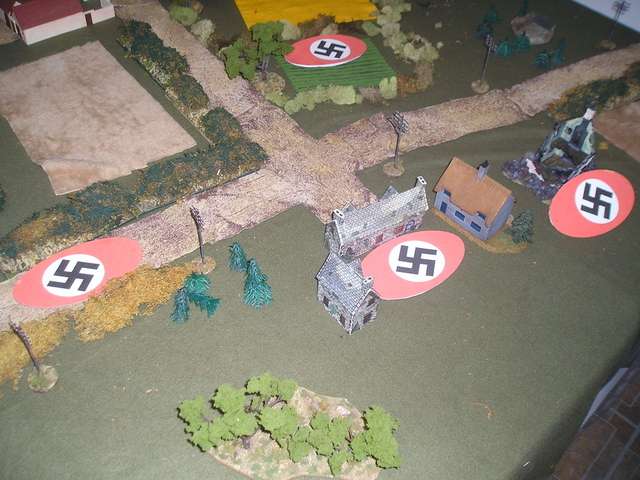
The British forces arrive under three blinds: blind 1 = section 1 and the Churchill, blind 2 = section 2, and blind 3 = section 3 and the platoon HQ. Section 1 and the tank are tasked to clear the walled farm, while the rest of the platoon advances on the far side of the road to provide flanking fire on the farm if needs be.

Corporal Alf Tate sucked on his teeth nervously, in between quick glances over the hedge. With the bloody tank idling beside him, Jerry must now something was up, but if he was in that farm, he was lying doggo. He glanced over to where his Bren team and the tank were waiting and ready to provide cover fire.

Once the riflemen cross the hedge they are within 9" of German elements and therefore once within 9" of each other all opposing forces come off their blinds and go onto the table. "Right you lot, wiv me!" Arms in front of the faces as they pushed through the hedge, rifles catching on branches, Tate's men stumbled through the hedge (losing best one of their three initiative dice spent on the move) and rushed to the shelter of the wall.
For a second, Tate thought they had made it, but as they plastered themselves against the wall he heard a loud crack and felt stone off the farm wall bite his cheek. Strewth! "Sniper! Get yer 'eads down! Anyone seen him?" Heads stayed down under their steel helmets. They were pinned.
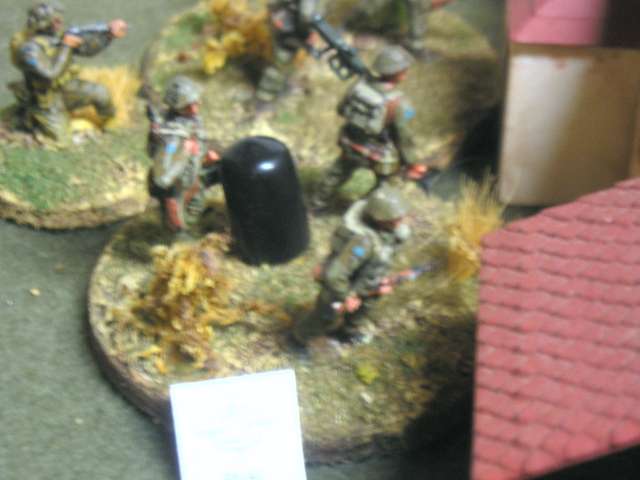
The sniper's first shot is good, resulting in a pin and a wound. In TWAT game mechanics, wounds are cumulative and reduce a unit's ability to move and shoot effectively. The black rubber thing shown below indicates one wound. Pin results prevent movement until the end of a turn, signalled by the turning of the "Tea Break" card.
To be continued ....
I recognize the venerable Revell British Infantry in Tate's men. I have about 6 boxes of them sorted out into units for IABSM. Actually, I have probably about 4-5 boxes of them sorted out and the rest still awaiting assignment. The PIATs are somewhat overabundant. I've taken to cutting the AT weapons off of some of the PIAT teams and using them as individual SMGs and rifles.
ReplyDelete