
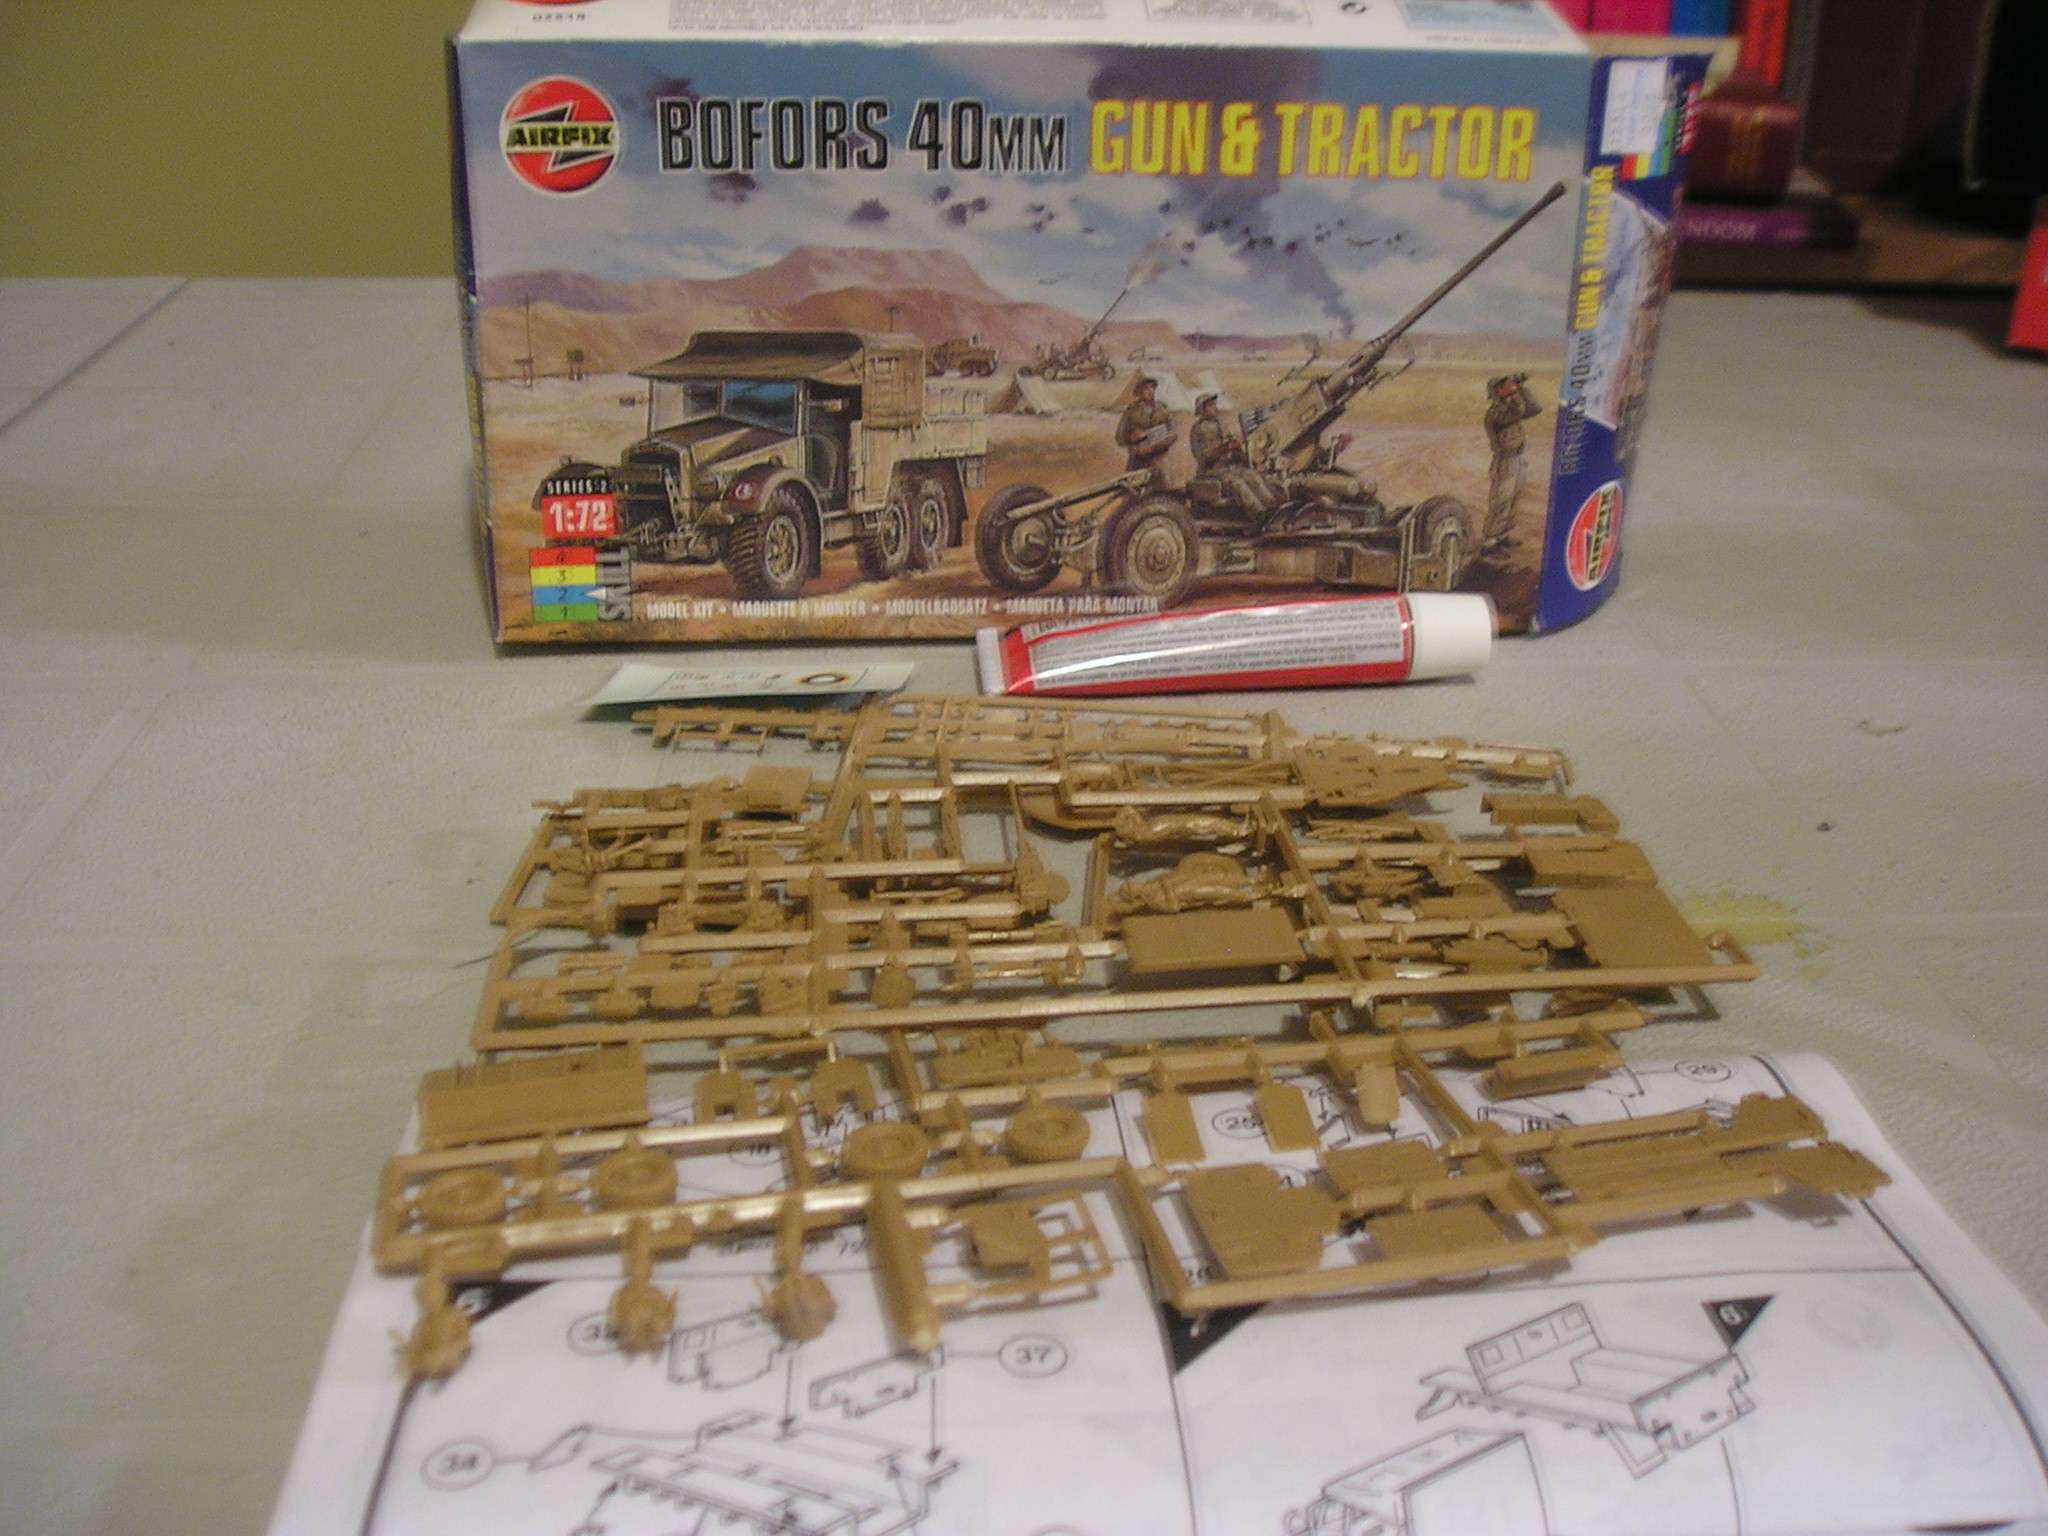
I am happy to report that this:
has become this:

It's been over a year since I tackled a plastic model kit. After reacquainting myself with that particular joy, I can see why people spend good money on resin kits. Not that trying to cut tiny bits of plastic, badly moulded in China, and assembling them with strings of plastic glue going everywhere like Shelob's web isn't brilliant fun, mind you, but it's less and less my cup of tea.

I wasn't intending to assemble the model in the limbered position. I was watching something on telly while cutting and gluing, and that is always dangerous.

I kind of ran amok with the rust, thanks to a Tamiya weathering kit. I've been walking around the base all week, studying rust patterns on vehicles.

The Allied air recognition star and the 3rd Canadian Div markings are from Dom's Decals. They are intended for 15mm models but they work ok for 20mm, methinks. The piece of stowage on the back of the vehicle is from a RAFM pack of 20mm boxes and stowage items I snagged at Hot Lead last month.
The two crew figures are from AB Figures - first rate stuff. I had them in my bits box and wanted to give the model an extra touch. As someone on the Guild kindly commented, the model has the look of troops waiting for the order for a convoy to resume. The faces in this photo are too dark for my liking. I am working on a three colour face painting process using a lot of glazing, and I hadn't managed the lightest shade yet when this was taken.

The face on the standing guy, seen on the right, is a little better here, after the last coat. Could use some eyes, methinks.

I know I haven't got a chance in heck of making the top four of forty plus entries in the Guild Build and I'm fine with that. It's very stiff competition and I find this sort of thing useful as a way to challenge my painting game and see if I can find ways of improving, and that's what it's all about, really.
Now, what will I do with this model, now that I've made it???
I think it looks excellent, you've made a grand job of it. I do like the rust effect though, it looks very realistic!!
ReplyDeleteThese dudes look as though they have been around and about and through the mill, they and their vehicle and gun. Looks fine to me. The dark faces are easily explained by having been recently in heavy action - now taking a well earned pause as prisoners are escorted to the rear - so a bit of smoke and grime would have embedded themselves in pores and creases. Unless you want the 10,000 yard stare look, I don't think I'd do anything more with the eyes on the standing crewman. But that's me...
ReplyDeleteWell done! They do look like they're in "Hurry up and wait" mode.
ReplyDeleteUse it as rear echelon stuff for a convoy. Use it as desk decoration. Present it to the Mess? paper weight to keep your homilies from blowing away?
Use it as an objective for a skirmish game? A "you can have some air support, but only if you knock out any AA guns first" kind of deal?
ReplyDeleteIt all looks fantastic to me. Very very nice indeed.
ReplyDeleteYou could use it to represent brigade HQ or something in the rear. You did a great job and it's a nice little scene, especially when paired with the prisoners.
ReplyDeleteNot fond of plastic kits either but you've done a bloody good job there sir, very nice!
ReplyDeleteI think it looks brilliant in its limbered mode - well done. Yes, plastic kits can be fury-inducing (well, at least for me). I thanks the stars that I have a good job so I can now buy resin and diecast stuff. BTW, I quite like that prisoner vignette - really captures the mood (excuse the pun).
ReplyDeleteCurt
A great build indeed, it does feel good to get an old, half-finished project out and complete it. How have you found the weathering kits? I generally stick to mud rather than rust on my tanks, but am thinking about trying some out.
ReplyDeleteAlso, kudos on using the real-world inspiration for vehicle weathering. I live on a base as well but unfortunately all our old vehicles are meticulously scrubbed clean so no good for inspiration, so I have to go to museums etc...
Well done Padre. I haven't the patience for plastic any more.
ReplyDeleteHello chaps and thanks so much for all your kind comments. Very encouraging.
ReplyDelete@ Col. scipio: I have limited experience w weathering kits, I fear. I have the Tamiya kit which has Snow, Soot, and Rust, an odd combination, methinks. I have only used rust thus far. After intense and moronic trial and error, I discovered that if one scrapes the pigment with a knife, collect the scraped powder in an upturned jar lid, and add water, you get a usable result. Mind you, I had previously discovered that diluted GW Scorched Brown also gives a good result for rust.
The vehicles I was examine we're old Cougar recce vehicles, now replaced by the LAV. Happily rusting away. What base do you live on?
Cheers,
Mike
Scorched Brown is a winner, I've used that lots before! Thanks for the tips on the weathering kits as well, I think I'm going to be brave and try them. I live near Salisbury, UK, which has a wealth of bases to choose from when recce-ing out old vehicles but there are some really great tank museums, like Bovington and Duxford as well.
DeleteNear Bovington, Duxford, and Salisbury Cathedral? I will definitely be looking you up my next visit to England.
DeleteAre you military or ex military? Just curious
Ah yes, its easy to get to any of the decent military spots from where I am, look me up by all means. Yes, military background, which is where I think my Imperial Guard fascinations started off!
DeleteLovely work Mike, the Airfix kit is about as challenging as Airfix get so well done after a hiatus.
ReplyDeleteThanks very much Paul, that means a lot coming from you.
Delete