
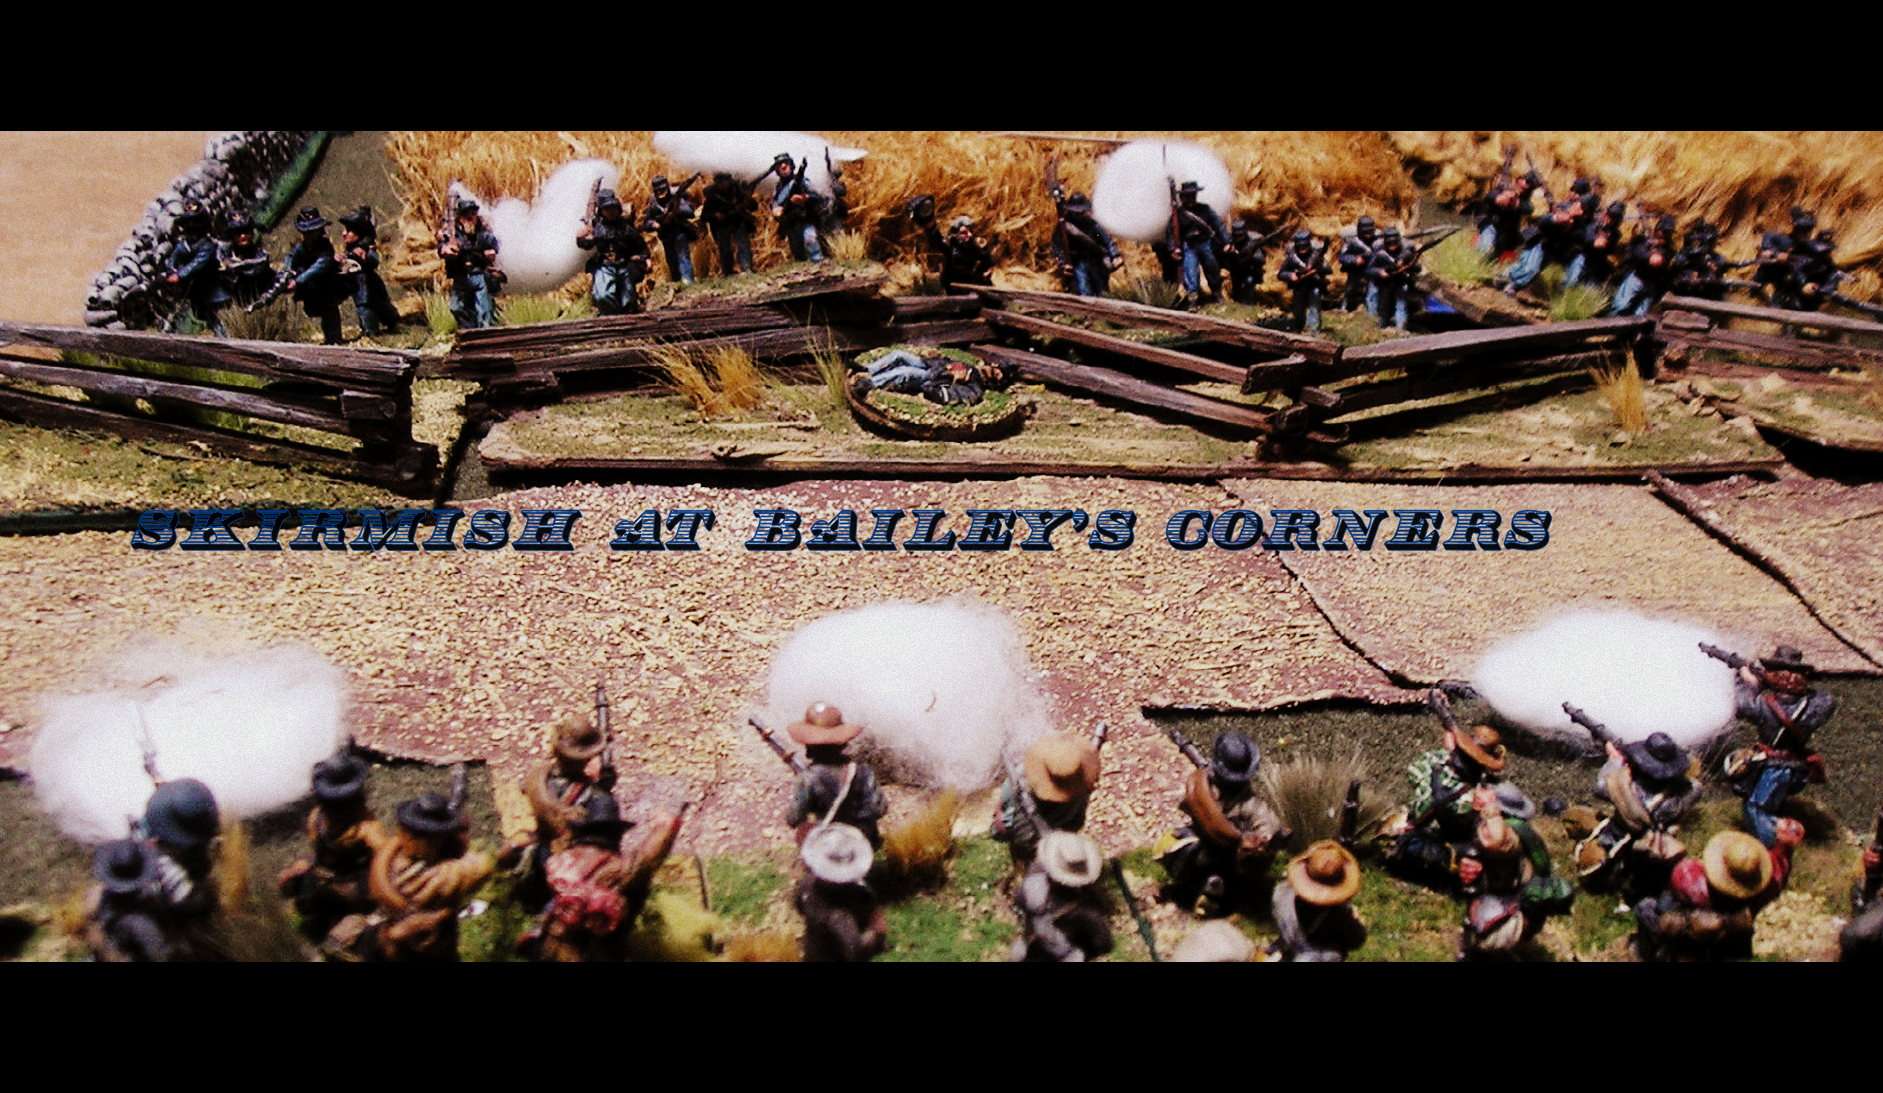
(I totally love the retro Technicolor feature in Google Picasa.)
This Friday last we played another ACW skirmish at the Mad Padre's gaming chapel. My friend Ryan came over and since he knew the rules (Terrible Sharp Sword from Too Fat Lardies) from a previous game, I was able to actually play rather than referee and teach. We carried using Chris Stoesen's excellent early war scenario book, The Coming Thunder, using Scenario 2, Bailey's Crossroads, August 28-30, 1861.

In modeling this engagement, Chris only had Union sources to work with, so we know that the Union forces were a detachment from the 2nd Michigan, serving in Virginia, and defending a locale known as Bailey's Crossroads, in Fairfax County, near Arlington. The rebel forces, from an unknown regiment established on nearby Munson's Hill, challenged the Michigan men over a period of three days, but could not disloge them.
This scenario gives the Rebel player a stiff job of work and not a lot of time to do it in. Six groups of eight men from an unknown regiment , with three Big Men (leaders in TFL parlance), must push forward and deal with two Union groups of eight men each before their reinforcements can come up and strengthen the picket line.
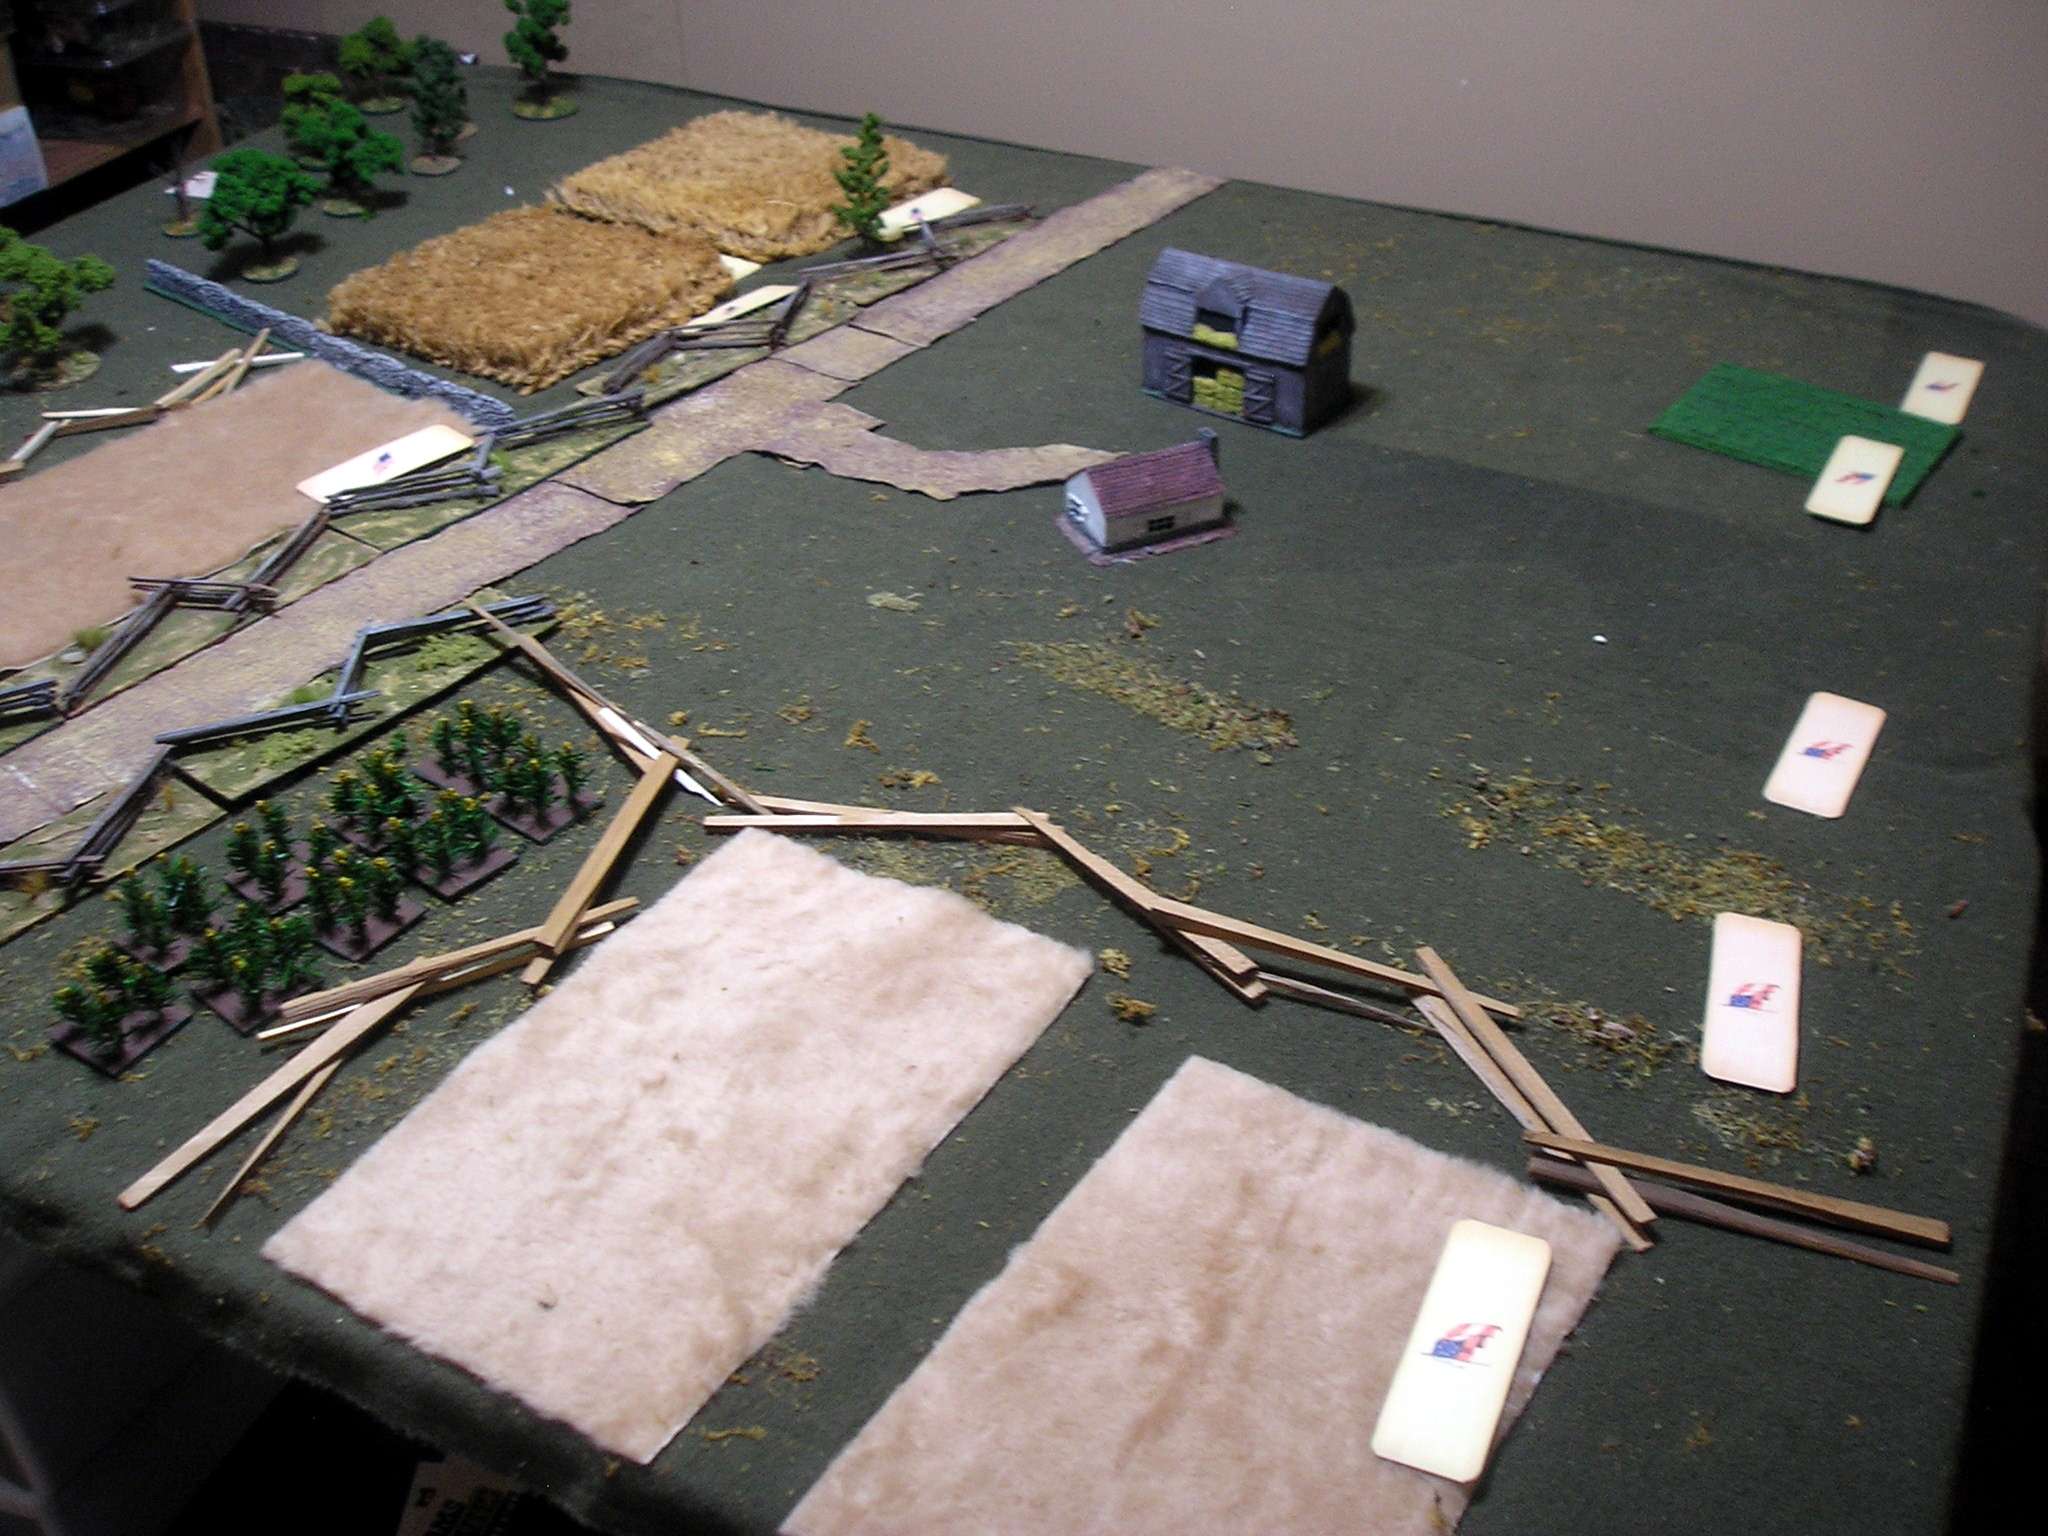
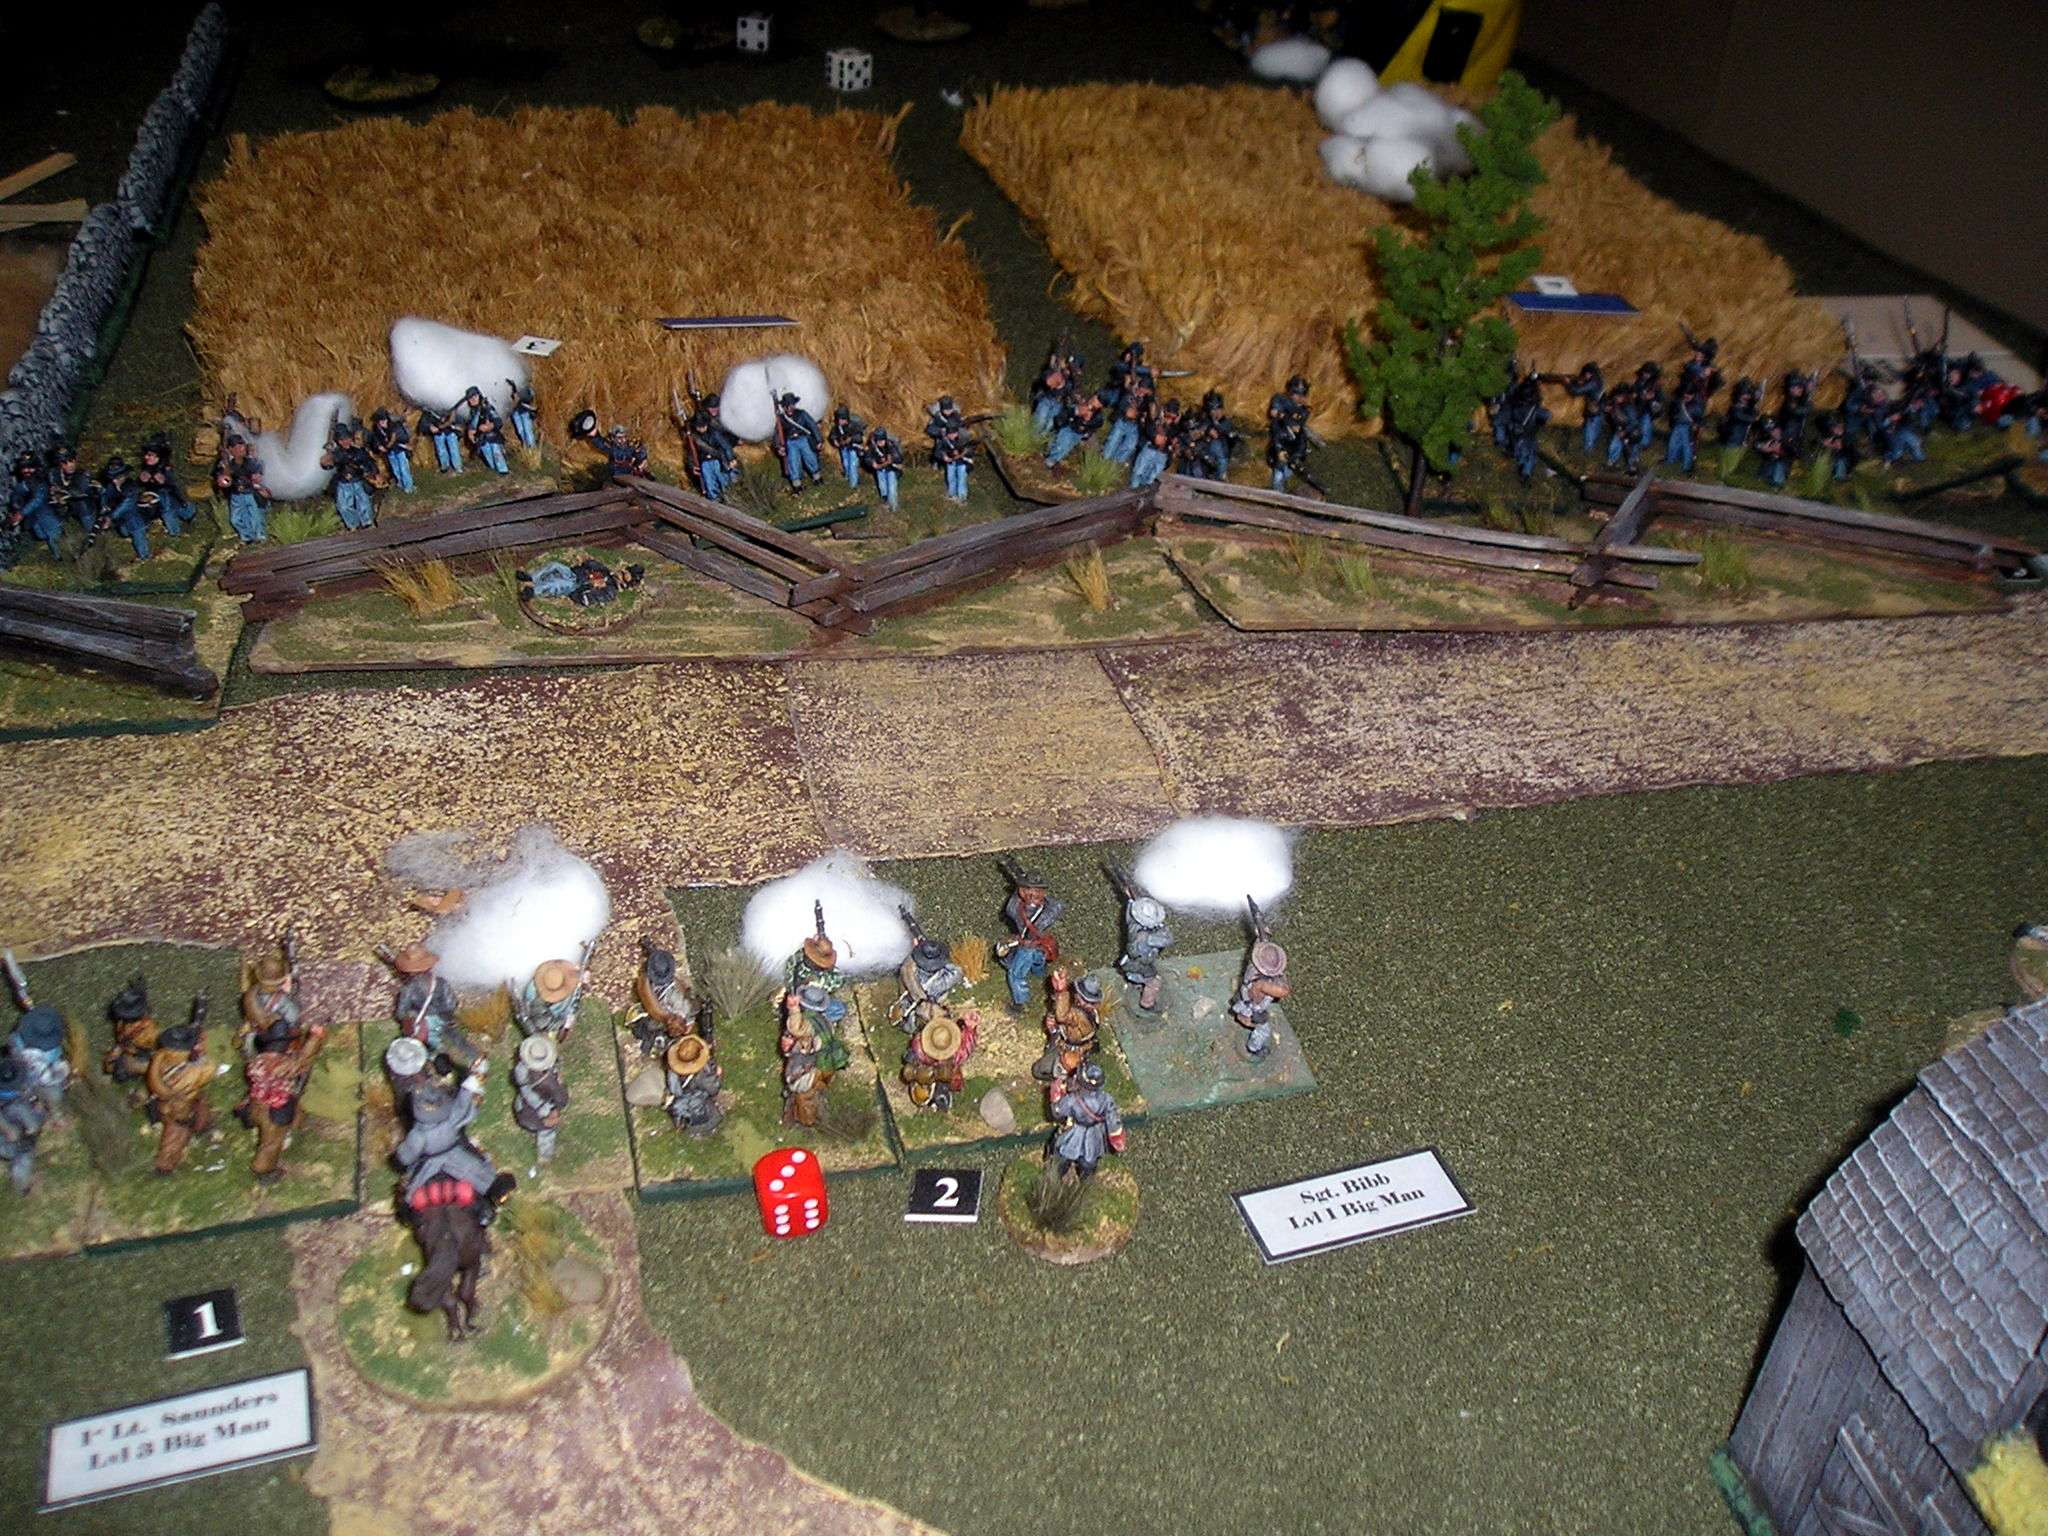
The table, with my rebs advancing from the right hand side. You will notice from all the timber lying about that I still haven't made any more rail fences since my last ACW skirmish game.

View of the Union side of the table. Ryan has wisely positioned his blinds up against the split rail fence and concentrated them. Which of those blinds are actually his pickets?

Crossing all that open space, my right most element, a formation of two groups under a Level 1 Big Man, are automatically spotted, but I roll a 12 on 2d6 and spot one of Ryan's picket groups, eight men under Lt. Dillman, a Lvl 2 BM.
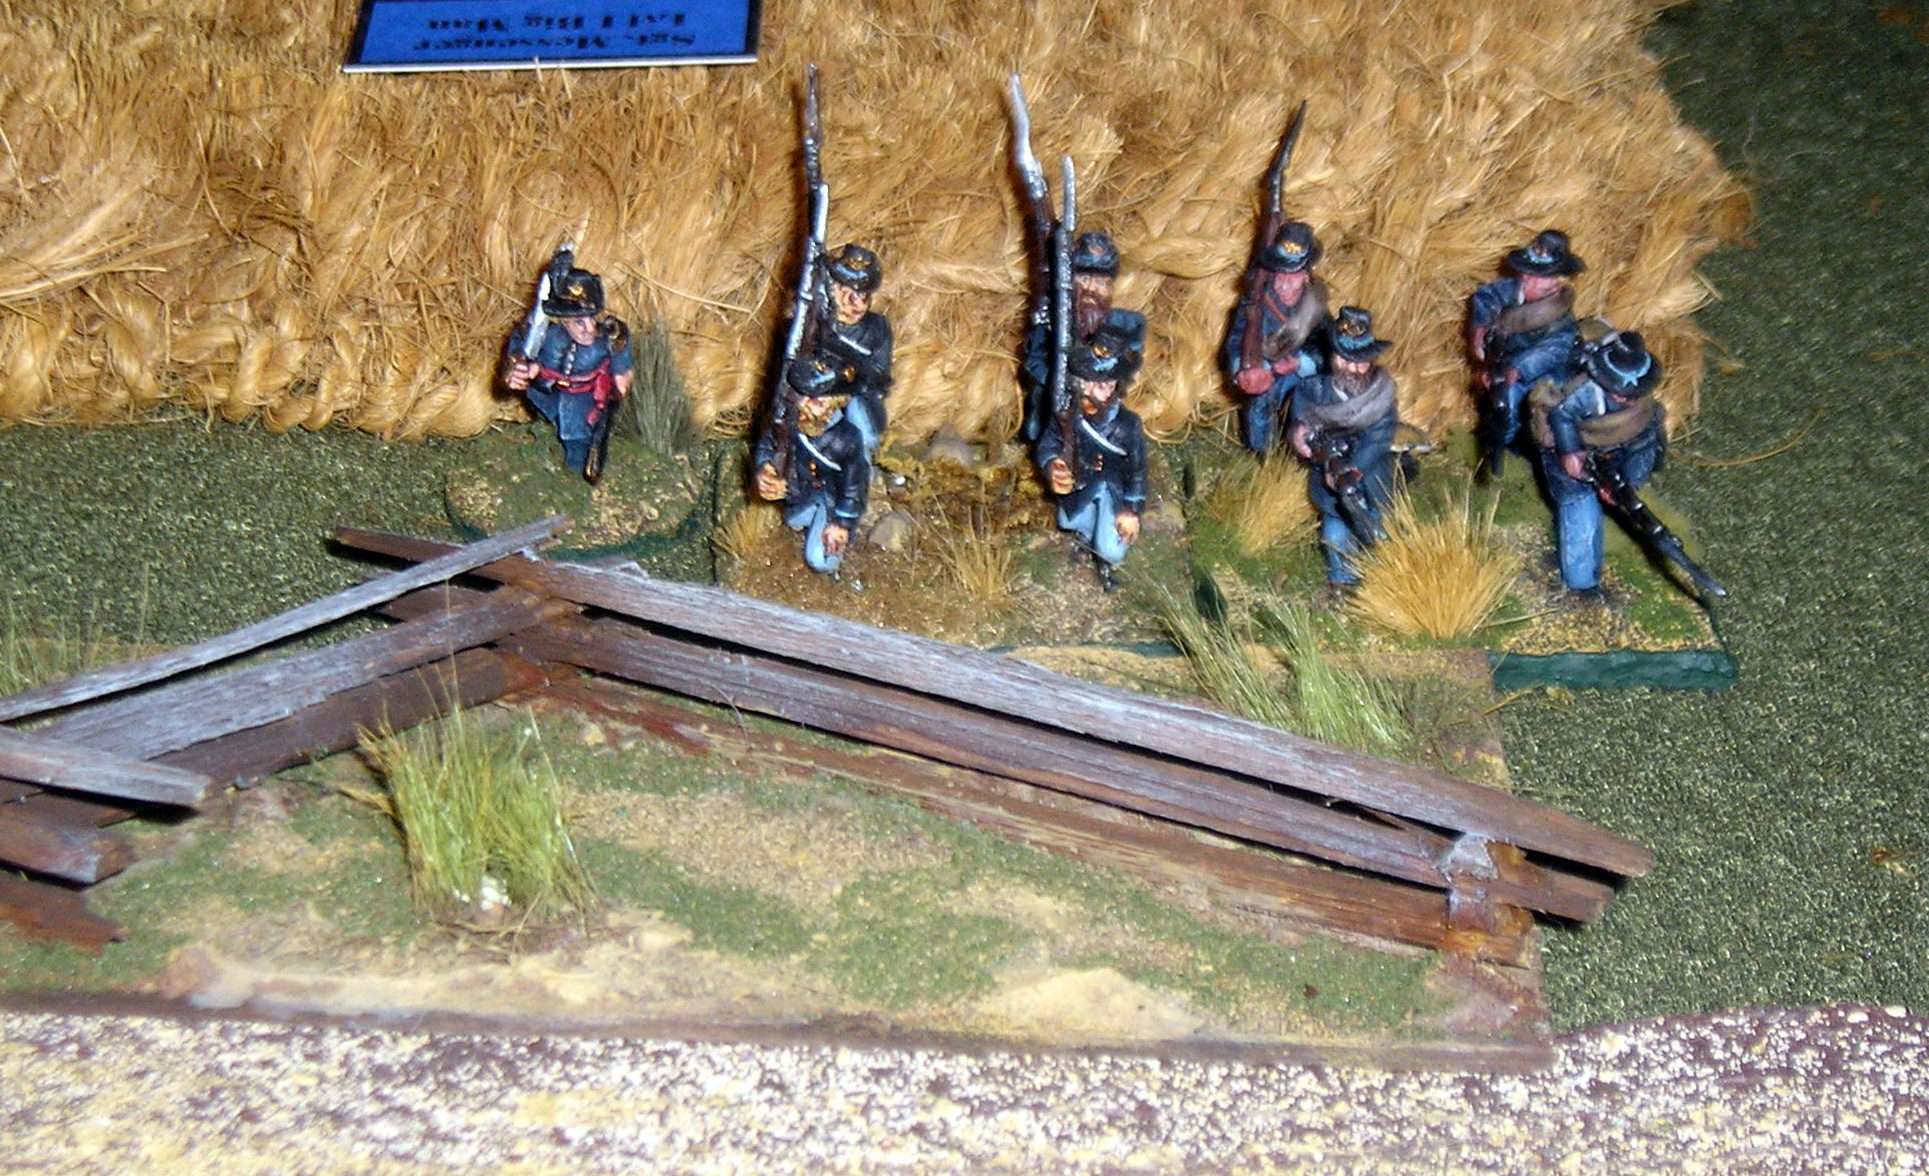
"Wolverines, make ready!" Lt. Dillman orders his men to shoot as soon as they see the Yankees. This was a wise move on Ryan's part, as it put the Reinforcements card in the deck, giving him 40 men and two leaders to look forward to.
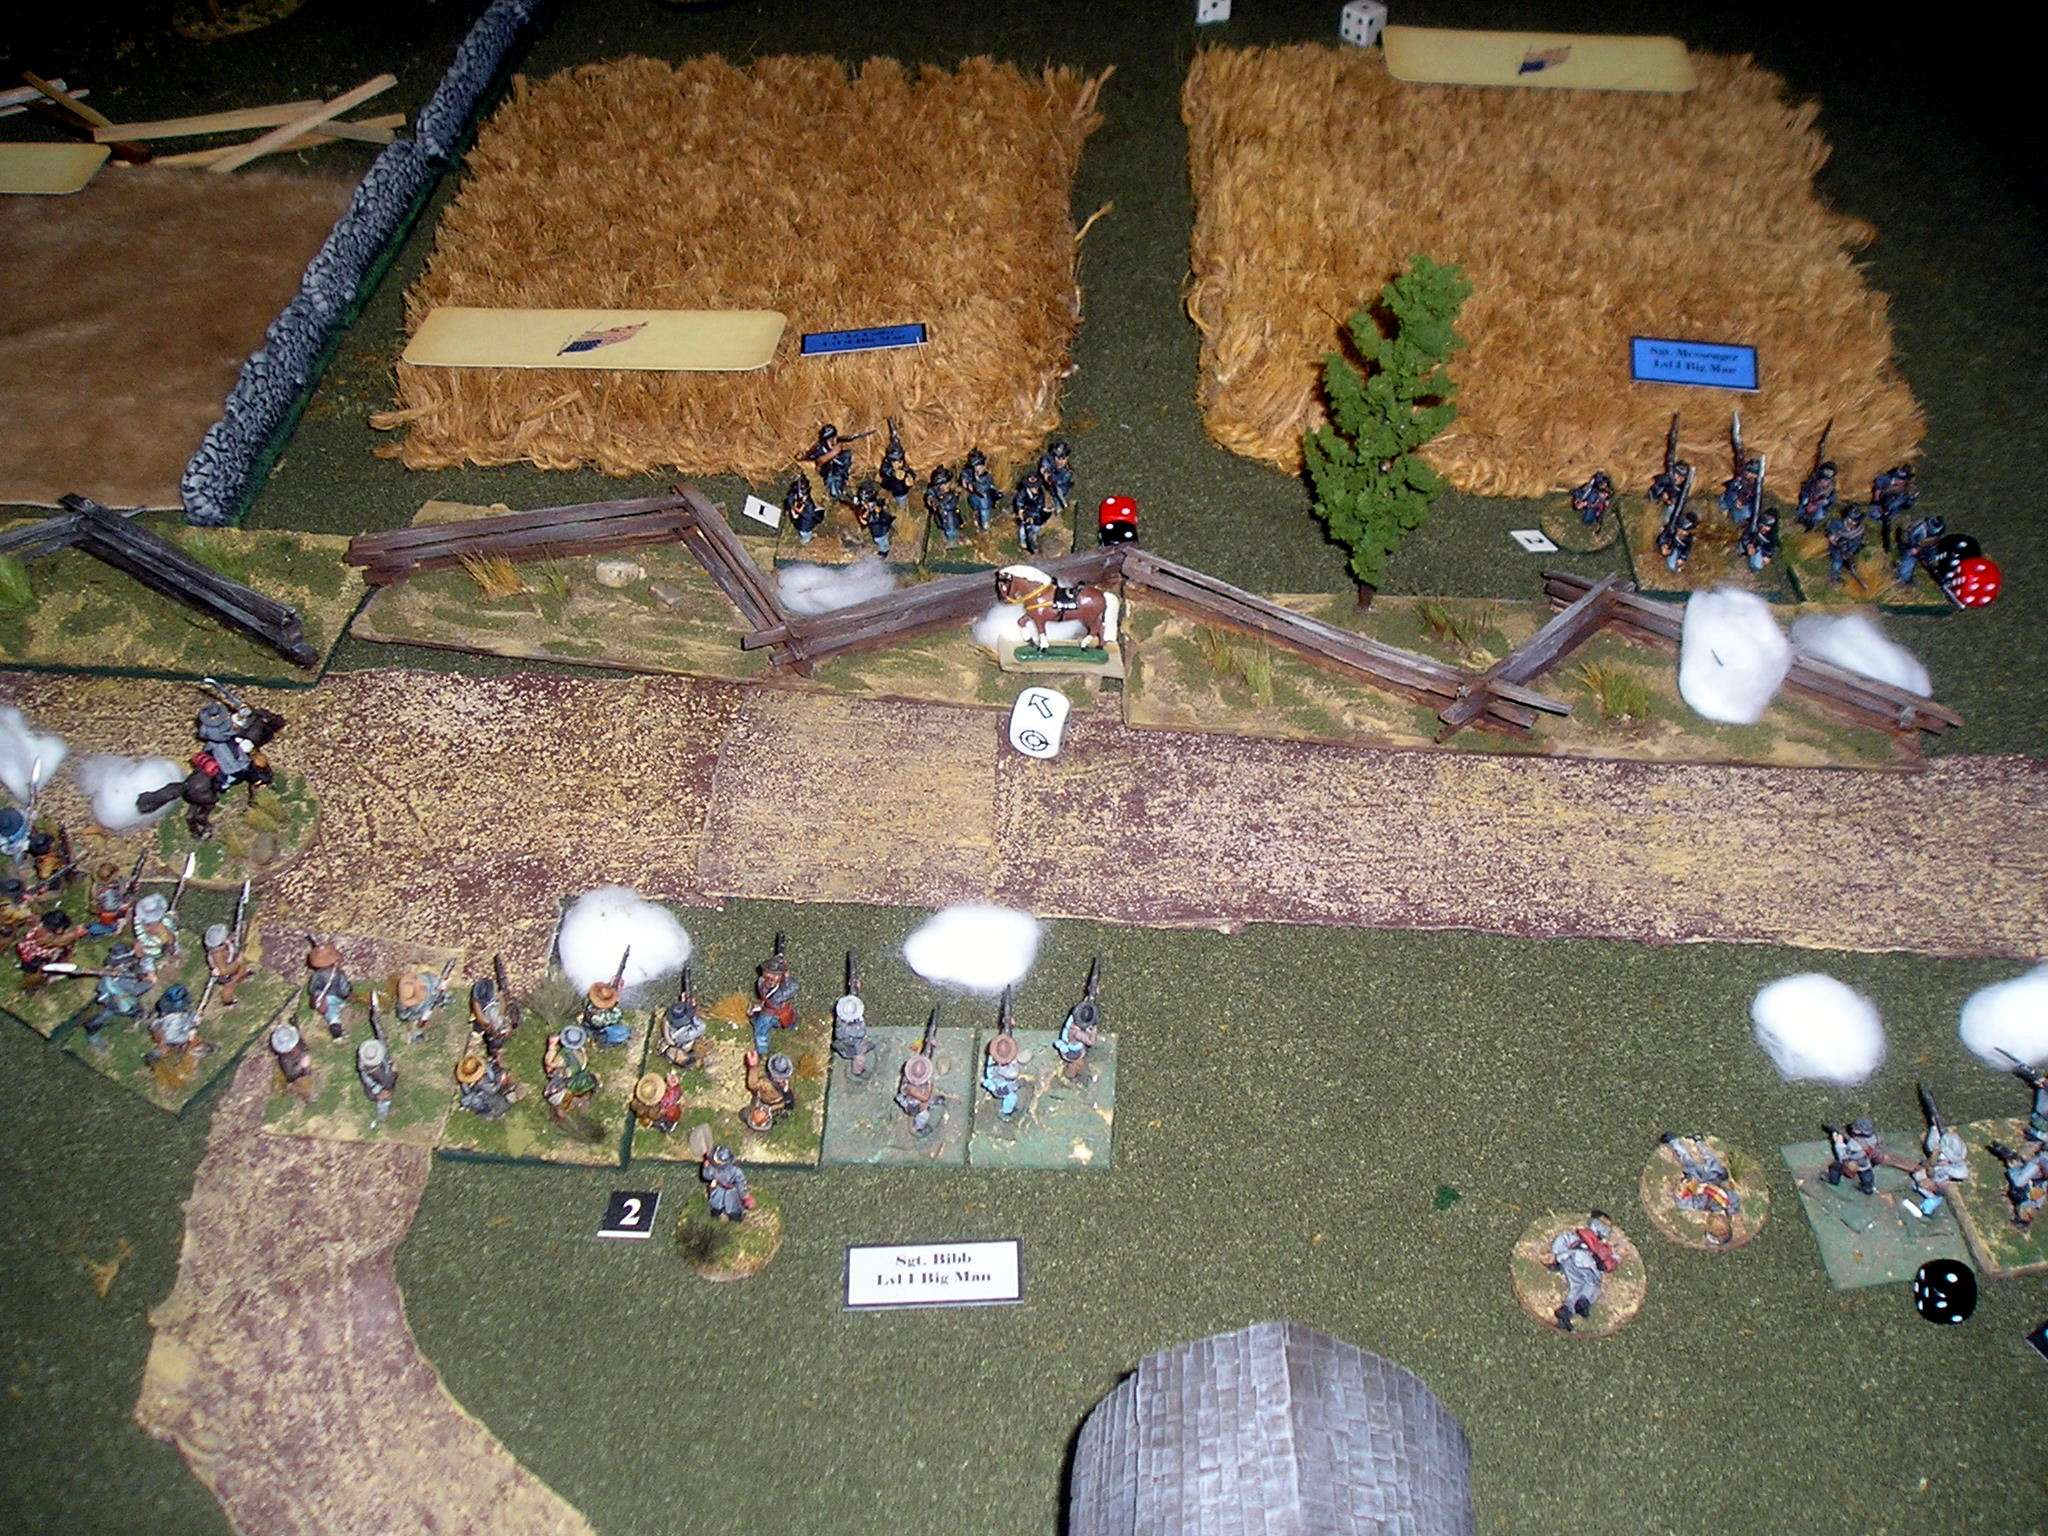
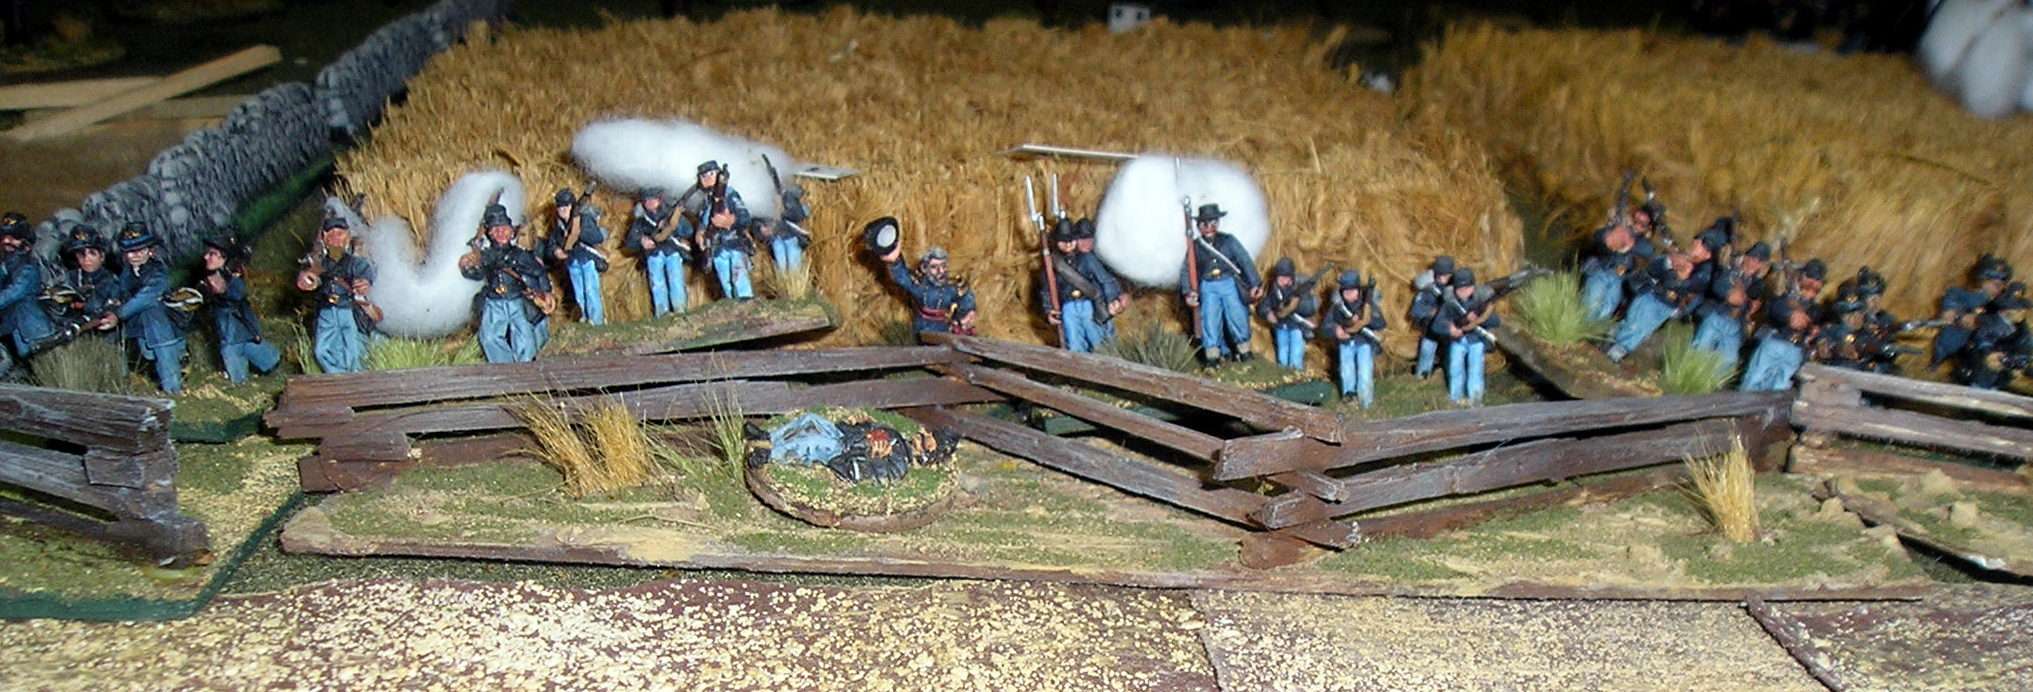
By the time the picture above was taken, my attack had fully developed. On my left, I had my other four groups organized in two formations of sixteen men, each commanded by one of my remaining Big Men. My plan was to advance as quickly as possible, not stopping to drag it out in a firefight, but to try to get over the fence as quickly as possible.
In true TFL fashion, I did not get the cards I needed to keep my three formations advancing in concert. Those that never moved in a turn I fired on the Sasparilla card, and managed to drop the Lieutenant commanding Ryan's second group. In the confusion we had an amusing random event, as some panicked livestock broke out of the barn and wandered about the battlefield. That horse with the rather Norman saddle in the above picture, the one by the fence with the GW directional dice, is standing in for the livestock. We moved them at the end of each turn, each time with the chance that they would disrupt a formation, but the animals were wary beasts and kept out of the way. Also in the above picture you can see that Ryan was lucky with his reinforcement card, and they are pressing forward through the cornfields towards the sounds of the guns.
At this point in the game we were joined by Ryan's boss, the Mad Major, who drove the reinforcements forward in fine and aggressive style.
By the time the above picture was taken, things had gone poorly for me. I had launched one of my two right hand formations at the fence, tangliing with some 20+ fresh Yanks that Ryan had rushed up while pulling his leaderless pickets back. My boys got over the fence and tangled with bayonet and clubbed muskets, but despite my superior troop quality and better leader, we were pushed back. On right, my formation there had also charged the fence and pushed back Capt. Dillman's skirmishers, only to be body slammed by the Union reserves. Moments after the above picture was taken, my senior leader was unceremoniously shot off his horse, thus ending my hopes of recovering from the shock I had accumulated in my unsuccessful charge, and was continuing to take in musketry from the fenceline.
Here Capt. Judd, commanding the Union reserves, waves his hat in the air and leads his men in manly cheers as the Confederates withdraw.
With this result, we invoked the final line of Chris's report on the actual fight: "The Confederates returned to their lines and the skirmish was effectively over". I had taken more casualties in the game than the rebs did historically (Chris describes the fight as "ineffectual with little casualties on either side".
Despite the challenges the Rebs face in this scenario, they have a decent chance of doing well. If the Union player is not allowed to open fire right away, the CSA might have a chance of maneuvering around the US flank, using the cornfields at the centre bottom of the table, and not coming of blinds or being spotted until they are in a position to do some damage. In looking at the above pictures, I am surprised I didn't try to flank Ryan rather than coming at him head on like a good Southern warrior. I continue to be impressed with Chris' scenarios and am glad I bought The Coming Thuder.
Both Ryan and the Mad Major (himself a veteran of boardgames as well as of places like Bosnia and Afghanistan) both liked the TSS rules and we will likely play again, this time adding some artillery and perhaps cavalry, methinks, although they were both interested in my WW2 kit.
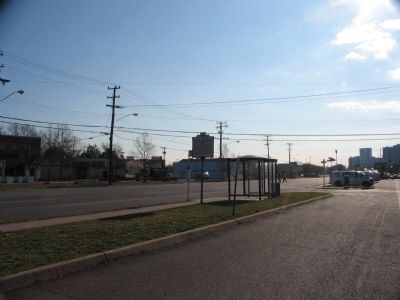
Bailey's Crossroads as it apparently looks today. As an aside, last week I put my name in to do a Canadian Forces sponsored MA in Peace and Conflict Studies starting fall 2013, and of the four places I might be able to study at, one is George Mason University in Arlington, so who knows, I may be able to visit Bailey's Crossroads myself.
Padre, if you do decamp for GMU and environs, give me a shout. I'd be happy to show you around.
ReplyDeleteThanks you, I will certainly and gladly get in touch with you if I get that post grad at GMU. It's a bit of a long shot at the moment, and if I am selected I am not sure which of the four possible universities it will be. Another choice is Georgetown in Washington DC, and that will put me in your general area and be an excellent base for osme Civil War explorations. My wife, a graduate of Virgina Tech and a lover of the Appalachin region, would enjoy it as well. Got my fingers crossed.
ReplyDeleteLooking forward. For reference, I live on the western margin of the Lewinsville battlefield (you will understand). See my blog for the range of my interests and inquiries. Currently working up scenarios for TCHAE, but I'll tackle TSS in the future. Good luck!
DeleteMike, that's a great report. I love the "Wolverines, make ready" cry. I love the way you describe the vagaries of the TFL card deck - those sort of things are common on our side of the Atlantic also! Good luck with the MA, which sounds terific.
ReplyDeleteA really great article, I'm really interested in ACW stuff and this was a pleasure to read (I especially liked the 'battlefield today' photo! Also the MA sounds really interesting, best of luck!
ReplyDeleteGreat to see another one of these scenarios played. Thanks for posting it.
ReplyDeleteGreat report. I really enjoyed it.
ReplyDelete