Hello friends:
I'll start with a disclaimer that what follows attempts to be an objective review of new WW2 rules, though the rules are also written by a dear friend of mine, so take what follows with however many grains of salt you require.
If you ever explored Wargames Vault (WV), you know that there is a vast universe of resources there - rules, scenario books, STL files, paper models, anything that can be sold and delivered via download. I suppose that most things offered on WV are like those self-published e-books that people sell through websites like Amazon. And I suppose that many wargamers have the itch to write their own rules because aren't we are all sometimes dissatisfied with aspects of published rules for our favourite periods and we feel that our ideas are truer to how we imagine, say, a hoplite battle unfolding. I've never tried to write and sell my own rules, but I know people who have and I respect them.
I've read that a few people get rich selling their own e-books online, but I don't think anyone's gotten rich off WV. However, it is a niche market and a source of revenue for some. 4P Press is one of the most prolific WV publishers that I'm aware of, and the genius behind it is Patricia Phillips, who describes herself as "an autistic history fanatic". I know her well enough to say that this self-description is only partially tongue in cheek. Patricia's knowledge and interests are vast and her pen (well, keyboard) is seldom still. 4P's rule offerings on WV are many - WW1 flying, early 20th century race car driving, ironclad naval combat - and she also has a goodly number of STL files done with the help of her talented friend Chris Ferree. Patricia would be the first to say that 4P is a labor of love and not a business, but I don't think she minds whatever sales come her way.
When Patricia offered me the chance to look at Push; A Game of Ground Combat 1930-45, her new WW2 rules (though as the title says they do work for the interwar period as well), I was curious and thought it was a chance to break out my neglected collection of 15mm toys. The rules offer an interesting take on morale (called Stance) which is as important as firepower. As the introduction states, "The philosophy behind Push is that combat comes down to two things: the side that pushes forward and the other side's efforts to push back". This philosophy is behind the fire mechanics, of which I'll say a bit shortly.
Push is a company level game, so an infantry company will have three stands of infantry, an HQ stand, and maybe support weapons. Troops have the usual ratings (Elite, Veteran, Trained, Poor) but these only matter for morale tests. The most important thing about your troops in battle is their Stance (or combat effectiveness), which ranges from Pressing (gung-ho), to Steady, to Cautious, to Pinned, to Broken. A stand that is Steady has a better chance of working under fire, moves faster, and shoots better than a stand that is Cautious or Pinned.
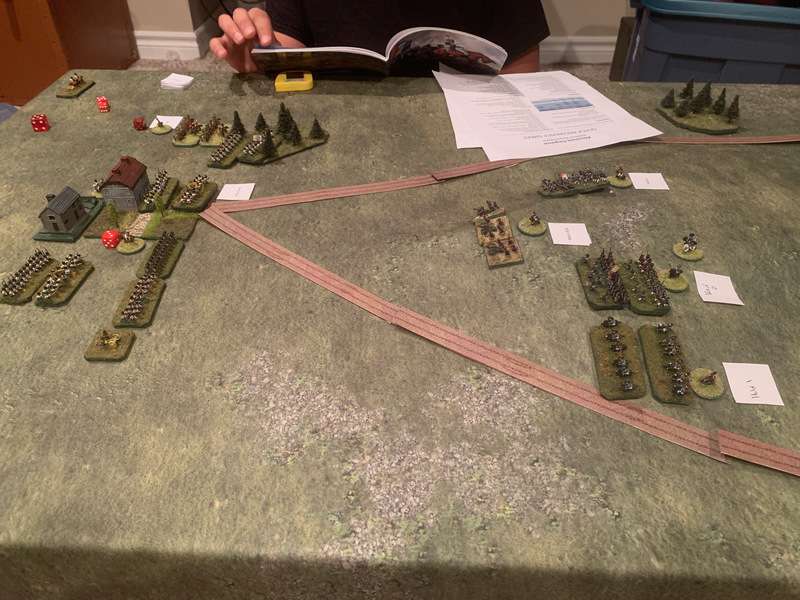
I'll try to explain these and other concepts as I walk through a little game that I set up to test drive the rules.
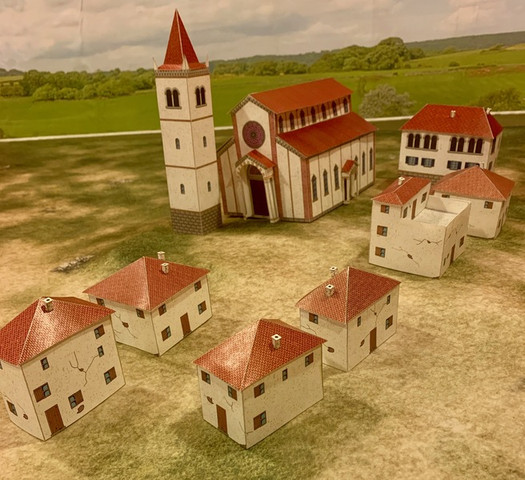
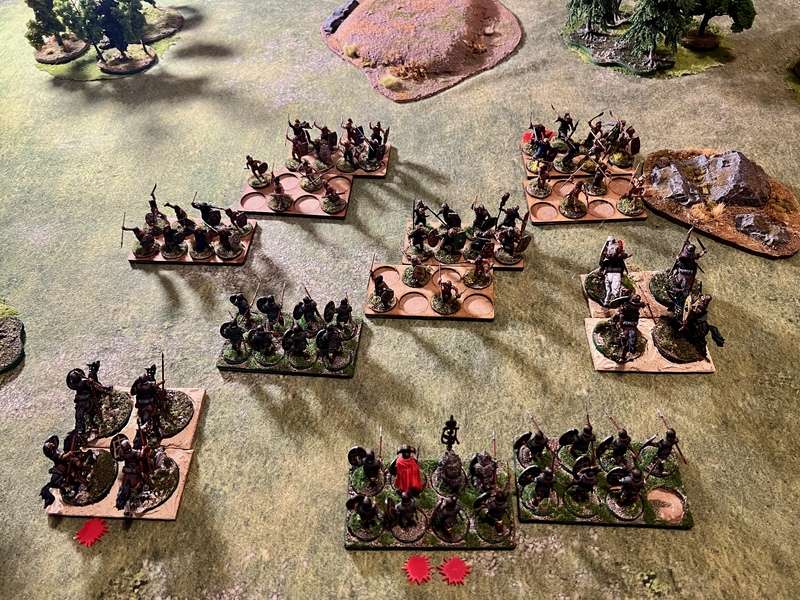
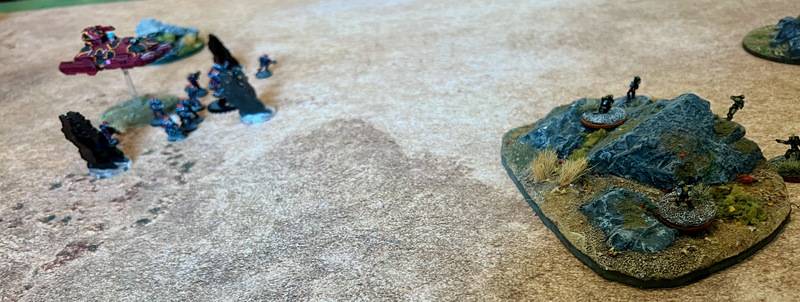
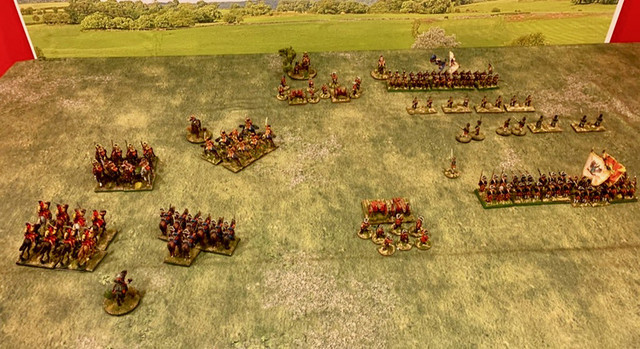
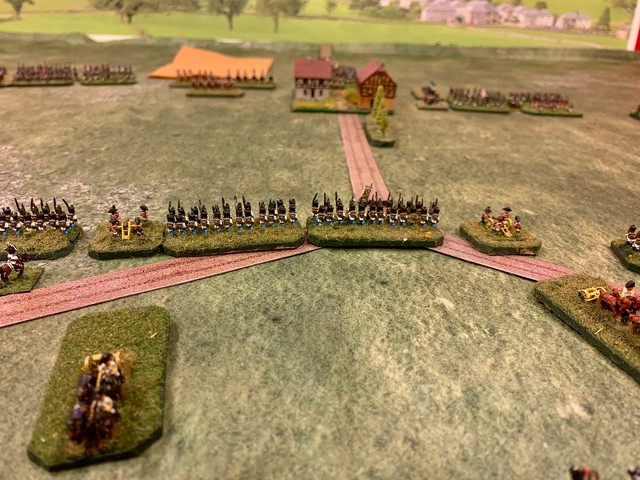
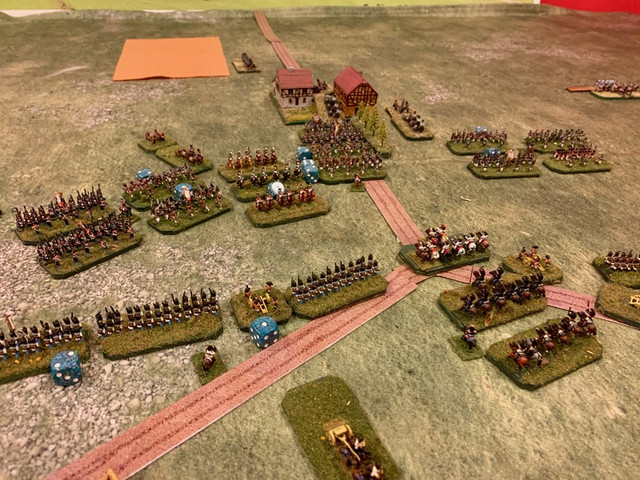
Here two Canadian companies are attacking a village at a crossroads. Each company has an attached 2 inch mortar section, and one has an attached HMG section. The Canadians get a divisional (medium) artillery barrage once at the start of the game. The German company has a light mortar and an MG42 section in support.


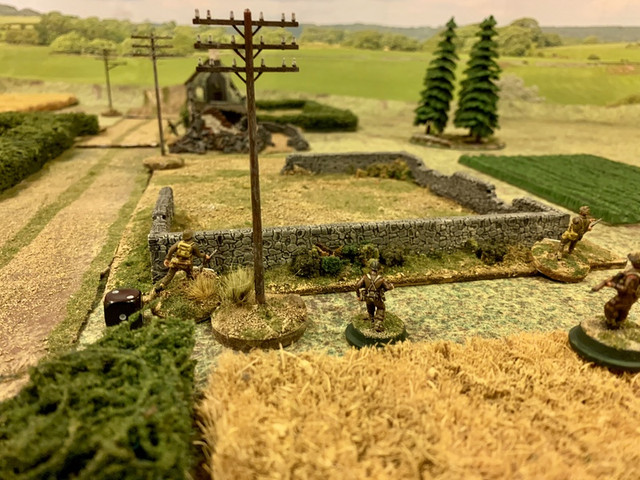
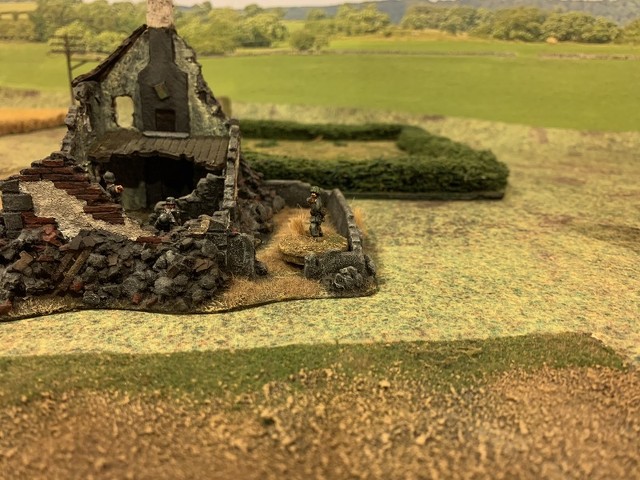
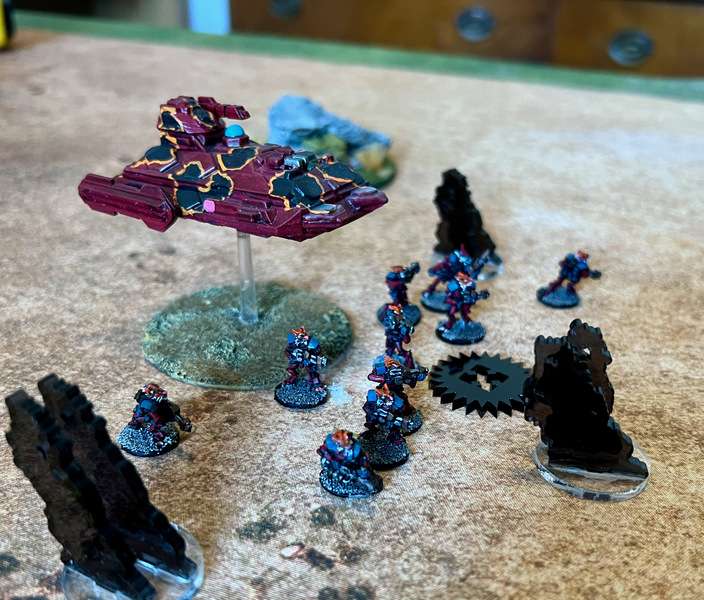
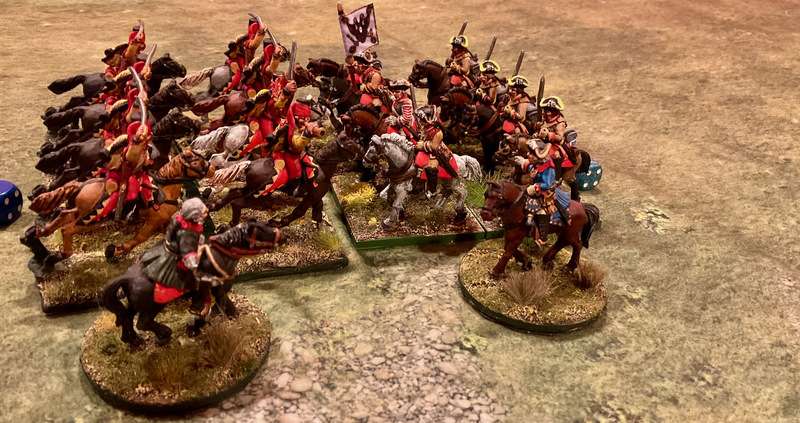
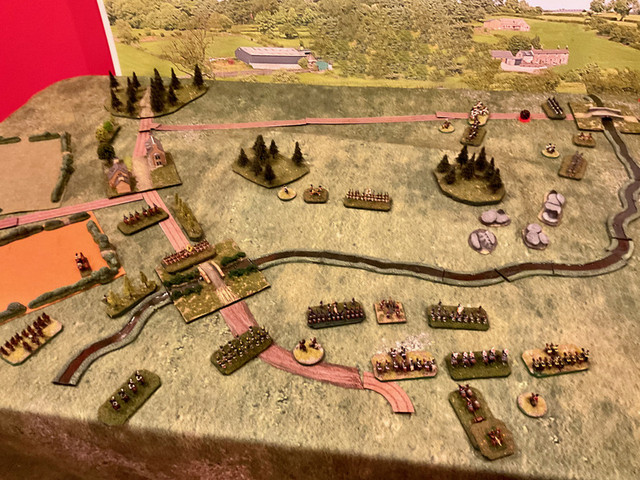
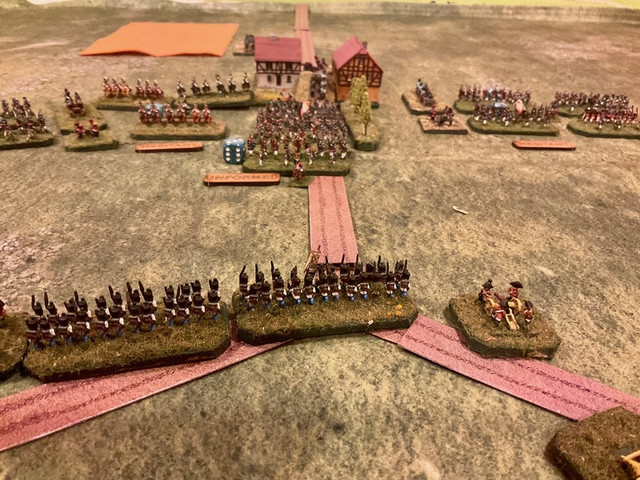
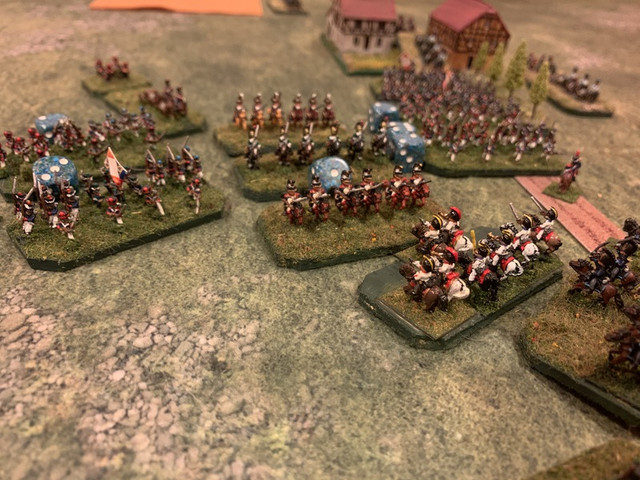
German defenders.
Combat in Push is an expression of what the rules call Pressure (attack) against Resistance (defence). If the Pressure dice exceeds the Resistance score, then the target decreases its stance. For Indirect Fire (artillery and such), as well as Reaction (basically Opportunity Fire) only the attacker gets to throw Pressure dice and see if the score for each dice is greater than the target's Resistance (determined by it's stance) modified by cover. In this case, the medium artillery get 4 Pressure dice against each stand or base within a 4" barrage area. The German defenders in the initial barrage are all Steady so their resistance is a four, increased by +1 if dug in or +2 if in hard cover (the ruined village buildings).

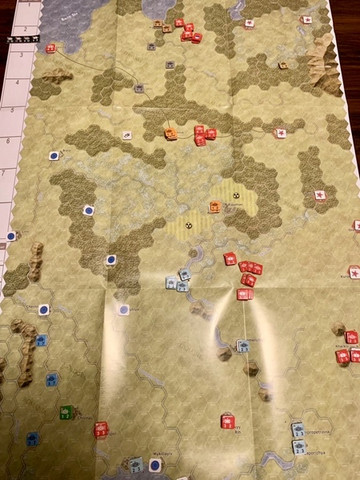
The barrage does some damage. Now on to the first turn and the first phase is the Command phase, when you can call in offboard artillery and, more importantly, use your Gumption tokens. Gumption is an interesting and important idea in Push. Each side gets one token per company (maybe more depending on circumstances). A Gumption token allows you to do various things, like automatically rally a stand and improve it's stance, combine the fire of two stands, and motivate one stand to do something heroic (the game calls this stance Pressing or Carrying the Push). More about that below.
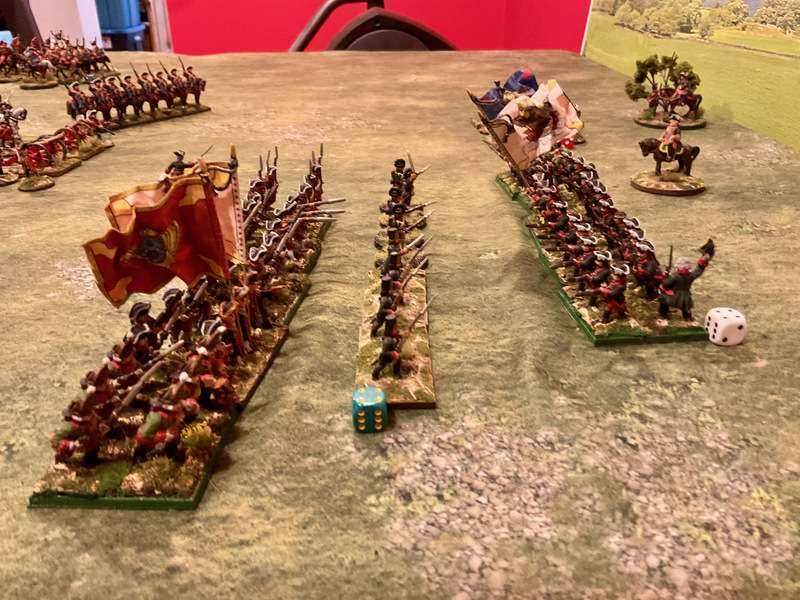
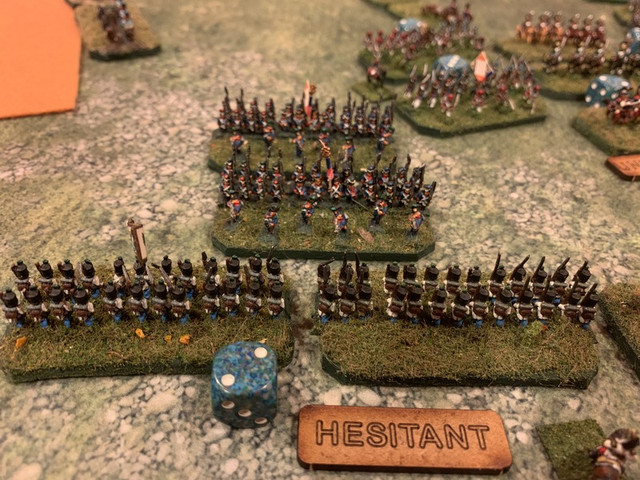
The next phase is Movement which is done on an IGOUGO basis, one side moving all their units, and then the other moving. Units that move in LOS of an enemy unit can be fired on at the time of moving (same principle as described above, Pressure dice vs Resistance rating). My Canadians advance and take some fire, one stand going Cautious (red token). Units that use Reaction Fire can move in their turn, but can't participate in Combat unless it's a close assault so, if you want to shoot and you're on the defence, you have to decide, do I use Reaction Fire or wait until the Combat phase when all the enemy's moves are complete?
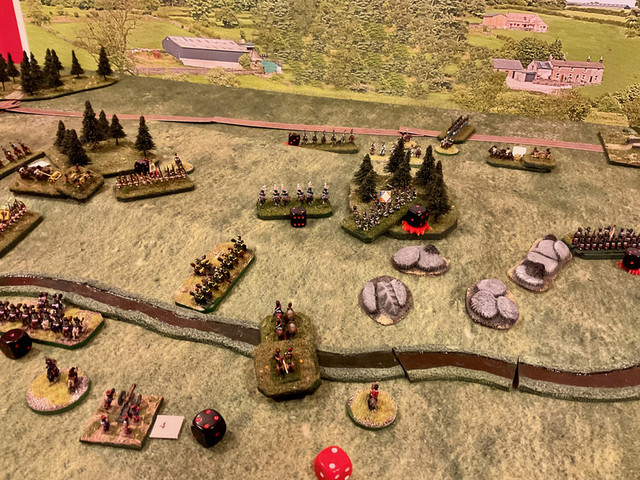
The Combat phase combines shooting and hand to hand assaults. If a moving unit contacts an enemy stand, then assault is immediate. Otherwise, all shooting that has not happened as Reaction Fire happens now. Here's an interesting thing about how Push imagines combat - it's often simultaneous. Both units fire or melee at the same time. Both roll their Pressure Dice vs the enemy's Resistance rating and vice versa. Whichever side rolls more dice that equal or exceeds the other's Resistance rating than the other successfully pushes the other's Stance down one or more levels.
Here's an example. A Canadian stand and the German MG unit engage in combat. The MG gets 4 pressure dice, the Canadians three because they moved half or less of their movement of 6" in the open. The Canadians' Resistance is a 4 because their Stance is Steady and they are in the open. The German's Resistance is 5: Steady Stance and +1 for being dug in. The Germans roll only one dice (4) that equals or exceeds the Canadian stance, and the Canadians only roll one dice (a 5) that equals or exceeds the German stance. The result is a tie and neither side goes down a Stance level. Push's idea of fire combat may seem counterintuitive, as in most systems A fires at B (eg, Prep Fire in Squad Leader) and sees if it can damage B. With Push, I imagine simultaneous exchanges of fire so in this case, the Canucks went to ground when the MG opened up and returned fire with rifles and Brens, lots of shooting, no result. It might have gone badly for the Canucks in the open but they were lucky.

One of the things I like about Push is that there is no casualty removal. Everything depends on Stance and if a unit goes to Broken, it just runs away or surrenders.
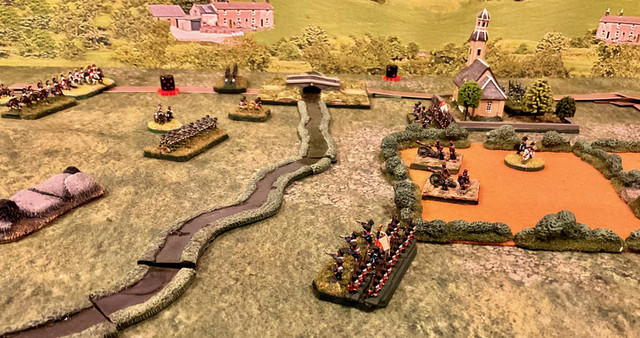
Fast forward to the last few turns I had to play and a good example of the Gumption mechanic. As my attackers get closer, I decide to use a Gumption token to give raise one stand to Pressing. Only a Gumption token can do this and it can only be given to a Steady stand. It gives the stand an extra pressure dice and increases its resistance to five. Perhaps the lieutenant gave an inspiring speech or these joes just have their blood up.
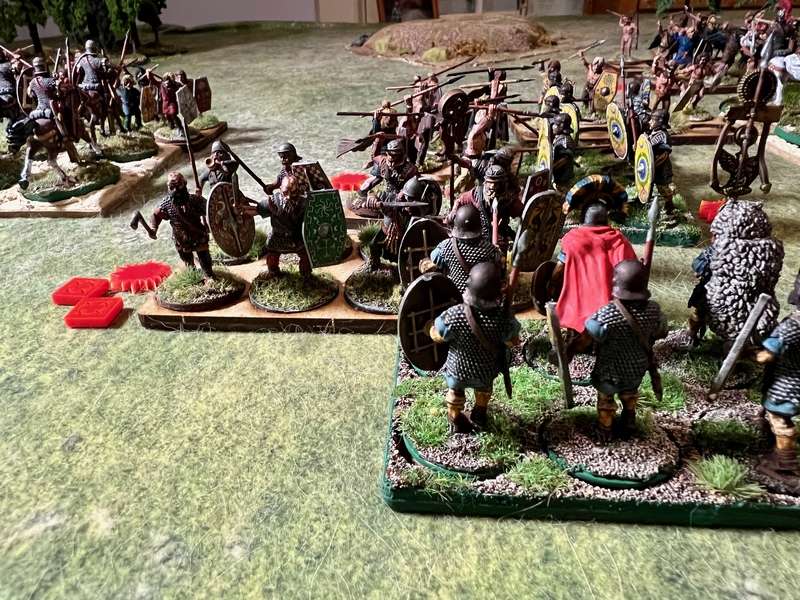
In Push there is a subset of the Movement Phase called the Initiative Phase. This allows one stand the benefit of surprise or extreme heroism. It can't be targetted by Reaction fire and if it engages in Combat (fire or assault) it gets its licks in first and the defender does not roll its Pressure dice in response. A player can spend a Gumption token to give +1 to an intiative roll if the HQ of the stand that might benefit from the initiative is touching another stand of the company and within 6". In this case, I used my second Gumption token to give the Canadians a +1 on the Initiative Roll. Canucks win the roll, and so my Pressing stand gets the Initiative. It runs around the corner of the stone wall and is in among the German foxholes with grenades and bayonets. It gets an extra Pressure dice, so four dice, gets lucky rolls, and shellacks the Germans with three hits, driving them from Steady to Broken. Kamerad!

So that was enough to give me a taste of the rules and I will definitely try them again. One thing I haven't mentioned or yet explored is that there are also rules in Push for armour and air support, minefields, and some suggestions for solo play. Push also comes with enough data on troops and equipment for enough nationalities to satisfy hardcore gamers. One of Patricia's super powers is research and copious data set compilation.
Push is a first edition, so there are a few details that were unclear to me, but I got prompt answers when I asked the author. Patricia is on Bluesky (4ppress.bsky.social) and is planning a website for questions, FAQs, and discussions on her rules. Push offers some interesting ideas for WW2 gaming, and is currently available on WV for the princely sum of $7.70USD, which is a small amount to support an indie publisher. Do have a look.


 \\
\\