Hi friends:
This series of photos is mostly intended as a visual diary of a recent build of a Warbases MDF house, but might be of interest to some readers looking to make their models a little more interesting than the plain MDF.
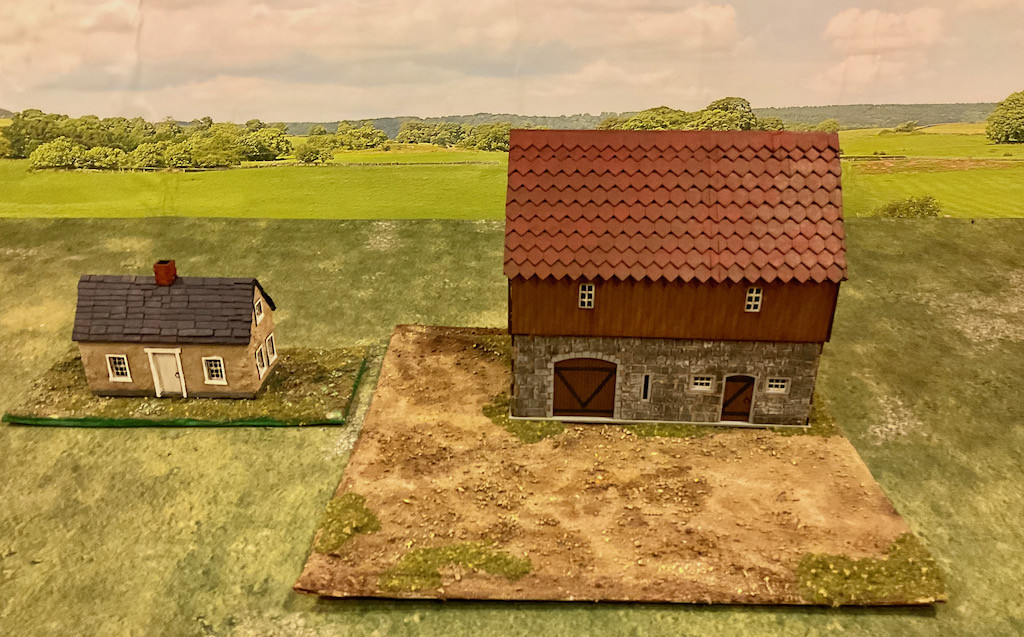
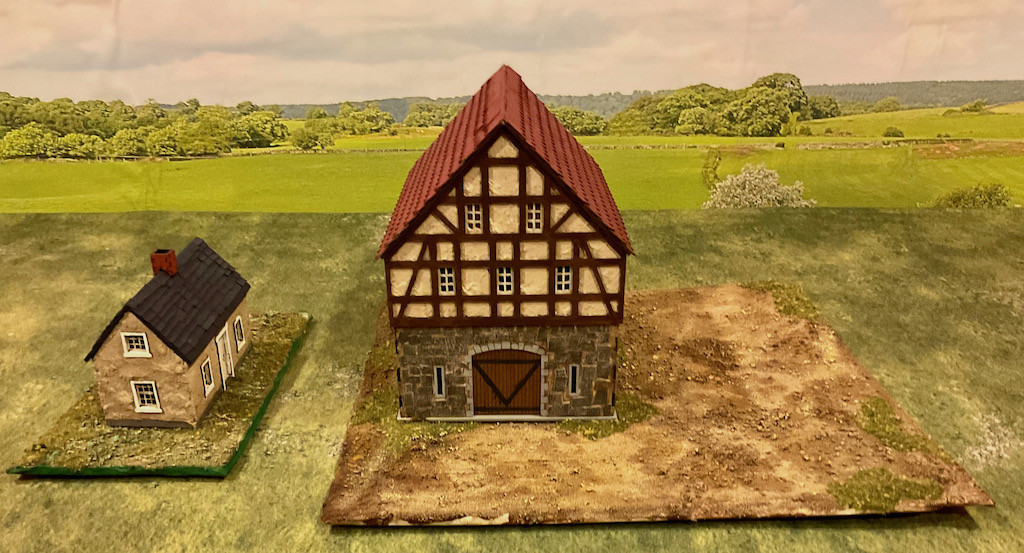
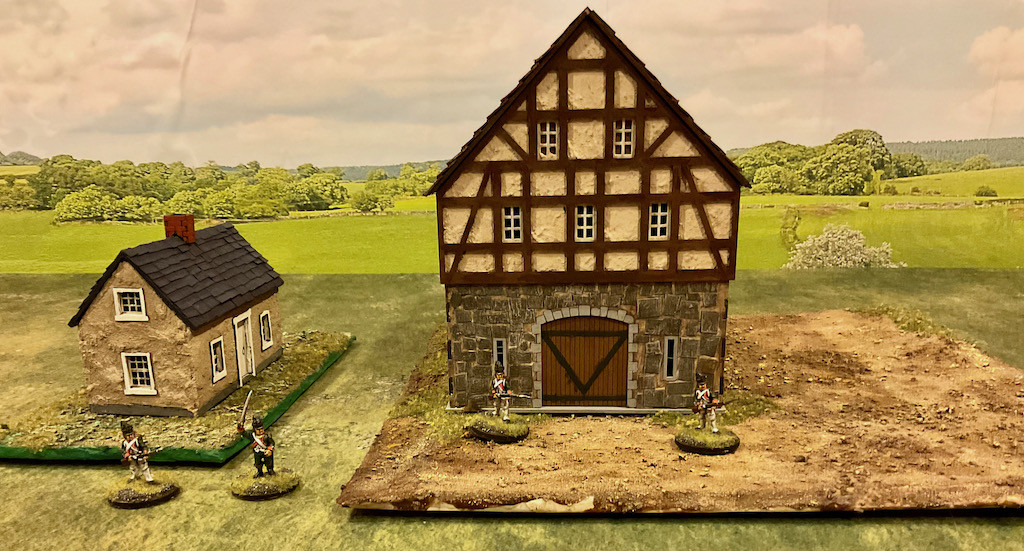
This building is from the Warbases Napoleonic Prussia range of 28mm MDF kits, I've built several and they are nice buildings, a little large for big battles but they work well for skirmish games. This one is the Prussian Merchant's house. It's a two story building with a stone first floor, a timberframe second floor, and a peaked roof with gabled windows.
My first step was to paint the stones on the first floor. I know they aren't really bricks, but I thought uniform brick red colour with offwhite mortar would work well enough, and while I've painted stone different colours of gray in their other kits, I couldn't really be bothered this time. I guess the brick effect works well enough, even if they are oddly shaped bricks.

The kit comes with a base that is scribed to represent paving stones, so I painted them two different shades of gray. The outer walls are glued on and went together fairly well, with some rubber bands until the glue (I use white carpenter's glue) dries.

Inner walls in place and while it's unlikely they'll ever be seen on the table, doing them properly was quite satisfying, rather like painting the inside of the cockpit of a plastic model aircraft. I at least know it's done. :) 
The wooden ground floor door came out well, I used an AK wood tones paint set with some FolkArt Wrought Iron craft paint for the bars and handle.

The next step is to make the second story walls look interesting. I wanted a stucco or plaster effect so I watered down some Wood Putty and used an old brush to layer it into the sections that are conveniently outlined on the MDF as being between the lines where the timberframe part will go. I was careful not to get too much on the latter parts so the timberframe bits will fit neatly. Once the wood putty was dry I painted it with a craft paint Buff colour and then a bit of a sepia wash.

Once that work is done and the doors and window frames are painted, the timberframes are glued on and clamped until dry. While drying, the second story floor is painted using AK wood paints. Again, I'm happy with the result, even though it won't be seen much.


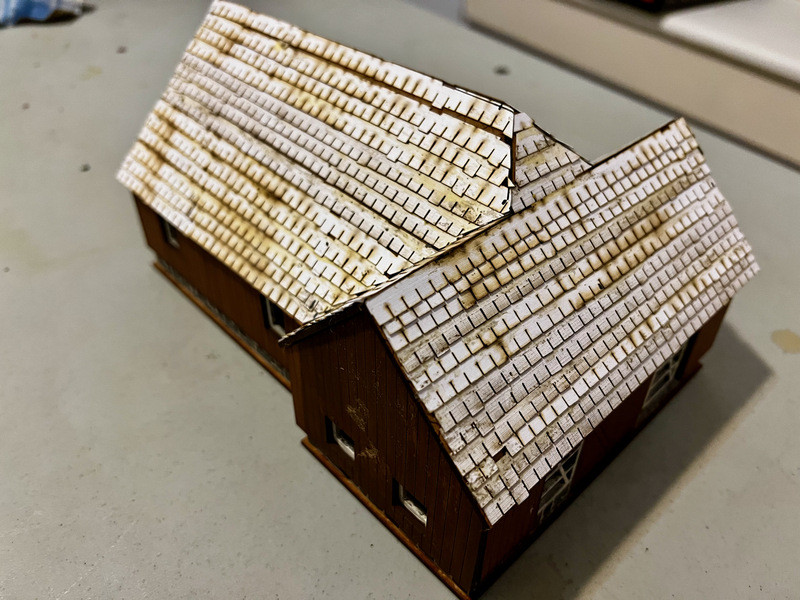
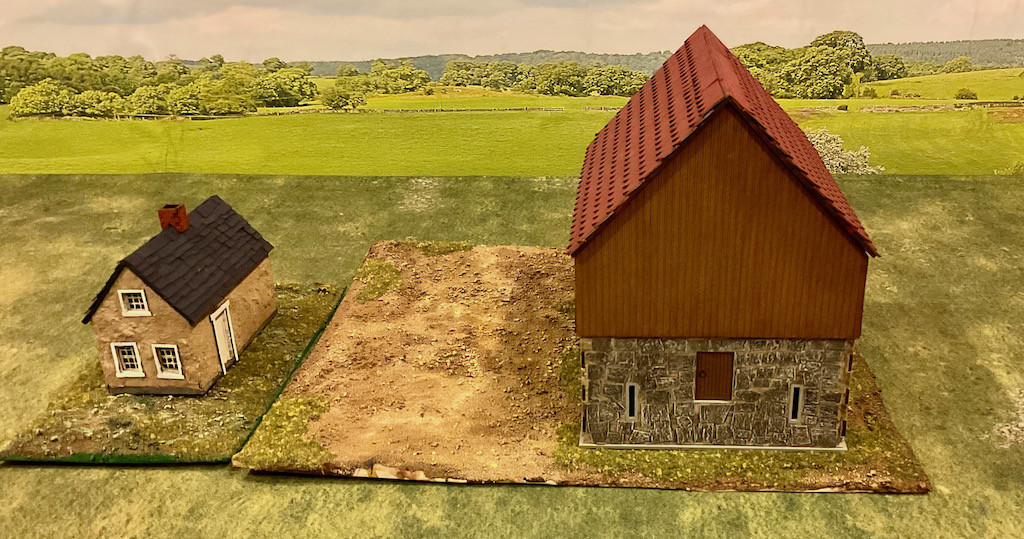
The kit includes a nice little staircase up to the second floor. The individual stairs fit into recesses in the wall and attach on the other side to the single piece staircase frame. The railings were simple and I gave the landing some attention with the AK wood paint. The roof was a challenge, it was just four pieces of plain MDF with the tiles etched into it. I wanted a more three dimensional effect so found some plastic model railroad sheets in my stash, cut them to fit the roof sections, glued them on and them attached the roof.

The two dormer windows were a bit of challenge, I don't have any WIP photos of them. Once the roof was on, there were some gaps between the sections that I filled with bits of MDF sprues. The whole thing was then painted with craft Burnt Sienna, washed with an umber wash, and drybrushed with red paint.

The finished piece scales well with 28mm figures but does make them look almost small. It's not a wee building! In a large battle with many units on the table, you wouldn't want many of these structures on the table, but as I said above, they look great for skirmish actions.


I hope this post gave you some ideas on assembling and painting MDF buildings, or at least sold you on the Warbases product. One minor complaint is that the buildings don't ship with instructions. but you can find them readily enough on the website.
Even though working on a building like this takes time away from painting troops, the end result is worth it and it enhances the overall look of the table. I'm happy with the final result and would certainly recommend the Warbases kits. I might look at an STL file for another building but the painting work would be about the same.
Blessings to your brushes and craft knives.
MP+