Showing posts with label Colonial. Show all posts

Sunday, March 29, 2015

I Broke the Guard: And Other Hot Lead Experiences

I’m back from a very pleasant Friday night and Saturday at Hot Lead, Ontario's premiere gaming convention.  For all I know it may be among the biggest miniatures conventions in Canada, but I’m not qualified to speak on that.  From what my friend and HotLead kingpin James Manto told me on Saturday, the numbers in attendance were high and the vendors all seemed to be satisfied.  Games from north and east of Toronto, and from as far south as Michigan make the trek to Stratford for this early spring event. The Bring and Buy, always a favourite at Hot Lead, was a swirling mass of greed and pillaging when it opened on Saturday at 09:30.  The Bring and Buy tables were crowded three deep and I didn’t get close to them until they were picked fairly clean.  

It was hard to see a theme or a trend in the games on display this year.  Fantasy SF games seemed very popular, from skirmishes featuring Colonial Marines vs Aliens (from the movie series) to Battletech to Star Trek and Star Wars themed games.   Ancients were well represented, as were Napoleonics, both on land and age of sail.   World War One games were fairly plentiful as well, perhaps because of the centennial.   Vietnam seemed more popular than WW2 - I saw a Bolt Action game but Flames of War was conspicuously absent.  In fact, I noticed a LOT of Battlefront FOW kits and figures remaining in the Bring and Buy hours after it had been combed through, suggesting that FOW’s day may have come and gone.    I didn’t see a single American Civil War land game, though there were several ACW naval games.  That’s my take on wargaming trends as I see them, for what it’s worth.  You can get a great overview of the games from this blog post by James Rabbitman Manto, who deserves an OBE and stiff drink for putting this all together.

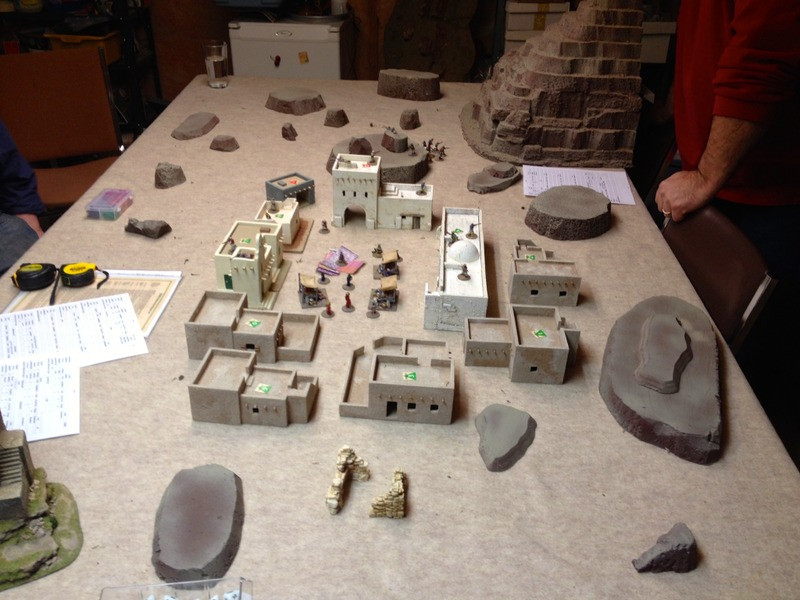
Friday night I got a seat in a pickup game of In Her Majesty’s Name run by my friend Barry.  Five different factions (Turks, Brits,French, and two Arab trades) converged on a village where a sheik was hoping to sell a prisoner, a European lady (of course), to the highest bidder, in story vaguely reminiscent of The Wind and the Lion.   Here the different factions converge on the village.  The sheik and his men held the lady on the roof of the mosque, the long building on the right.  The only way to get her was to go up the stairs and take on the sheik and his men.
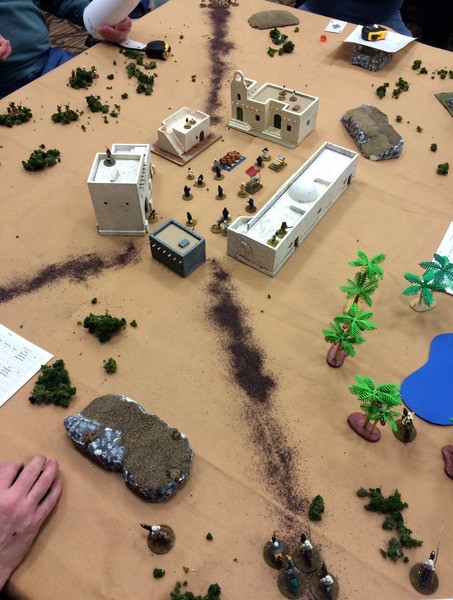
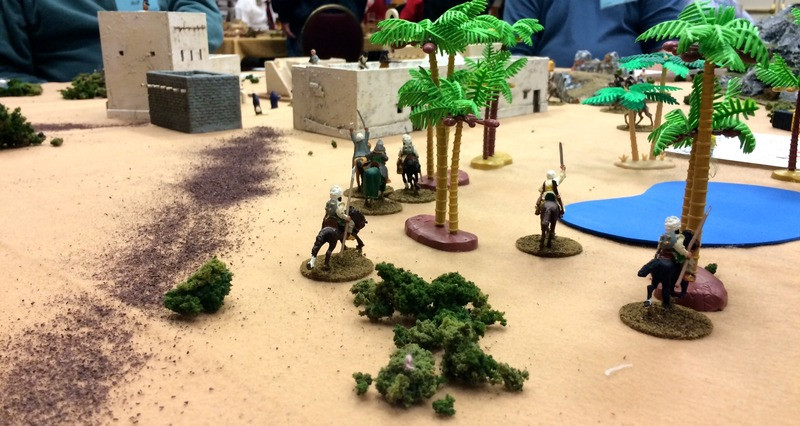
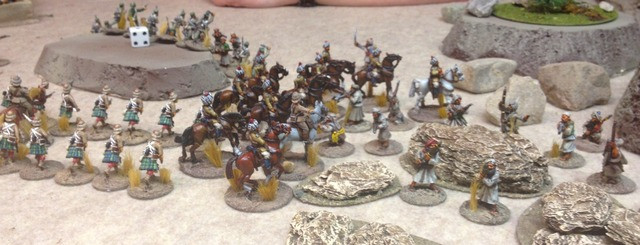
My Arab cavalry head towards the mosque.  Their holy man had some spells that proved useful, but weren’t enough to get up the stairs.   My experience of this kind of all vs all games is that the side which hangs back and lets the blood flow is generally the winner.  Despite my offer to make to invite the Sheikh to my wedding as my honorary father in law and to give him a handsome dowry for the European lady, we could not strike a deal.  I thought I could force the mosque, get the girl, and escape on my horses before the others stopped killing each other.  I was close, but not close enough.  It got quite funny when the Turks and Europeans intruded on an Arab family quarrel.  The Arab players all agreed to ally and fire on the others, though there was still some fraternal treachery going on.

This is the second time I’ve played In Her Majesty’s Name.   I have to say I find it too granular, there are too many dice rolls to achieve limited results, and I find it moves rather slowly.  But it was a fun game.
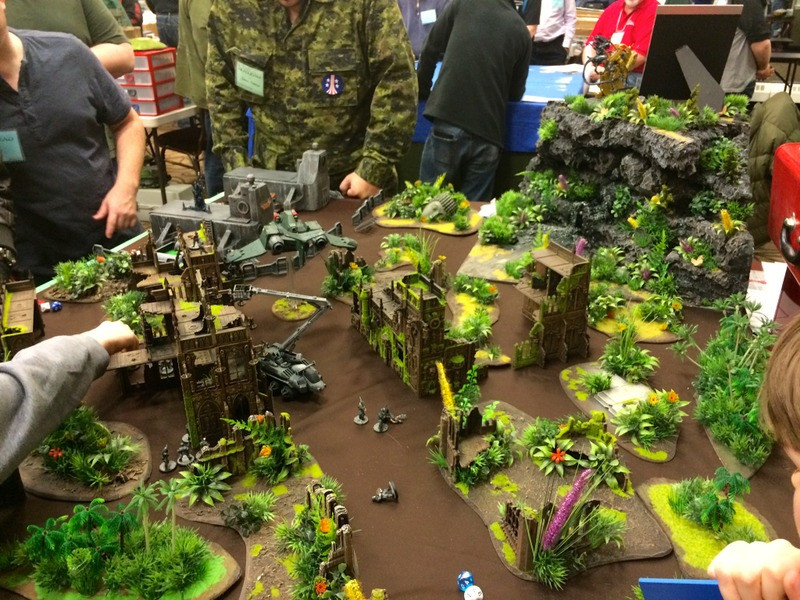
Behind us on Frida this Marines vs Aliens bug hunt was going down and looked rather exciting.  I found the fellow in the uniform a little disconcerting - he had commercially purchased fatigues and a USMC style cap in Canadian pattern camouflage with some space marine badges on it, which was the closest Hot Lead came to cosplay.
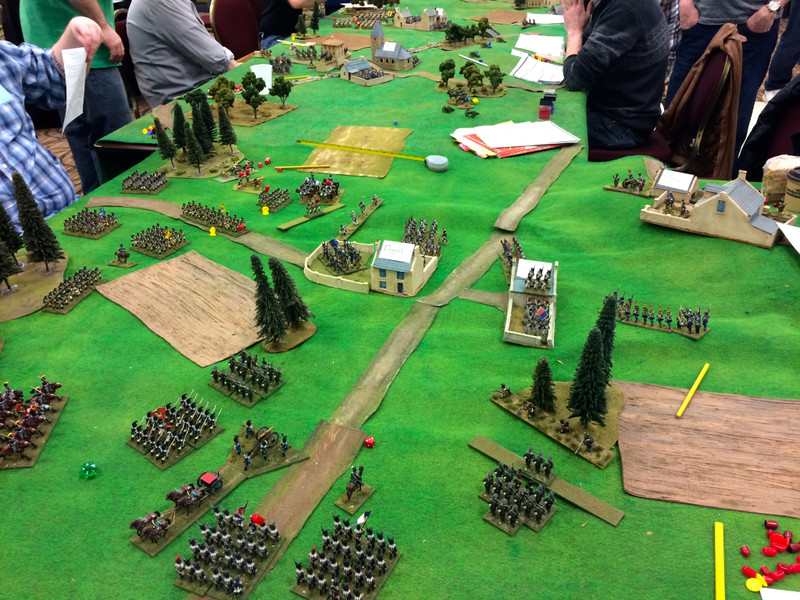
On Saturday my goal was to get into two Napoleonics games.  This is the battle of Bar Sur Aube, which occurred in 1814 as Oudinot’s French tried to halt a large Austrian force invading La Patrie.   I got a brigade of Wurrtemburg infantry, seen at the bottom.  Two other players at my end also got Wurts - the fellow in the blue checked shirt on the left has the other infantry brigade, and there was a cavalry brigade as well.  Our job was to capture the two villages represented by the houses in the centre, and then move up the road and link with the Austrians who were trying to bull their way through at the faaaaaarrrr end of the table.  The figures were well painted 28mm metal, quite lovely, and the rules were Shako 2, which I’d never played before.
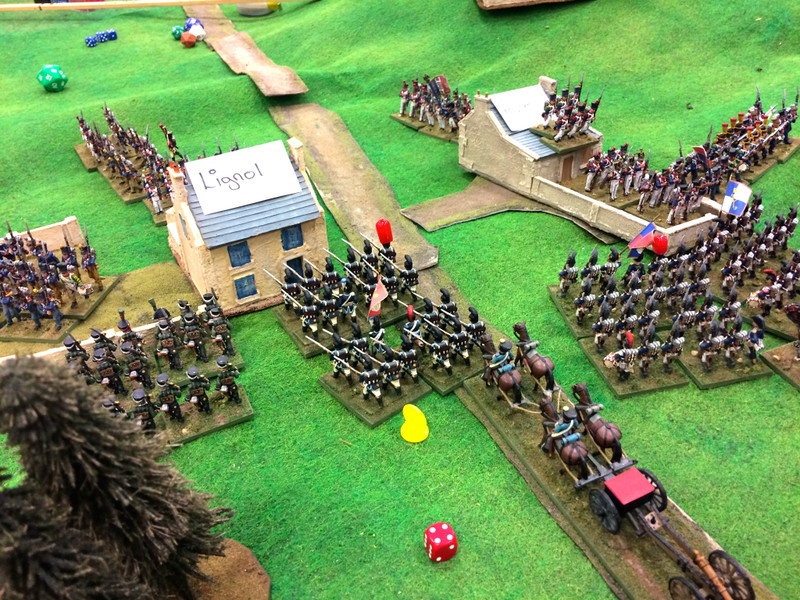
Here elements of the two Wurrtemburg brigades try to assault the villages.   I quickly learned that attacking a village with a weakened unit was suicide. In fact, I found Shako quite bloody.   Units were quite fragile and vaporized quite quickly.
 

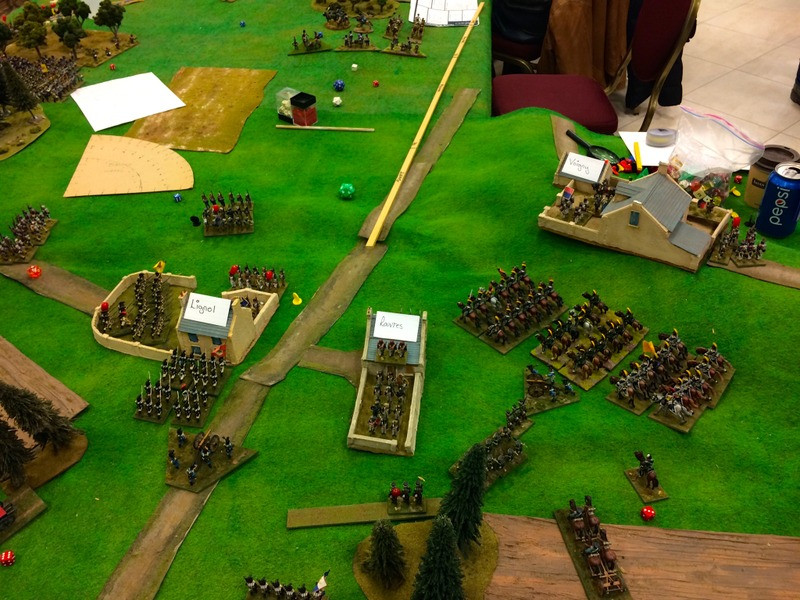
After five hours of play, here’s the end state at my end of the table.  My two co-commanders had given up.  Blue shirt guy had been savaged by long range French artillery and a French light cavalry unit that was luckier than it had any right to be.   That plus several bloody repulses on the villages led to 50% casualties for our infantry.  Finally close range cannister on the villages weakened the defenders and allowed the Germans in, but at the top of the photo you can see three French batteries, two of them heavy, that commanded a lethal field of fire.  The Wurrtemburg cavalry had swung around to the right, a movement that cost much time, and it would have been suicide for it to advance further.   I heard vague rumours of my Austrian allies winning at their end of the table, but I was too tired to really care.  Big games at conventions, with lots of ambient noise, can be a hard slog on the game masters and players, and  while the idea for the game was epic, it may have been unfeasibly large.  

I remain undecided about Shako 2.   There didn’t seem to be a any command and control rules, so our leaders appeared to be purely decorative, and as I said, very very bloody.
 

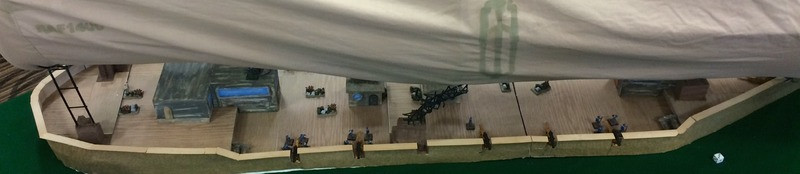
Some other games going on Saturday.  This steampunk skirmish game, hosted by miniatures company RAFM using their figures, had a monstrous airship thingy in the middle of the table.
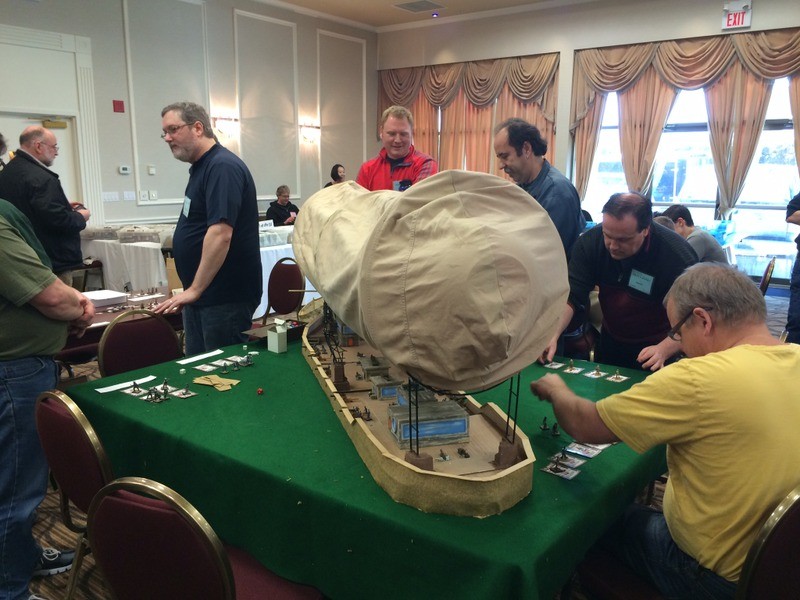
Players had to carefully get at the chaps beneath the gasbag.
 

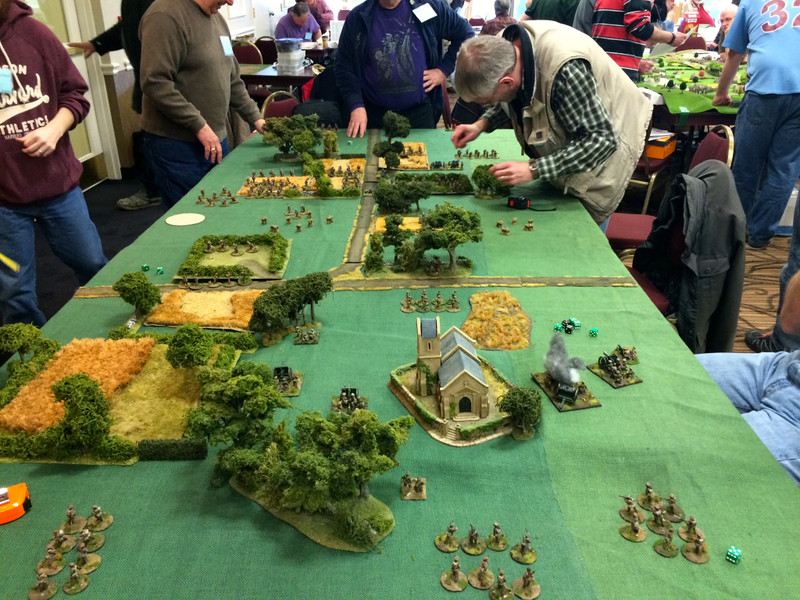
A 28mm Belgium 1914 game going on beside my big Napoleonics game.  
 

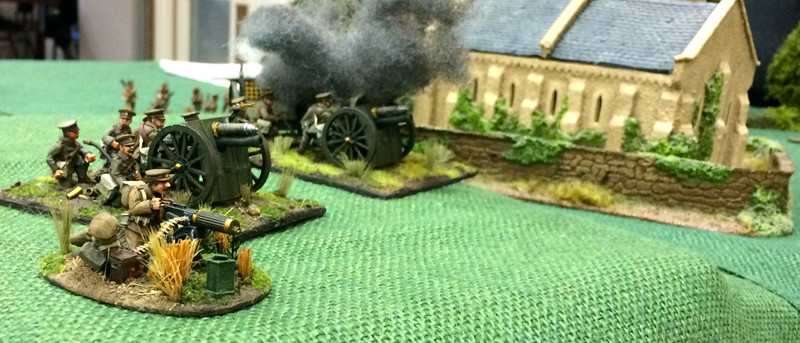
British guns and MG team hold firm beside a church, making it a target- a hard day for the anxious priest, no doubt!
Beautifully painted German infantry advance.
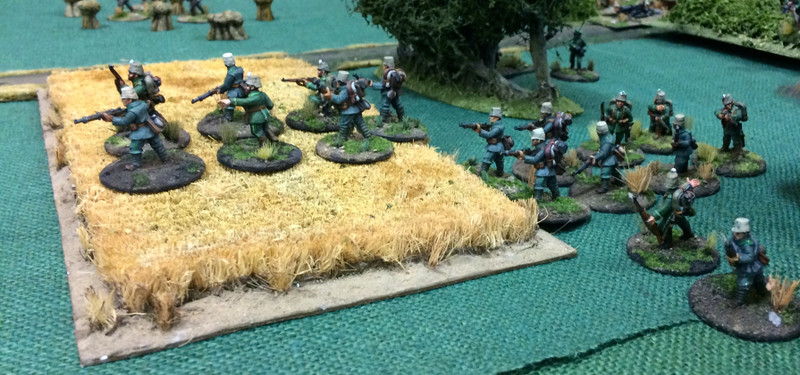
 

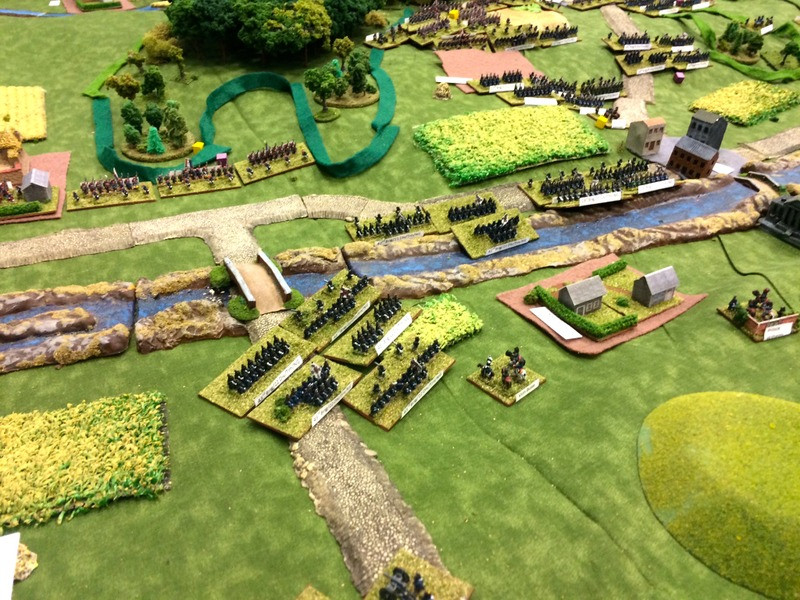
The indefatigable Brian Hall, one of the many talented game masters from the Kent Essex club, ran this lovely looking 6mm Franco-Prussian War game.


More of Brian’s FPW goodness.
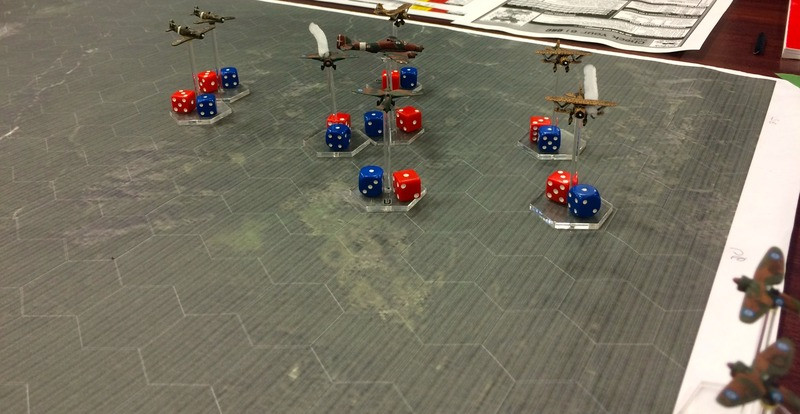
Another Kent Essex impresario, Keith Burnett, ran this lovely WW2 air game featuring the Greek air force taking on the Italians.
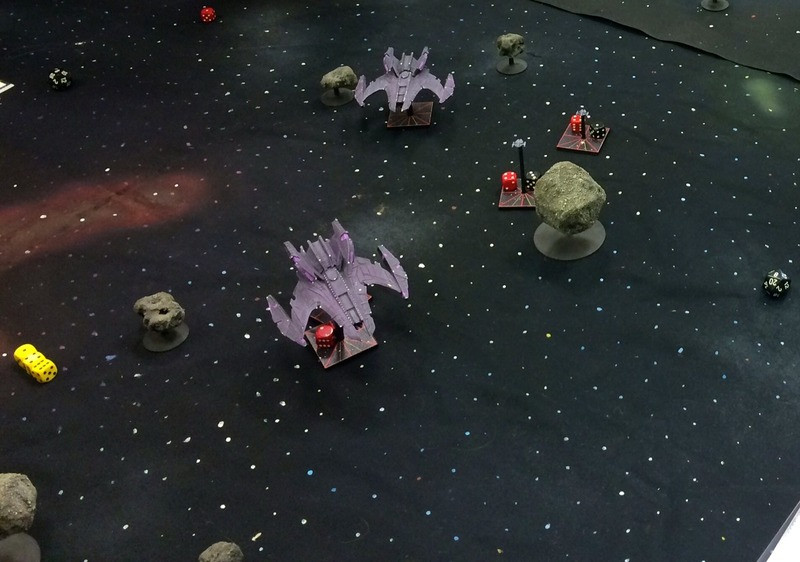
This Star Trek themed game was one of the many SF games there.  
 

My second Napoleonic game of the day.  Dan Thompson and Kurt Hummitsch ran a Borodino game using their collections of 28mm figures, mostly plastic but no less impressive for that.  Two interesting and contrasting painting styles, Dan’s dark and “grungy” (his word) French, with extensive use of dip and washes, vs Kurt’s bright and light Russians.  Hard to tell which style I liked better.  The rules were the Osprey-pubished Fields of Glory Napoleonics, which I found very different than Shako.   The command and control system seemed similar to Black Powder, with units being allowed extra and complex moves if they rolled certain numbers.  Unlike what I saw of Shako, the placement of generals in FOGN was important.  In another difference, units in FOGN do not take individual hits or figure/stand losses.  Rather, their moral can go from Good to Disordered to Wavering to Broken and back, so the units effectiveness and cohesion as a whole are important.
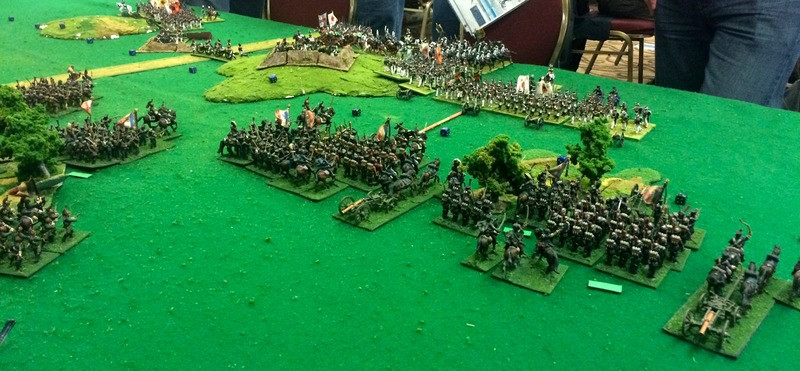
 

French  press the attack.  One of the cool things about this game was that the three French players were all named Mike, so we became Left Mike, Centre Mike and Right Mike.  As Right Mike I commanded the Guard, and pushed them far to the right, effectively pinning the Russian cavalry to their start line, while Centre Mike pushed hard with his divisions.   We broke several Russian infantry divisions, but my Young Guard (visible in the forested area below centre right) were Wavering and stubbornly would not rally.
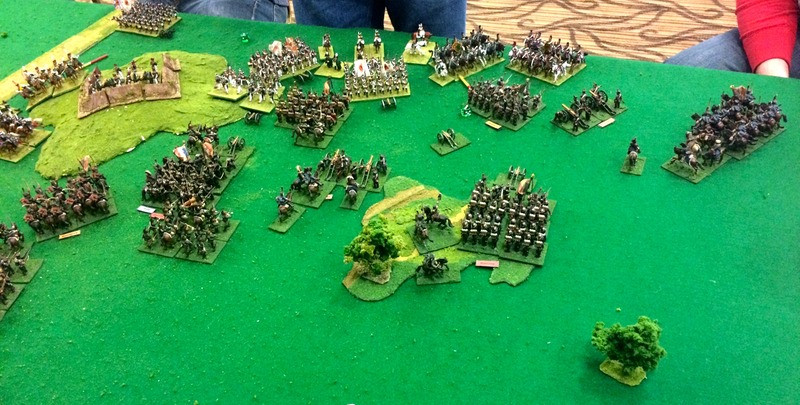
Napoleon goes to the right wing to steady the Guard light cavalry for a key countercharge.
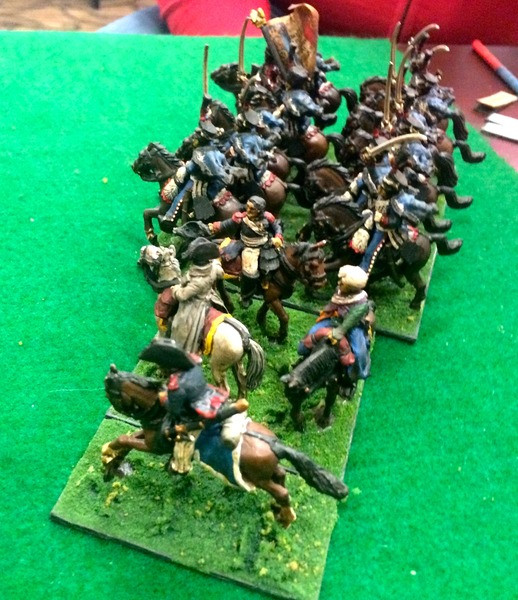
 

One of the two Russian Dragoon units was wavering with its flank to the Old Guard.   Even though they were Disordered, infantry in these rules can charge wavering cavalry.  Breaking the Dragoons might have unravelled the remaining Russian Left Wing, but the Guard rolled poorly and only pushed the dragoons back.  The other Russian Dragoon division charged the blown Guard in the flank and broke them, routing them back under the eyes of Napoleon himself.  It was bad news for the French Right wing, but the Russians were too battered to resist in the centre, and Left Mike had been heroically making bricks with straw the whole game and had blunted the stronger Russian right wing.  Victory, though I fear Marshall Right Mike will get a convict battalion of refractaires in Sardinia as his next assignment.

So the takeaway for me is as follows.

It’s good after a gaming con to say “I broke the Imperial Guard."

It’s bad to say in the next sentence, “I commanded the Imperial Guard."
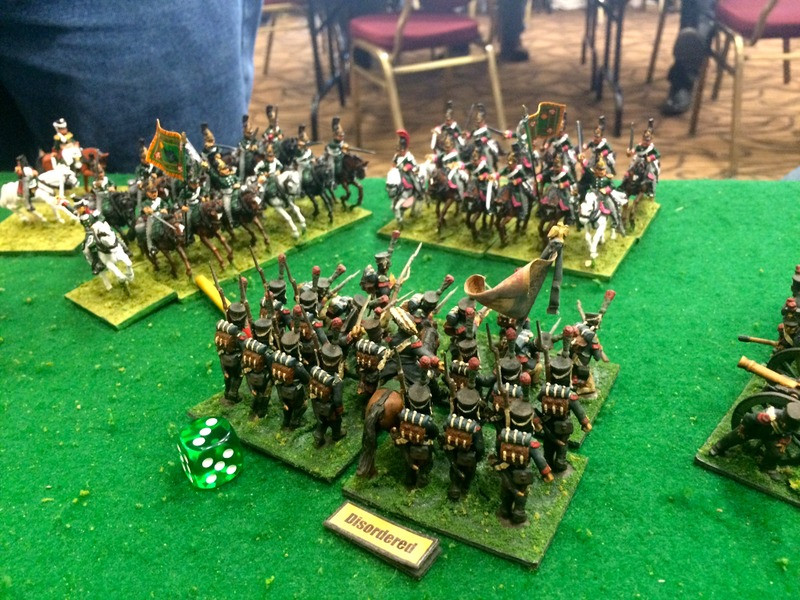
So ended Hotlead 2015, more geeks, dice and glory than you can shake a D6 at.   I did pick up some loot, and more on that in another post.

Blessings to your die rolls!

Sunday, March 1, 2015

In Her Majesty's Silly Service

First chance of a game in quite a while came last night at my friend James’ place.  Our chum Barry (one of the criminal syndicate behind the Hot Lead gaming con this month) wanted to try the Victorian steampunk rules In Her Majesty’s Name from Osprey.  That was fine with me.  I told James that since I was so game starved, I would be happy just to drink beer, roll dice on an empty table and go “Pew Pew!” all evening, so this was fine.  Our game was set somewhere on the NW Frontier and we used James’ excellent collection of figures.   Chumrade Patrick and I took the villainous Pathan tribesmen, who had abducted Miss McGuffin and were holding her somewhere in one of the buildings of their village.  Patrick and I both had ten tribesmen armed with rifles and swords, and a chieftain armed with a sword and pistol.   

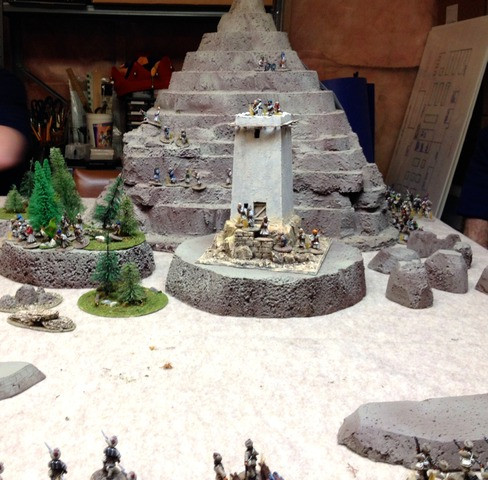
Patrick massed his band in the hills just outside the village, just visible in the top centre to the left of the mountain.   My fellows were distributed through the buildings in the half of the village on the top half of the photo. Miss McGuffin was concealed in the tower on the top of the square.  My plan was to hold up the Imperials from whatever side they appeared until Barry could throw his whole force against part of theirs.  

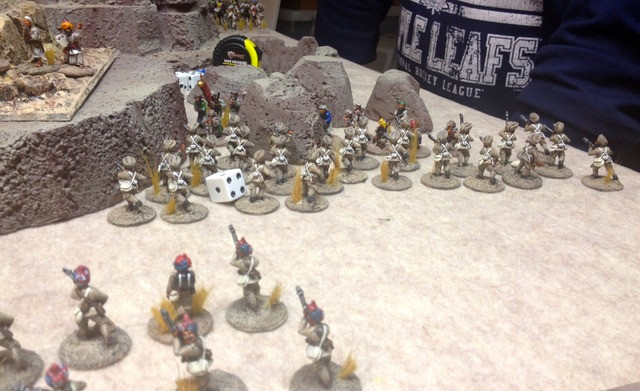
James being in a lazy mood decided to enter from the side of the table he was sitting at, so the Imperials entered from the bottom of the photo, Barry with a squad of British infantry and James with a squad of his trusty Sikhs.   Apparently Miss McGuffin was quite important to rate what turned out to be an elite black ops team.  Our poor villains didn’t have a chance.

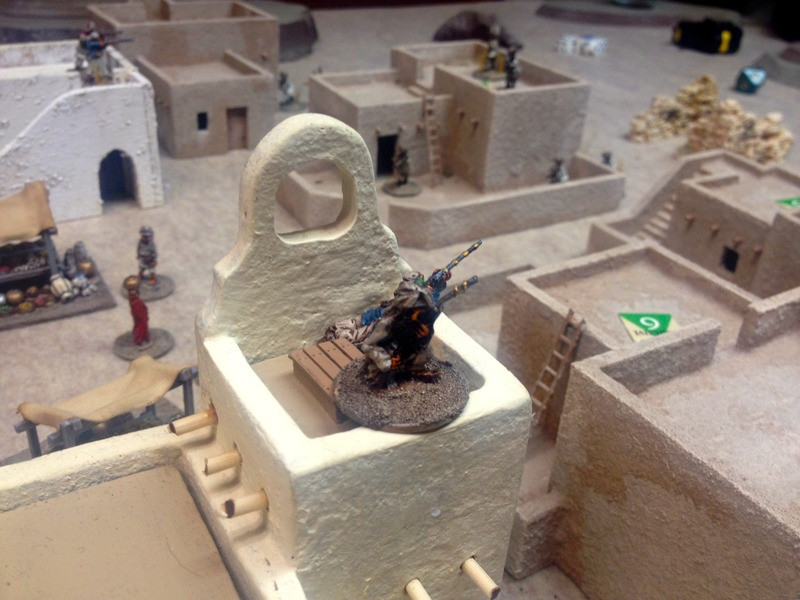
Two of my fine warriors take up position in a tower.  The prone figure is one of my two special ability marksmen figures.  “Ahmed, this will be a great place to snipe the infidel from, eh?"


Not so much.   Barry’s own marksman picked them off early on.  There were fewer Imperials, but they were better shots, as it turned out, and their officers had funky armour, since it was steampunk, after all. These are very fine buildings, by the way,


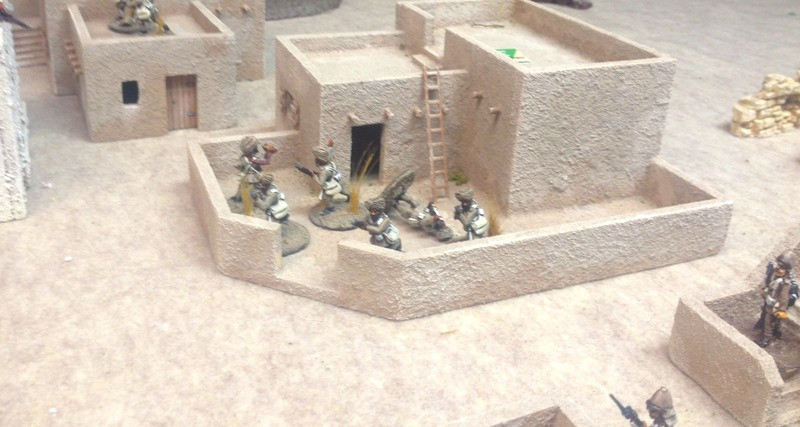
James’ Sikhs push forward on the other side of market square.  I’ve managed to drop one of them, but my shooting was pretty wretched, seeing as most of my fellows were busy screaming and falling off rooftops.

I didn’t get much of a chance to look at the rule book or at the charts, so I pretty much let Barry explain the rules to us.   They seemed fairly conventional skirmish stuff, roll for your chance to hit based on shooter’s ability, shooting modifiers and target’s armour (cover plus the armour he is wearing).  Then if hit the target takes a saving roll against something called a Pluck rating.  Heroes are much harder to kill than rank and file types.  So each attempt to shoot requires two die rolls (to hit and to save).  Some of the modifiers seemed a little eccentric to me, in that moving figures are harder for stationary figures to hit, but don’t seem to have the same penalties when shooting at stationary targets.  At least, that’s what it seemed like to me, though my dice weren’t especially lucky.


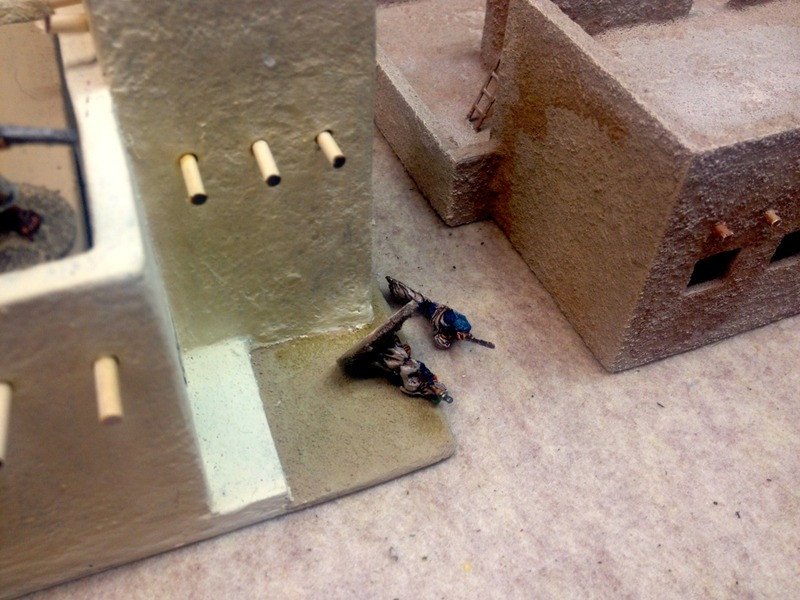
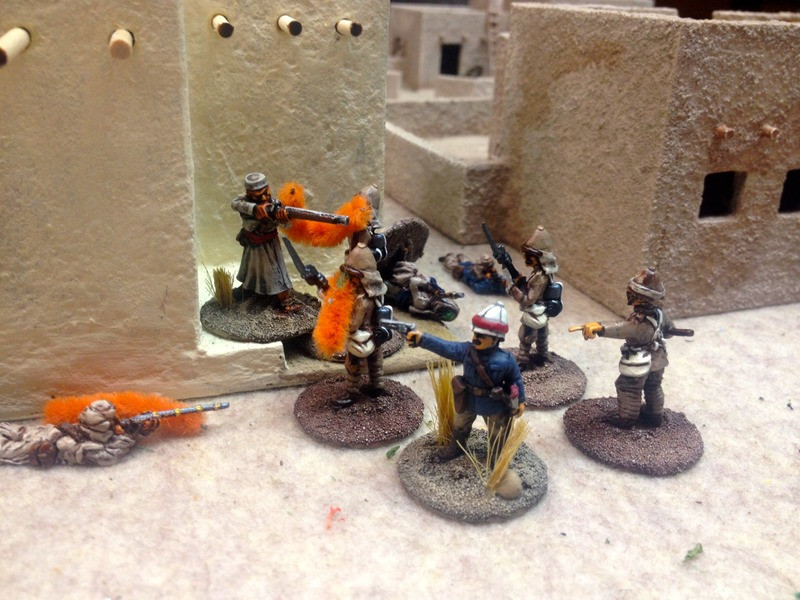
It got quite bloody hand to hand.   So the orange pipe cleaners aren’t to simulate steampunk coal fired plasma cannons.  They are to simulate broken weapons.  Roll a 1 on a d10 and your weapon jams or breaks.  The Pathans rolled a lot of “1s” so were reduced to trying to stop the British with swords, which didn’t work too well.  The British infantry brushed my chaps aside quite easily with their bayonet skills.  The figure in the foreground is the British doctor, who would be the hero of the game.  


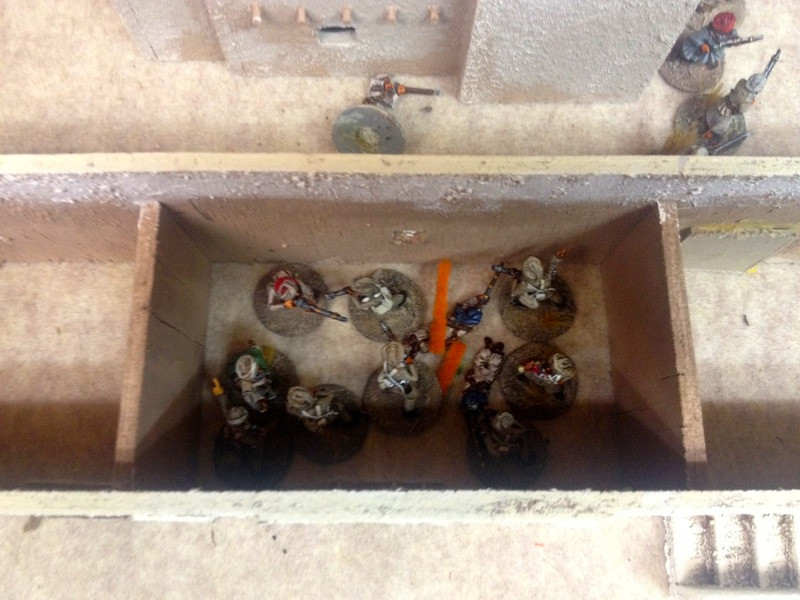
Hard luck for the Sikhs.   James moved his section through the mosque, searching for Miss McGuffin.  The one part of our plan that worked, worked quite well.  My leader and one of his few remaining brigands, plus almost all of Patrick’s Pathans, surged in and caught the Skihs in a vicious melee that lasted quite a few turns.  By the end of it, the English Sahib had killed my leader and then died, was at once avenged by his loyal sergeant, and then the brave Sikh sergeant and Patrick’s leader killed each other in the same turn.  By the end of the battle the floor of the mosque was littered with dead and dying men, and the brave Sikhs had been wiped out.   One Sikh private almost survived, and was a pretty sure candidate for a chestful of medals …. but he died too.


Carnage in the mosque. 


However they bought Barry the time he needed to win.  The heroic doctor approached the tower where Miss McGuffin’s cries could be heard (“Over HEREEEEE, you morons!”) when my last fellow, her captor, decided that since his rifle was broken (of course), he could take out the infidel with his sword.  After all the infidel was just a doctor, right?   Easy prey.  Wrong!  The intrepid young doc dispatched the pathan with either a tongue depressor or a prescription pad (it happened so fast I couldn’t see) and Miss McGuffin was saved.  Rumour has it she will return to England with the Doctor, now fabulously wealthy thanks to her dowry, and set up a psychiatric institute for the care and cure of steampunk mad geniuses and super villains.


So a pleasant evening.  I can’t say I learned enough about these rules to call this post a fair review.  All of us were relying on Barry and he had barely digested them, so we likely made many mistakes.  It did seem that there was an awful lot of dice rolling for a fairly small skirmish, but that does seem to be the level these rules are pitched at.   Since we weren’t using any really steampunk abilities or technologies, there were no walking armoured behemoths, no clanky things, or villains with eldritch superpowers, so we didn’t get to appreciate how those flavours are baked into the rules.  

At any rate, it was a pleasure to enjoy some laughs and good company, and to play with James’ excellent figures, always a treat.

Blessings to your die rolls!
MP+

Saturday, May 10, 2014

With Plumy On The Fronter, Or, Curry in a Hurry and With the Guides to Fartibad

 I haven’t done much gaming lately.   Evenings have been spent working through Season 1 of Game of Thrones with Mdme Padre (sad to say, we’re both hooked) while working on some various flocking and basing projects.  Slowly getting my hobby energy back now that the winter term is over and all I have to do now is research.  

Last Saturday night however was an awesome evening of gaming and jolly japes.  My good friend James and the lovely Mrs. Manto decided to combine an imminent birthday with the J&M Miniatures annual staff party, which saw James, his business partner Martin, myself and several other ne’er do wells of the Hot Lead fraternity having a mess dinner of curry and delicious Indian food in the midst of the J&M stock room.   Good food, good company, wine and beer surrounded by shelves full of gaming stock and a war-game waiting in the basement … well, it was all a somewhat nerdy version of Valhalla, really.  

The occasion for our game is described by James as only he can tell it here.  The game was played using James’ terrific collection of 28mm NW Frontier figures and some of his home-made scenery.

Here is part of the domain of the nefarious bandit the Faqir of Fartibad - or is it Cirith Ungol in front of Mount Doom?   Scratch-built scenery by James.    This was one wing of the Faqir’s Pathans’ defensive works, that I was tasked to capture with a scratch Indian Army brigade.

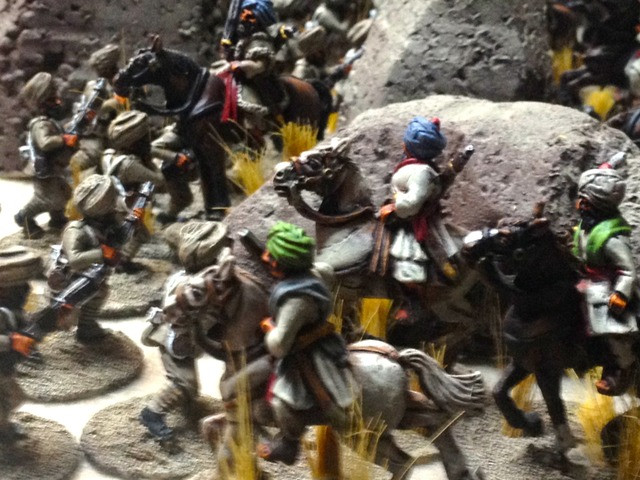
While the Gordon Highlanders advance on the left, supporting some Gurkhas who are chasing over the rocks top left, my mounted Guides in the centre seize an opportunity and go after some Pathan riflemen as they try to move into some rough ground.   Half of their number were still in the open when the Guides hit them, and the outcome was quite satisfactory.

My Madras Pioneers advance in the centre, while on the right I threw all my Sikhs into a charge against another lot of beastly Pathans lurking in the rocks.  Both sides locked in an ongoing melee.

One company of the Madras Pioneers press forward against tribesmen on high ground, with much ineffectual sniping on both sides.

'

Pathan cavalry sorties on the British right flank and joined the melee against the Sikhs, who hold like rocks.  I threw my reserve of Madras Pioneers in and after a lengthy scrum the Pathans melted away.   On my left, the British sahibs were generally doing well, the Gurkhas and Blandingshires having driven the Faqir’s men out of their strongholds and were looting his stuff.  We settled down on our side for some chai.

Again, the story is told much more entertainingly here.  I just wanted to post these pictures to give you a sense of James’ collection.   We had a running discussion that night about what setting shows Colonial wargaming to its best advantage.   One could make a good case for the Sudan, with its riverboats, colourful Mahdists and Fuzzy-Wuzzy, Egyptians in cool fezzes and the variety of British uniforms. but it would be very hard to beat the NW Frontier for its legendary and epic nature, scenery (amazing if done well) and the rugged Pathans, stalwart Sikhs, elephants, colourful turbans and British pluck, with the odd chance of a dastardly Czarist agent or three thrown in.

We used Black Powder for this game.   It’s my second time playing BP, and both times I was totally reliant on someone else telling me what to do, but the game seemed to move along and the results generally made sense, so BP seems OK in my quite uneducated opinion.

Happy birthday, James!

MP+

Sunday, February 3, 2013

Going To The Frontier With MacDuff

This Friday at the Mad Padre's Wargaming Chapel my friend Ryan came over to help me accomplish two objectives. The first was to dust off some figures that haven't seen use in my last two moves and postings. The second was to try Ross MacFarlane's free rules, With MacDuff To The Frontier. Ross describes these as "19th Century Toy Soldier Wargaming Rules", and they always look like fun when featured on his blog. They didn't disappoint.

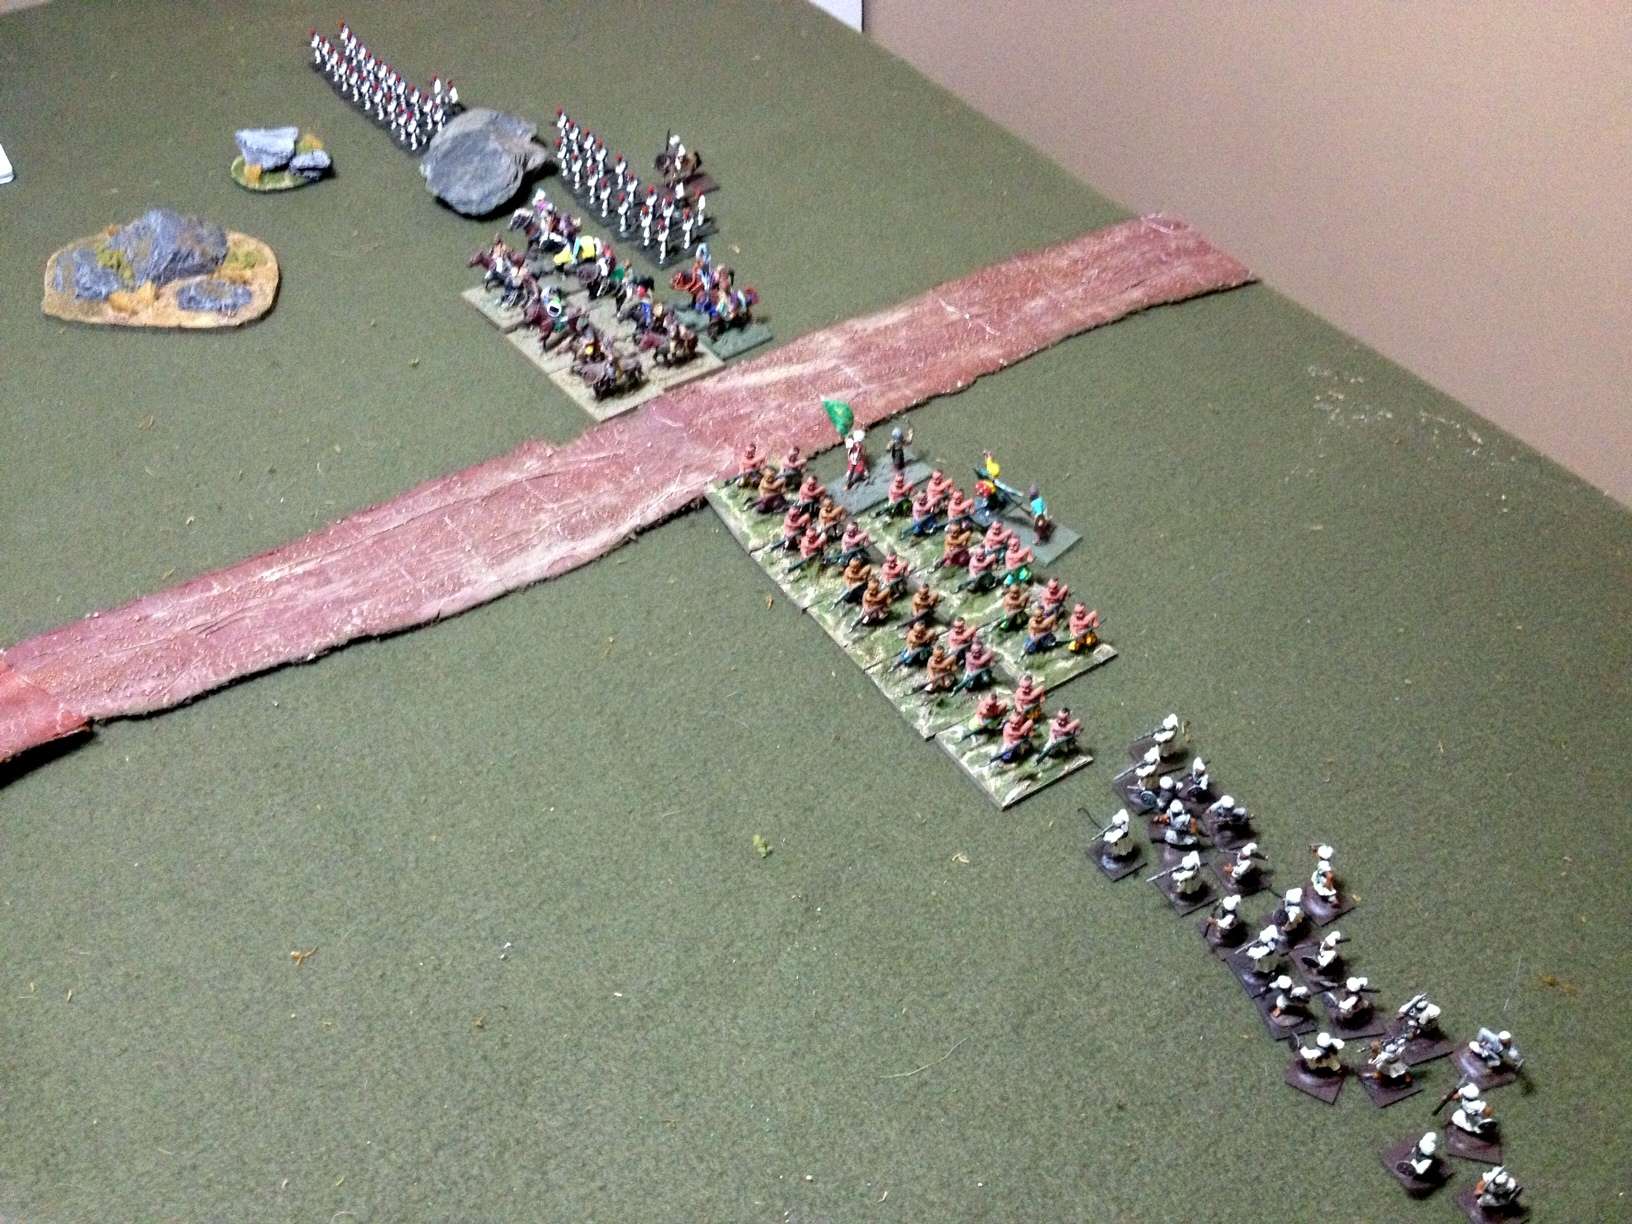
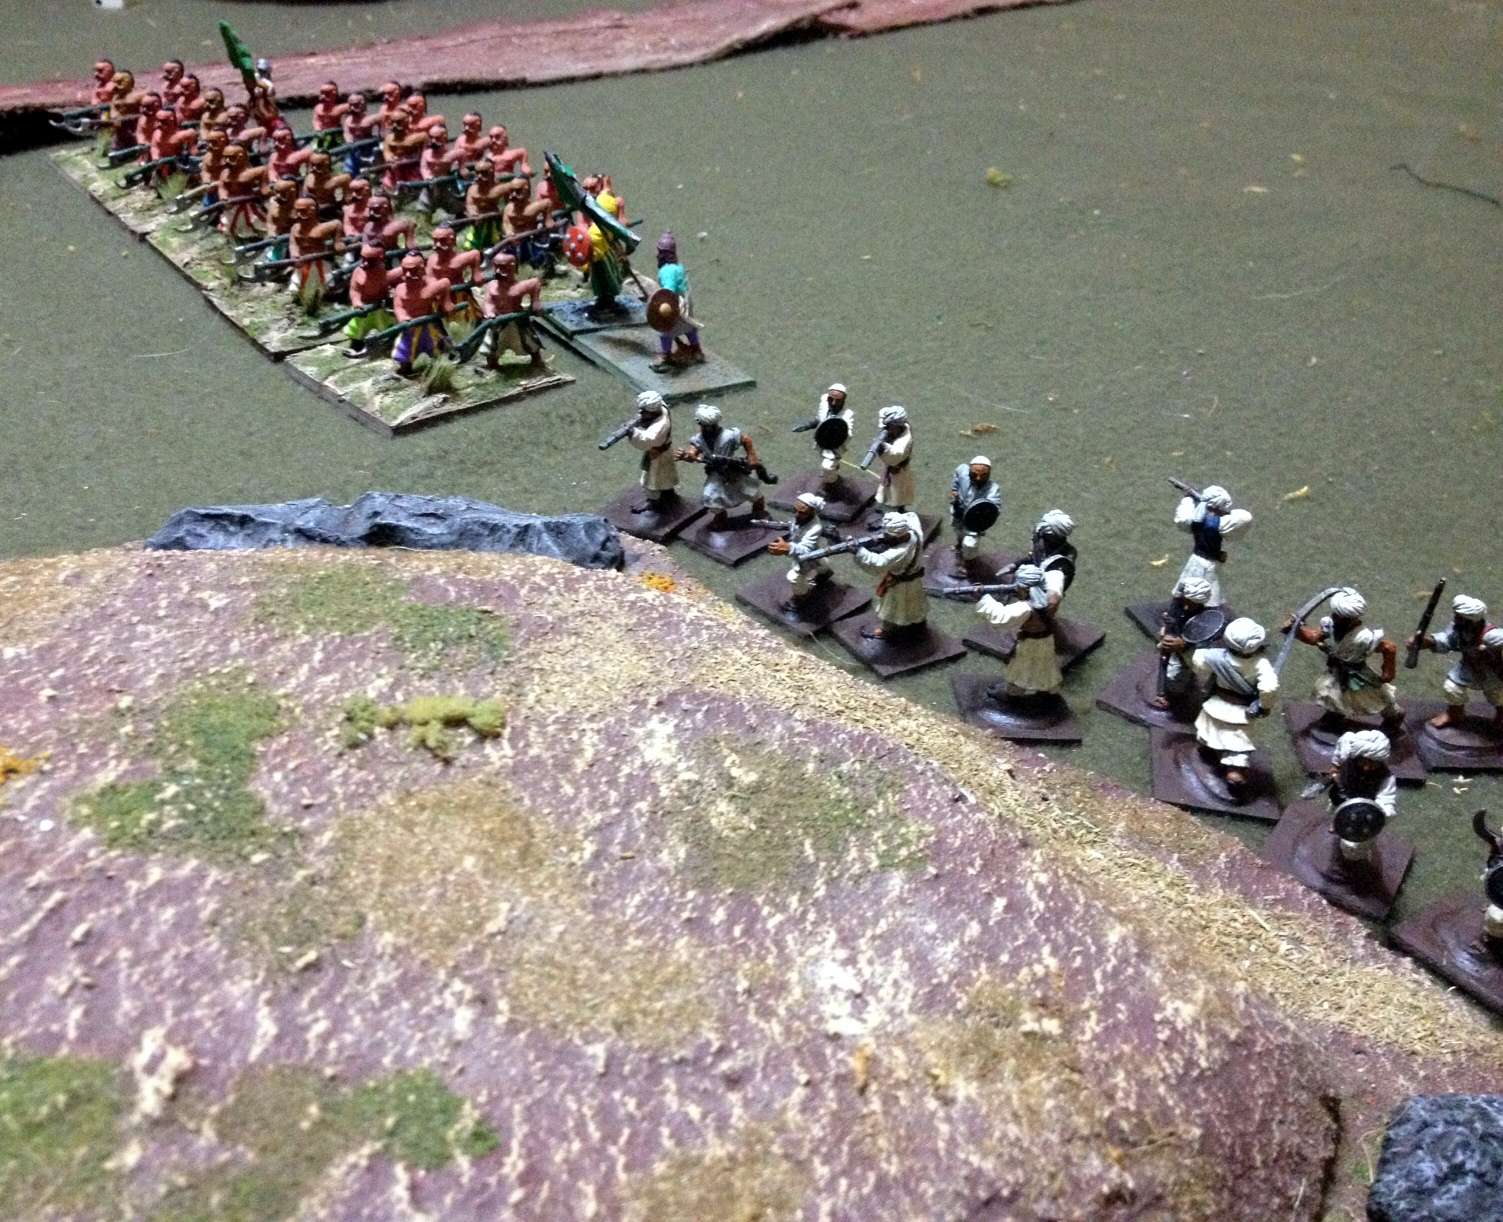
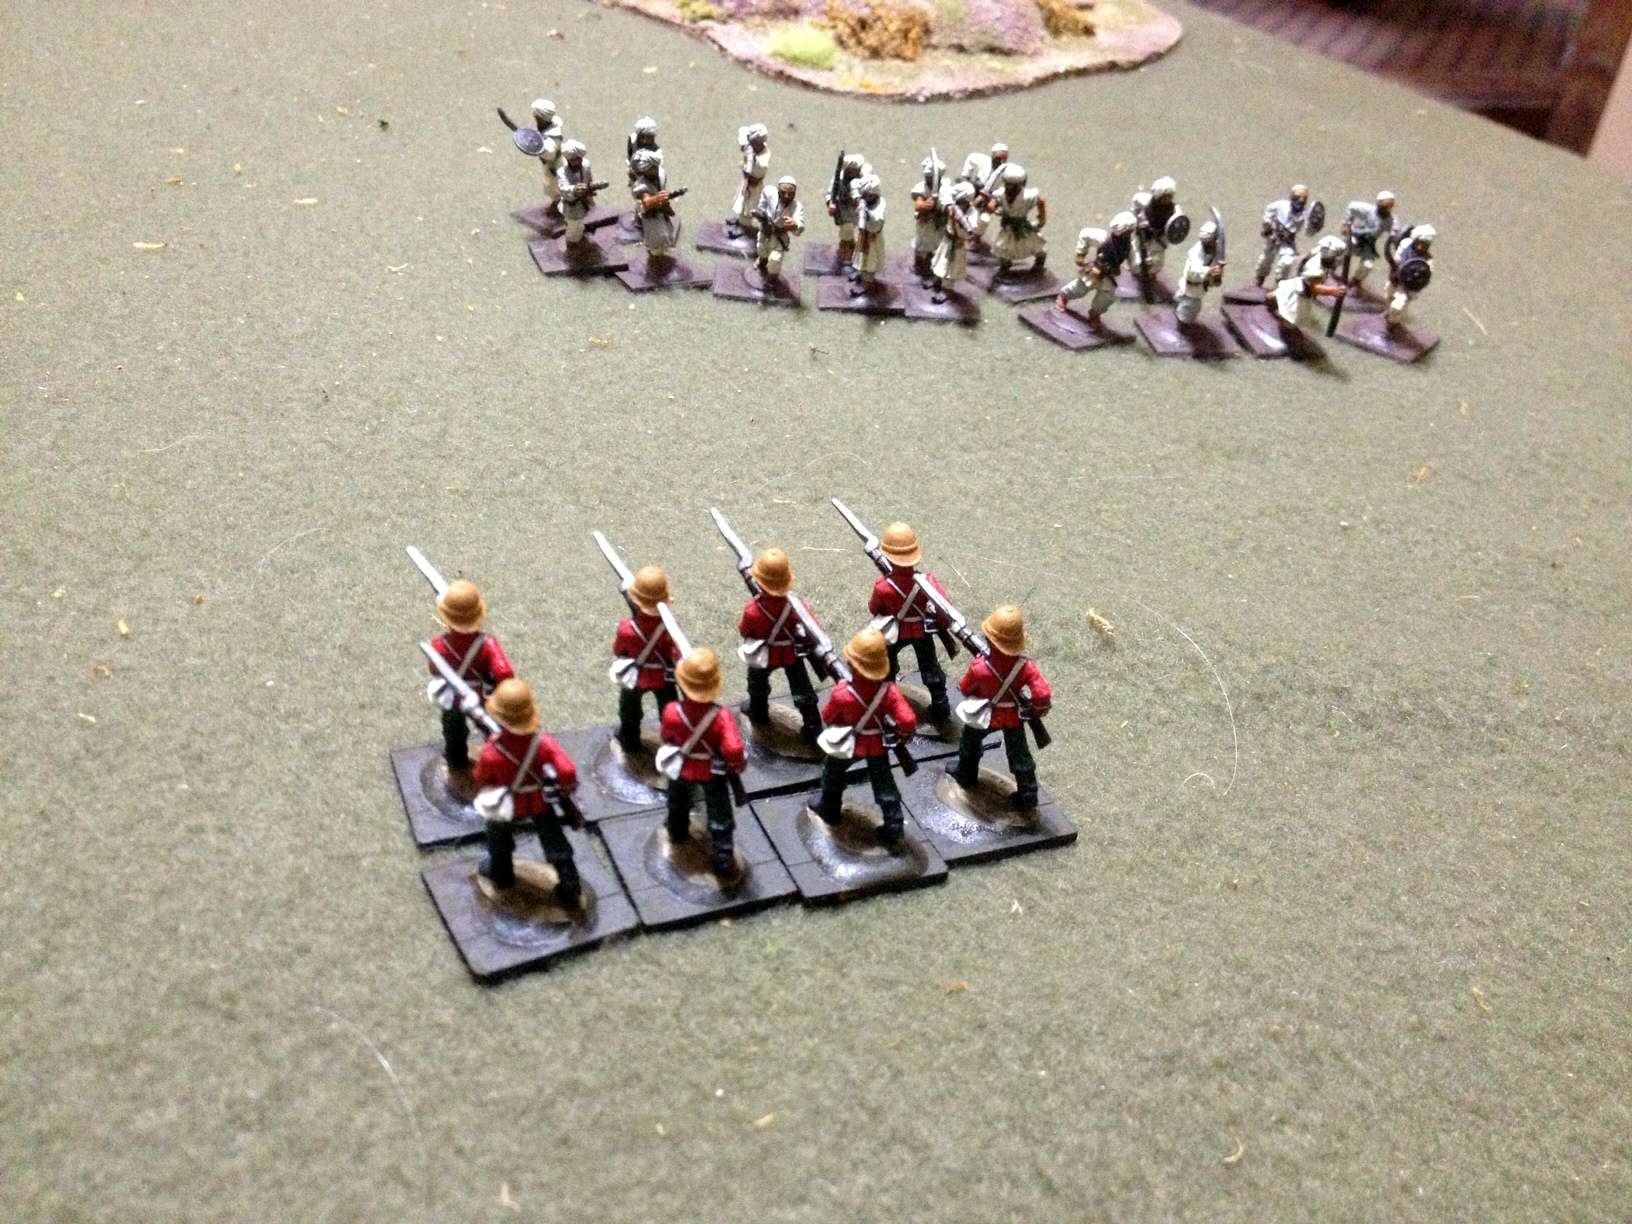
We chose forces by die roll, with the high dice getting the redcoats (me). Ryan took his colonial mob and set them up 18" in on his side of the table, a barren, featureless waste, with the objective of keeping the British column of Colonel Clive Whicker-Baskett from traversing the road to Strategibad. Ryan had two large units (20 figures each) of mutinous trained regular infantry, looking resplendent in their red fezzes, but rated as Militia/Levy, shown top left. In front of them was a troop of a dozen irregular cavalry with hand weapons, a large mob of some 28 irregular infantry with hand weapons, and on the bottom right a dangerous mob of 24 irregular infantry with jezail type firearms. All the irregular troops were rated as impetuous. It looked like getting through that lot would be impossible. The more pressing task for the British looked like fighting for their lives.

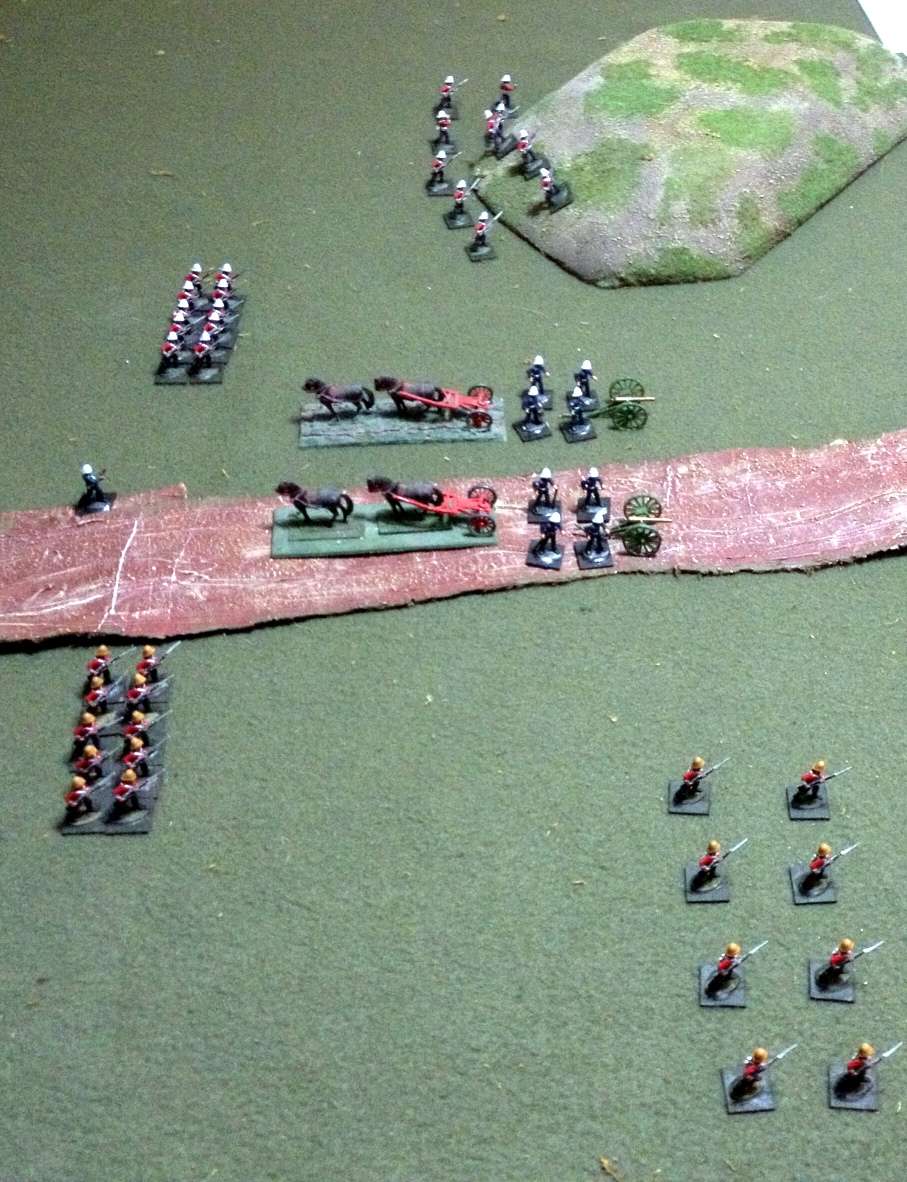
The British force was much smaller. I had forty figures of infantry, which I divided into four units of ten, two on my left and two on my right, with two guns in the middle. We rated the infantry as regular veterans, giving them the ability to skirmish, and rated the guns as horse artillery.

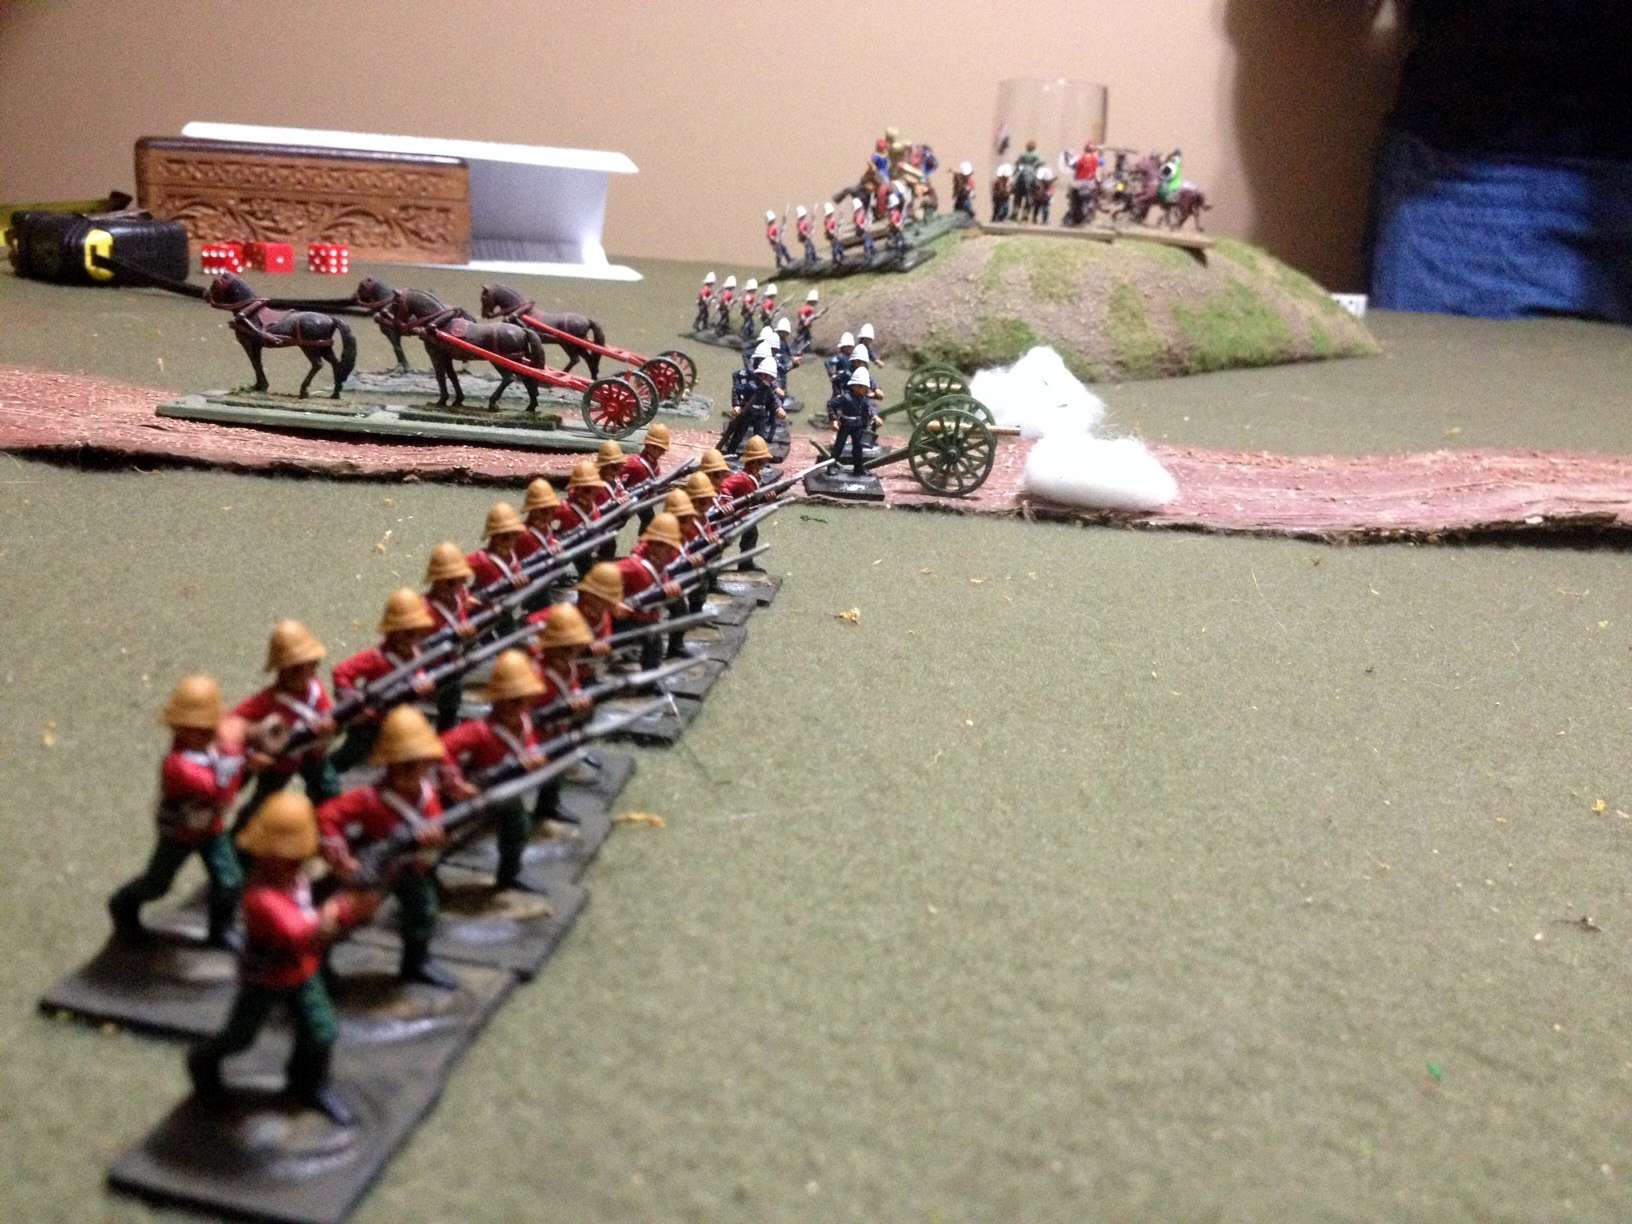
First turn to the British. I roll for orders and get to move four units, so I elect to move my two guns forward ten inches and unlimber. On the bottom right, I send a company of the Black Watch forward in skirmish. On the top left, I send a company of the Lancashires forward in skirmish, hoping to grab that nice steep hill that guards my left flank.

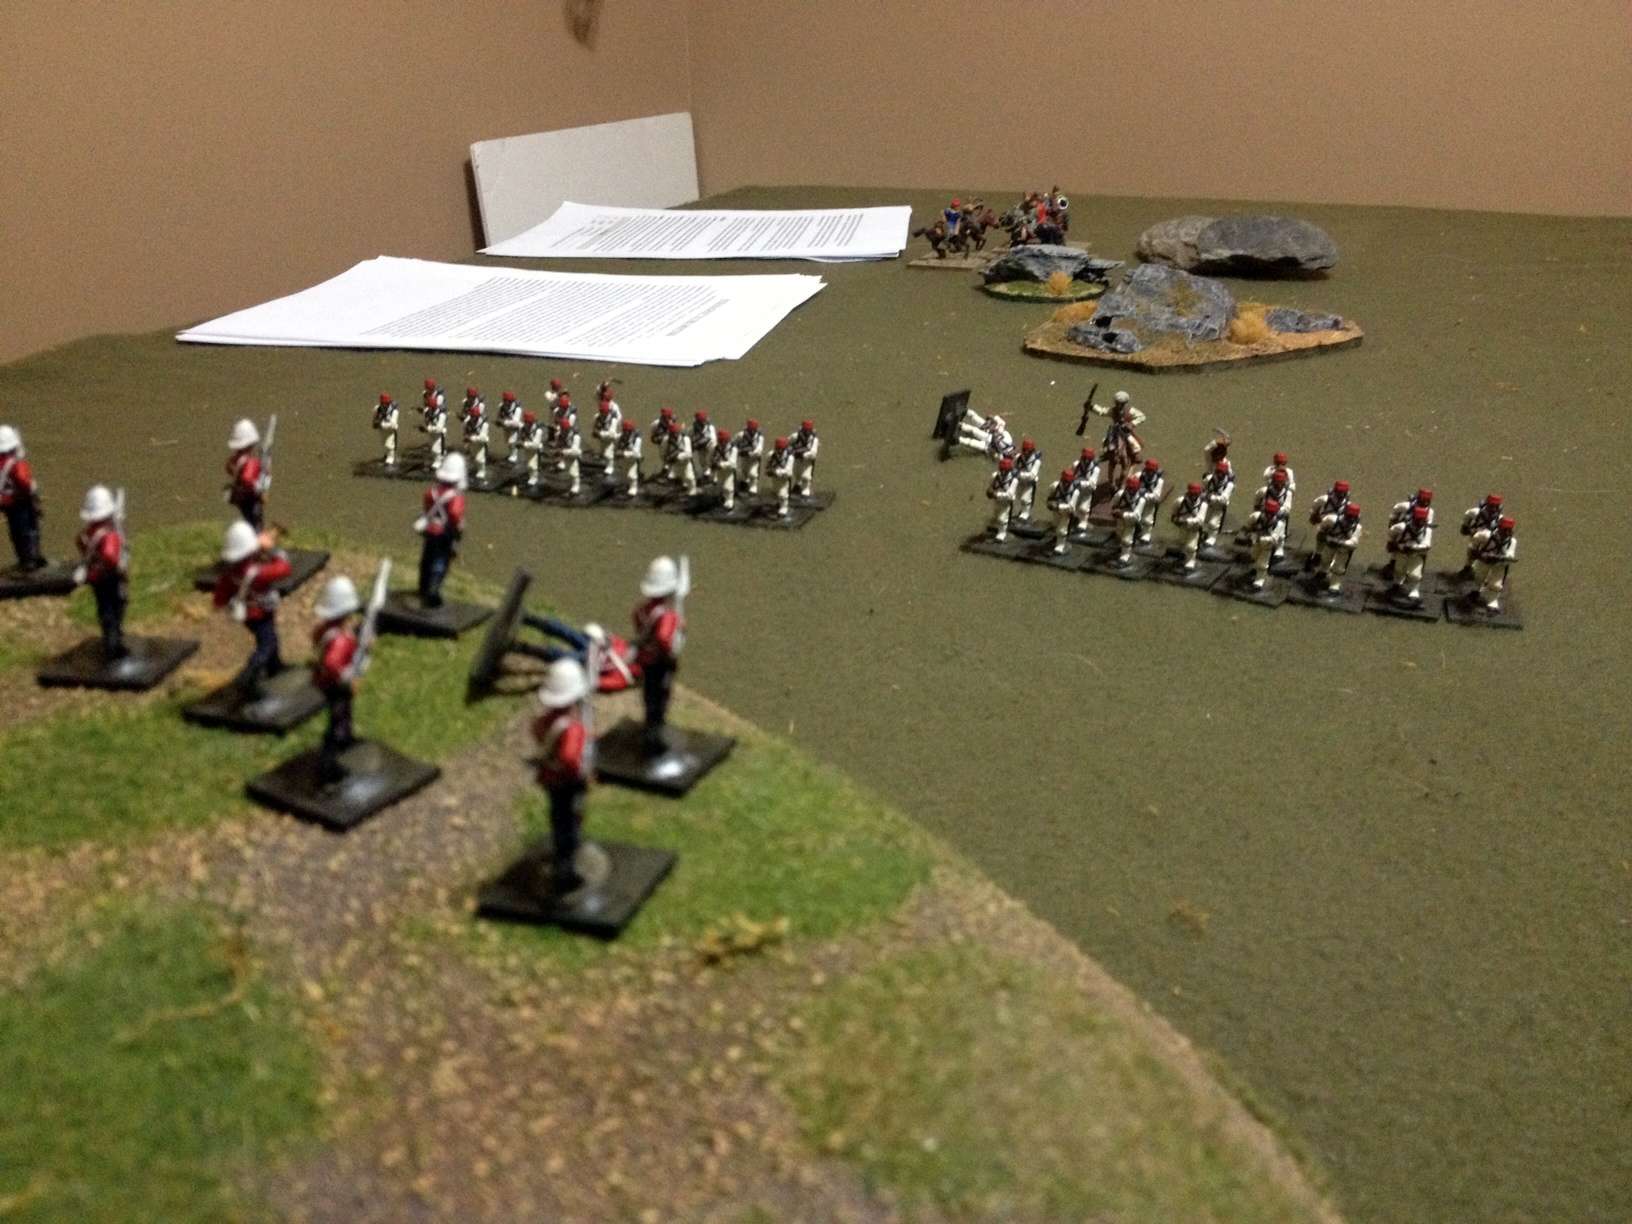
Ryan unleashes his mobs of infantry. The figures in white are part of a whack of colonial figures are I think RAFM or Ral Partha, as are all of the British. The shirtless chaps on the top left, well, I have no idea who made them. Sing out if you know more than I do. Had them for ever, bought them painted in a job lot for my 28mm Ottomoan army, known to my wargaming group at the time as "The Turkish Love Slaves". Go figure.

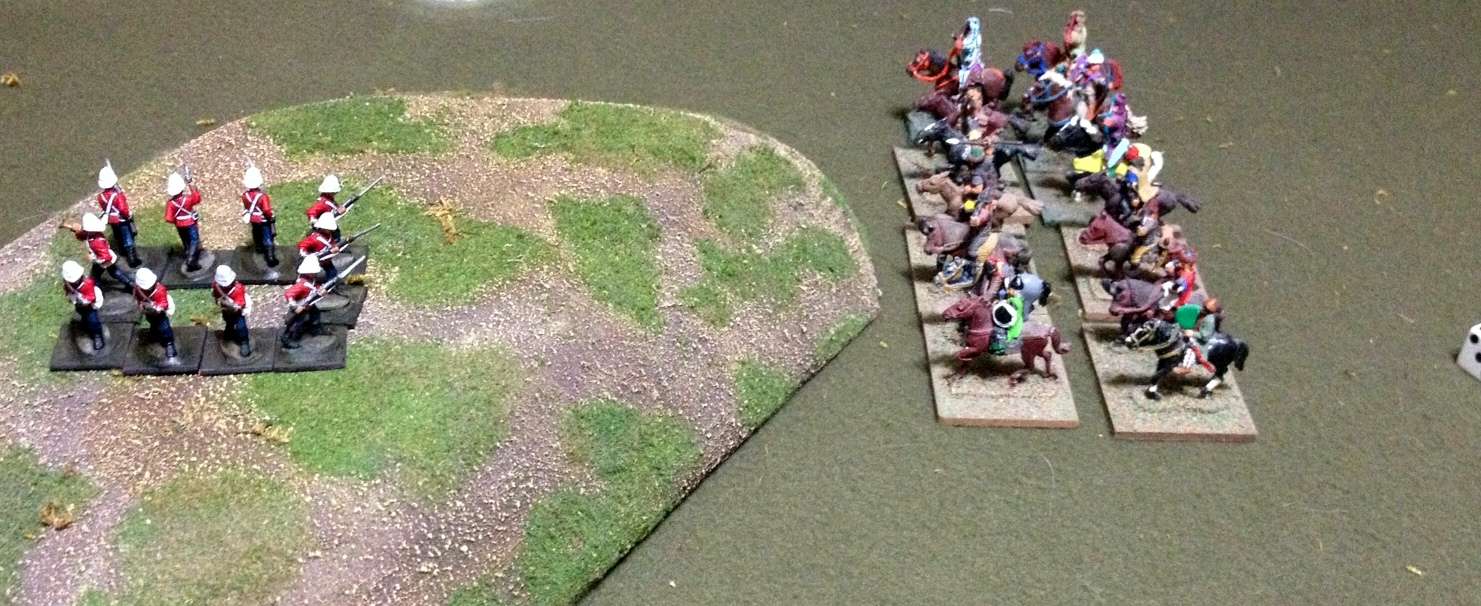
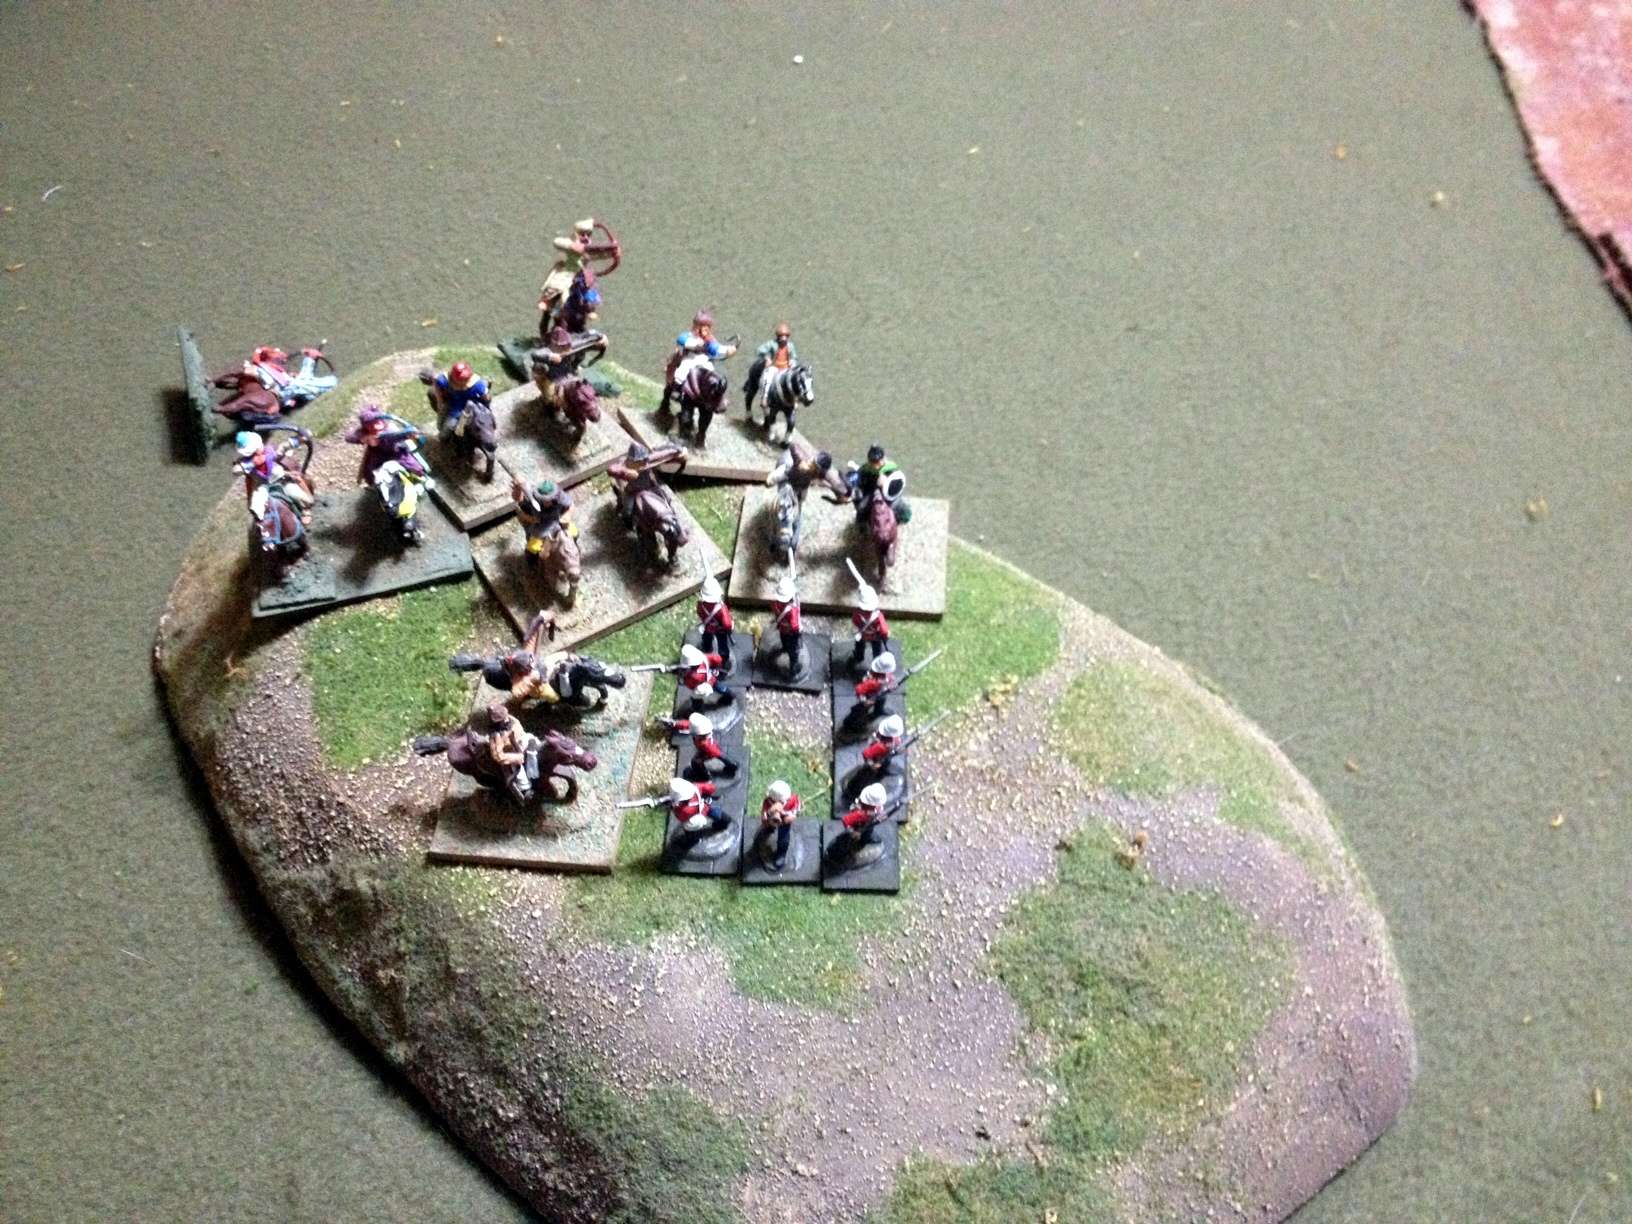
Ryan sends his cavalry forward, hoping to grab the hill. I have a grand total of one order to respond before they get there, so I send the Lancs forward to grab the hill and form square. I bite my nails hoping that they will hold.

Lancs musketry drops a rider on the way in. In melee the cavalry are penalized by charging uphill and fighting infantry in square, so they need a 6 on a d6 to cause a casualty, whereas the infantry need a 4-6 per d6, so the Brits have the advantage in a melee that would last for several turns. . One thing that wasn't clear to us was whether the infantry could shoot in the action phase before the melee phase. We gave the infantry the benefit of the doubt, which helped them whittle down the cavalry to the break point in a few turns.

While the fight on the hill rages, the British artillery bombards the love slaves (I can't resist calling them that) on their way in, while the forward company of the Black Watch engages the native riflemen on the hill, drawing first blood.

"Steady, lads!". The Black Watch skirmishers fall back and reform on their sister company, ready for the coming storm. As mentioned before, the British figures are RAFM (Ral Partha?). I got them all in a trade. Their owner wanted the Sharpe and Sgt. Harper figures that I got when I bought the Sharpe Practice rules from Too Fat Lardies when they were released. He was willing to offer a hundred well painted colonial figures in return, including the two guns. Who was I to refuse? I think I got the better of the deal.

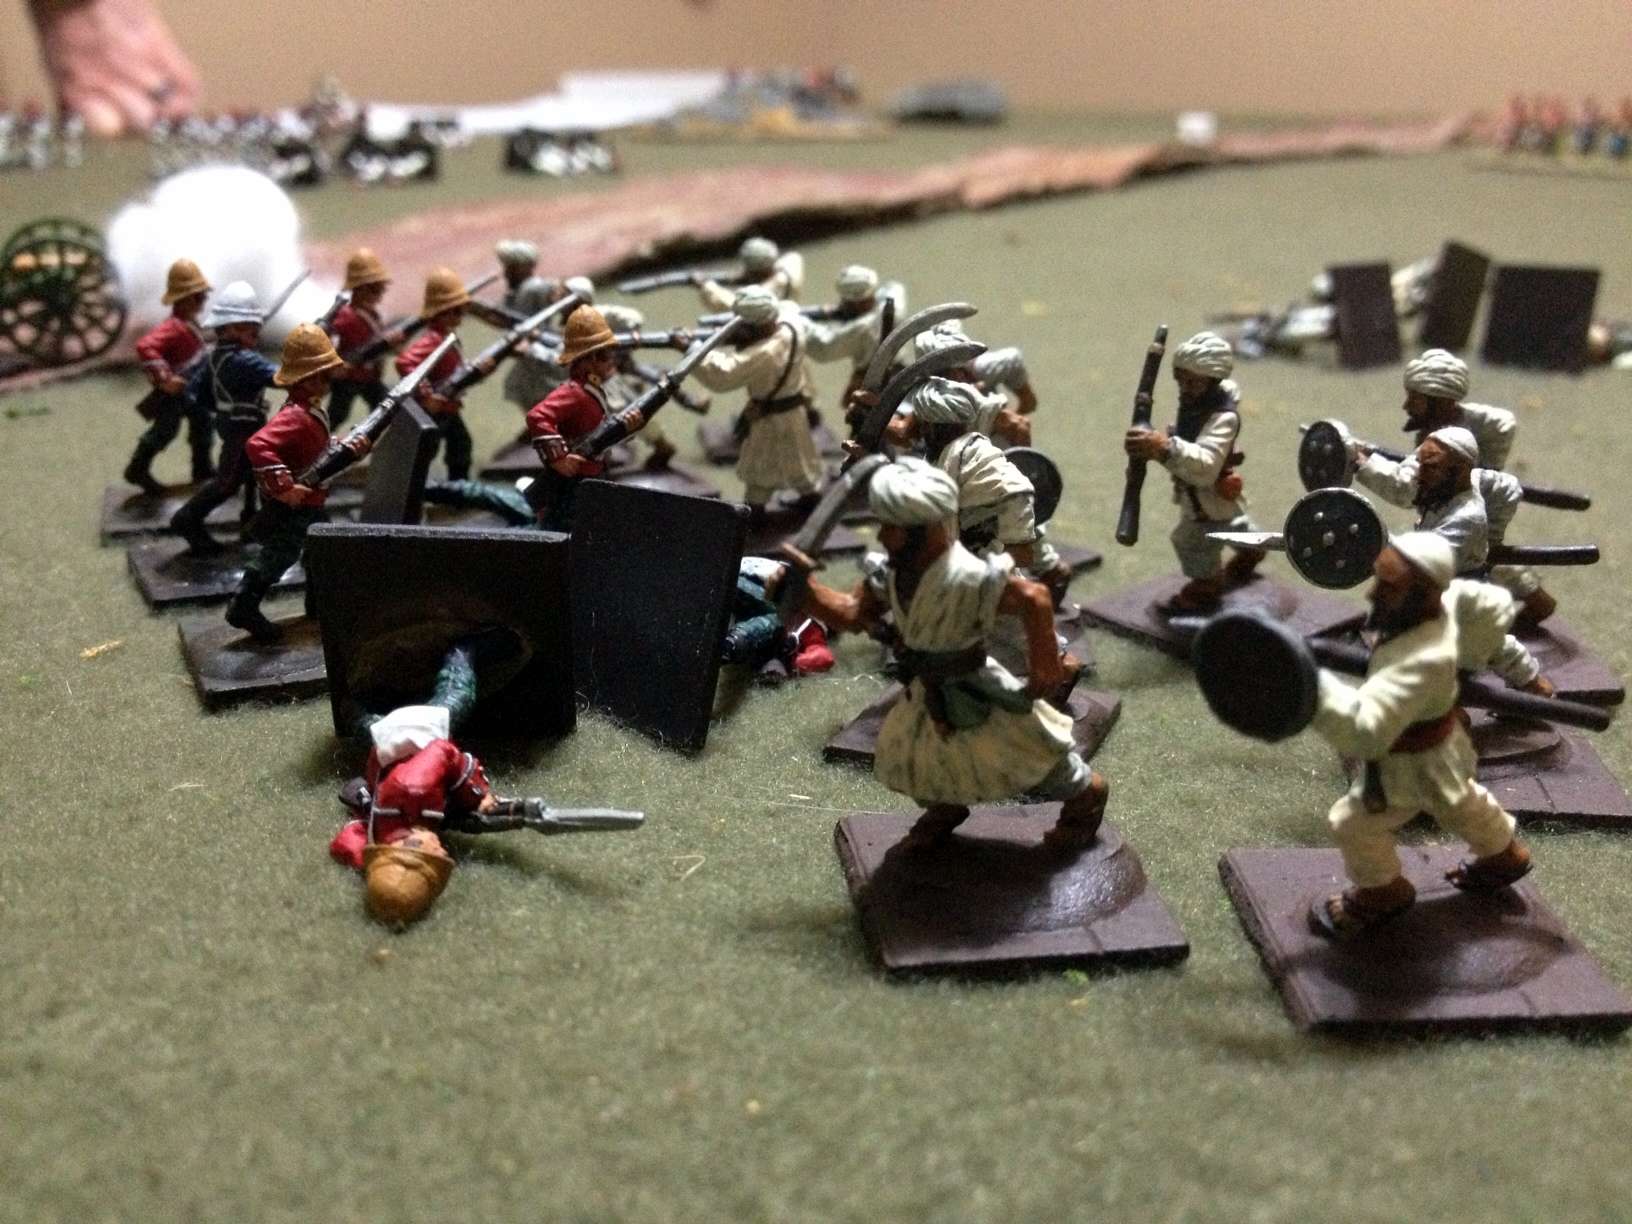
The tragic scene a moment later. The Black Watch elect to stand and shoot as the love slaves charge home, and in the melee that follows drive them below their 50% break point and drive them off, but at a terrible cost. The right hand company of the Higlanders is reduced to 40% and routs, while the left hand company is down to 60%. The British right wing is now looking rather shaky, and there is still another mob threatening the right.

On the left the Lancs, having seen off the cavalry, whose remnants can be seen skulking in the rear, now resume skirmish order and shoot at the enemy regulars as they move forward. At this point Ryan had a miserable streak of luck, rolling a series of 1s and 2s for his orders, and thus a very piecemeal and halting attack, which saved me from being swamped.

A nice feature of MacDuff is the rally rule, which allows you to try and recover casualty figures, though with the risk that the unit might not rally, but panic and fragment further. In this case Col. Whicker-Baskett was fortunate, returning one company of the Highlanders from 6 to 8 figures, as they get ready to stand against the oncoming mob.

Col. Whicker-Baskett just has time to attach himself to his rallied and remnant Highlanders before the mob is on them, determined to do or die with his men.

Sadly all the remaining Highlanders are killed in the melee, along with several of the mob. The Colonel is captured and led off into captivity. The game is lost!

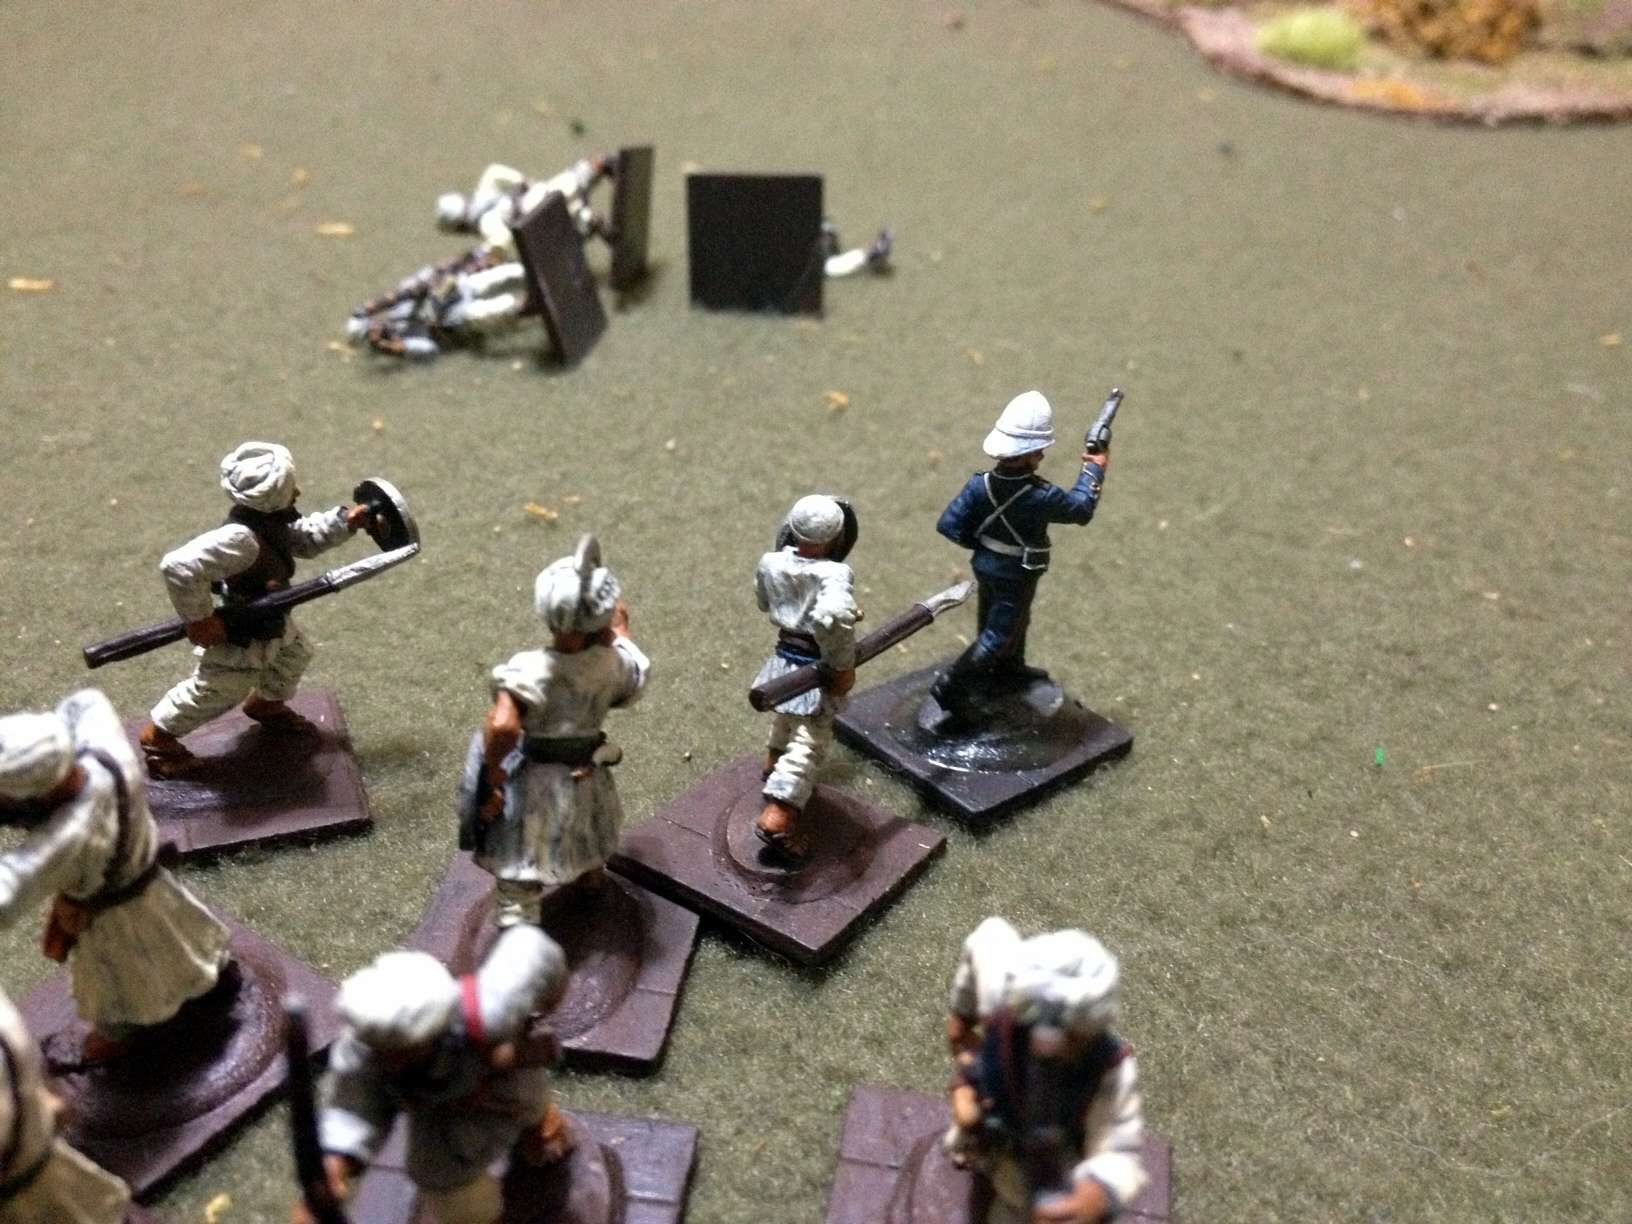
But wait, what's this? Ryan counts his casualties and discovers that in dying in place, the Black Watch dropped the mob below their 50% break point. We decide that the mob routs and runs away, leaving Col. Whicker-Baskett standing, his smoking Webley revolver in hand. The man's a bally hero!

Ryan watches as the fight against the Highlanders unfolds, while his infantry plods forward, taking a heavy pounding from the Lancs and from the British artillery. The next turn will be decisive.

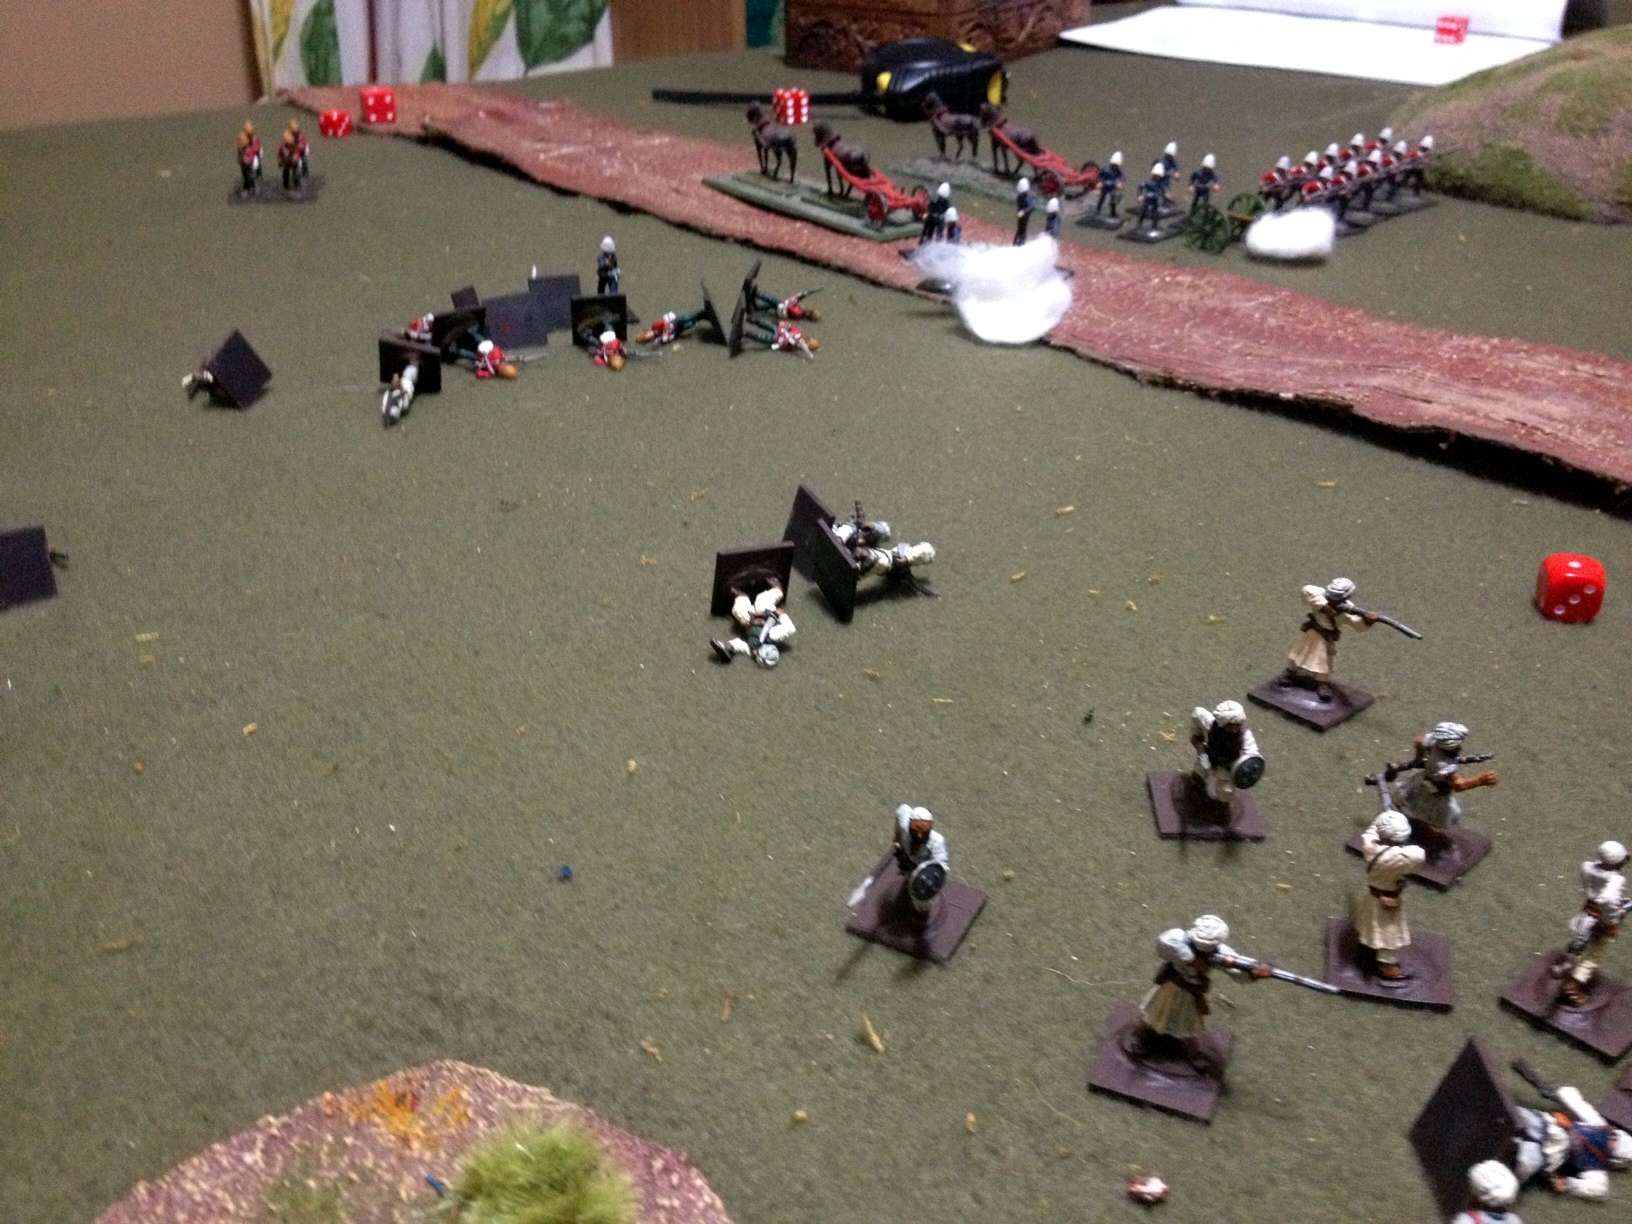
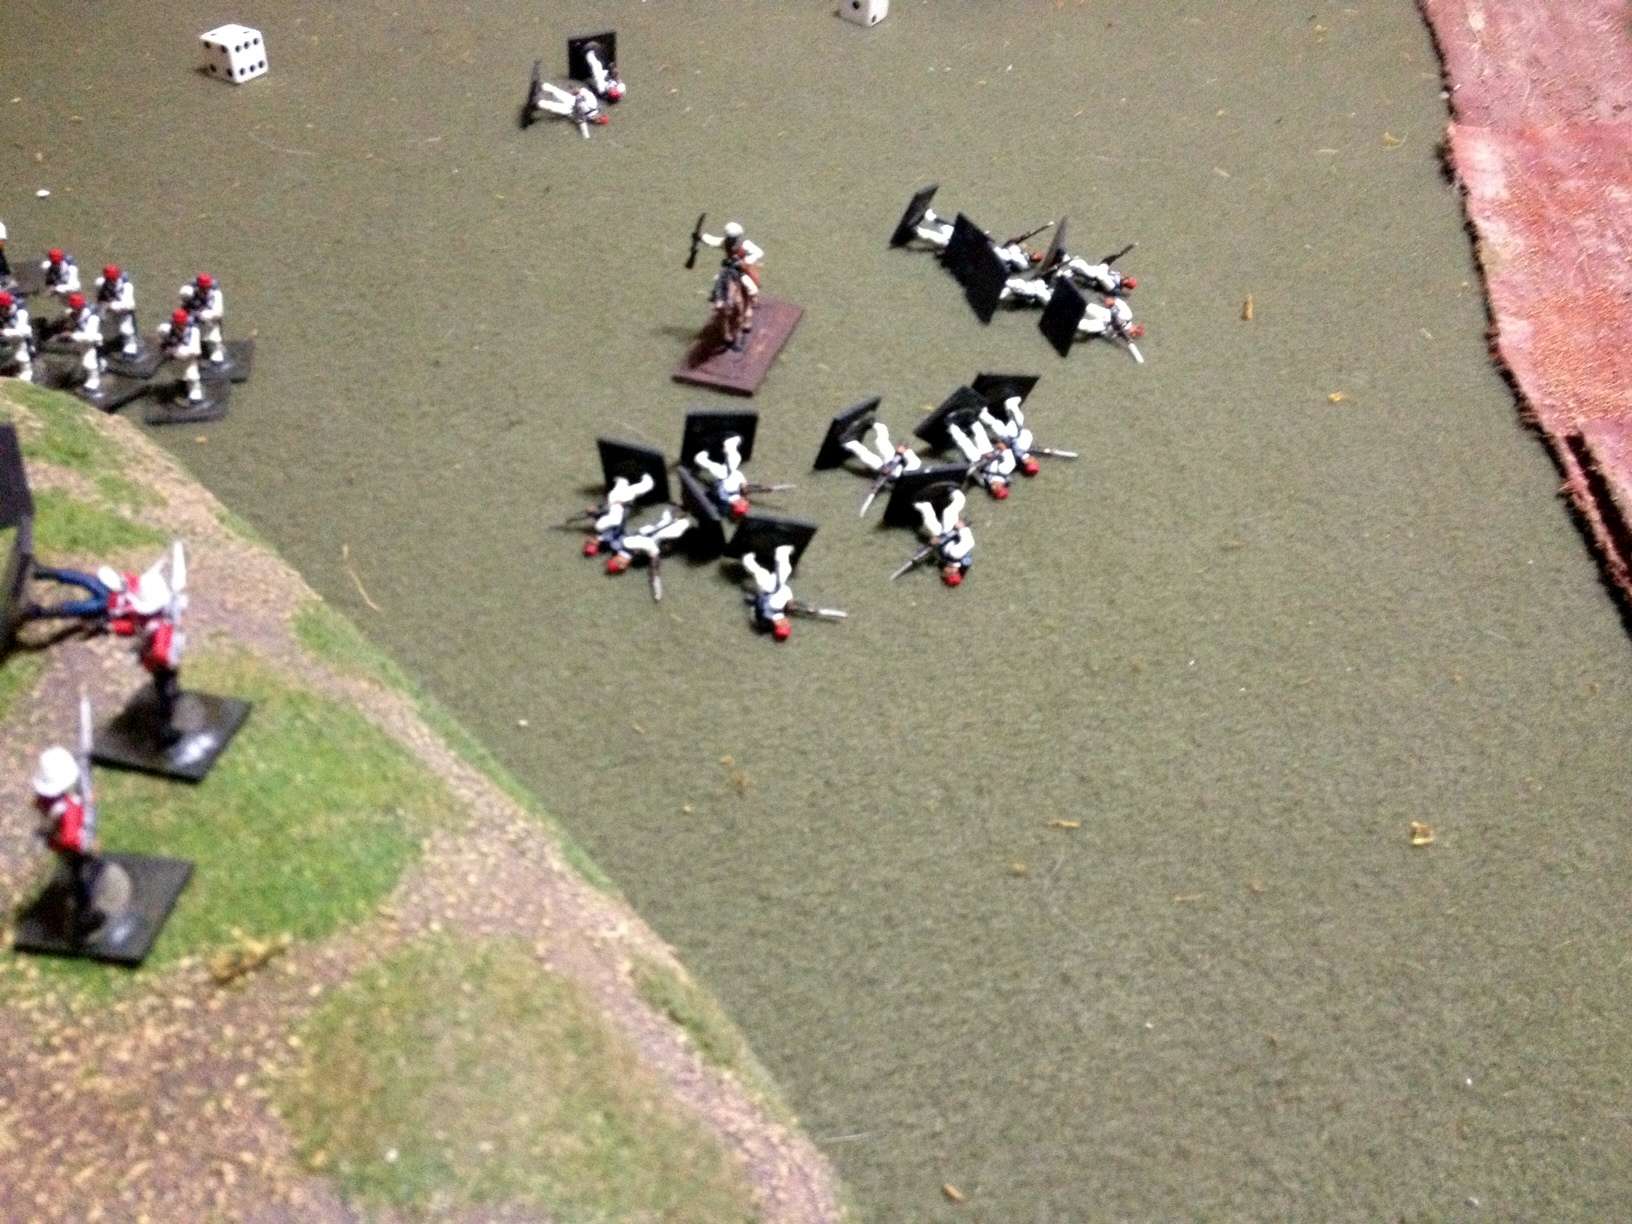
Ryan's infantry trudge forward, but the rserve company of the Lancs, my last untouched unit, steps forward and unleashes a volley, devastating the one unit. The survivors melt away, and that breaks the moral of Ryan's army. We call it a night.

Two good things happened tonight. We had a terrific game, thanks to a rules set that Ross has generously provided to the gaming community. MacDuff was quite friendly and easy to play, with only a few questions that I need to put to Ross offline, probably because I didn't read the rules carefully enough. Thanks for these great rules, Ross, they were great fun. The other good thing was that I got a chance to have a great game with Ryan, and to use a whole mess of figures for the first time. Hopefully they will be used again soon. I have plans for another outing with MacDuff soon. They are billed as being 19th century rules, but I have a feeling that they will work for my 18th century Russians and Turkish armies, which is basically a colonial wars matchup only with tricornes instead of pith helmets. Thanks for reading, and may God prosper yoour brushes and dice rolls.

Blog Archive

Followers