Showing posts with label Neil Thomas. Show all posts

Monday, January 30, 2017

Slaughter By The Water: Dragon Rampant Meets One Hour Wargames

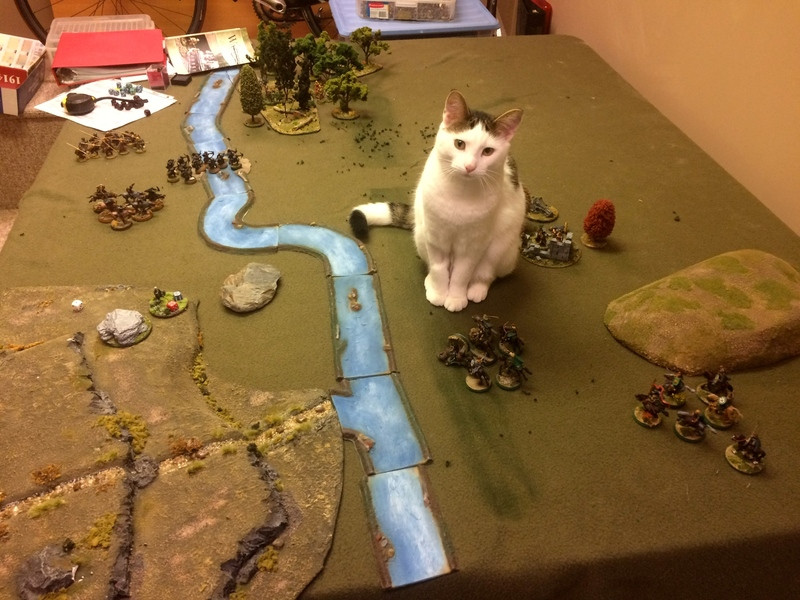
Here’s a quiet afternoon to report on a solitaire game I played recently, using Dragon Rampant rules but with a scenario from Neil Thomas’ One Hour Wargames.   I chose Scenario 5: Bridgehead, in which Blue is trying to cross the river below from left to right, while the Red army has units arriving from several sides of the table to the right of the river to try and throw Blue back.  Victory is achieved by there being no enemy units on the north bank of the river, within 12” of the bridge”.  North is the right hand side of the river in the picture below.

One of the interesting challenges in mating DR with 1HW is that the DR rules end a player’s turn when an activation is failed.  With the strictly limited # of turns in a 1HW scenario, I was curious to see whether it was feasible to play DR using a turn limit.

Using 30 points per force, vice NT’s six units per side, I came up with the following.

Blue: 

1 unit of 12 SP Bellicose Foot barbarians, 1 Unit of 6 SP Scouts, 1 unit of 12 Orc SP Light Missile Troops, 1 unit of 12 SP Orc Heavy Infantry, 1 unit of 6  SP Orc Heavy Riders, 1 Orc Shaman (lesser wizard treated as a unit of Light Infantry), and 1 unit of 6 SP Heavy Infantry including General.

Red:

1 Unit of 6 SP Elite Riders, 1 Unit of 6 SP Elite Riders with Bows, 1 Unit of 12 SP Heavy Foot, 1 Unit of 12 SP Light Missiles, 2 Units of 6SP Scouts with Sharpshooter upgrade.

The downside to Red’s force selection is that almost half of the points are tied up in the two units of Elite Riders, giving it a smaller force than Blue has. Also, with elite riders activating on a 7+ to move, this tendency to immobility may hinder Red given the limited time (15 turns) to react to Blue’s incursion.  

Blue can put one unit on the far side of the ford at the start of the game.  I opt for the Scouts.  On turn 1, Red, moving second, can bring on two units in one of three randomized locations.  The two units of Riders make their activations and are randomly placed bottom right of the river in the picture below.
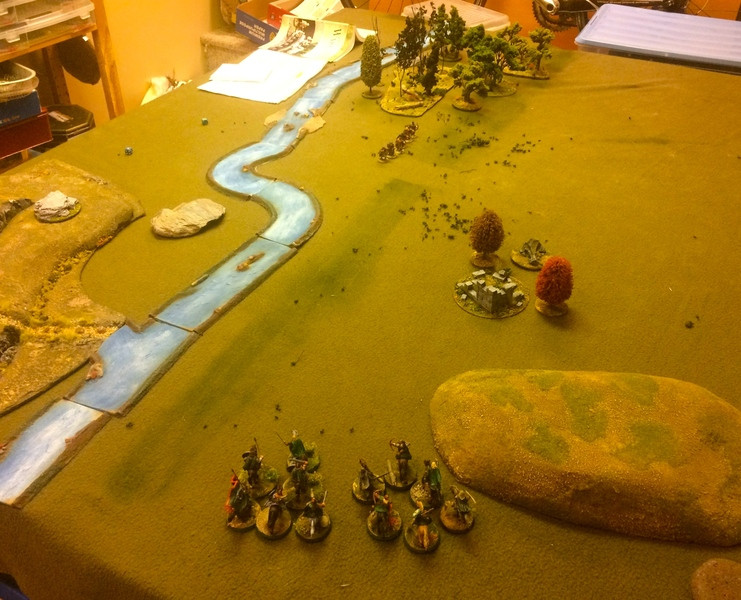
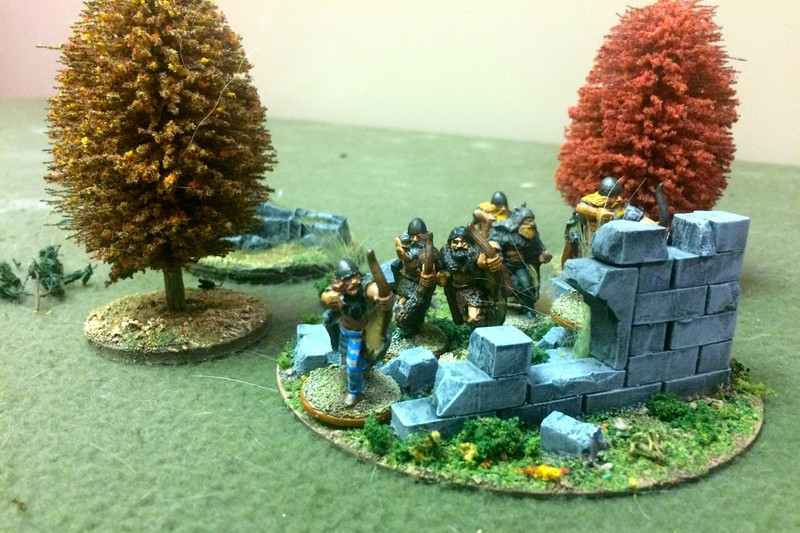
The Bliue scouts have a good run and make it to the ruins.   The cover, plus the Scouts bonus of Hard Target vs missile fire, takes their Armour Class from 1 to 3, giving them lots of protection while they try to harass the Red cavalry.  Yes, those are my recently painted Vendel hlllmen, while the ruins were scratch built by my friend James.
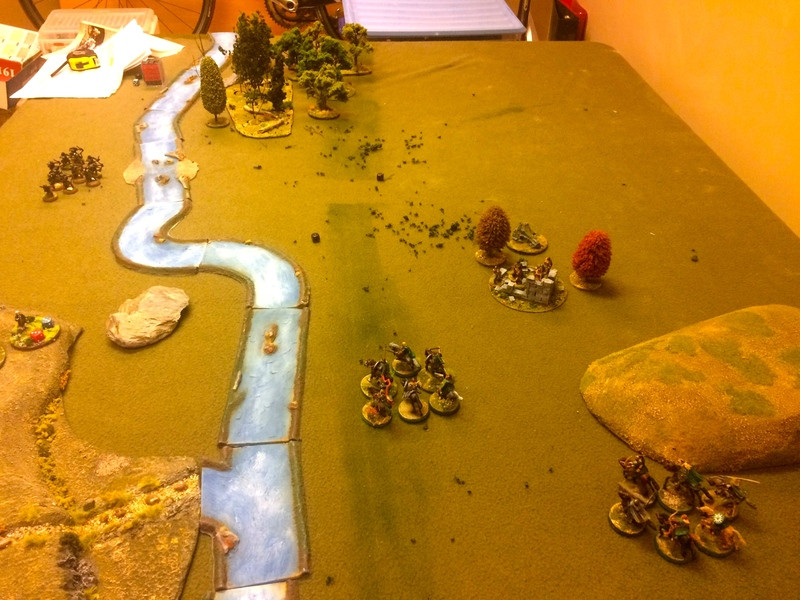
Turn 3.  The Red Elite Riders are stuck where they started, but the Red Elite Riders with Bows are moving forward.  Blue makes an activation roll and brings on the Light Archers, moving them towards the ford.
Red’s scouts come on and they use their Ranger ability to flit through the woods, hoping to bring the ford under fire before Blue can start crossing.
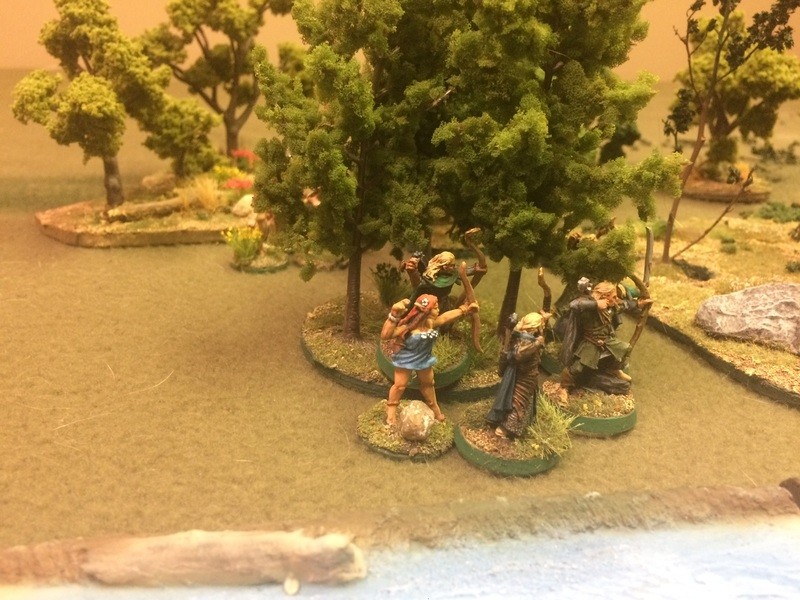
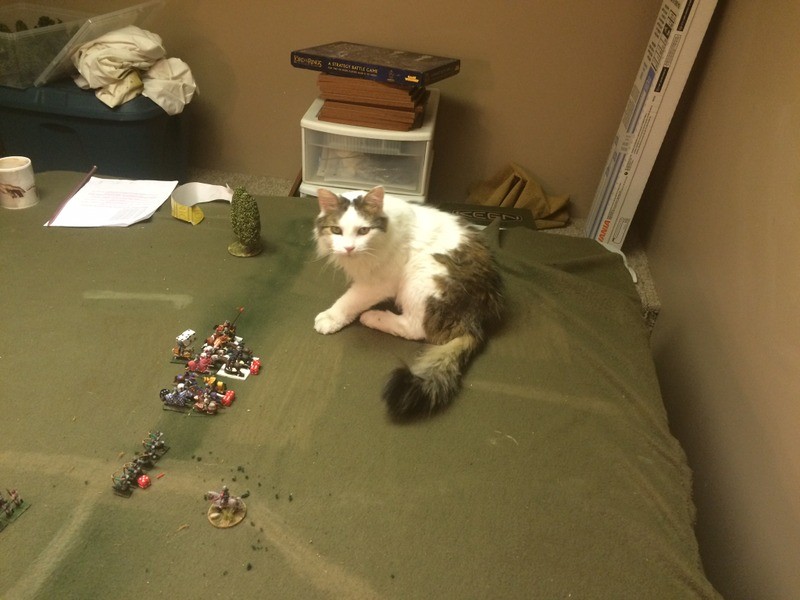
Topper, Lesser Catbeast of Mordor, makes an appearance.   He looks a little sceptical about the Red plan, but like a good Observer/Controller, he is saving his comments for the AAR.
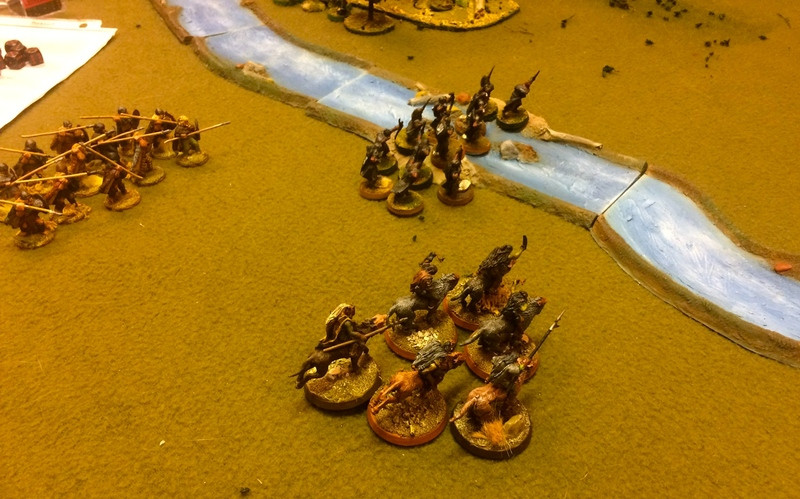
Meanwhile, the Blue archers are crossing the ford, while the Heavy Riders and Bellicose foot are coming on behind them.
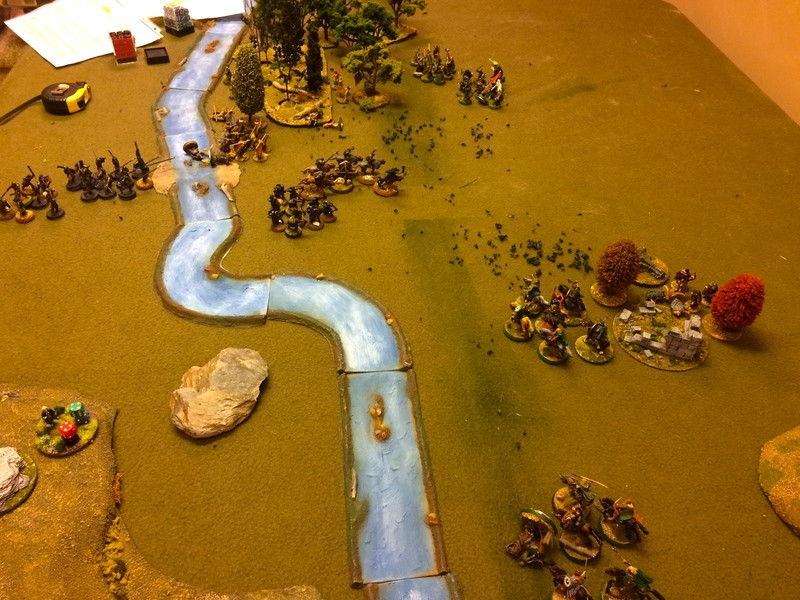
By Turn 8, Blue has had good activation rolls and has four units on the North side of the river.   The scouts in the ruins have become battered due to the fire of the Elite Horse with Bows, but they in ten have taken one figure out of both of Red’s Elite Horse units, which was a profitable exchange for blue.  Red’s Scouts in the woods have taken a toll of attackers, but haven’t stopped Blue from crossing the ford.   The Blue bellicose foot are peeling off to clear the woods, while the Blue Heavy Riders are moving to face both the Red Heavy Infantry and Missile troops.  Blue’s archers are facing off against the Red Elite Riders, which have not had much luck making their 7+ to move activation rolls.
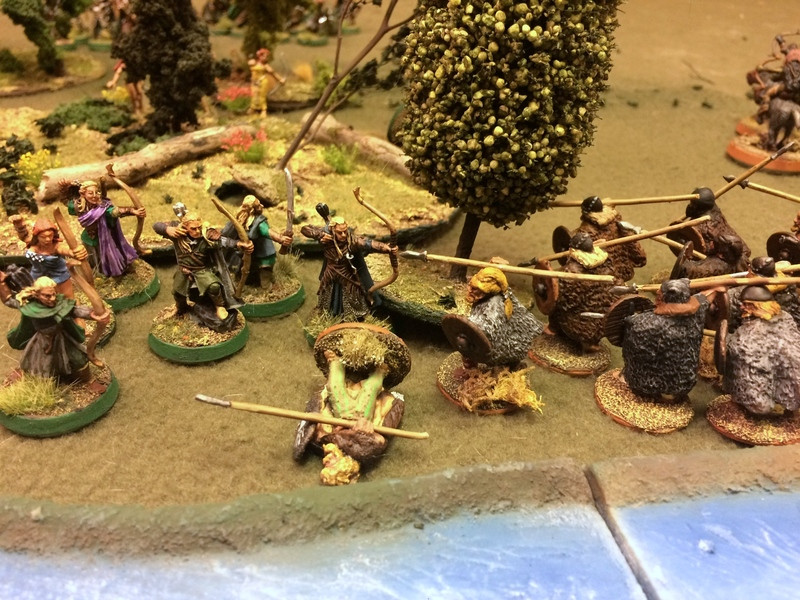
The Bliue Bellicose Foot surge into the woods.  Their Ranger ability means that they are not impeded by terrain.  The Red Scouts fluff their Skirmish roll and are butchered to a man (err, Elf) by the onrushing barbarians, who do pretty well for a newly painted unit.
By Turn 11, Red picks up the pace, its Elite Riders falling on the lightly armoured Blue archers and annihilating them.  Meanwhile, Blue’s heavy riders threw themselves on Red’s Heavy Infantry, supported by their archers.  The Blue wolf riders do some damage, but are wiped out in return.
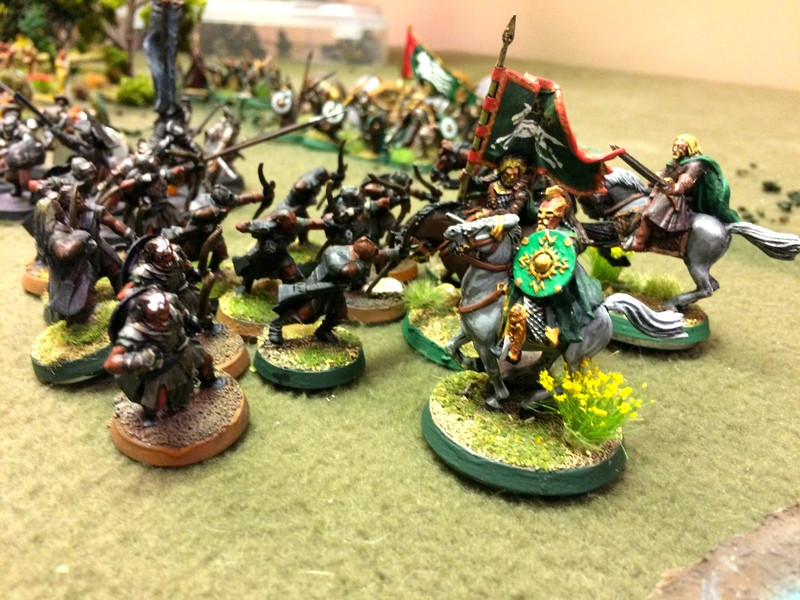
 

Turn 12, the battle for the ford is now fully joined.  For fun I decided to depart from my usual practice and leave the casualties where they fell.   I blame Ross Mac.  In the centre of the scrum north of the ford, Blue’s Heavy Infantry have formed a Wall of Spears to deter the Red cavalry, but are suffering from Red’s archers.  
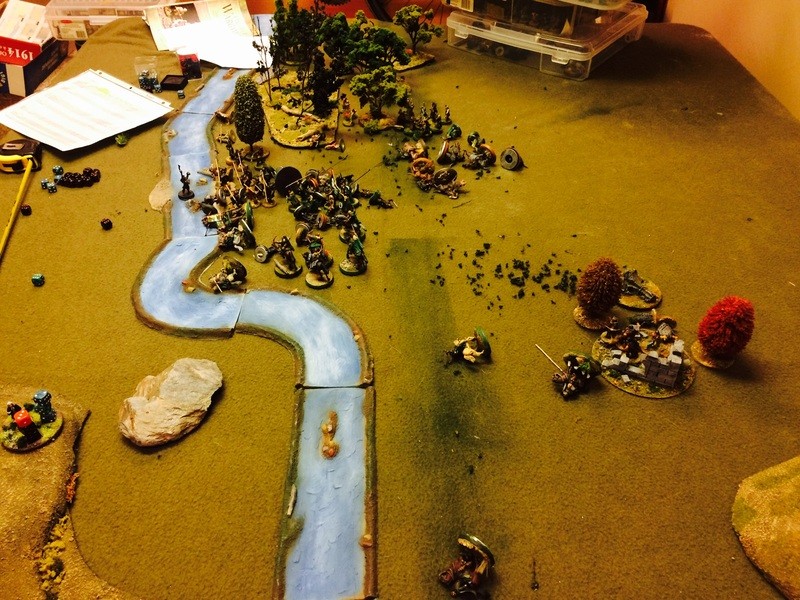
Red’s Heavy Ifantry wade into their Blue opposite numbers to try and push them back.  It’s a tough fight that bleeds both units, but Blue stands longer than expected, as the Blue Orc Shaman makes a series of successful spell rolls and “heals” the Blue heavy infantry, bringing a dead figure back to life for three turns in a row and helping them pass their morale rolls.
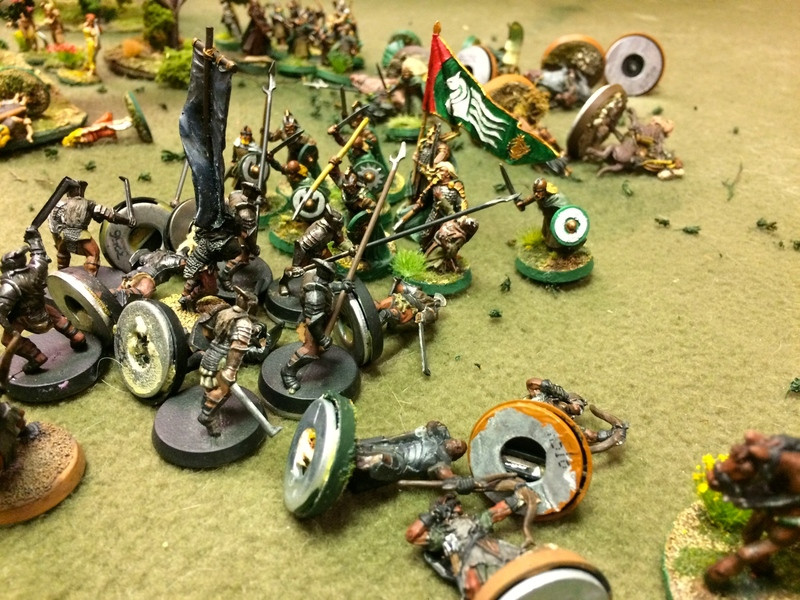
Red’s Elite Riders, 4 figures left out of six and almost at half strength, crash into Blue’s last reserves, the general and his Heavy Infantry bodyguard, whole the shaman cheers them on.
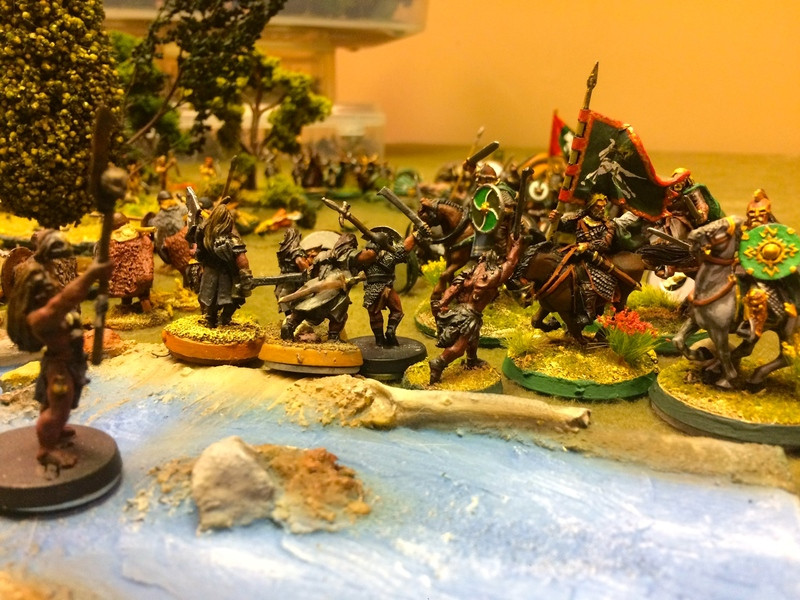
The General and his bodyguards are pushed back, but Blue throws its Bellicose shock troops into the depleted Red Riders, now at half strength, and throw them back.
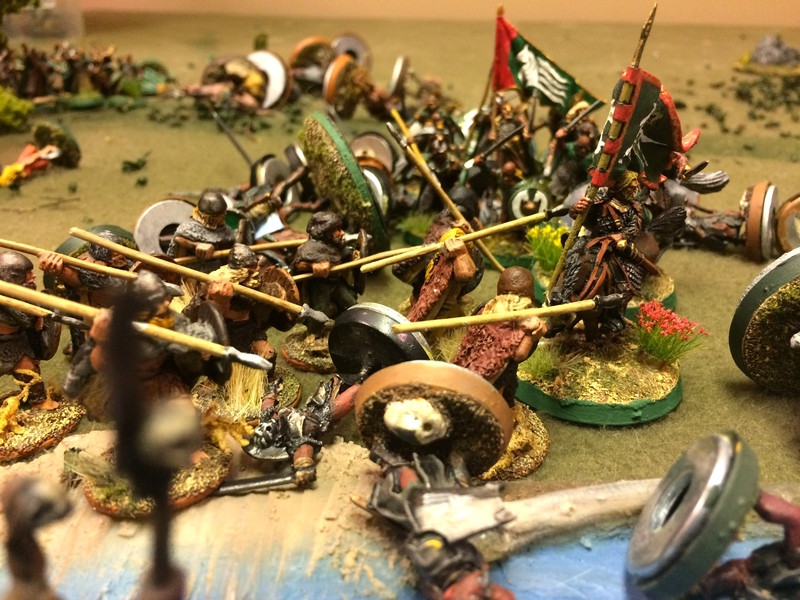
Game end at turn fifteen.  Red has a handful of infantry, its foot and horse archers, but Blue has two units still on the north side of the stream, and its Scouts still hold the ruins.  The Shaman intones a chant over the bloody field.
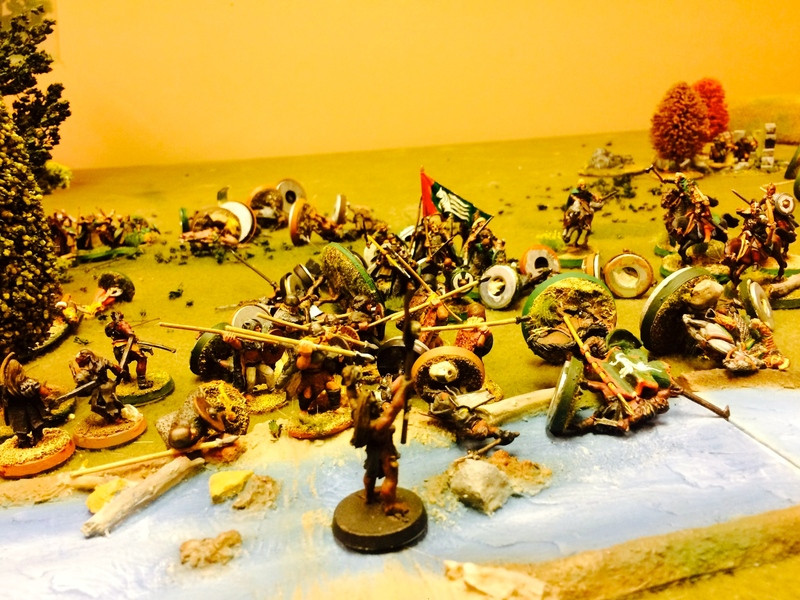
The game ended in a draw and I considered this experiment a success.   On its own, DR tends to end with one side wiped out, but imposing a strict turn limit and clear objectives on DR makes the experience a little more tense and focused.  It may seem cruel to lose a precious turn when a unit fails its roll, but it does force one to think carefully about what units one wants to try to activate first.

As I think I said above, putting so many eggs into the Elite Rider basket seems foolish in retrospect.   I don’t think I would use this troop type for an army based on expert riders, such as the Rohiirrim.  I think I would class them as Heavy Riders, with some units Light Riders with Bows upgraded as Sharpshooters.  But more on that anon.

This game was great fun to p;ay and very tense.  If you read this far, I hope you enjoyed it too.

Blessings to your die rolls,

MP+

Tuesday, September 8, 2015

Two Cheers for One Hour Wargames

I’ve had my second chance to take Neil Thomas' One Hour Wargames out for a test drive.  The executive summary of my thoughts as processed through my many biases:  great scenarios, but only ok games.   

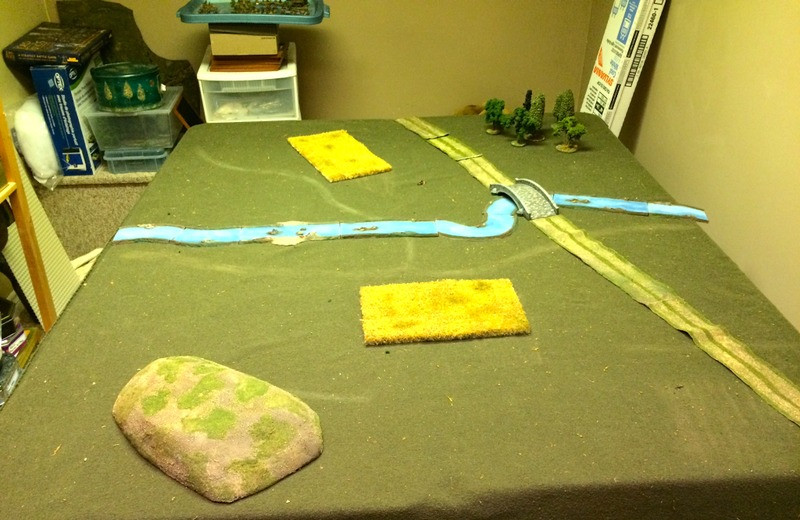
I tried an early scenario (#4, I think) where both Red and Blue start off the board, with a river in the middle.  Red and Blue both get six units, determined randomly.  The objective at the end of fifteen turns is for one side to control both the bridge and the ford.  Here’s my appropriately simple table.   Besides the river with the two crossing points, the only terrain items Neil calls for are a hill SW and a forest NE.  I added some fields because the poor old table looked so naked.

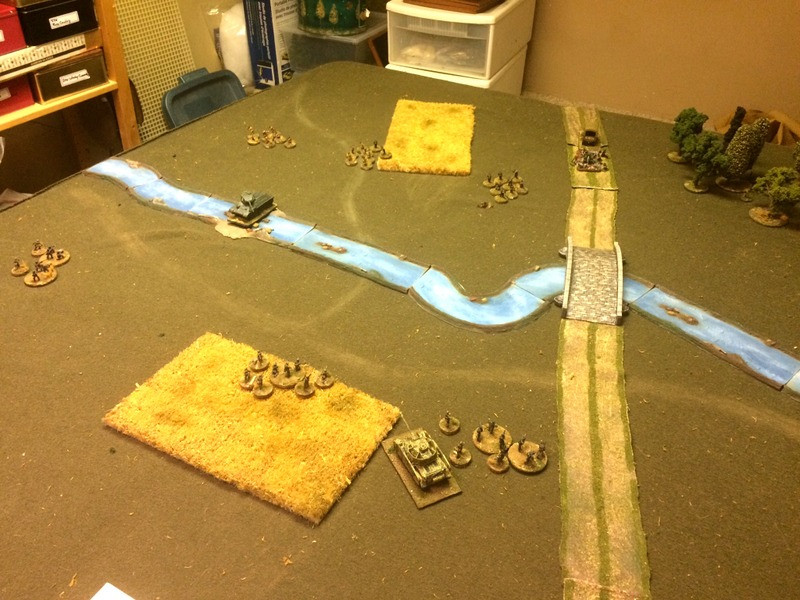
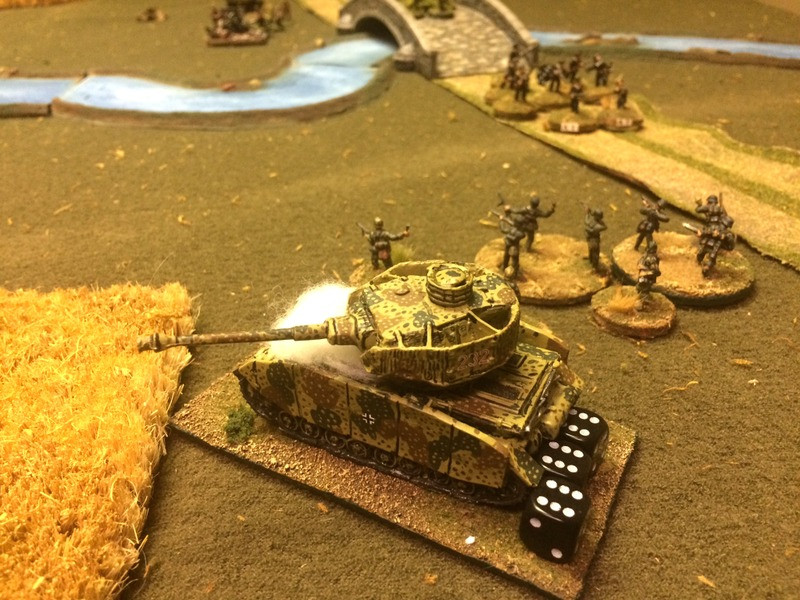
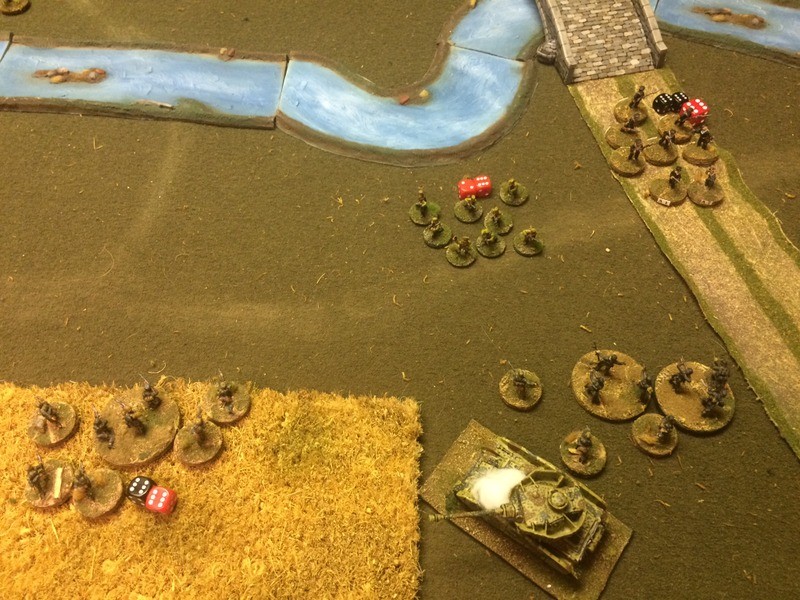
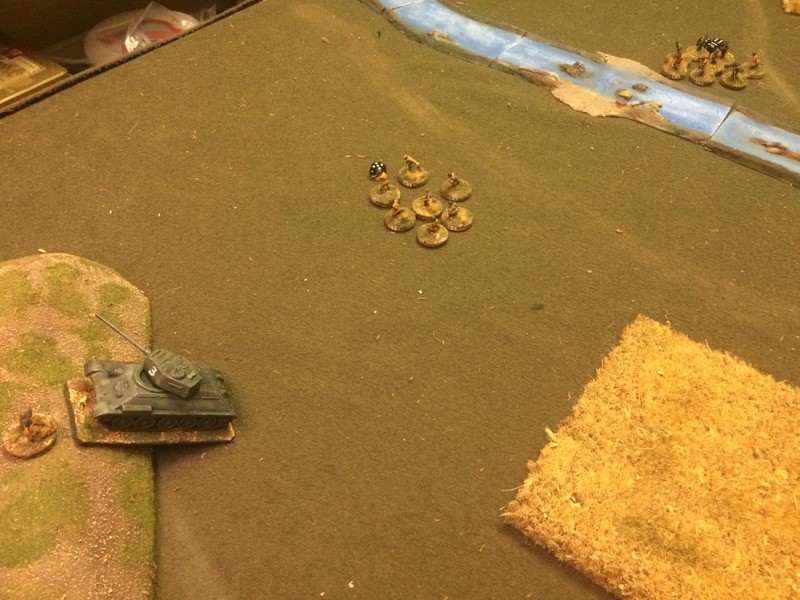
For this battle I decided that my 20mm WW2 kit would make a nice change from the medieval battle I tried last time with OHW.  Red (of course) are the Soviets.  For them I rolled 1 tank 1 AT gun, and four infantry.   Blue (German) get 1 tank, 1 mortary,  and four infantry.   Because I was using a bigger table than the 3’ by 3’ that OHW calls for, I doubled the movement and range distances.    Here the Russian tank has reached the ford, while the AT gun approaches the bridge.   Three Russian infantry groups in the open, and one in the woods top right.  Germans brace to meet them.

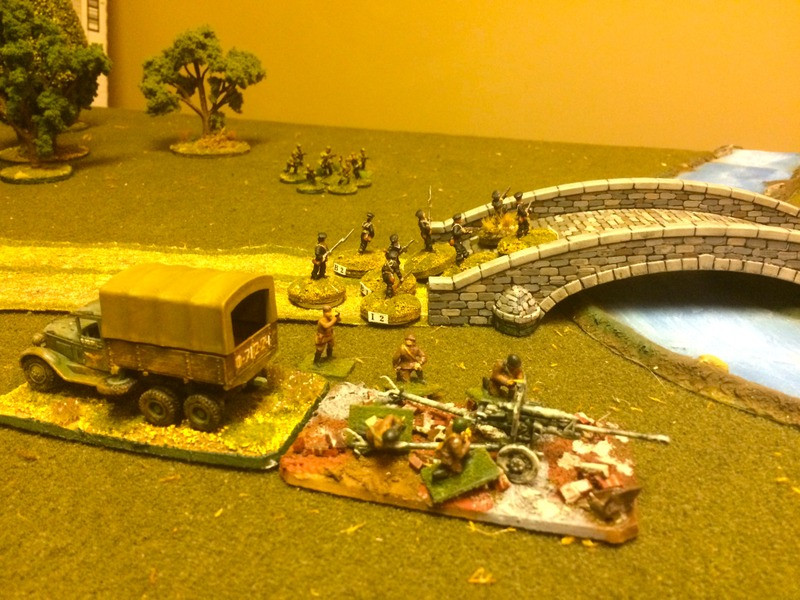
Russian AT gun moves up to the stream, while infantry rush across the bridge.   Notice my brave Naval Infantry leading the way.  That gun looks suspiciously like it belongs in the Fall of Berlin, not out by this lovely stream.

Russians taking fire.  15 hits on a unit eliminates it.  Combat in OHW is brutally simple.  Each shooting unit rolls a dice and adds or subtracts modifiers, thus generating the number of hits.  For example, infantry vs tank roll 1d6 -2.  Tank vs tank roll 1d6 +2.  The Soviet infantry are also getting hammered by the German mortars, 1d6+2 vs infantry, while the T34 is getting roughed up by the PZIV and the supporting infantry.

But the Jerry tank is KOed by the T34 and AT gun, while Soviets rush over the bridge.  That tank, by the way, is a Britannia resin model I splashed out on a few years back, and very nice it is.

Casualties mount as the infantry duke it out.   The naval infantry did their job as bullet magnets and allowed the supporting squad to cross the stream.

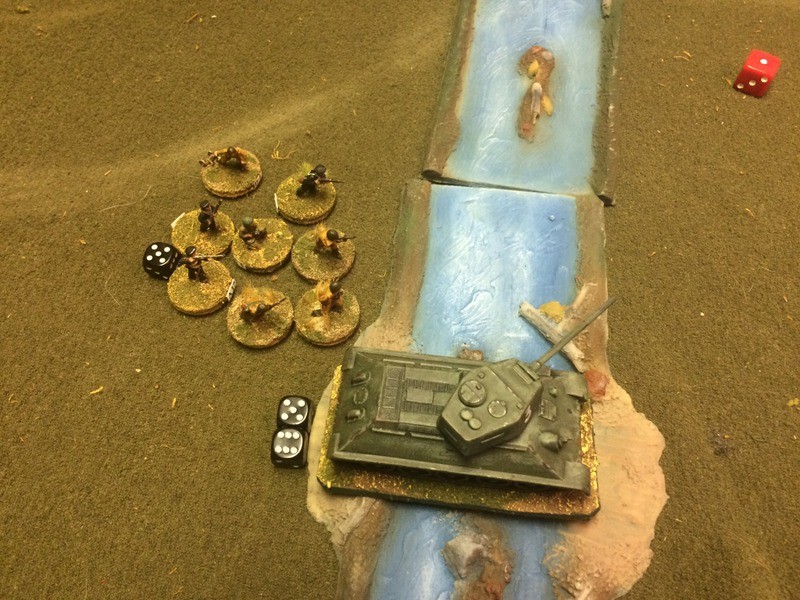
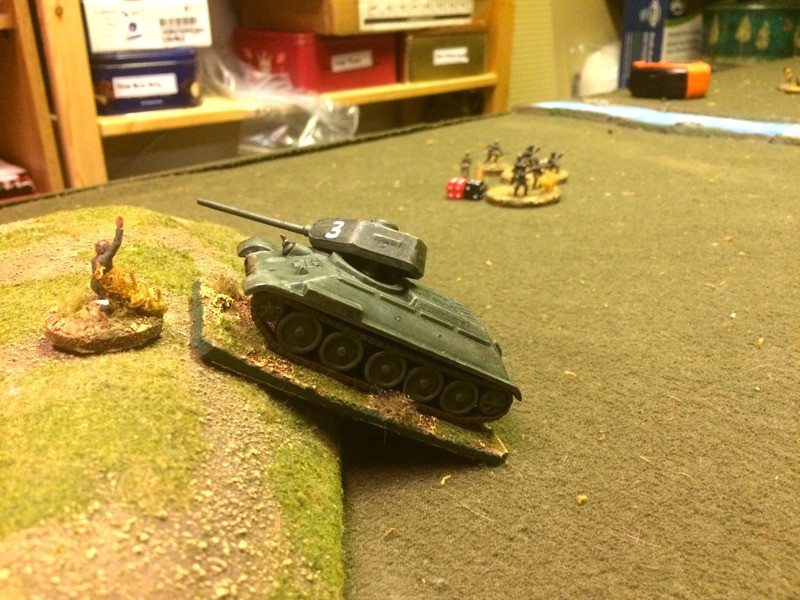
With two hits remaining to it, the T34 (an Armourfast model) charges the hill occupied by the mortars (represented by the command figure) only to be KOed by a lucky shot from the infantry in the background.

Game ended on Turn 9 with all German infantry wiped out, and two surviving Russian infantry racing for the hill to take out the mortars.   I decided it was a Russian victory.

So an enjoyable game, and easily played in a hour.  It would be churlish to say anything bad about a rules set that aims to deliver a complete game in 2-3 pages.   So, if one wants a game with:

1) No leadership rules

2) No morale rules - you fight to the last man

3) No troop quality rules - everyone fights the same

4) No range effects - units shoot the same at long range and short range

5) No casualty effetcs - units fight as well with all 15 hit points or with only 1 remaining

… then this game is for you.    I also have to say that I didn’t find the WW2 game that different from the medieval game I played.  Both felt slightly generic.

However, as I said, I am being churlish.   The book delivers short, playable games that would be good introductions to the hobby to newcomers and young people, and I suspect have some tactical complexity that I have not yet begun to appreciate.  I could even see a niche subset of tournament games using these rules.   More importantly, OHW delivers an excellent supply of scenarios, and as I’ve said here before, I really really suck at designing good scenarios.  

Having set up this board, I decided to use it and the control the river crossings to revisit my favourite tactical level WW2 rules, Chain of Command. This is to do my bit in Too Fat Lardies’ Chain of Command Challenge for September.  I kept it as Soviets vs Germans, but made the table a little sexier to reflect a more tactical environment.   If you wish, you can follow my progress on Twitter, as I will be tweeting updates as time permits.  Follow me at @madpadre1 or by hashtag #spreadthelard.  I’ll do a complete report here when the dust settles.

Blessings to your die rolls!

MP

Sunday, August 9, 2015

Opening Knight in the Wargames Room


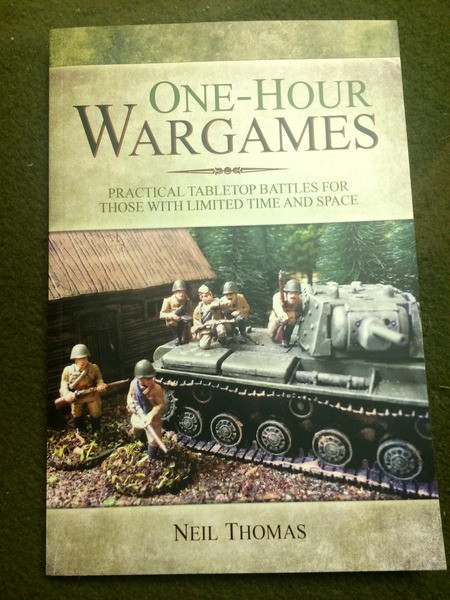
The kind and talented Jonathan Freitag held a contest recently on his blog and I was quite thrilled to receive this prize in the mail last week.   I wish I had acknowledged and thanked Jonathan sooner, but I thought it would be appropriate thanks to show that I’ve already employed this useful little book.

This book is valuable in two ways.  First, it provides 2-3 page rules for classic wargaming periods ranging from Ancients to WW2.   The rules are extremely brief and simple.   Each period has four troop types, and the rules for all these periods share an IGO/UGO turn structure: move, shoot and melee.    There are no morale or leadership rules, but for an hour long war-game, not every rules concept can be included.

The other useful thing about this book is that the second half features a set of scenarios, thirty in all, which would work for the rules in the book or for more complicated rules.  This combination of smiple rules and fast scenarios seemed like a perfect way to inaugurate the wargames room.

Since I had just unpacked the box containing my 28mm medievals figures, which have been sitting in that box for four moves and at least ten years, I decided to break them out and try Thomas’ medieval rules.  In a very simple confrontation, using the Pitched Battle scenario, the forces of Humphrey de la Tour Palouse face off against the retinue of Godfrey Mainfort.  Humphrey has allied himself with Oswry the Usurper and promised to deliver him the North in return for being made Lord of the Marches and marrying his daughter Esmerelda to Oswry’s rodent-faced son Ranulph.   Godfrey Mainfort, on the other hand, is loyal to Penric, uncle and Protector of the two young princes of the late King Bohemund the Pious.   The two armies meet on the windy moors to decide the contest.

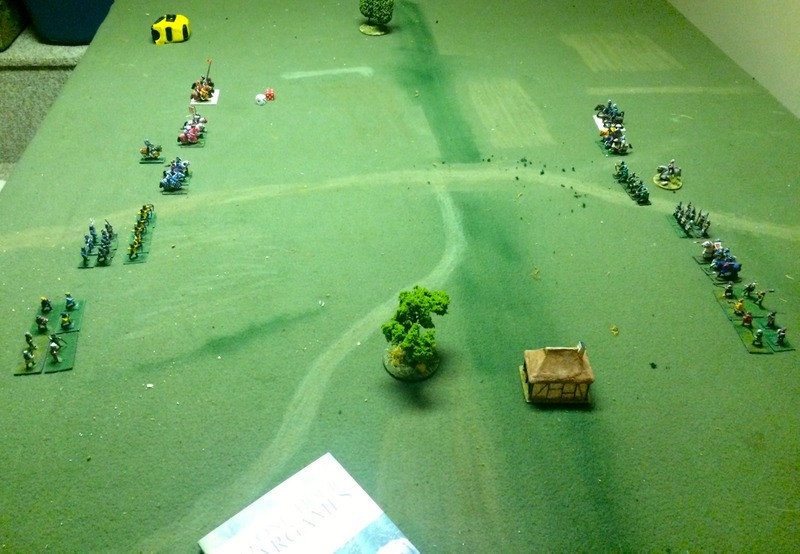
Both sides are identical in composition:  three units of knights, and a unit each of archers, men-at-arms and levies, since both roll the same number on the random force generation table.  Duc Godfrey chooses to mass all of his chivalry on his left wing, while Humphrey only has two thirds of his knights on his right wing.


Humphrey’s array.   Many of these figures, including the peasants in the foreground, are about twenty years old.   I’m glad my friend James convinced me never to get rid of them.


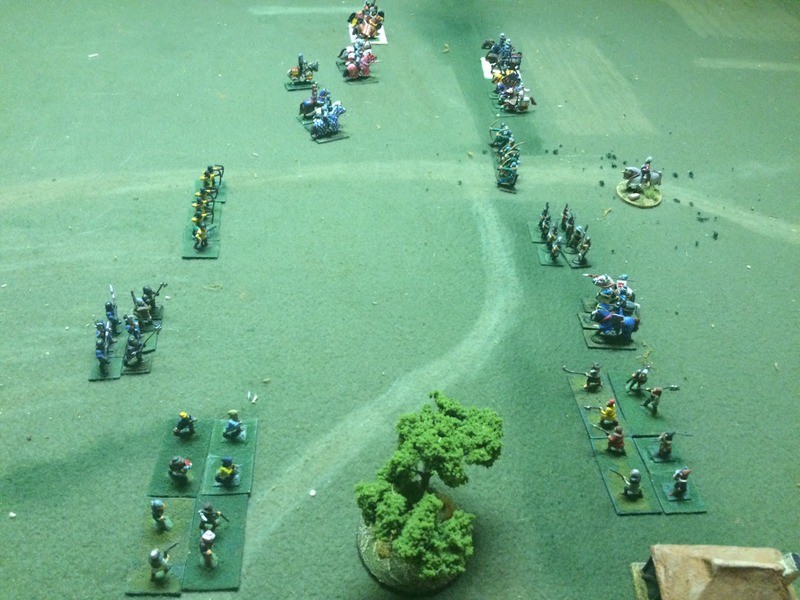
Godfrey’s knights surge forward.  They will mass 2 to 1 and 1 to 1 on Humphrey’s two units, annihilating one immediately.   As you can see from the white bases at the top of this picture, I had started a rebasing project, years ago, then forgotten about it.  I suppose I should revisit that project, as most of these figures are based singly on pieces of cereal box cardboard, and the state of the basing art has progressed since then.

Lord Stanley of Barrie adjudicates the clash of chivalry.  A most palpable hit, he cries.  Now, where’s the tuna you promised me for this gig?

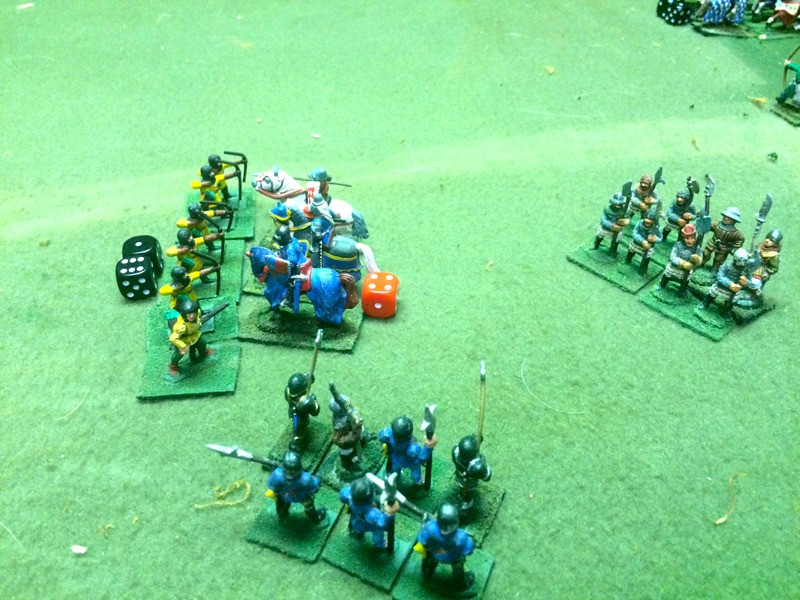
Humphrey’s unengaged unit of knights rides down Godfrey’s archers, which are old Minifigs castings with one Wargames Foundry figure closest to the camera.

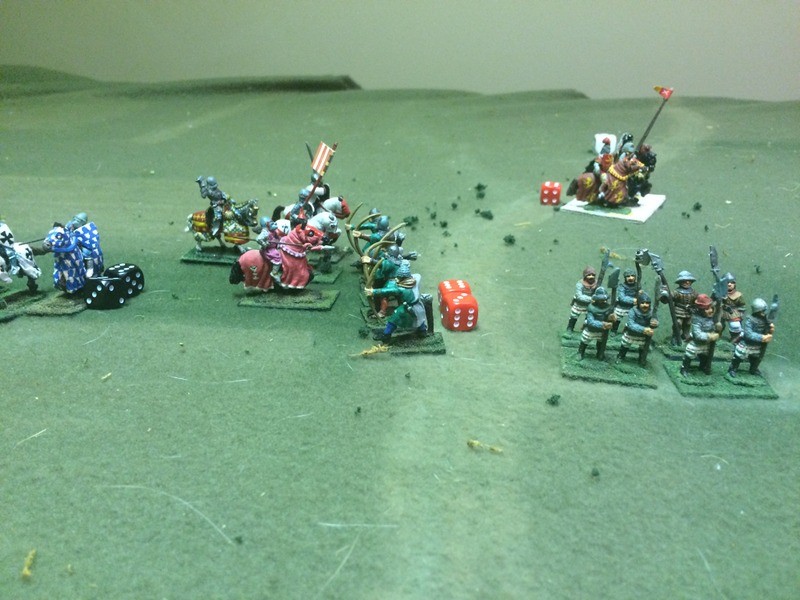
In return, Godfrey’s chivalry, having crushed Humphrey’s right wing, ride down his archers while Humphrey’s men at arms look increasingly endangered.  In the back of the photo, a unit of Godfrey’s knights rides in pursuit of Duc Humphrey.  Some of the charging knights are RAFM and others are Minifgs.  The archers are Wargames Foundry.  I don’t recall who made the halberdiers at the bottom right.  Citadel, perhaps?

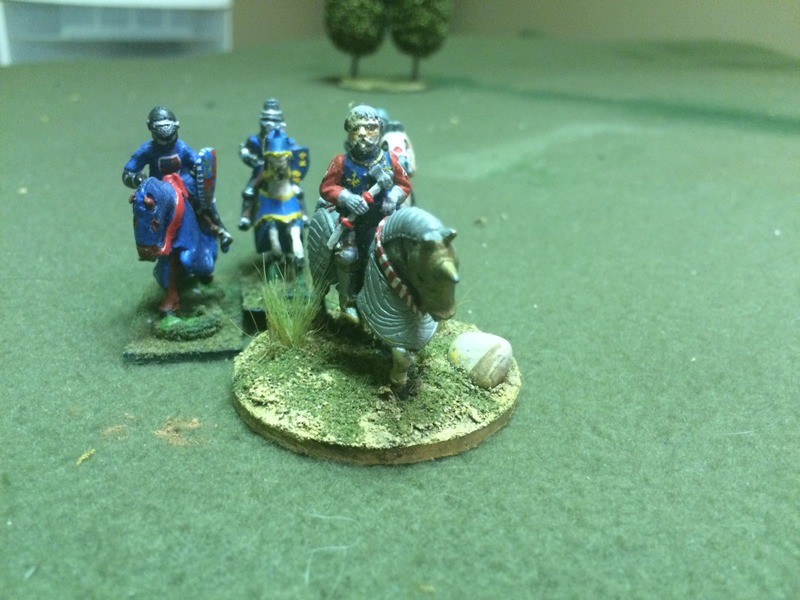
Who legs it, with his surviving knights, leaving his foot to their dubious fates.  Notice in the photo below how my collection, which was quite haphazard, combines a late medieval/WOTR era figure with early 14th century figures.   Shockingly ahistoric, but these were collected in long ago, more innocent days, when I was content to grab whatever figures I could find on a limited budget.

Duc Humphrey has escaped to plan his revenge.  The fate of the realm is far from decided.   There will be other battles.

Joanathan, thanks for your very kind gift.  It was a great pleasure, in my distracted state, to use this great little book for a cheap and cheerful battle with some old, old friends.  I will turn to this book again, I am sure.

Blessings to your die rolls!

MP+

Blog Archive

Followers