Showing posts with label Wargame Travels and Adventures. Show all posts

Tuesday, April 23, 2019

Donnybrook in Dublin

For years I have admired the Napoleonic battle reports posted on Joy and Forgetfulness, the blog of the mysterious and erudite author and wargamer, Conrad Kinch.   Between elegantly presented tables, port and cheeseboards, and the witty and dashing cast of characters brought to life there, wargaming has seldom looked so genteel and appealing as it does on young Kinch’s blog.   Last week I finally had the chance to make it over the sea to Ireland.  I had planned to go to Dublin two years ago for the baptism of the young Kinch twins, but sadly that never worked out, so it was a delight to finally arrive there, where CK and his lovely wife Lizzy showered us with warmth and hospitality.  Minutes after entering their house, my fiancee Joy was snuggling with the young and handsome Master Kinch.

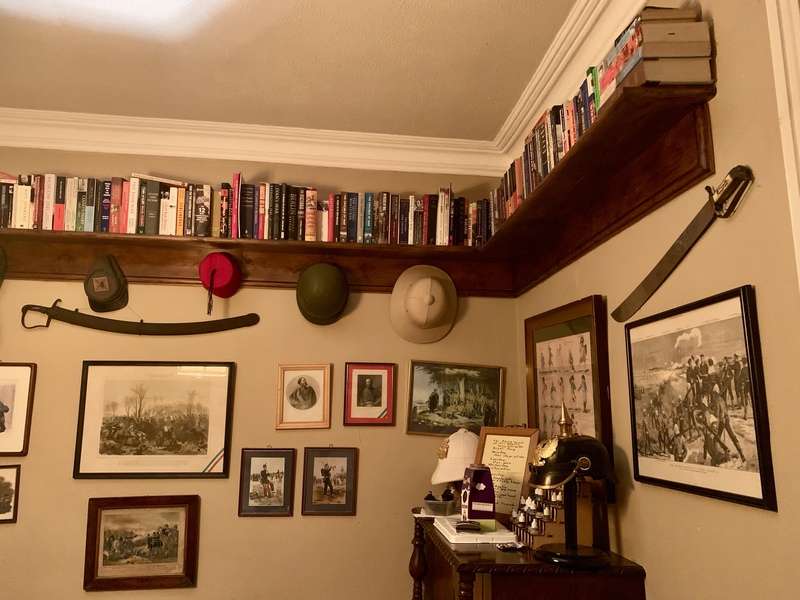
After four days in the West of Ireland, we returned to Dublin, where Kinch had arranged a refight of Waterloo.  After dinner, the gentlemen withdrew to Kinch’s war-games room, a place of wonders - and silly hats.  

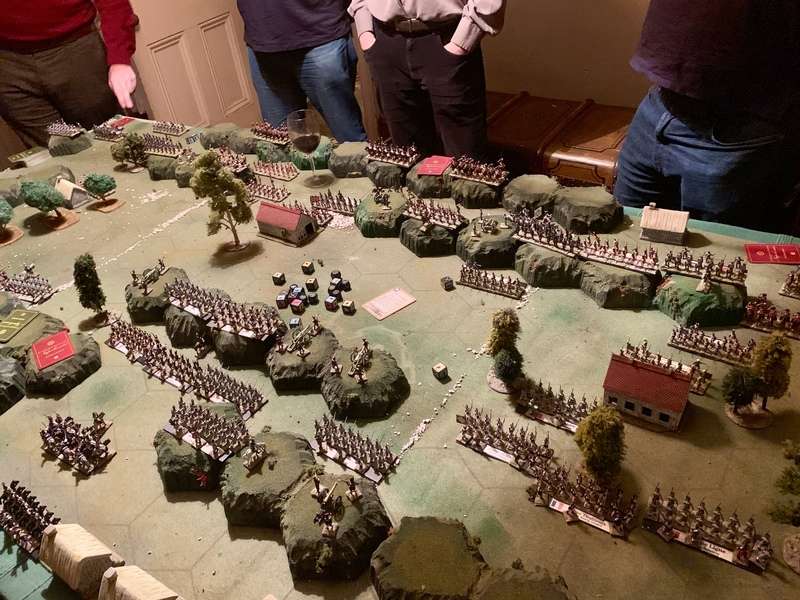
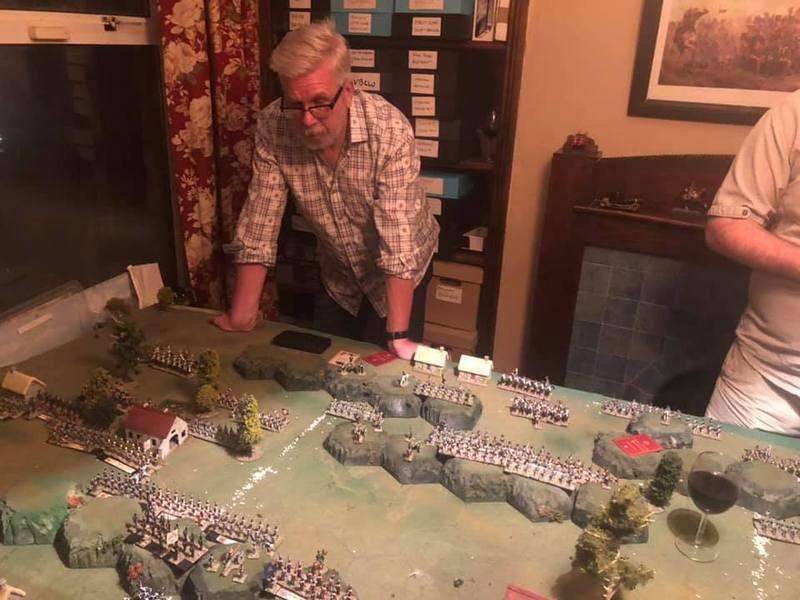
 The splendid table.  Note the wine glass used as an objective marker.  “Why do you have to refight Waterloo?”  asked Joy, innocently.  “I mean, you know what happened, why redo it?”   Some things will have to be explained over time in this relationship.

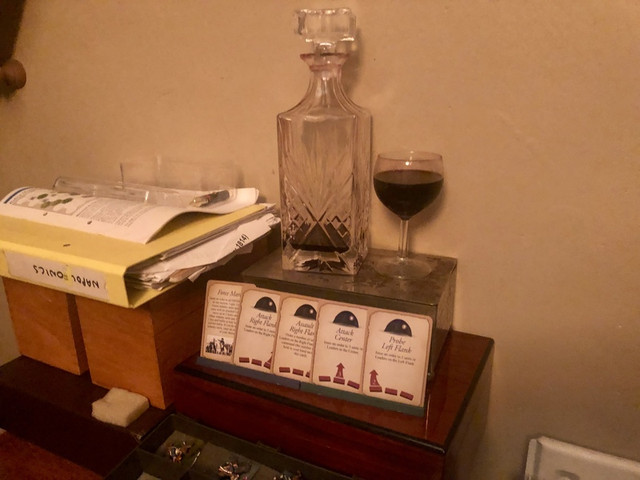
As you can see from the dice, we were playing Command and Colours Napoleonics, with 20mm figures.  Very posh.

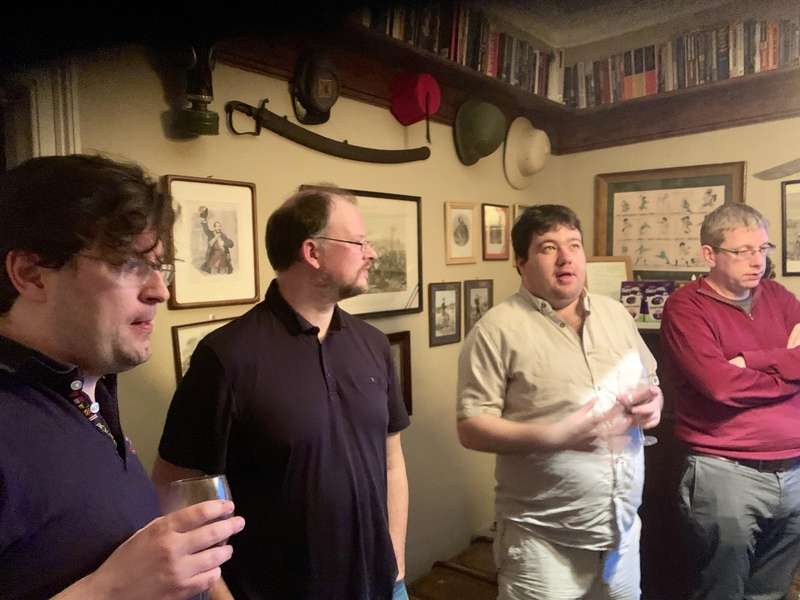
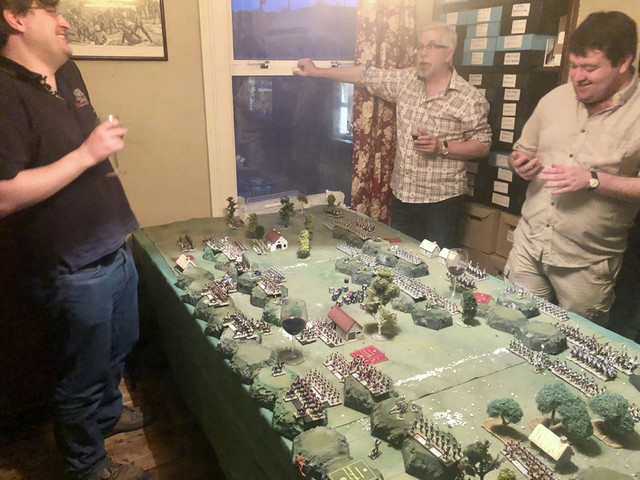
Some of the Dublin gaming brain trust assembled.   I couldn’t have wanted to have enjoyed better company.   Marshall DeGourmand, second from right, tries to persuade the English team that they should just give up now.

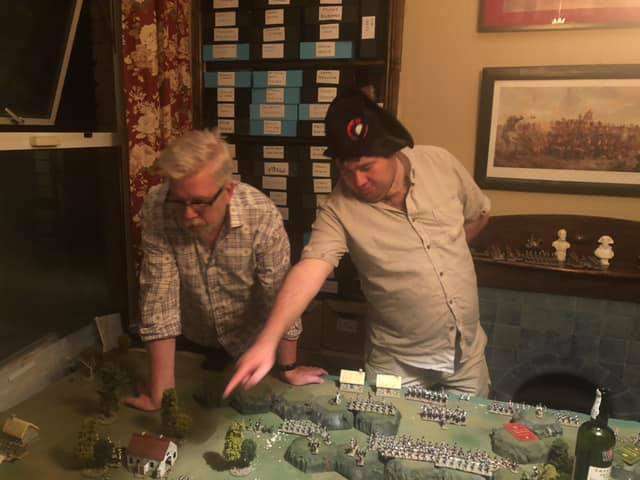
 Since I am something of a Bonapartist, I volunteered for the French side, commanding the French right flank.  As I recall, DeGourmand is saying something like “Go and die there.   There, sir!”  His order were shockingly simple and to the point, though slurred somewhat by the fearful amounts of drink (note the bottle on the table).

With furrowed brow, I watched as my brave chaps threw themselves on Plancenoit, drawing the entire English left into a vicious meat grinder.   As you can see, I am propping myself unsteadily on the table, praying that I can get this done before my troops all die and before the Prussians arrive, but it wasn’t looking good.

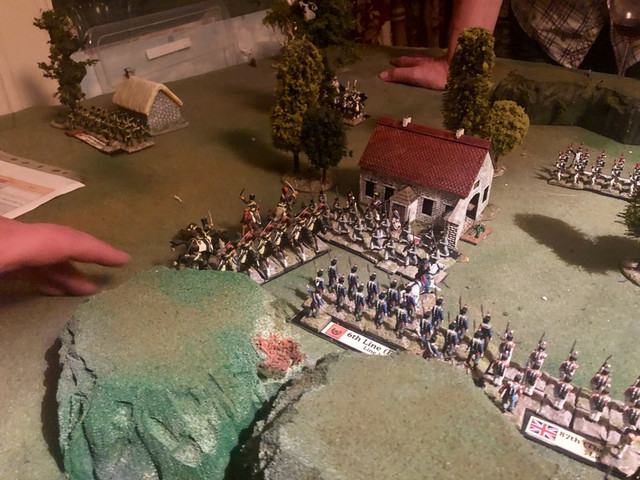
 They weren’t giving up Plancenoit without a fight.

 Bantering with my opposite number, General Oisin, who seems confident that the Prussian sausage-munchers will arrive and bail him out of his predicament (they did).

Sadly we called it a night when the port ran out and the English had managed to fend off our fine French fellows, thus making Joy’s question, “Why bother”, uncomfortably acute.  


Also sadly, I don’t have a photo of CK himself, but he was a grand host and it was a gaming night for the books, though I’m blessed if I know how I walked back to my hotel.

Thanks, old chap, for a splendid time of it.

MP

Wednesday, April 3, 2019

Scenes From Hot Lead 2019

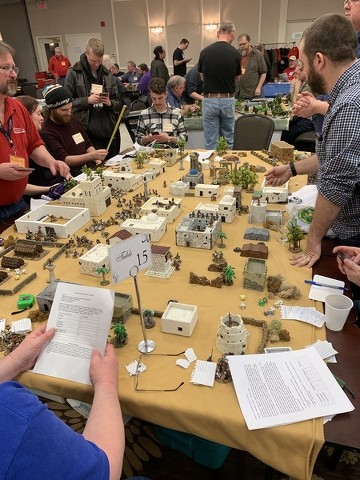
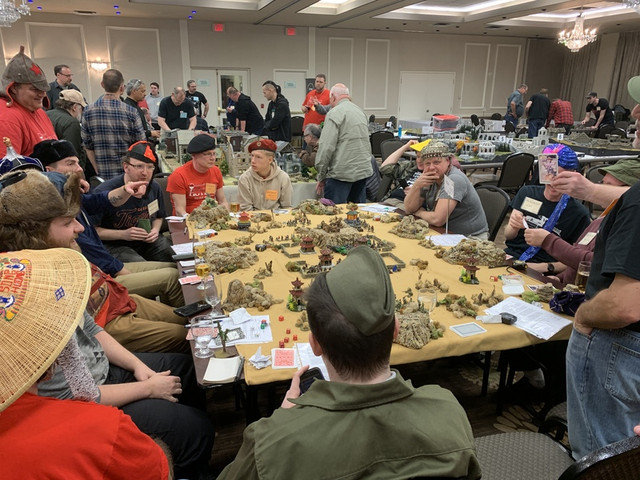
Last weekend was Hot Lead, southern Ontario’s biggest (and, I think, best) tabletop wargames convention, which celebrated it’s 25th anniversary, a  considerable achievement for its organizers.   I was able to get to Stratford and attend Friday and Saturday.  I did a little admin to help the redshirt crew of organizers, got to play a bit, and got some images of some of the many games.

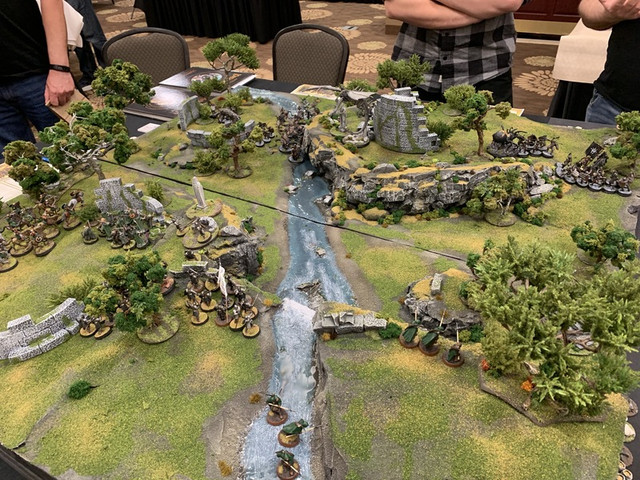
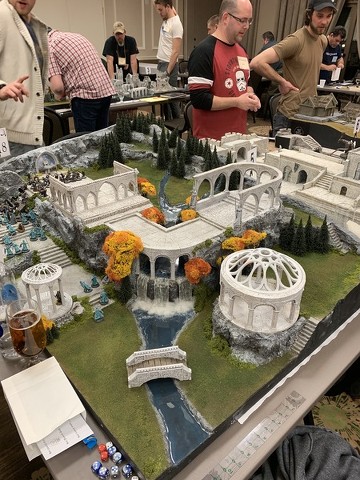
One of the many tables hosted by OHA (Ontario Hobbit Adventures), a super-dedicated group of gamers dedicated to the Games Workshop LOTR rules.  The terrain is quite stellar.

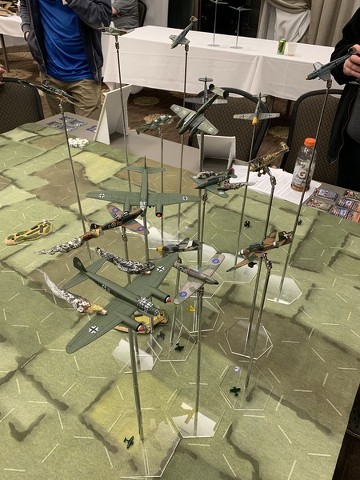
The Battle of Britain, one of several large-scale games run by Bill Bean.

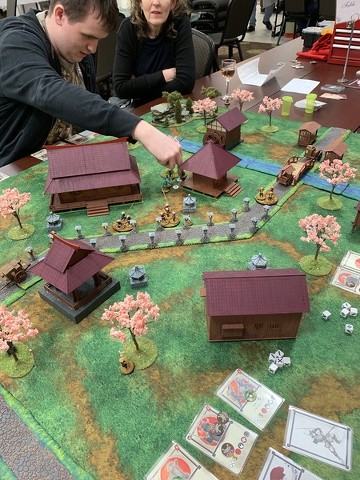
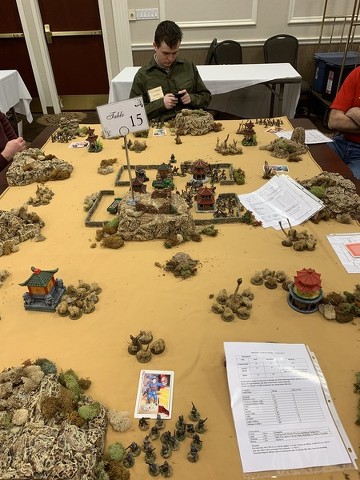
Adam Gow’s fantastic samurai table using Test of Honour rules.   The photo doesn’t do this table justice, but the stone pillars along the path and the buildings all featured hand-soldered LED diodes.   It was quite magical.

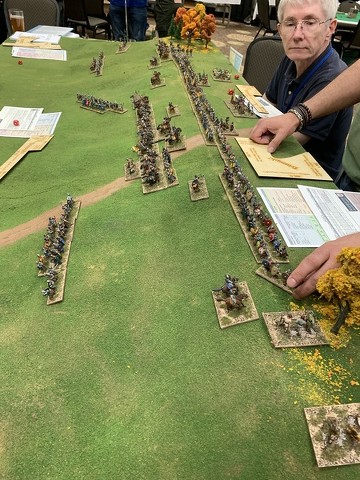
Some chaps came up from the States to run this Battle of Hastings game, using a new set of ancient and medieval rules called TRIUMPH!   I wasn’t really tracking the game, but people seemed to enjoy these rules.

Dan Hutter’s crzy multiplayer games are a Hotlead fixture.   This is an ancients skirnish game set in the back of beyond of the Roman Empire.   Dan described it as “lying, bribing, cheating and back stabbing”.


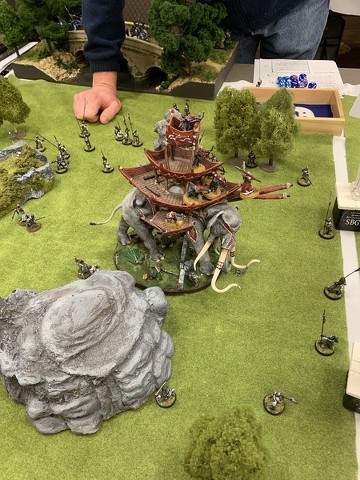
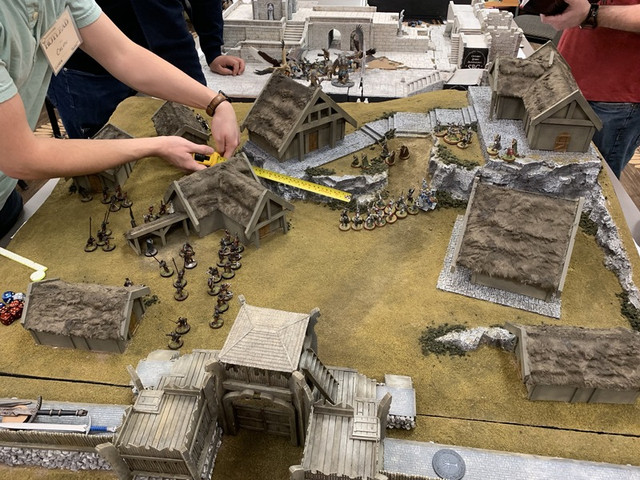
Three more tables run by the Ontario Hobbit Adventures club.   The quality of the bespoke scenery attracted a lot of attention and admiration.


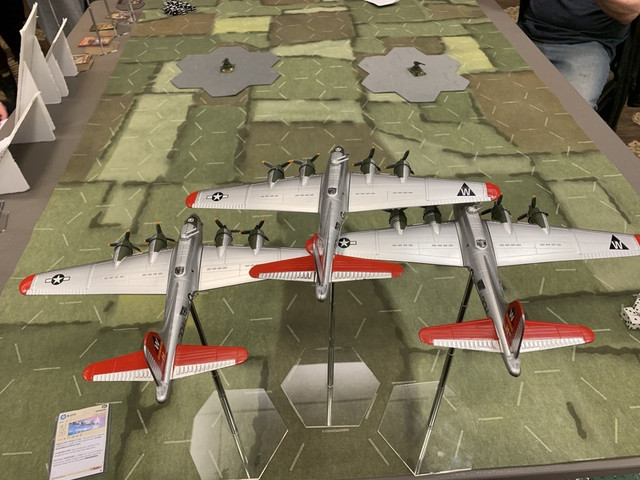
Another of Bill Bean’s BIG WW2 aerial games.   These B17s are off to bomb the Reich.

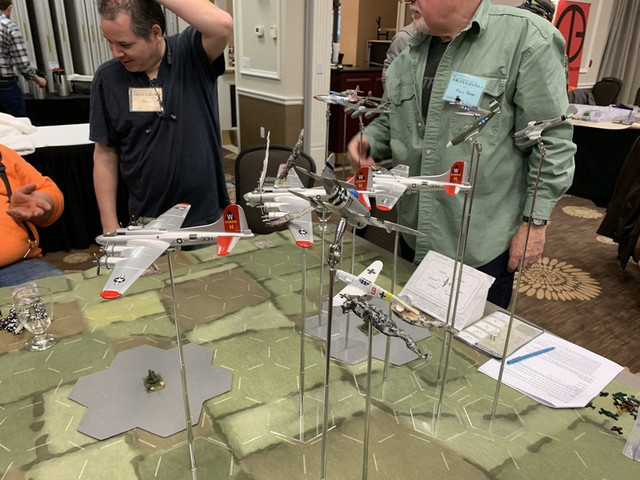
But they’ve met some opposition.

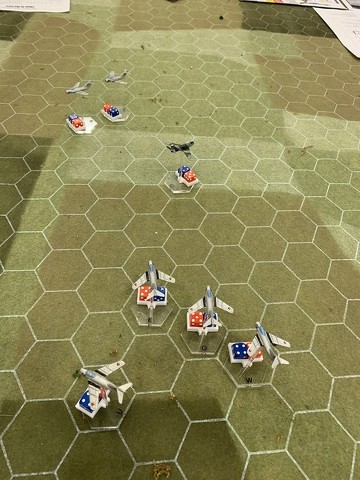
 I had a chance to command a MIG-15 in a 1950s melee with some NATO Sabres, in one of Keith Burnett’s meticulously organized games, this one using Check Your Six rules.   It was very zooms and shooty, but the NATO flyboys had the worse of it.

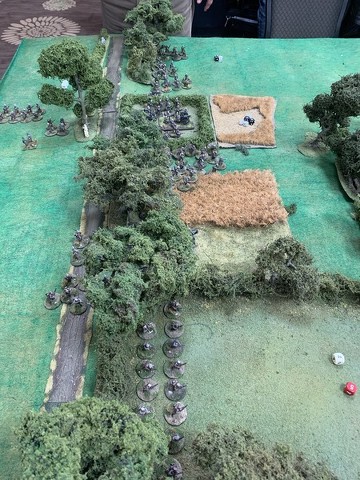
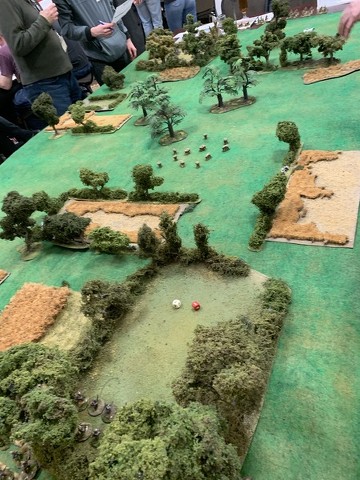
 Another Hot Lead veteran game master, Ian Tetlow, ran a reprise of his 1914 Le Cateau game.   Here the Kaiser’s hosts prepare to step off.

 Somewhere in this terrain lurk the BEF defenders.

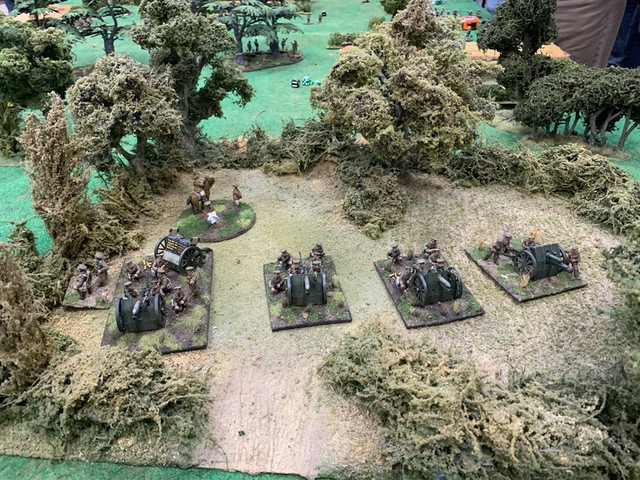
 The German objective, this British battery, ignores the skirmish behind it.  They obviously have a more important fire mission.

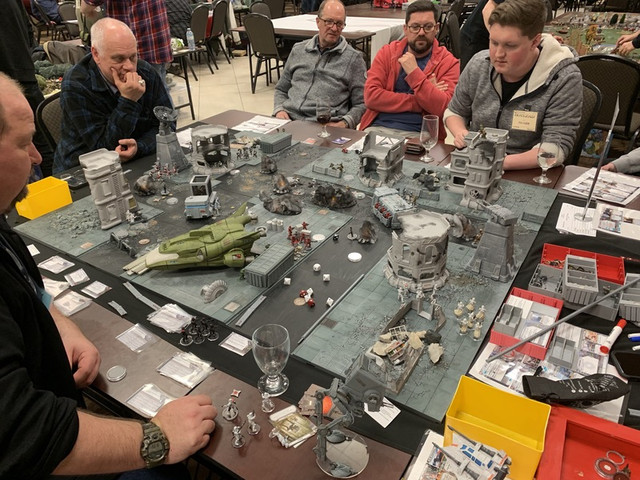
 A very big Star Wars game.

 Another of Dan Hutter’s crazy multiplayer games, and a Hot Lead tradition, “Mongols With Mausers”.  Chinese warlords, Mongol bandits, European adventures, Reds and Whites mix it up on the Silk Road in the 1920s.

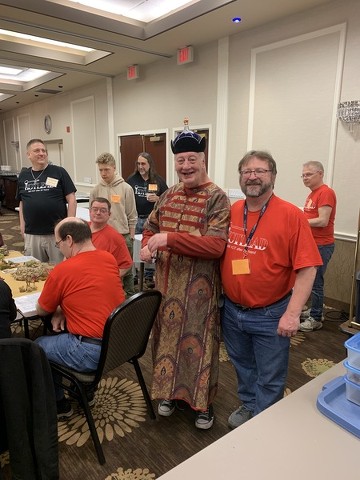
 Of course there are silly hats.


Dan receives the Emperor’s congratulations on a fine game.


 An amazing 1/32nd scale WW2 game using the FL What a Tanker! rules.

Basically a big game of cat and mouse. 

 With big cats.

 Speaking of big cats, this Leopard from James Manto’s 20mm Afghanistan collection watches as ISAF and ANA forces move forward against heavy Taliban resistance, 

James’ terrain is all home made and very effective.

I didn’t get the chance to stay on Sunday or see the epic SF/steampunk game which is another Hot Lead tradition, but it was a grand time out and good to see the hobby going strong.  There was some talk from the veteran gamesters about passing the torch on, and after 25 years, I don’t blame them for thinking that they’ve done their bit.   Sometimes I find that wargaming is a lot like church, in that people with gray hair worry about the institution dying out, but I saw enough younger gamers present that I’m not too worried about the future.

Friday, October 17, 2014

What Started Here?


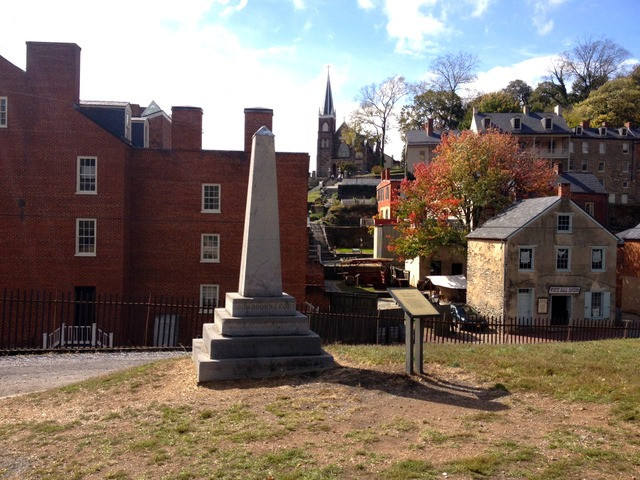
Madame Padre and I just got back from a week in West Virginia, where we rented a place and visited with her in-laws, which was surprisingly pleasant.   We managed a few day trips.   I am off to a conference in Ottawa in minutes and I have more photos of this place which I’ll post when I get back.  For extra marks, can you identify this place, the event represented by this marker, and the significance of it all?  Clue:  regular readers of this blog will know it’s a period close to my heart (and will infer that it’s somewhere within driving distance of W. Virginia).

MP

Thursday, December 12, 2013

A Fall Visit To Antietam

So as I was saying recently on my other blog, the God Blog, my first term of graduate school has kept me busy.  There were a few games that I managed to get in, which gave James Manto and I much mirth, but mostly a lot of reading and writing and only a little painting, none of which I am ready to show off here.

One thing I did manage this fall, which I think is relevant to this blog, was to travel south to the National Park at Antietam, MD, in the company of a friend from reenacting days, Kevin, and his son (my godson), Brendan. 

It was a warm day in early October, and the place looked more autumnal than it would have on Sept 17, 1862, when most of the trees were still green and leafy and the crops, particularly the infamous corn, had only just started to be gathered in.

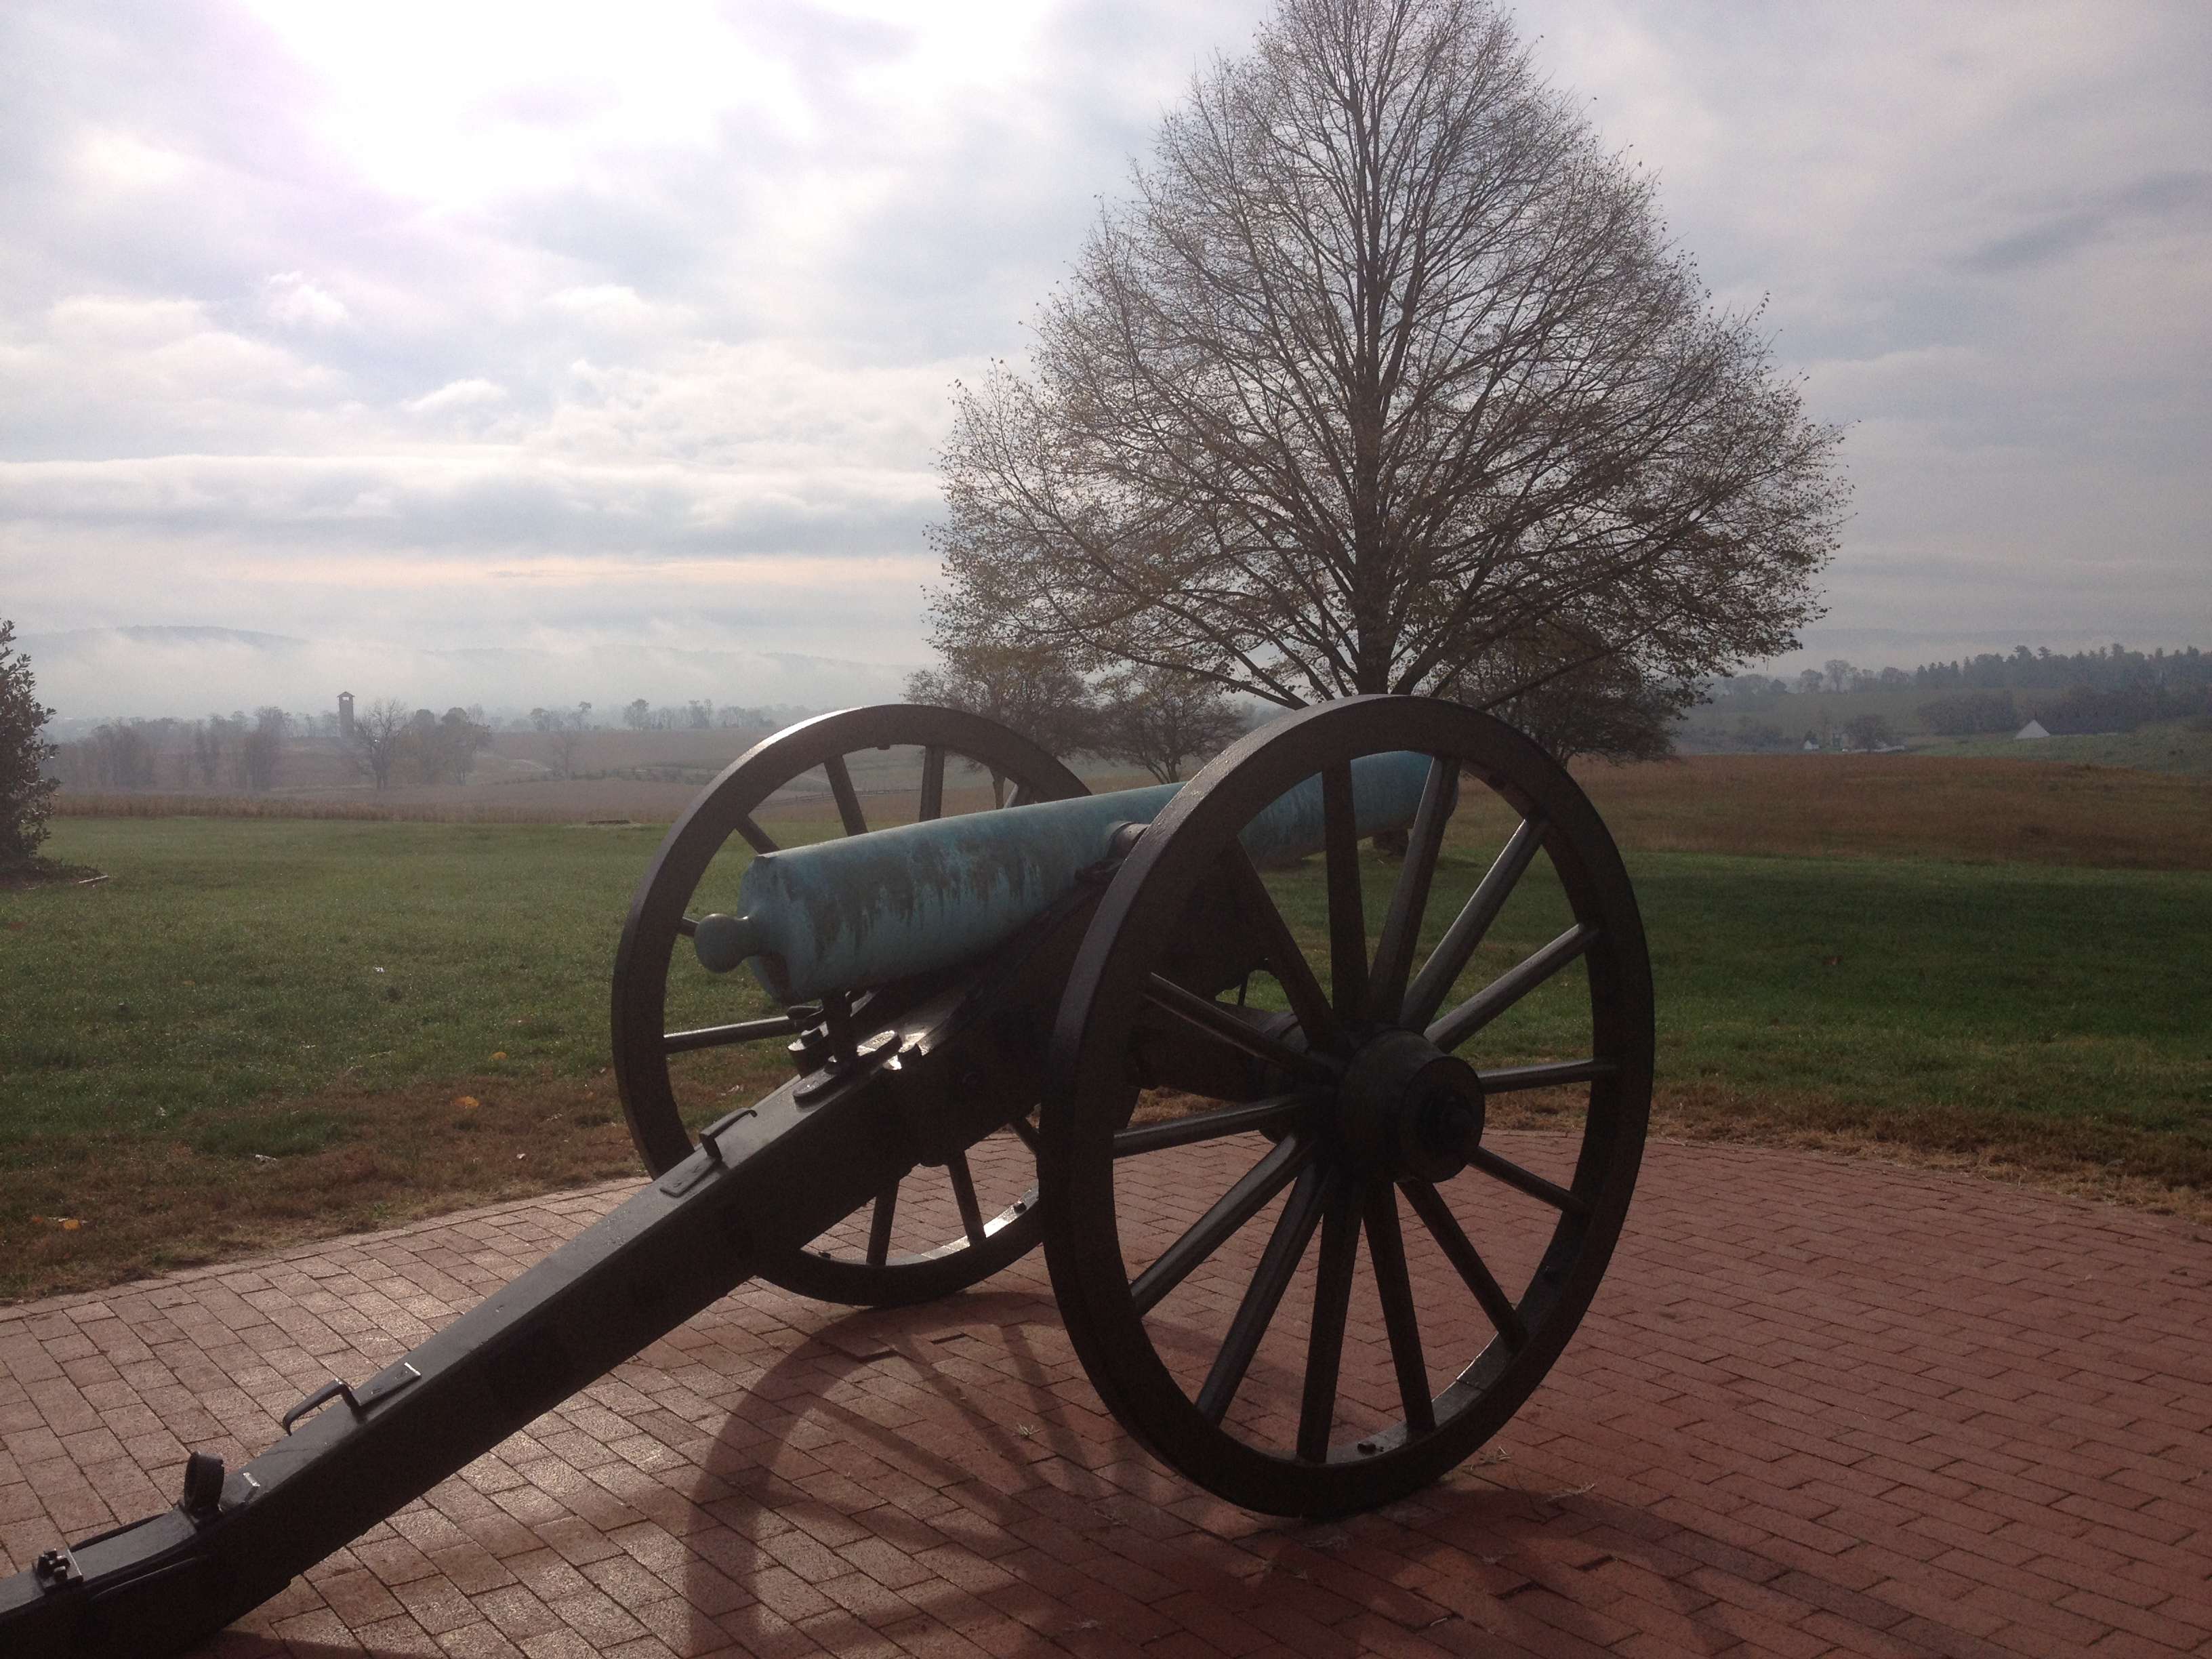
This shot was taken by the visitor centre.   in the background, behind the canon, you can just make out the observation tower by the Bloody Lane.   Not far beyond that tower is Antietam Creek, with the hills of South Mountain visible in the far background. 


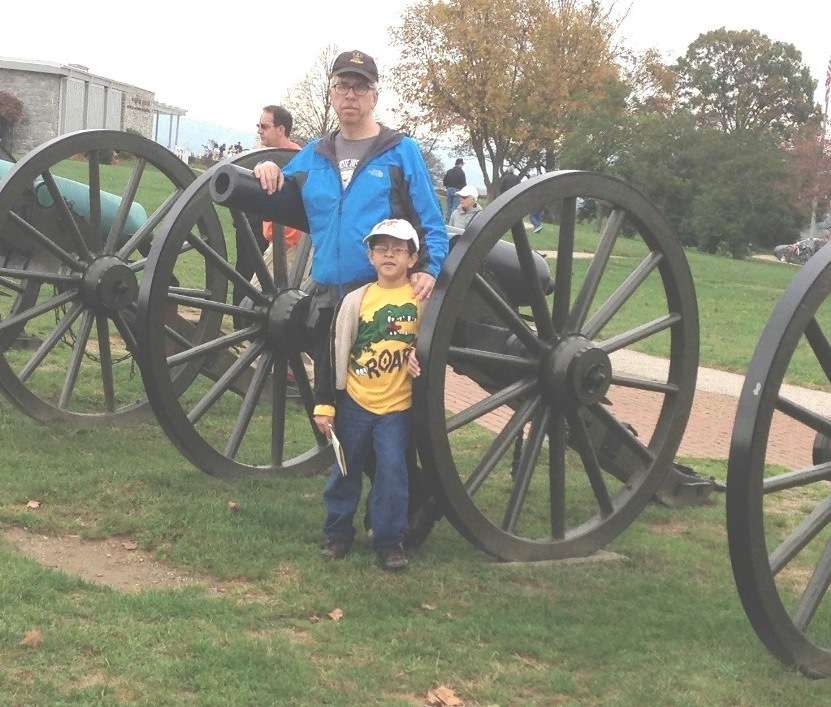
Brendan and his godfather outside the visitor centre.   Brendan and I were both wearing dinosaur themed Tshirts, so we decided that our tour was happening on "Walk and Talk Like a Dinosaur" day.   Brenday knows more about the civil war than most eight year olds - for example, he knows the difference between a Napoleon and a Parrot cannon.   He comes by this knowledge thanks to having a huge ACW nerd as his dad, though I have to admit, Dad made an excellent and knowledgeable tour guide.


The Dunker church.  Matthew Brady's famous photograph of wrecked Confederate artillery and dead artillerists was taken not far from this spot.


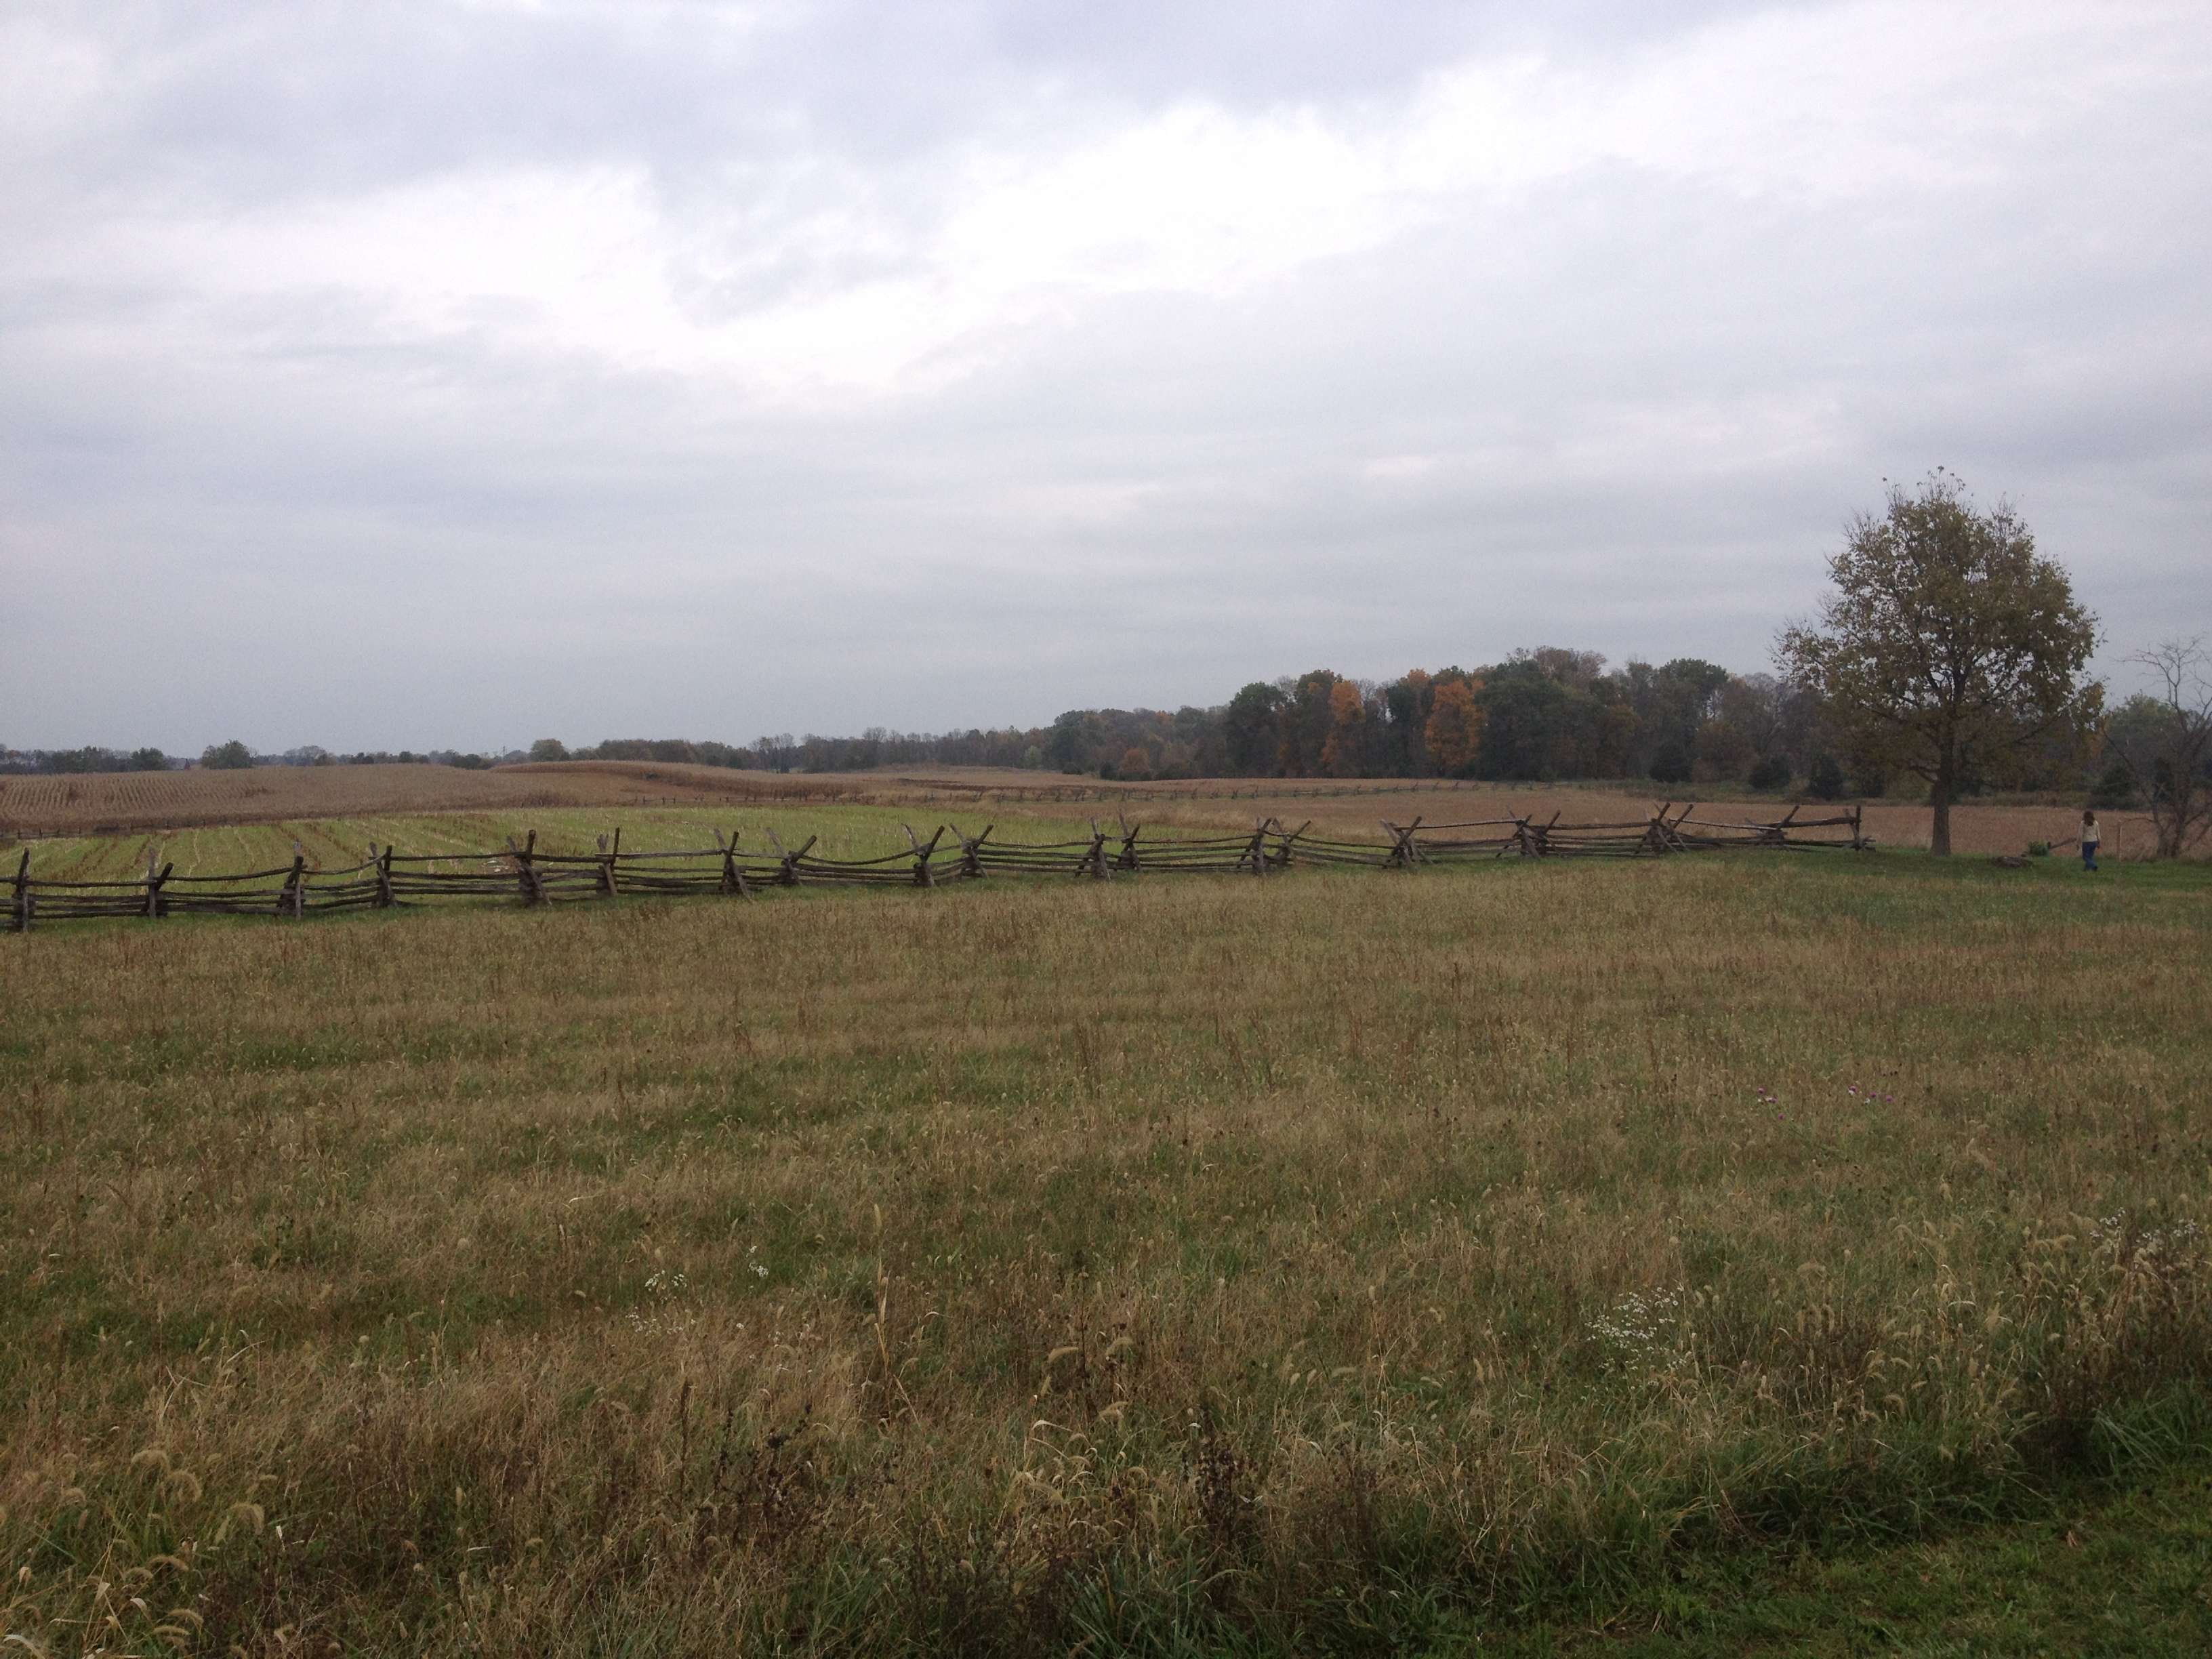
The famous cornfield, with the East Woods visible to the right.  James MacPherson writes in his Antietam book, Crossroads of Freedom, that "Many cornfields were the scene of fighting during the Civil War, but this one was ever after known as the Cornfield."  Here elements of Hooker's and Mansfield's Union Corps collided with the Confederate divisions of Stonewall Jackson, and storied units like Hood's Texans and the Iron Brigade annihilated each other.   Here, as one soldier of the 6th Wisconsin described it, "Men, I cannot say fell; they were knocked out of the ranks by dozens" (MacPherson, Crossroads, 115).


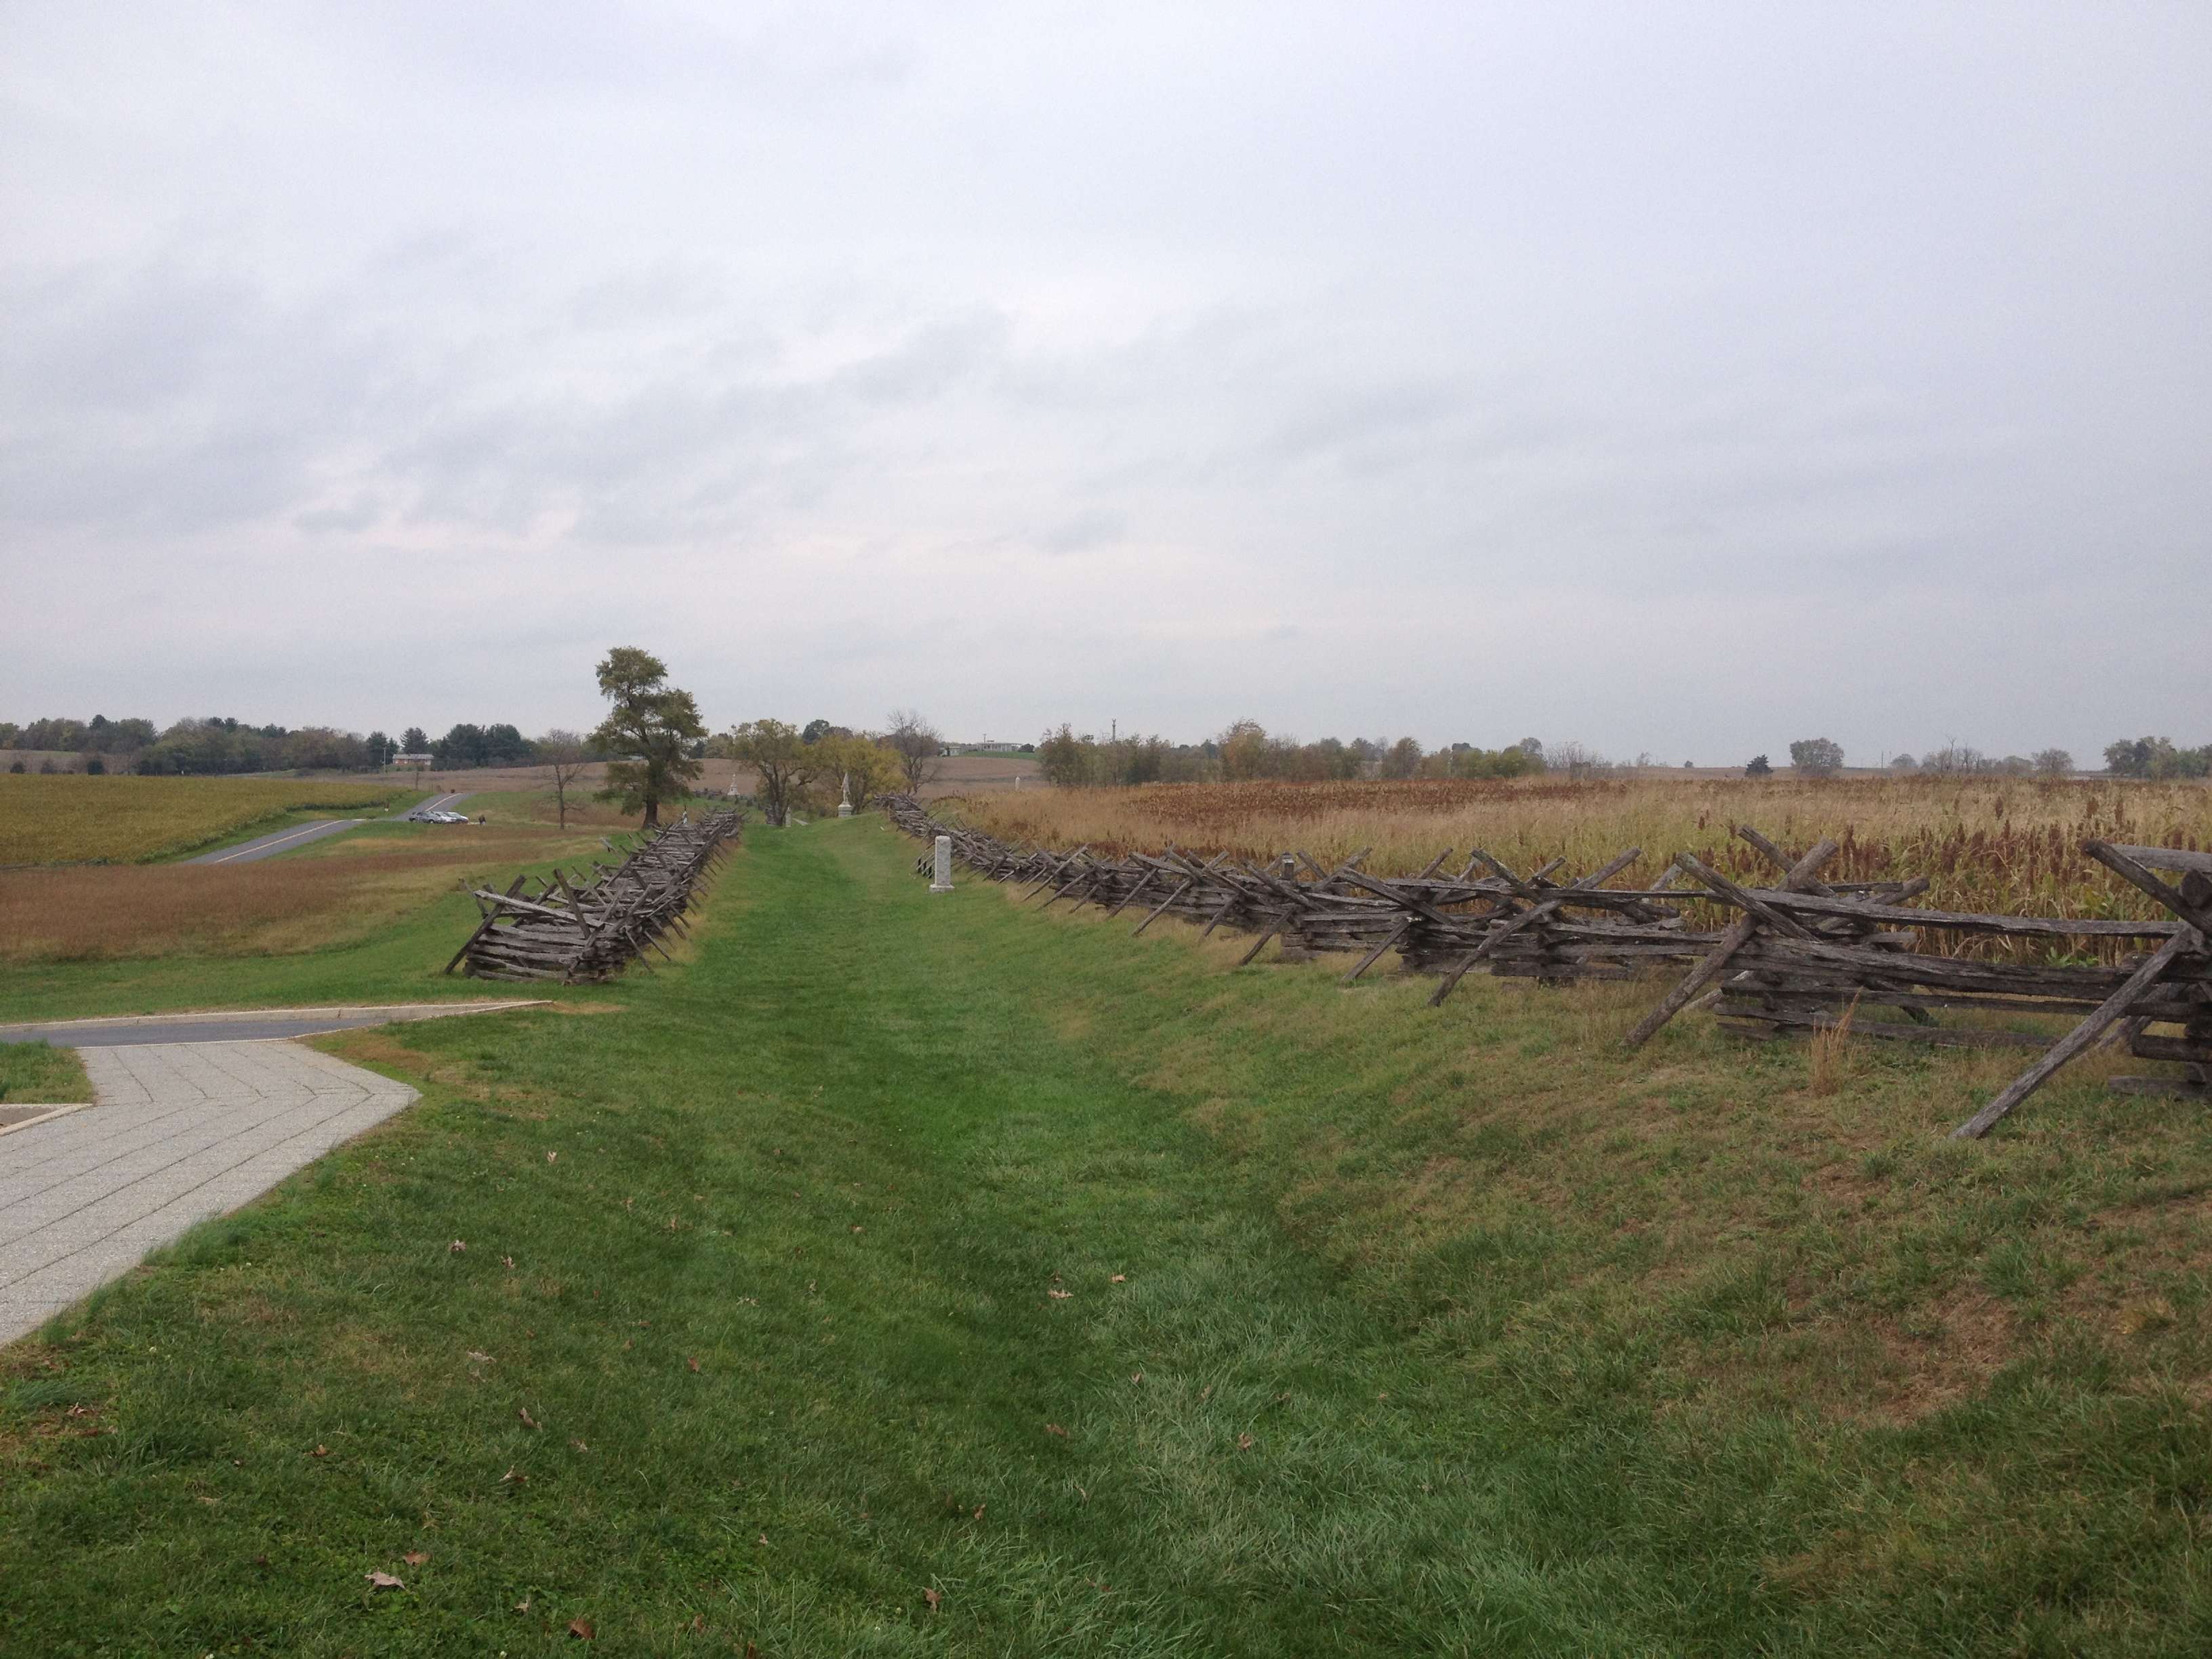
The Bloody Lane, a natural trench which appears, choked with corpses, in Alexander Gardner's famous photograph.   This view is taken looking towards the visitor centre, with the observation tower directly behind.  One thing I noticed walking the cornfield to the right of the photograph is that there is a hill in the centre, so that the Union brigades attacking through it towards the Lane would have been concealed from sight until perhaps 100 metres from the Confederates lining the fence rails.   At that range, in their massed formations, it would have been difficult for any shot to have missed.


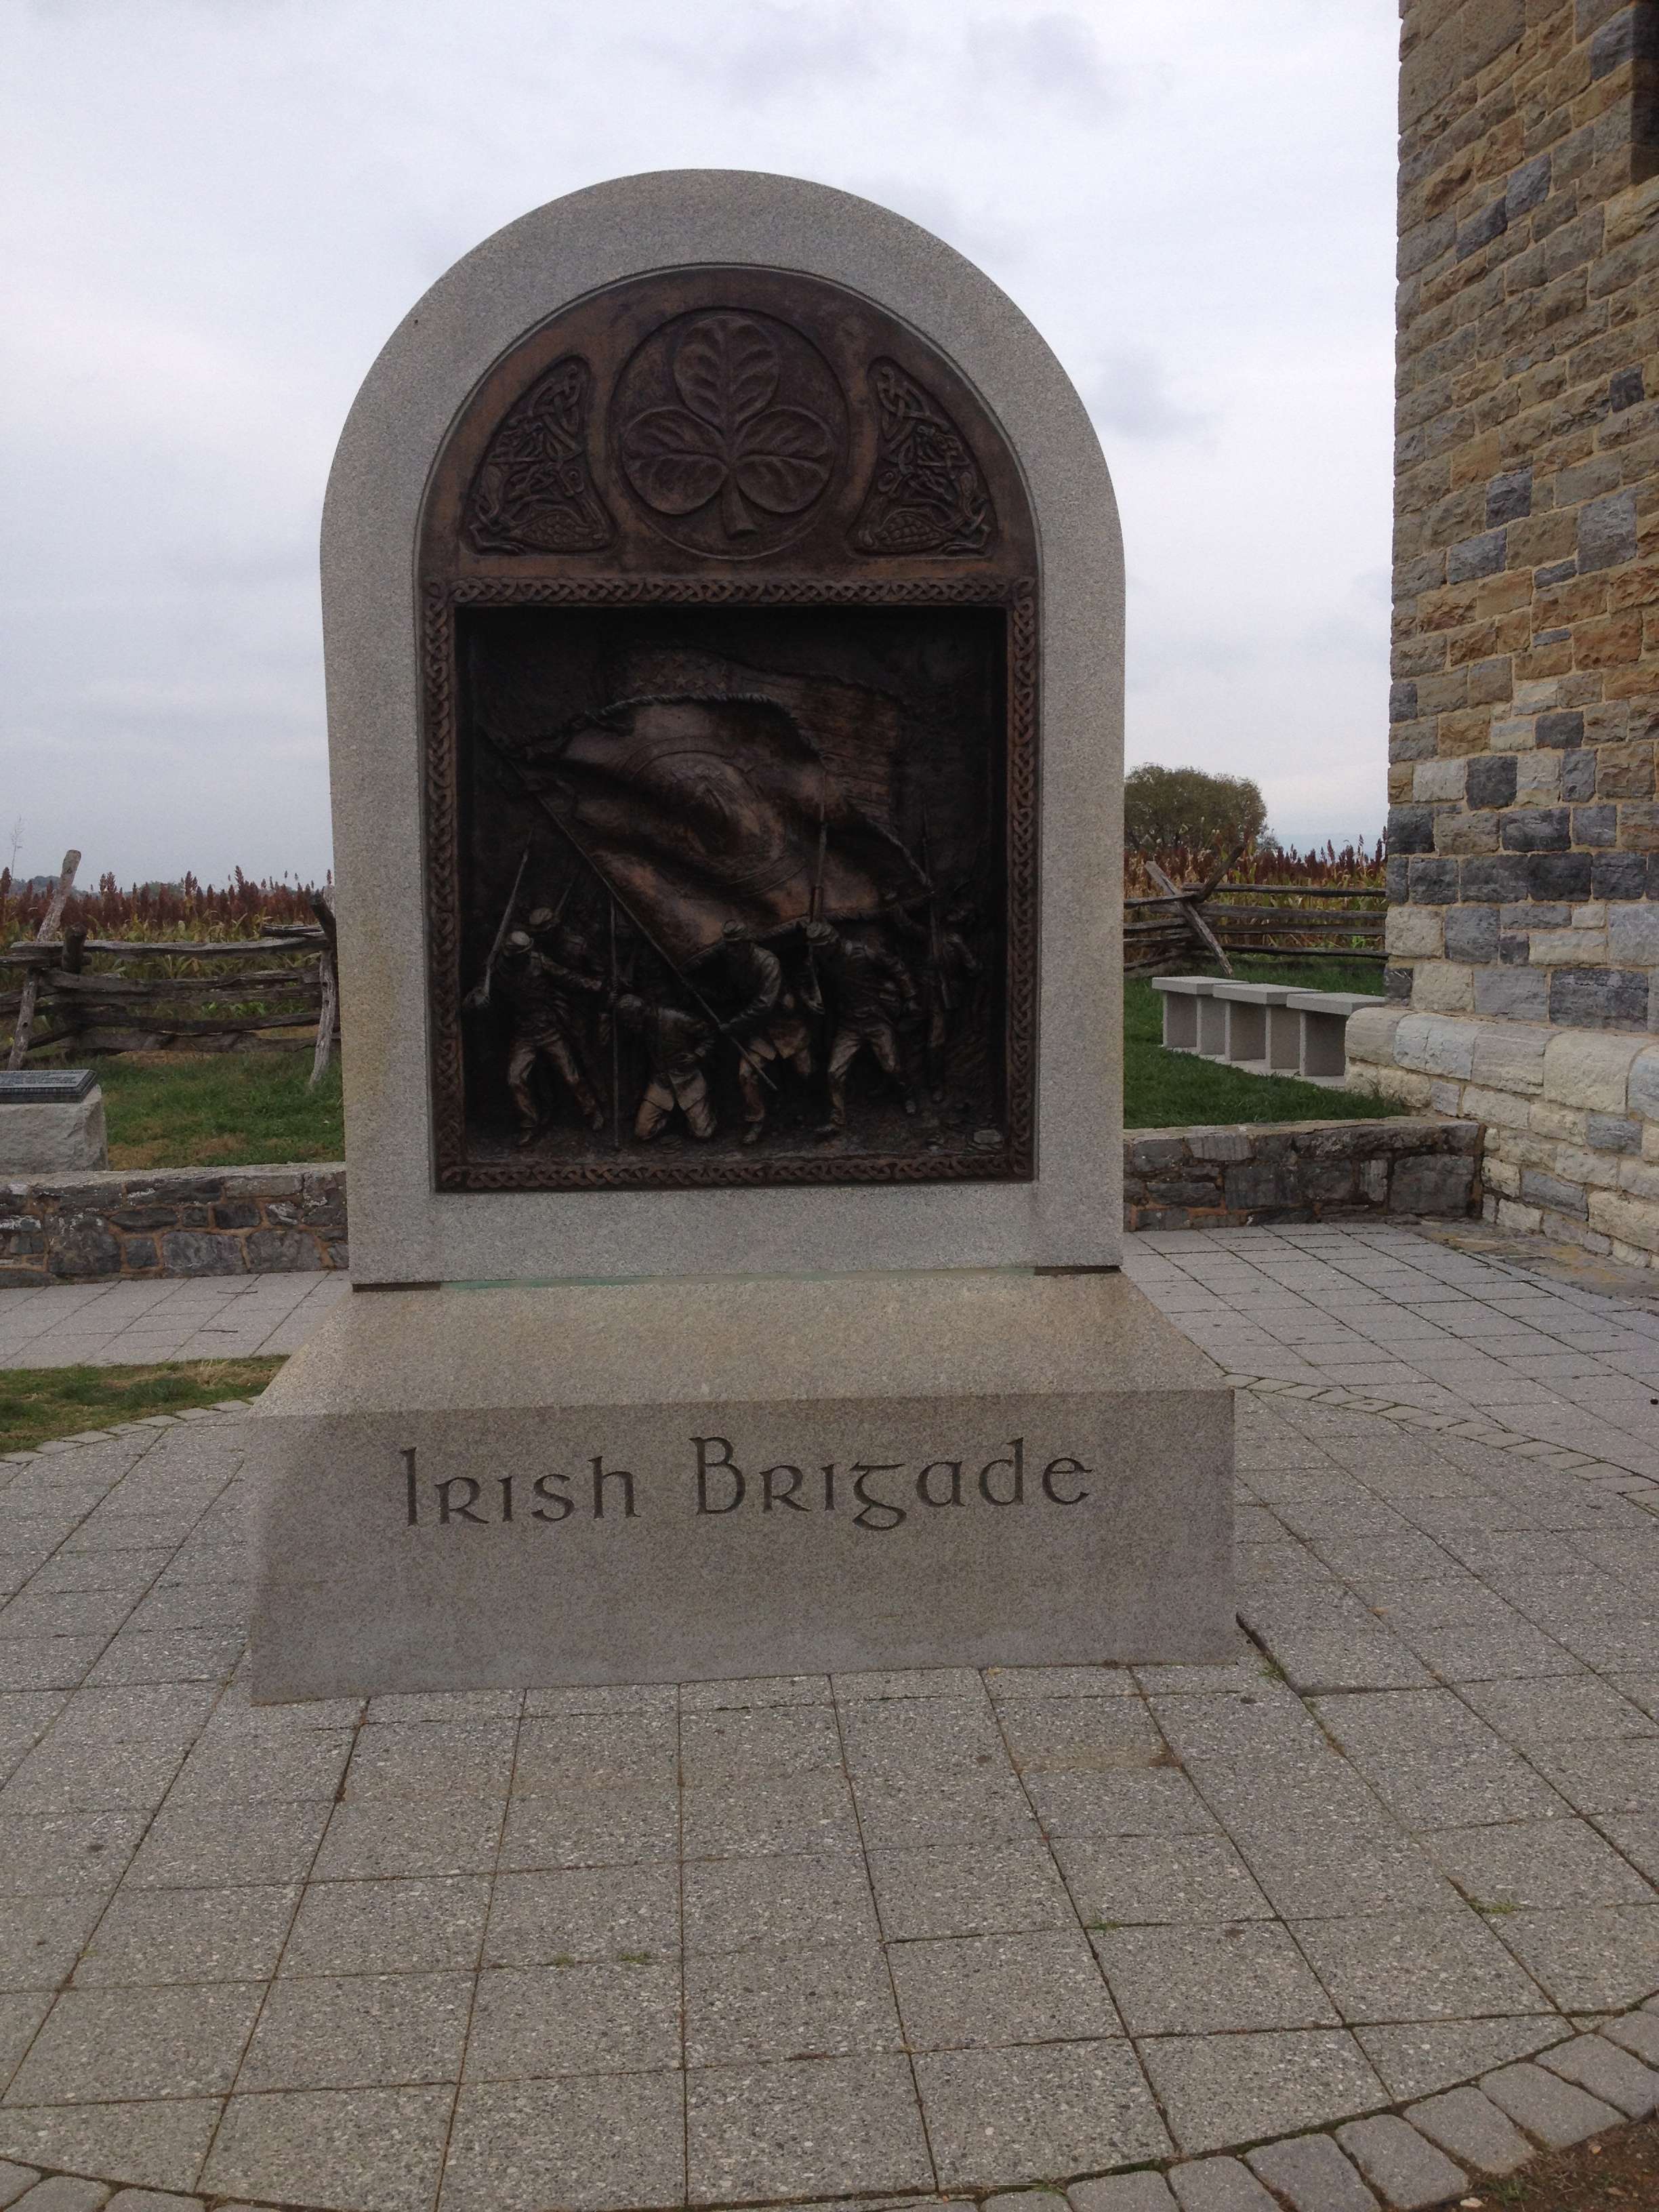
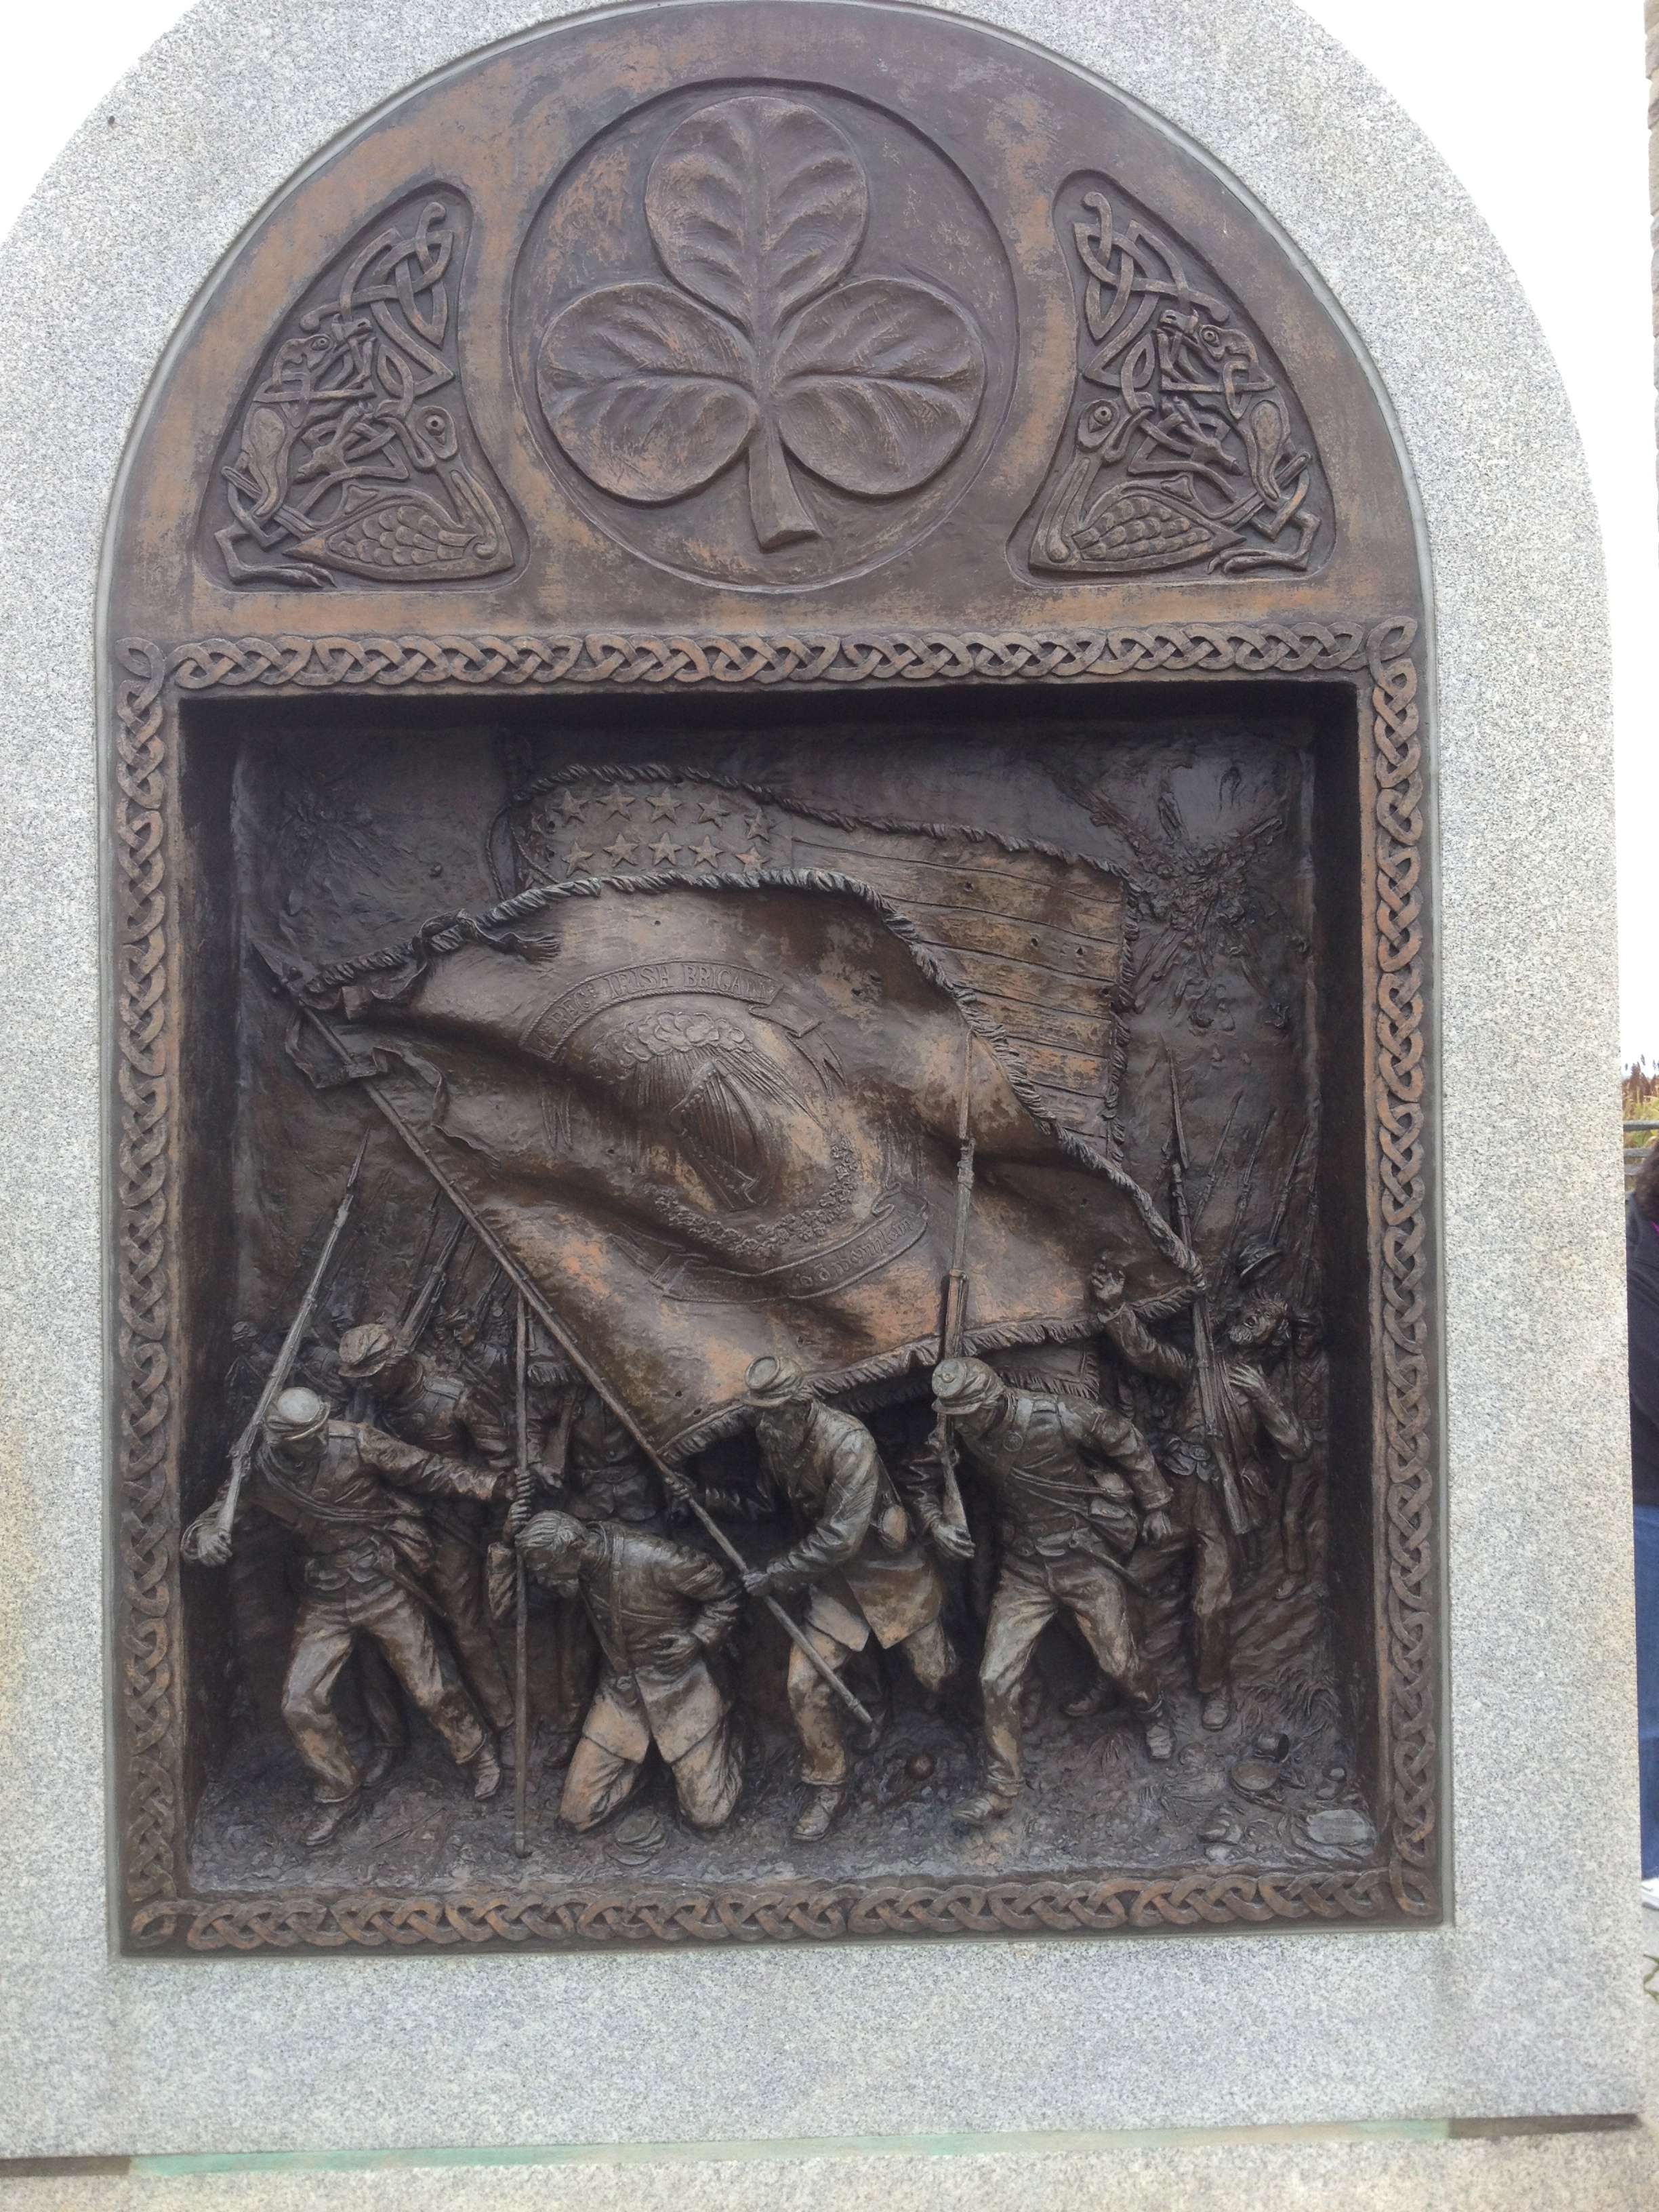
Monument to the Irish Brigade at the Bloody Lane.   By an odd and sad coincidence, we learned that the sculptor of the bronze bas-relief on this monument, Ron Tunison, died on 19 October, just a few days after out visit.


Mr. Tunison's work.  He was a talented gentleman.


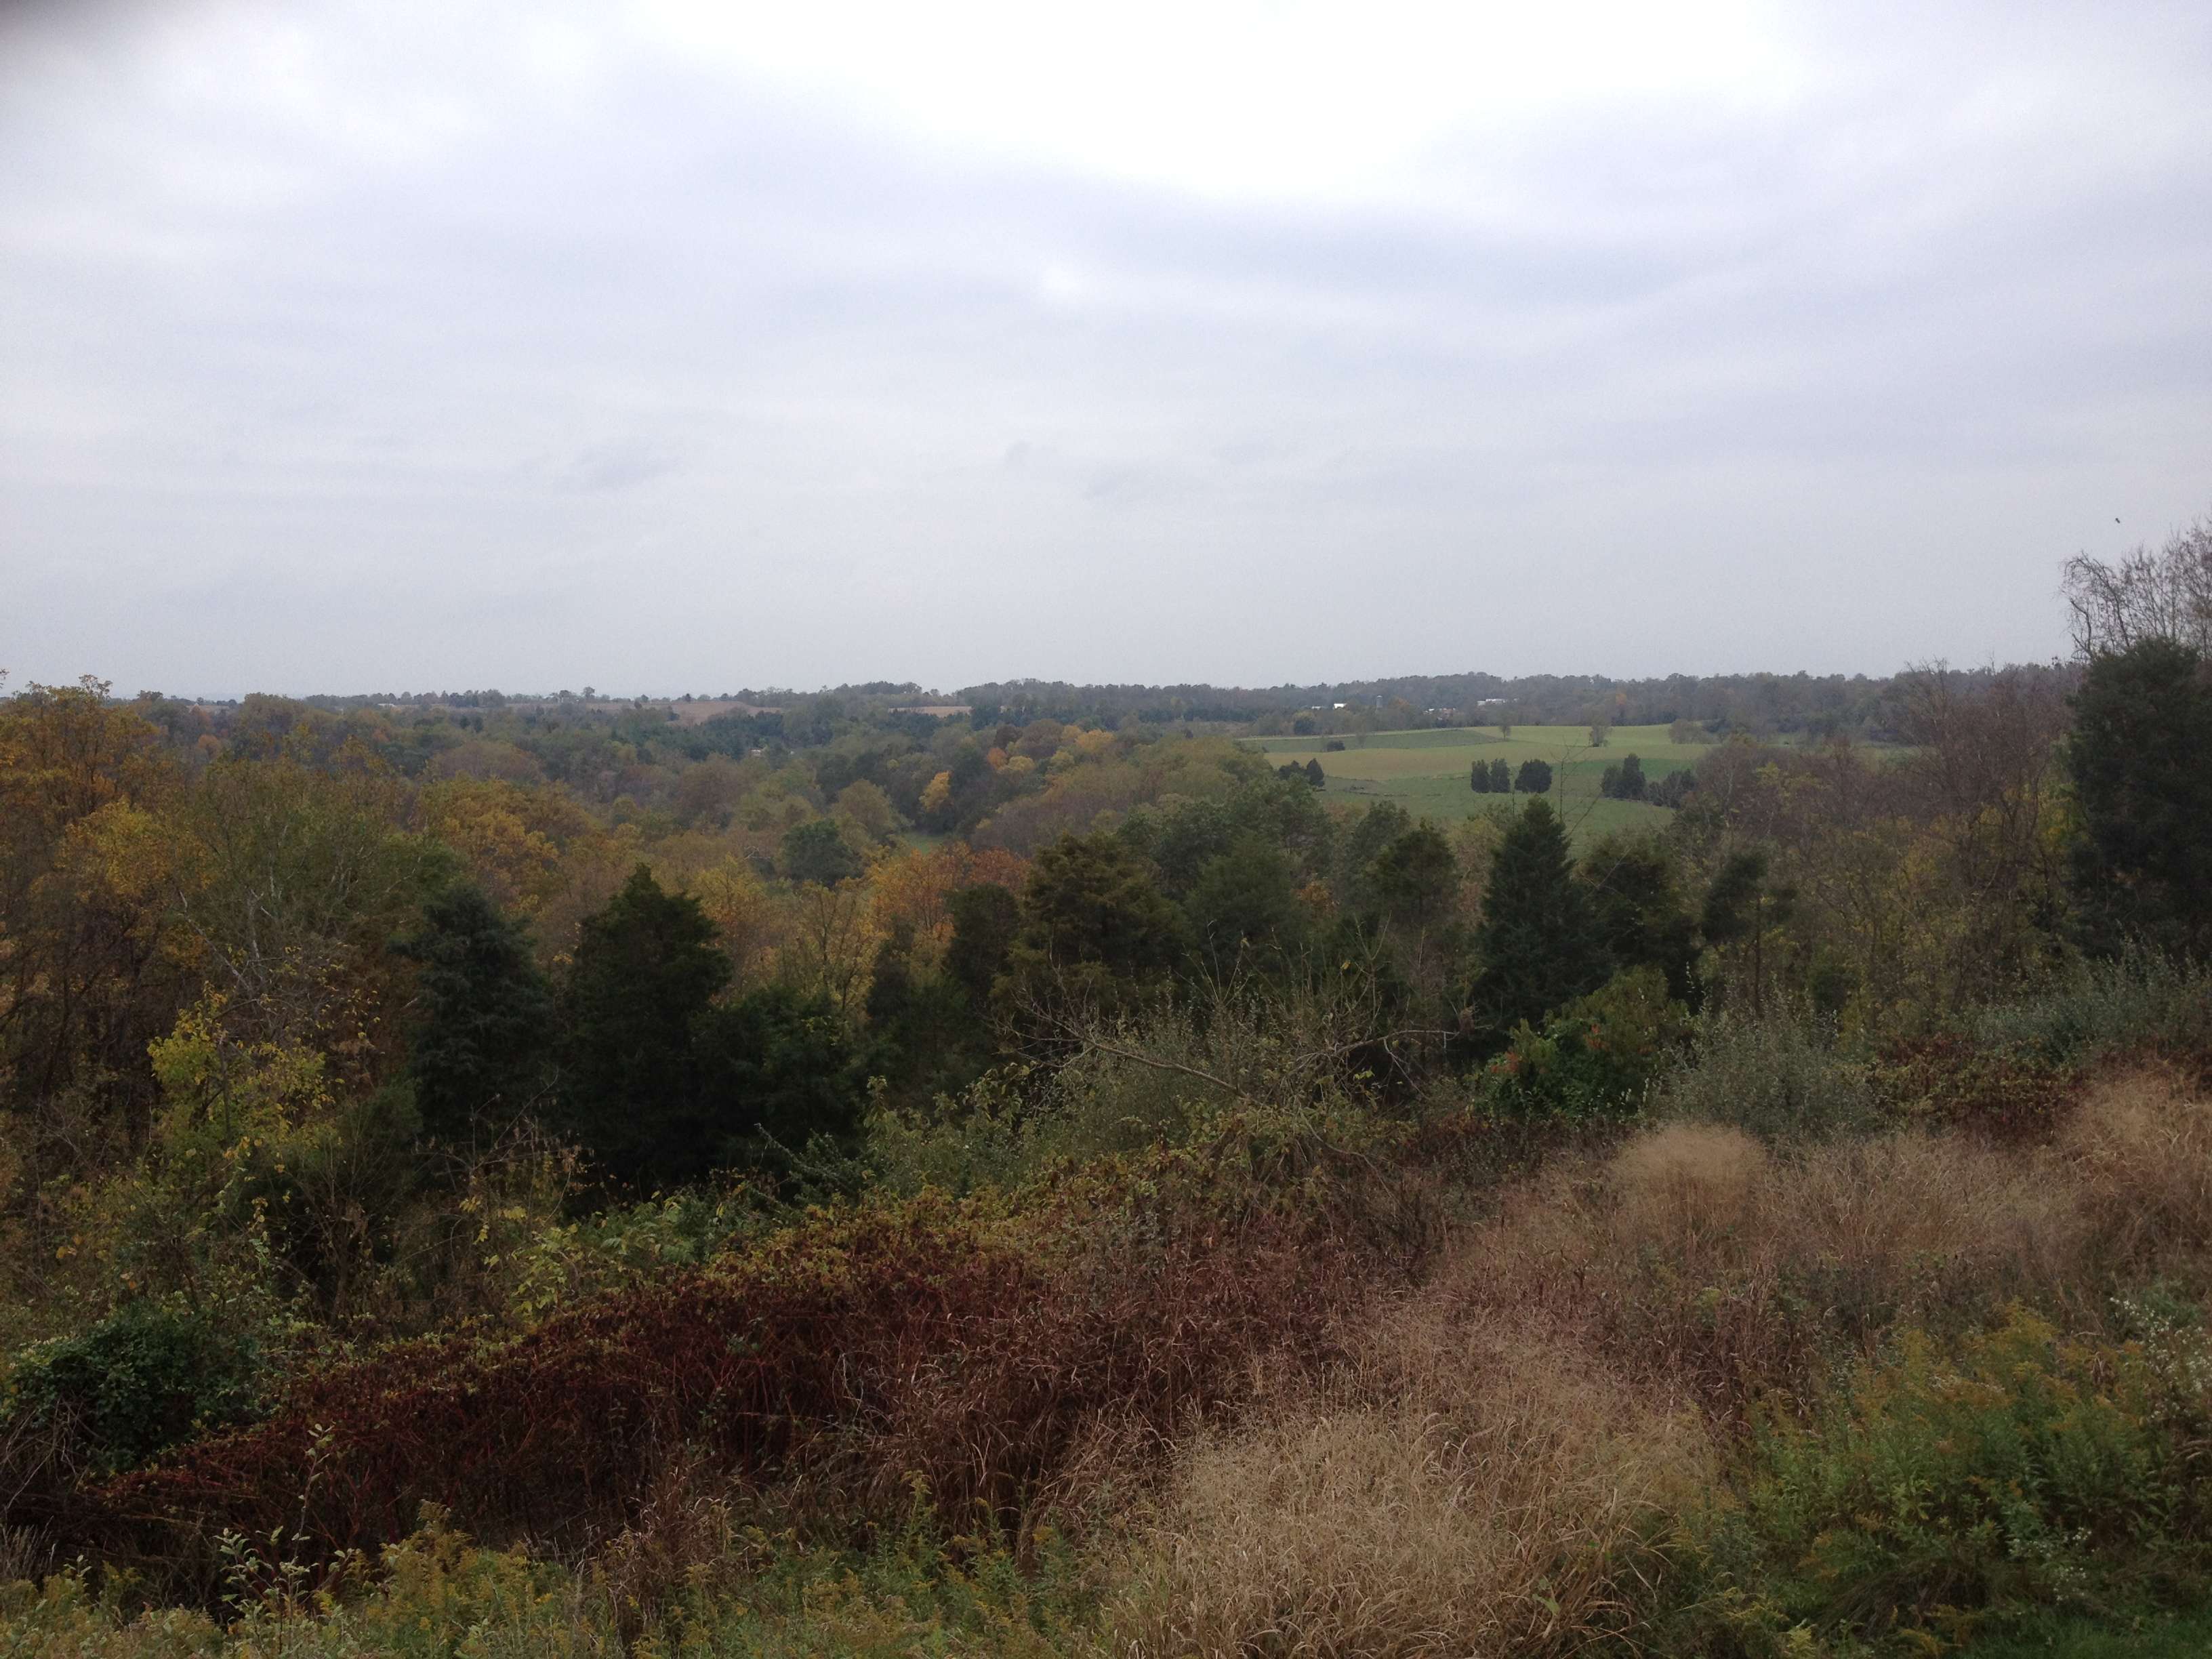
This picture was taken from the grounds of Union commander McLellan's HQ at the Pry House, on the east side of the Antietam creek, looking west towards the cornfield and the East and West Woods.   McClellan never stirred from these grounds during the battle, relying on couriers and signallers to manage the battle.   You can judge for yourself how effective a 19th century commander would have been in such a position, managing a battle a mile distant.    In his Antietam book, Landscape Turned Red, Stephen Sears calls McClellan a spectator of the battle, and quite rightly so, I think.   McClellan never managed to send more than 20,000 men into the fight at any one time, despite outnumbering Lee's Army several times over during the whole battle.  By contrast Lee managed the battle directly, positioning himself directly behind his iines and using the turnpike to move and see the situation as required.


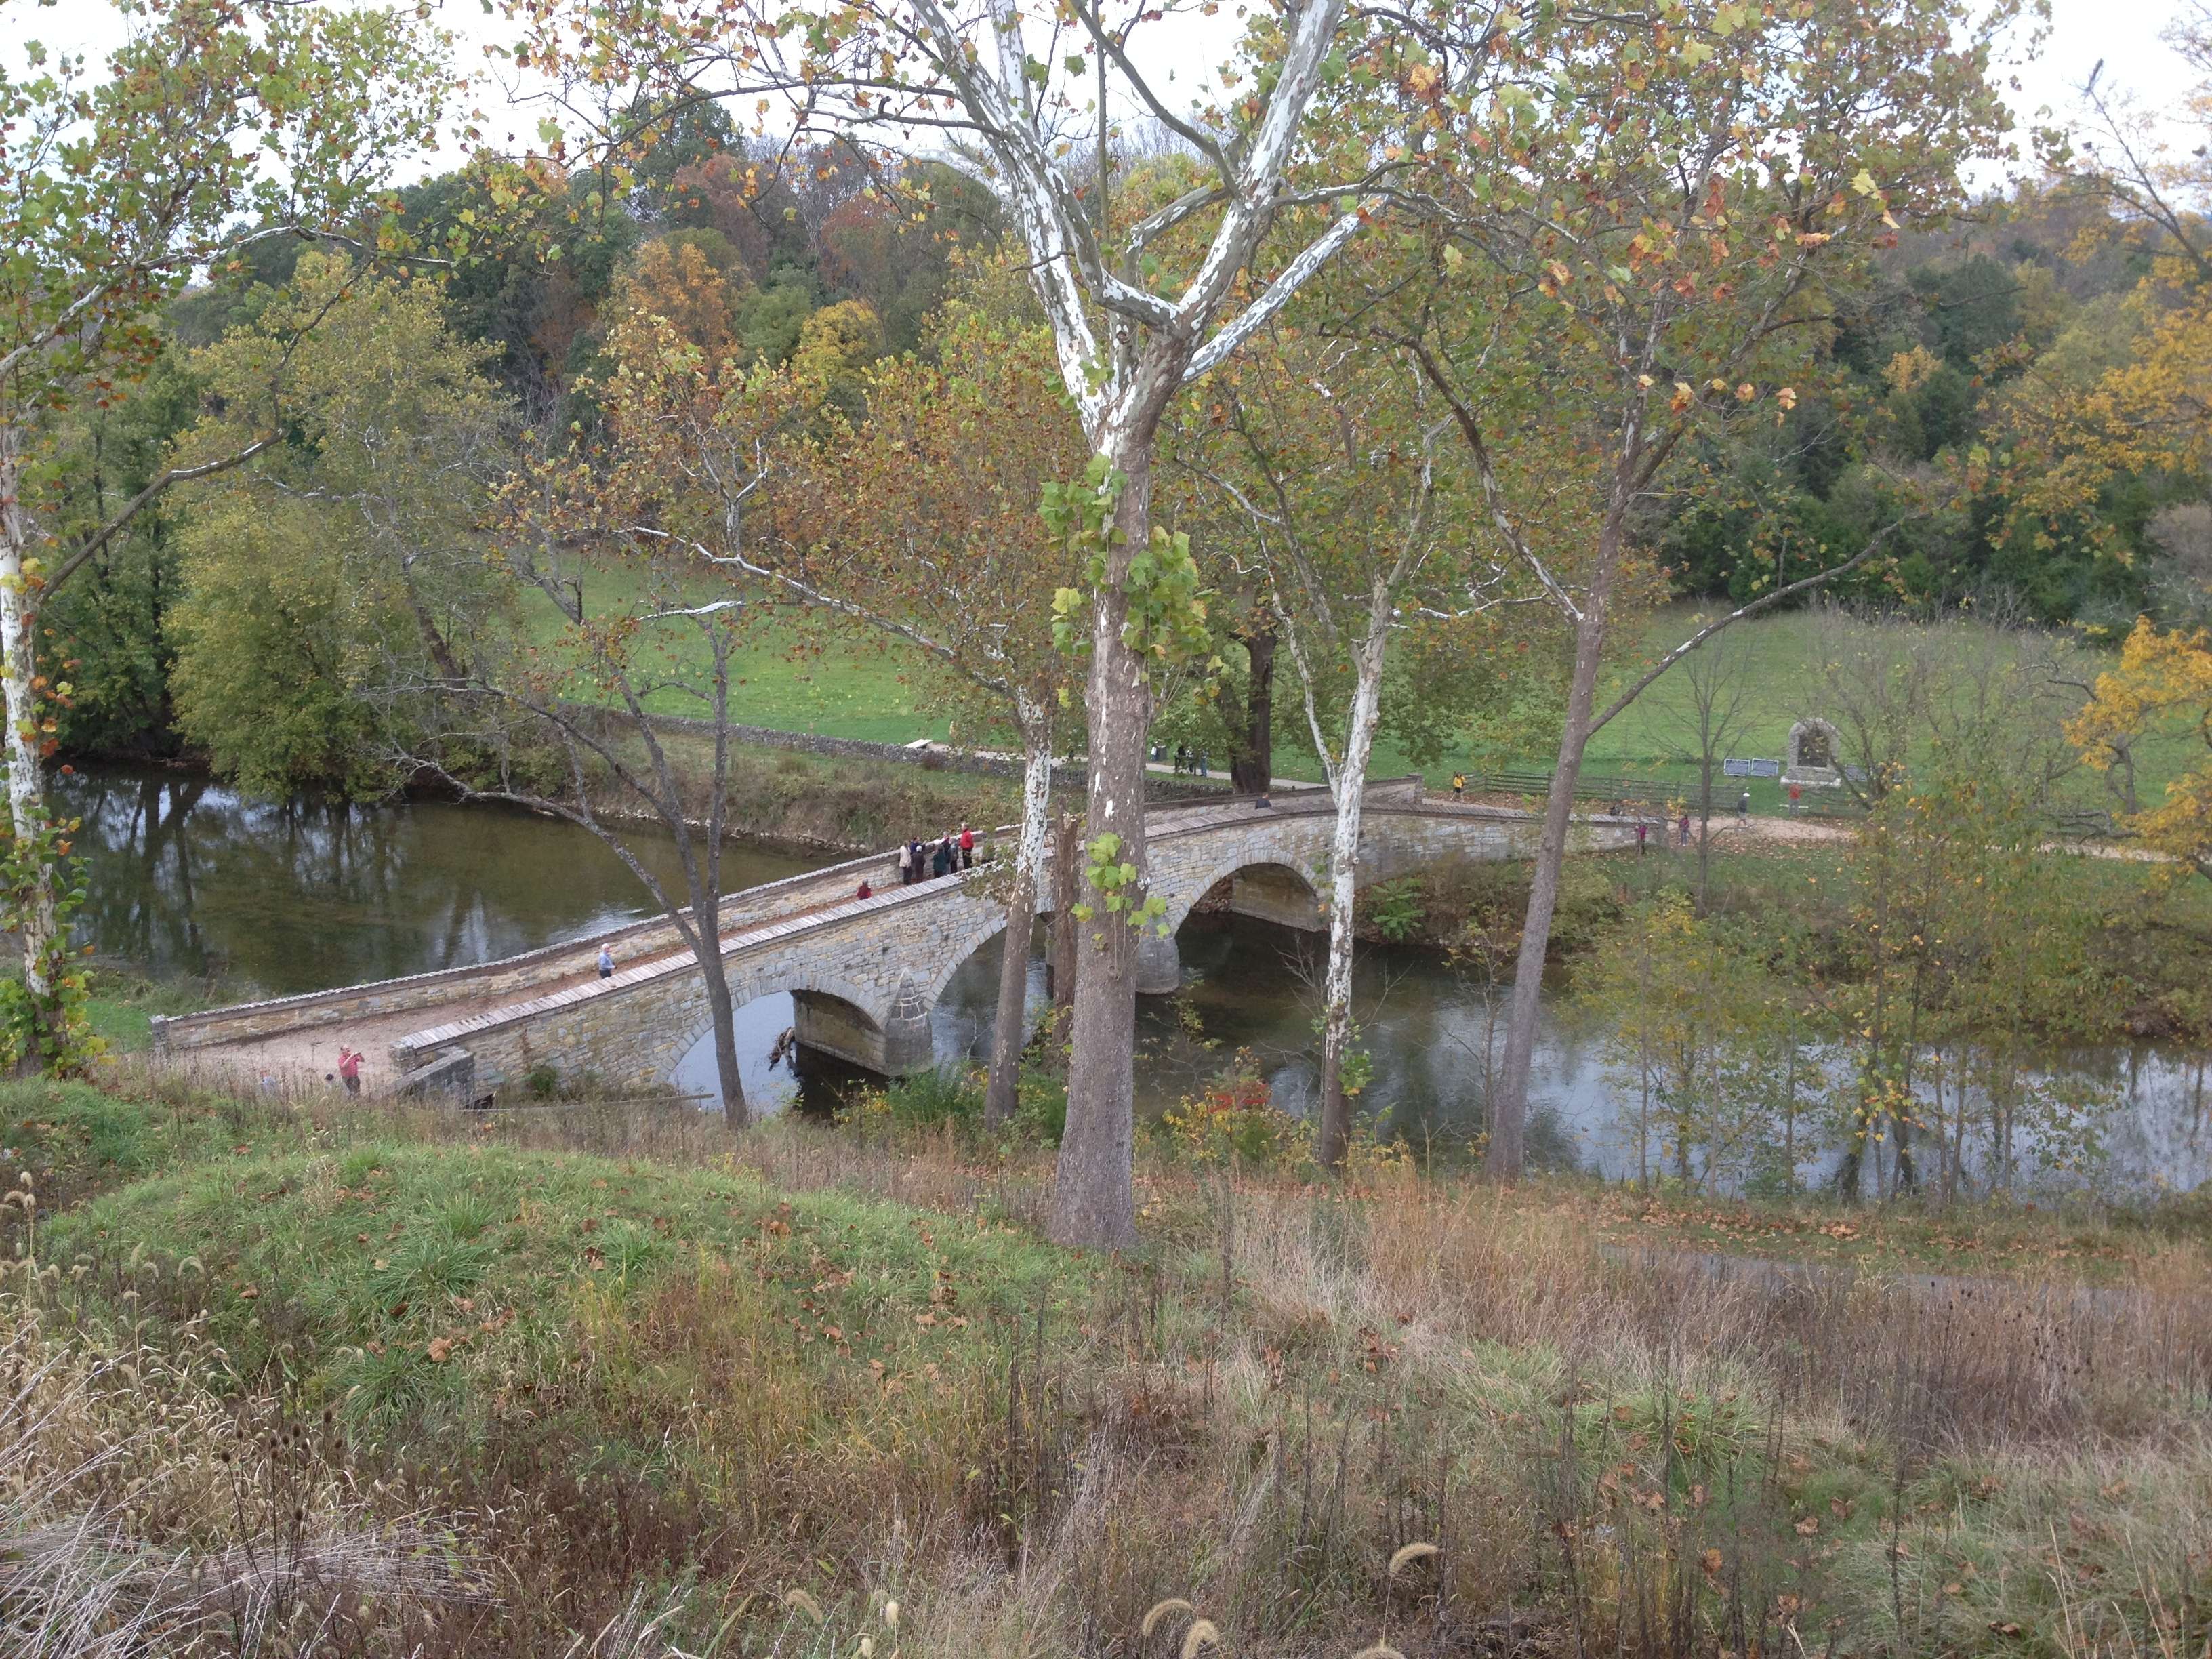
The famous Burnside Bridge, seen from the heights on the west side where a handful of men from two Georgia regiments were able to hold up Burnside's IX Corps for several key hours, allowing A.P. Hill to march from Harper's Ferry and halt Burnside when he finally crossed the bridge and threatened Lee's right wing late in the day.  From this range, it's hard to imagine a trained and experienced shooter, as those Georgians must have been, from missing his target.

 A view across the bridge.   Would you be brave enough to dash forward across this, through a hail of minie balls?   


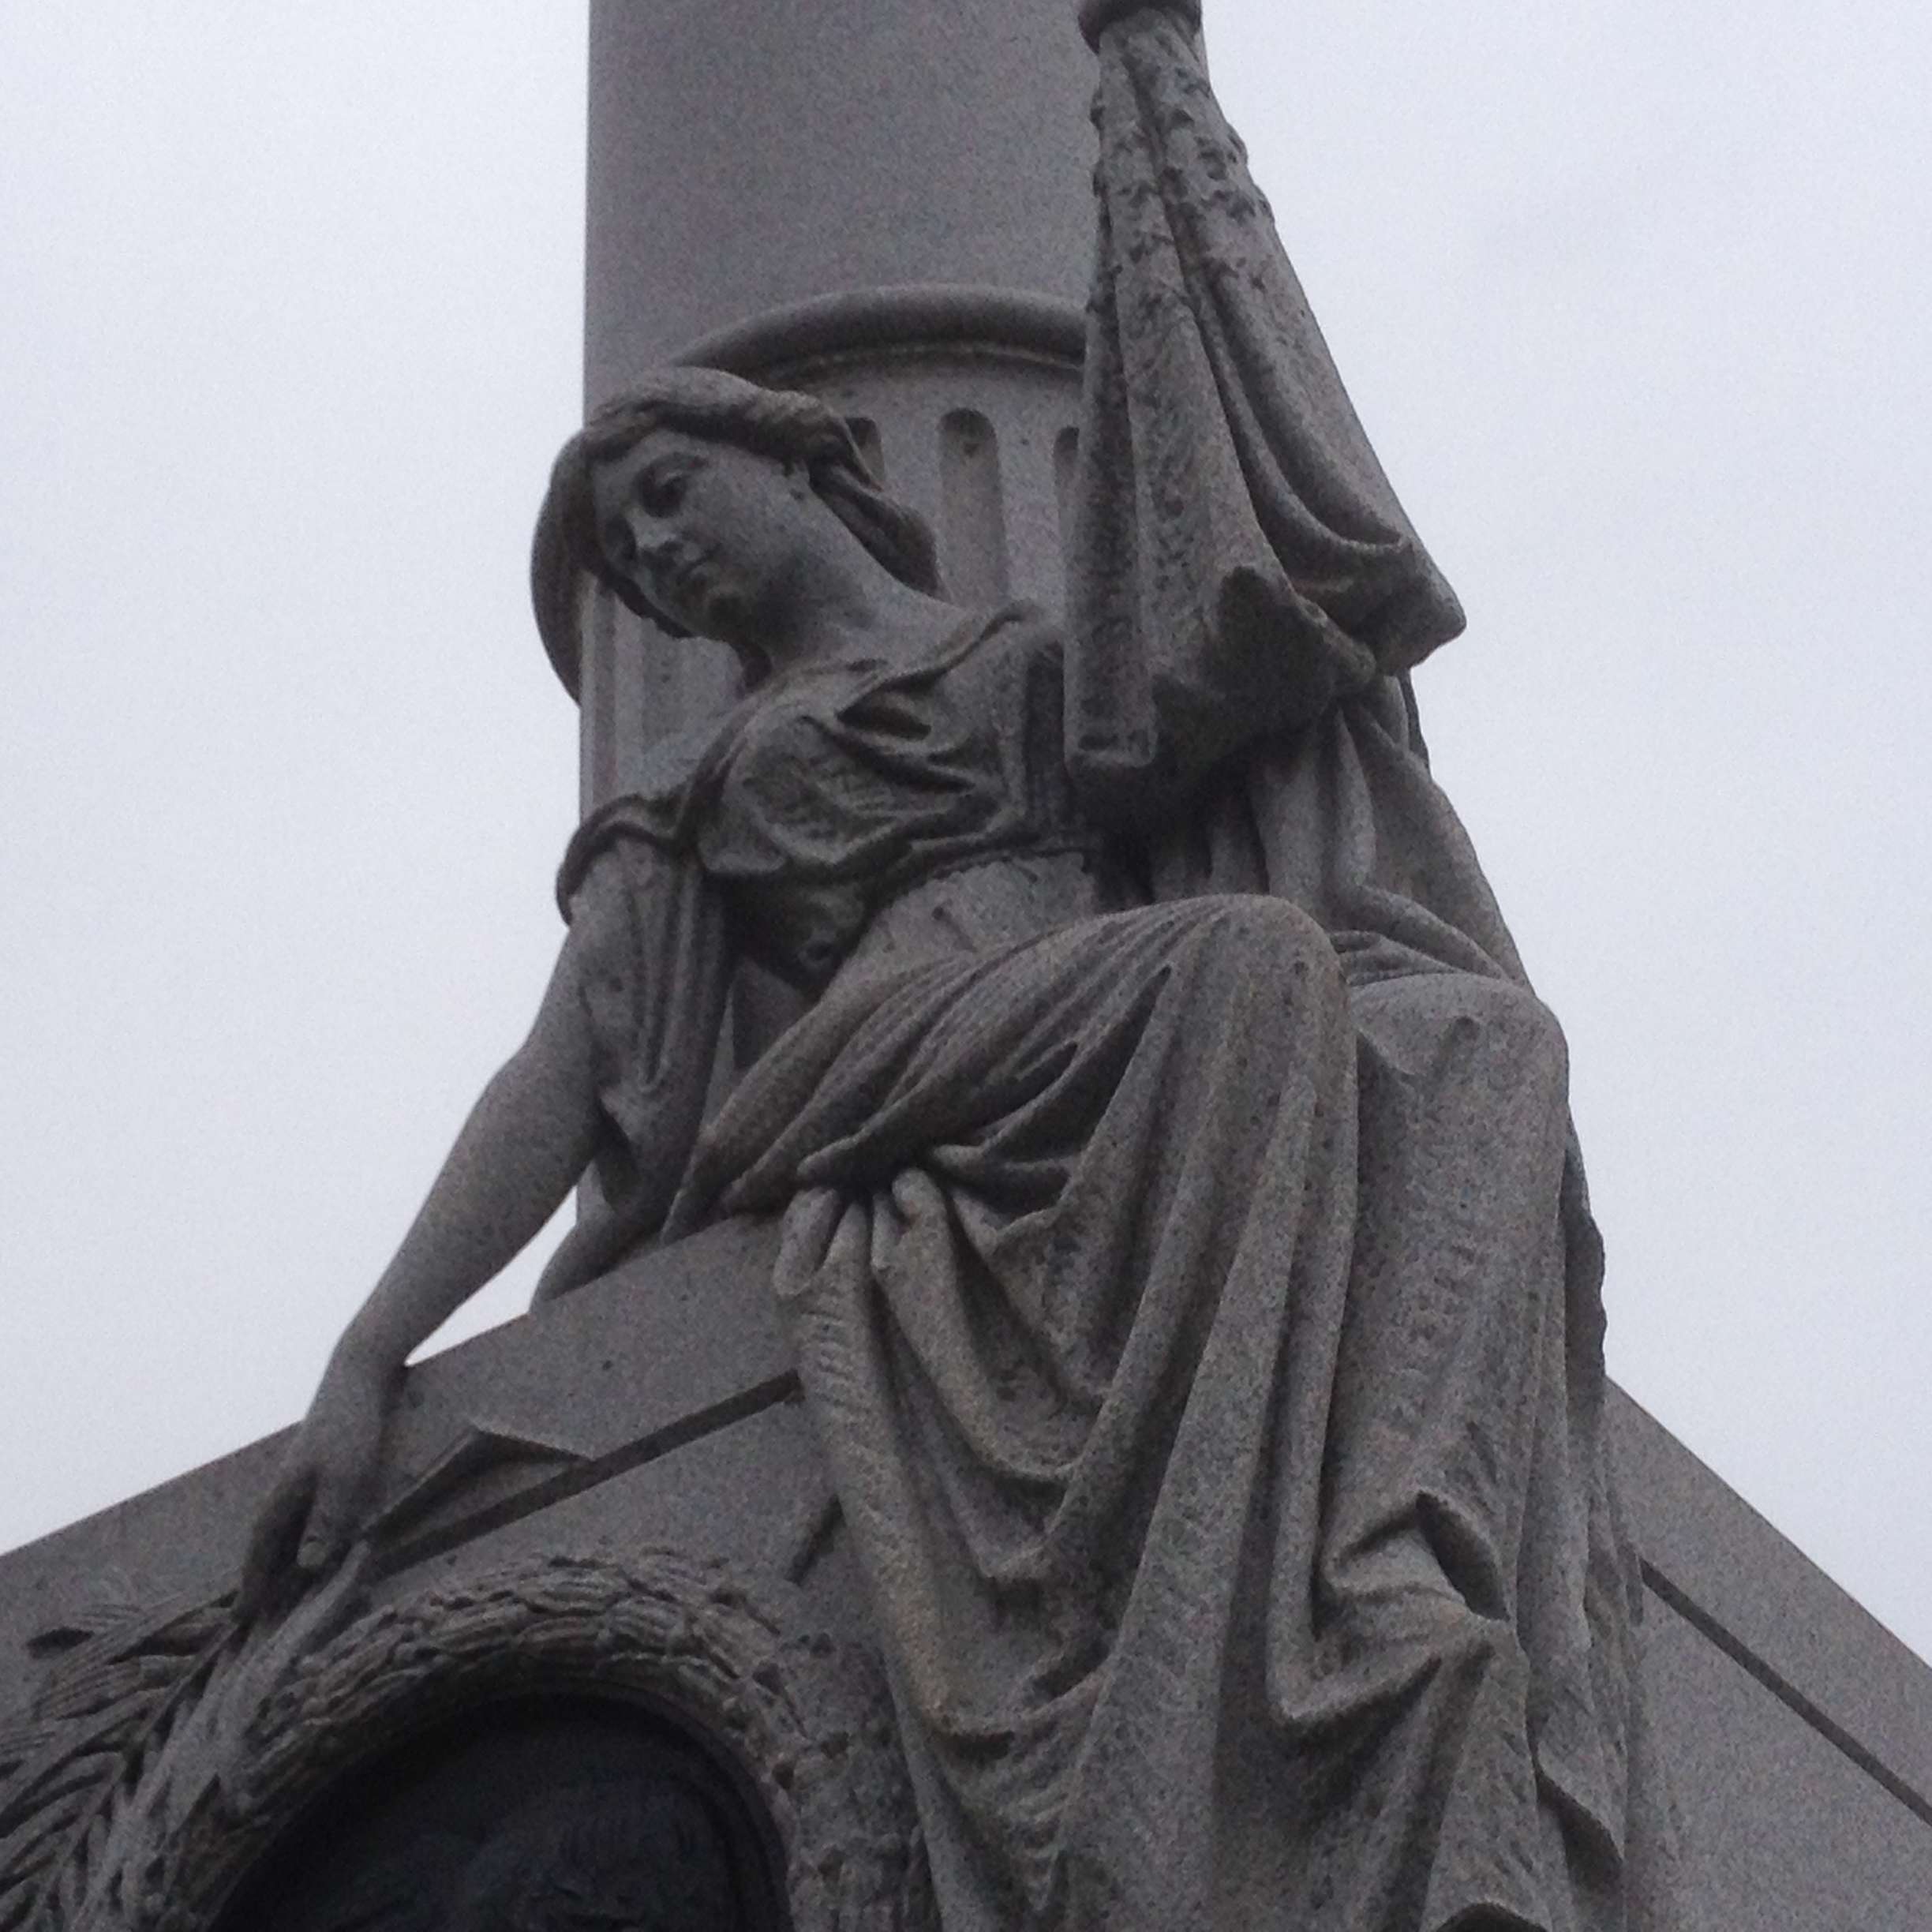
A view of the McKinley Monument, near the Burnside Bridge.   I took it because I thought this comely lass was fetching, though her manner was cold and stony and did promise any dalliance.   McKinley was one of two future US presidents to serve in the Union army at Antietam, the other being Rutherford Hayes.


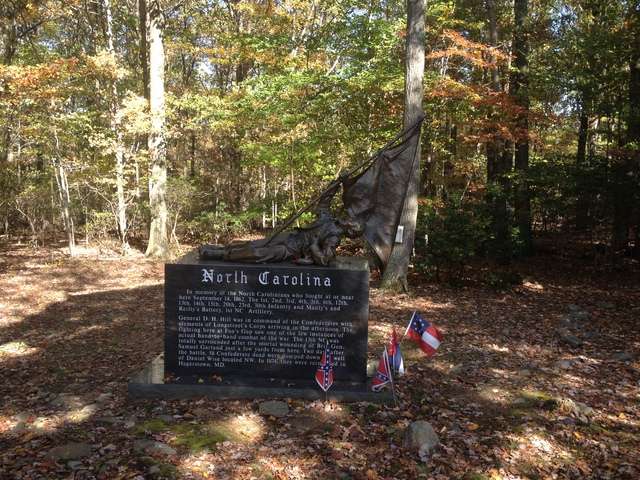
The day after our Antietam tour, before we headed home, Kevin and I visited several of the battlefields that are collectively known as South Mountain.   After he was fortunate enough to learn of Lee's dispositions thanks to the missing orders intended for D.H. Hill, McClellan had the means to destroy the Confederate army in detail, but moved sluggishly.   The next day, Sept 14th, after a long delay, he moved against the small rebel detachments holding the three passes through the chain of hills called South Mountain.  This handsome monument at Fox's Gap remembers the North Carolina troops that tried to hold long enough to buy Lee time to regroup.  They might have died in vain, if McClellan had not been more aggressive, but he waiting until the 17th to attack Lee at Sharpsburg/Antietam.  We found this monument after a long walk through some woods, and it was worth the searching.   A Union Corps Commander, Jesse Reno (IX Corps) and a Confederate Brigadier, Samuel Garland, died near this spot on the 14th.


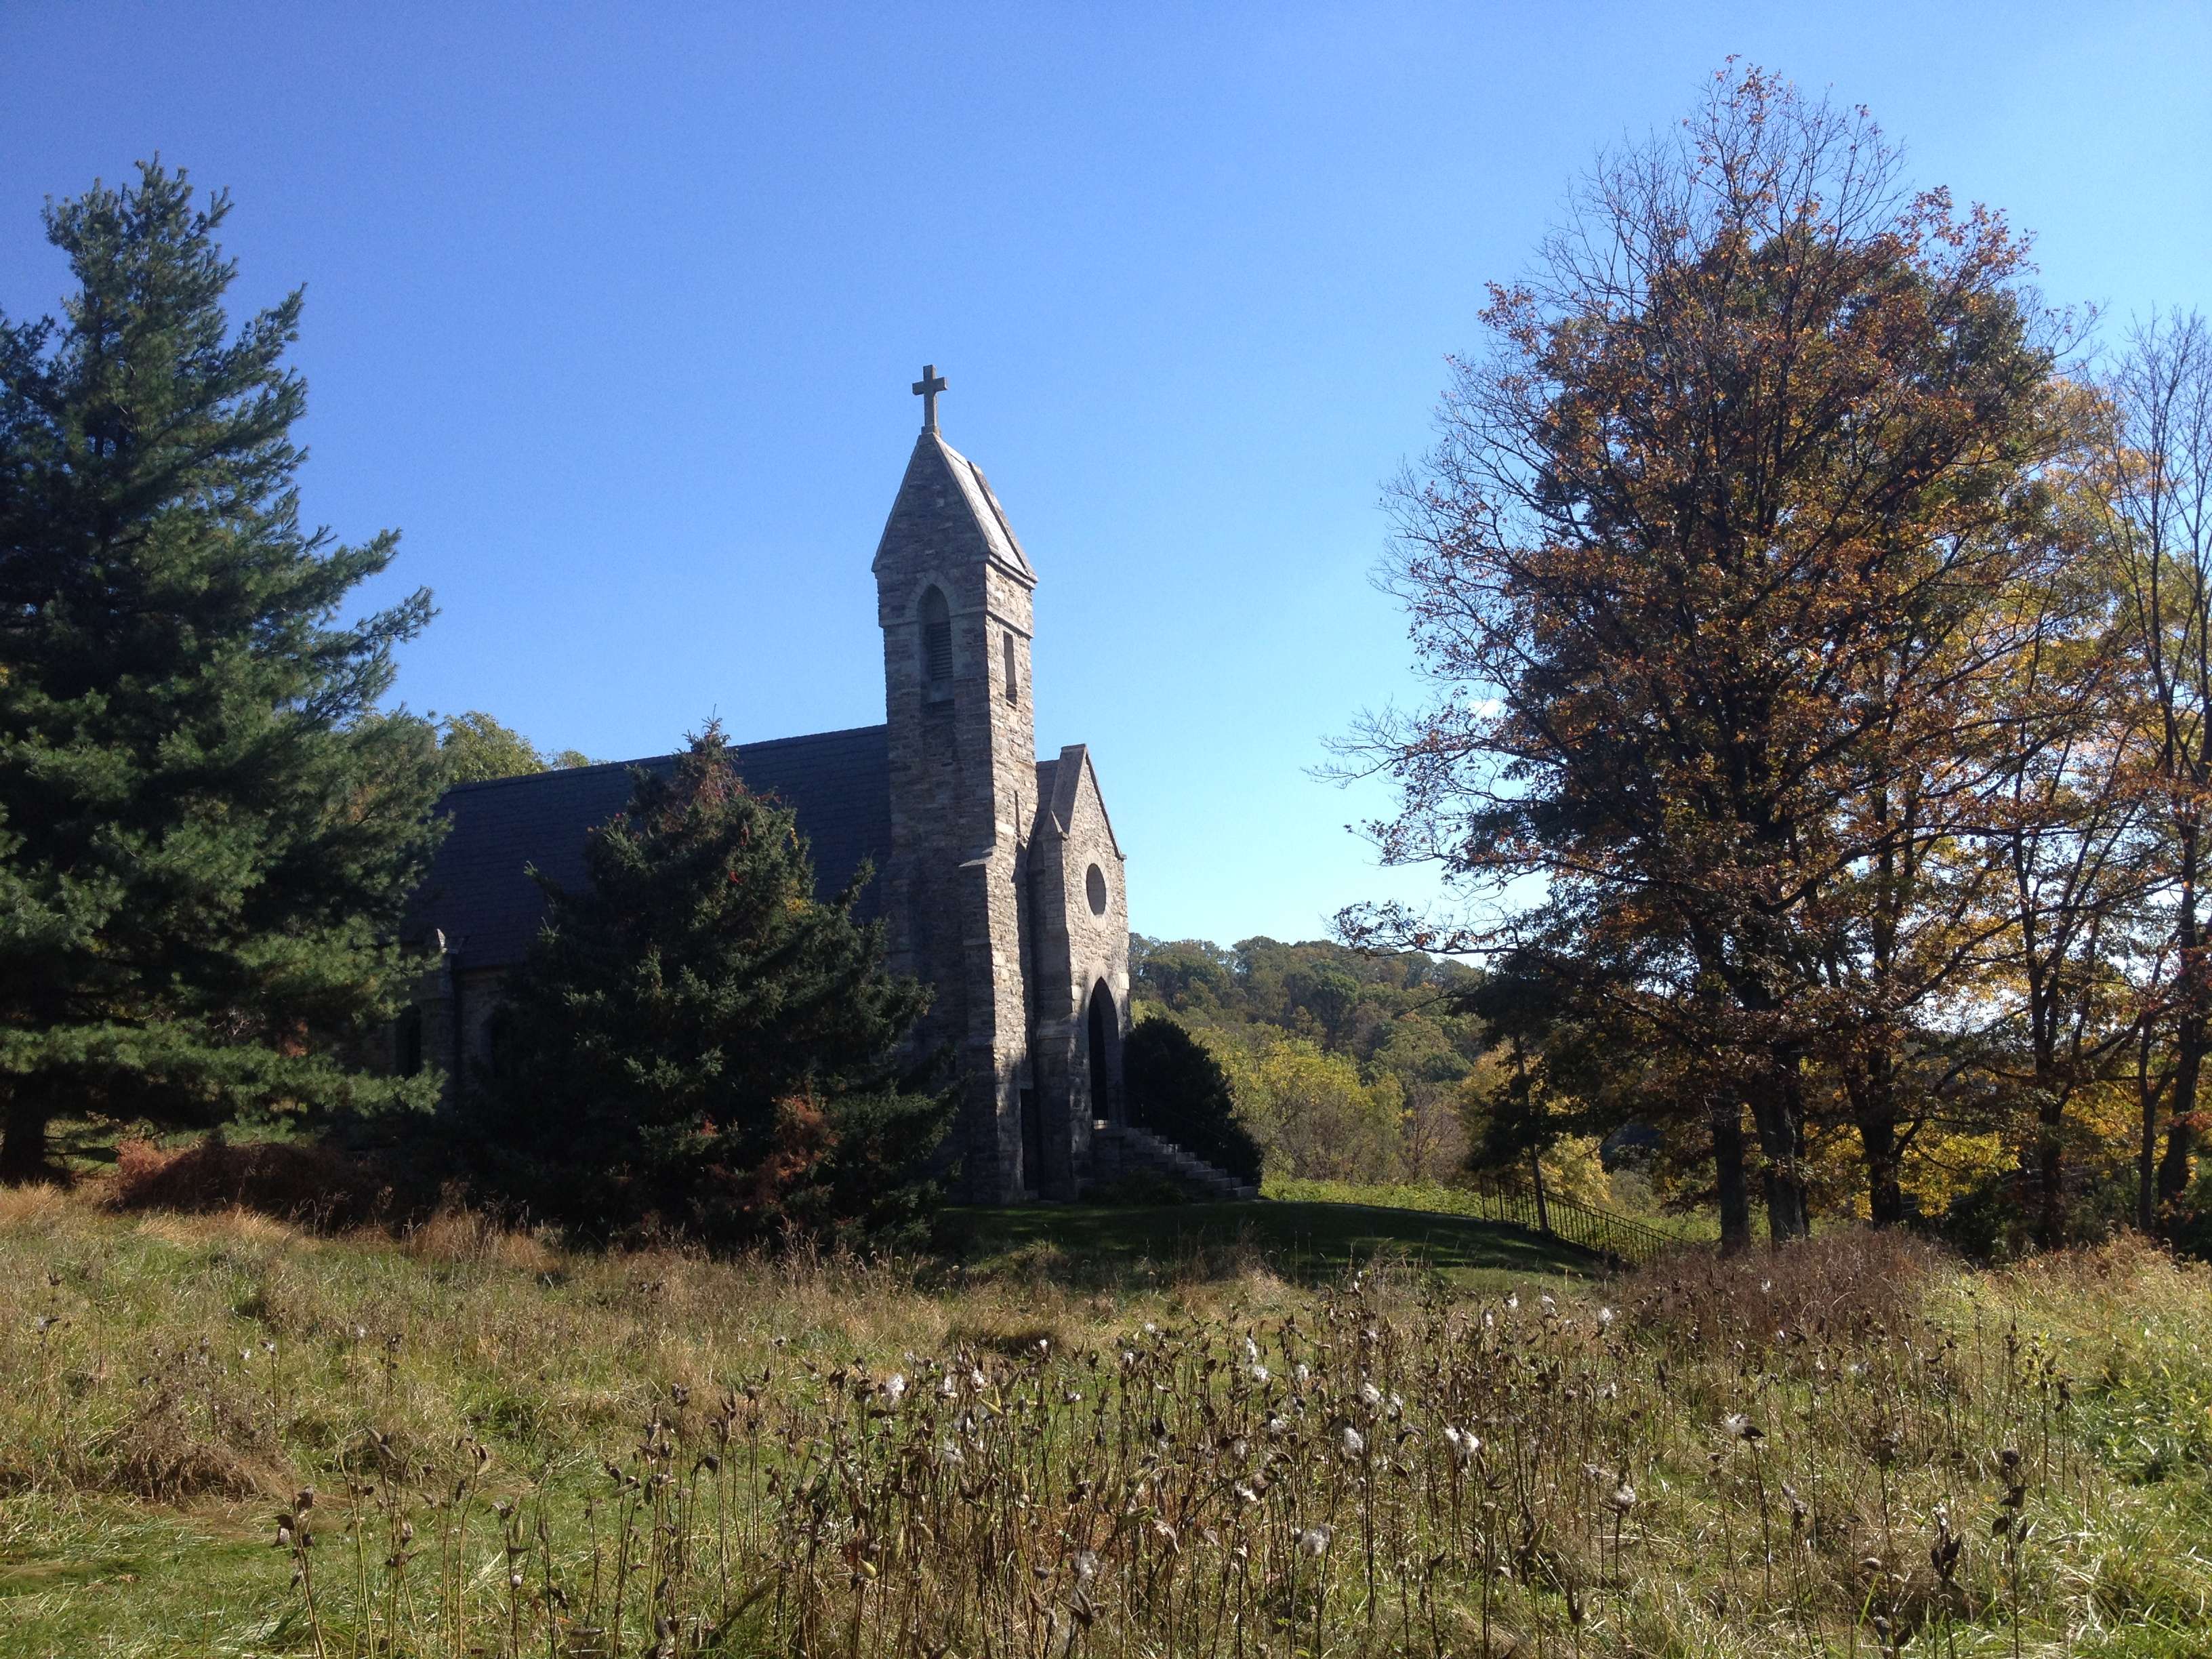
One last picture.   This stone church is found at the summit of Turner's Gap on South Mountain, another skirmish that occurred on 14 September.   I knew nothing about it until I stumbled on it.  It's called the Dahlgren Chapel, built in 1881 in honour of the wife of the Union Admiral John Dahlgren, and for a while was a Roman Catholic chapel.   I j had the chance to walk around it and peek inside the windows.  A lovely place in the Gothic style that is still available for weddings, if you want to get married in Maryland.


 If you are interested in Antietam, I would recommend two books, both mentioned above.  One is James M. McPherson's Antietam: Crossroads of Freedom, a short book that sketches out the battle but does a brilliant job of situating it within the political and military context of 1862.   If you want a blow-by-blow account of the battle, Stephen Sears' Landscape Turned Red is the book for you.   McPherson notes that this battle may well be the most important of the Civil War, because it was the victory that made Lincoln's Emancipation Proclamation possible and thus ended any chance of a pro-Confederate intervention by the great powers of Europe.   While Gettysburg has military significance, Antietam, one could argue, is the battle that effectively ended slavery and thus changed American history forever.   

It's impossible not to walk this battlefield and read about it without concluding that McClellan lost it may times over.   Had he been anything like Robert E. Lee, he would have smashed Lee's army, instead of giving it time to gather and fight for its life.   At every turn, Lee and his generals were active, vigorous, courageous and effective.   By contrast, McClellan's generals were mostly ineffective, timid, or disgruntled with one another and with their commander.   This is a problem that any war-game simulation of the battle has to model, for if the Union player representing McClellan has freedom of action, the battle is pretty much a foregone conclusion.   That is the problem addressed in SPI's famous Antietam monster game,  A Gleam of Bayonets, which sits on my shelf awaiting its moment.  Perhaps when I retire.


Wednesday, April 10, 2013

Battles In Regina: My Excellent Gaming Adventure At Schloss Campbell-Hanks

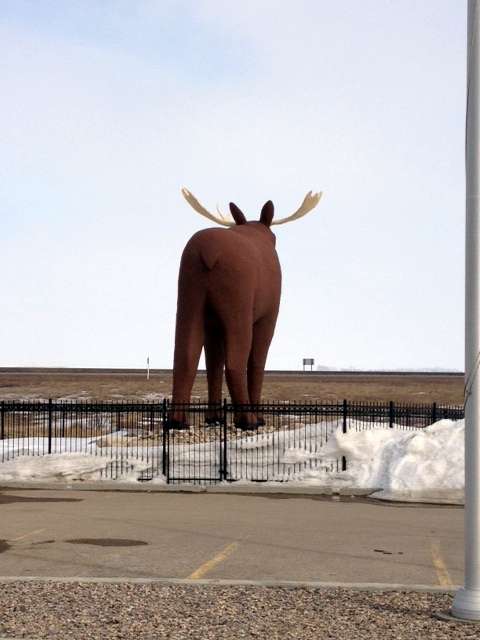
Now it can be told, the tale of how I battled through the frozen wastes of mind numbing emptiness that are the Canadian prairie to the Analogue Hobbies HQ in Regina, Saskatchewan, pausing on the way to draw inspiration from some of the great wonders and shrines that dot the bleak Canadian landscape. Here, for example, is the Great Moose Butt, an object of great veneration whose origins are lost in antiquity.
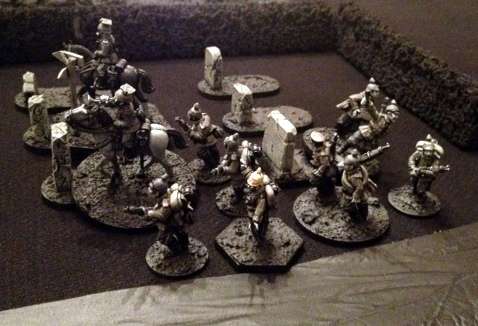
Once comfortably settled into Curt's home, fortified with a giant Meat and Wheat pizza and several cold ones, we settled down to a World War One game featuring kit I have long admired on Curt's blog, his Great War In Grayscale figures. I confess I didn't get these figures at first, but seeing them together with Curt's signature gray and black landscape evokes the period as we know it through period photographs and newsreels, back before the world was in colour (see http://www.cooperativeindividualism.org/political-economy-of-calvin-and-hobbes-1.html). We used the Too Fat Lardies Great War rules, Through the Mud and Blood, and they worked well, providing for a tense and uncertain game.

In this scenario, a meeting engagement set at the time of the Belgian's flooding of the Yser region in 1914, the German objective was to reach a key bridge across a canal, while the Allied goal was to reach a lock station and open up the sluice gates to start the flooding. Since the German objective was on the Allied start line and vice versa, it made for a tense game where both sides would have to move swiftly and decisively, while overcoming that great foe of mobility, the machine gun. Here the Belgians use their deadliest asset, an MG-equipped armoured car, to check Gernan scouts occupying a church and churchyard in the centre of the table. Desite its fierce appearance, the armoured car was a bit of a bullet magnet, and wasn't all that effective.

Reinforcements kept arriving and being fed into the fight. Here Curt's dog-drawn Belgian MG and team moves up beside a lovely piece of terrain, made by Kobblestone Castings, very nice kit. The dog gunners were commanded by y Allied counterpart, Sylvain, while our German opponent was Curt's friend Stacy. Now Sylvain's habituary caution is legendary among his gaming friends, and this block of townhouses was irresitible to him. Leaving the dogs to frolic in the adjacent leash free park, Sylvain sent his machine gunners to the top floor to smash windows, set up a field of fire. A squad of tough Highlanders, also under Sylvain's command, later vanished into the same buildings, apparently in search of liquor, and were never seen again.

Stacy's troops hunkered down in the churchyard and engaged in a duel with the Belgian machine gunners. While they took some stick they repeatedly got the better of things and drove the Belgians away from the window in showers of flying lead and broken glass. Stacy's main effort was in the center, allowing me to gradually slip a squad of raw but enthusiastic Belgian infantry around and into position, had we time for a few more turns, to make a run for the lock and open the sluice gates. It was a near run thing and the battle gave a good feel of how the early fighting of 1914 quickly ended in bloody stalemates. A great treat of a game.
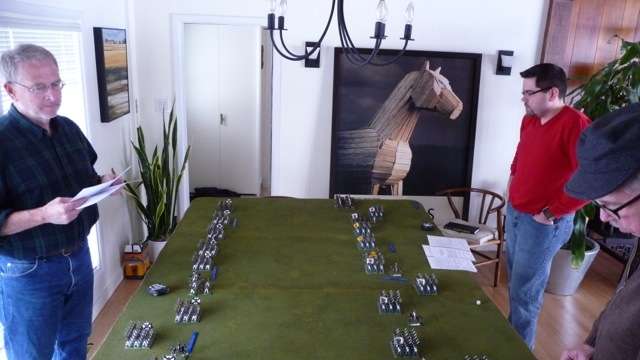
On Saturday afternoon Curt's friend John Bertolini drove down from Saskatoon to host our second game. John was described by Curt's wife Sarah as a true renaissance man, and I agree. A carpenter, scholar, raconteur, as Sarah said, he could make you a house, talk to you in French, and make you a model soldier. In fact, John could make you a house and then FILL it with toy soldiers. The gob-smacking thing about this game was that every one of the hundreds of figures on this table was sculpted, cast, and painted by John.

John explains the rules to myself and to Curt's colleague, Jeremy. The rules were a fairly simple set of generic 19th century rules, from a hardback book of newish publication date, but I'm blessed if I can recall who wrote them. This was Jeremy's first foray into miniatures gaming and he showed himself to be a talented and aggressive commander. We made a good team, unlike, say, Curt and John, who's command was riven with rivalry, recriminations and backbiting, rather like most 19th century generals, come to think of it.
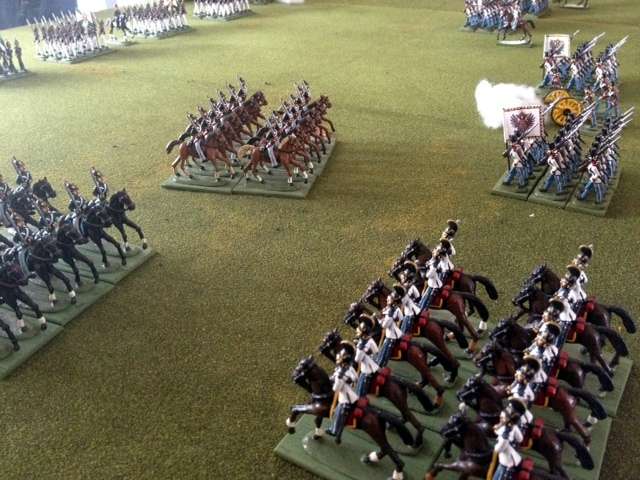
Curt concentrated both of the Russian cavalry regiments on his flank and came in hard against me, his left hand regiment braving hails of grape and musket fire.
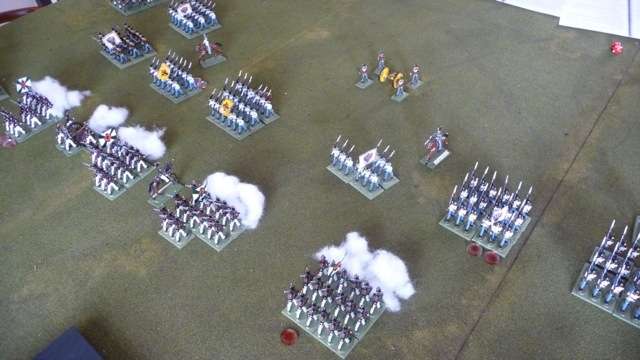
One full and one depleted Russian regiment charge into the steadfast and brave Austrians. Curt's sexy Litko markers are on display here. This charge began a running fight that would last for practically the entire game, with charges being made, countered and repulsed, until eventually a handful of Russians were seen off by a slightly larger handful of Austrians.

Meanwhile, Jeremy resolutely took the fight to John in the centre, lowering his head and wading in through a flurry of blows like a boxer. The Austrians closed to musket range, shook into line, and slowly won a brusing firefight that left most regiments on both sides sadly depleted. However, at the end of the day, we decided that it was an Austrian victory. It was a truly enjoyable fight, the kind where both sides sense victory drawing near and then slipping away repeatedly, and with the outcome hanging in the balance for much of the game. For me, it was one of those rare moments, maybe a once in a lifetime event (unless I go back to Nova Scotia and visit Ross McFarlane) where every figure on the table is, from start to finish, the work of one fellow. Truly inspirational.
Following a rest and an excellent salmon dinner from Sarah, Curt and I welcomed his friend Peter Douglas. Readers who followed this year's Analogue Hobbies painting challenge will recall seeing many of Peter's great WW2 ship models on display. My experience of painting naval models is limited to a handful of larger (1/600) scale ships, but Peter makes the painting and basing look easy. Peter's scenario was based on Savo Island at Guadalcanal, transposing the Italians for Americans and the British for Japanese. In our game a Royal Navy task force of cruisers and destroyers was using the cover of darkness to attack an Italian landing force somewhere in the Med. The Regio Marina Italia was defending the troopships with a similar but slightly smaller force of CAs, CLs and DDs, and since I was the least experienced player, I was given the Italians while Curt took the helm of the RN. Peter umpired and interpreted the rules (General Quarters III as I recall.

Here I am muddling my way through the initial plotting of moves, trying hard not to do anything wrong such as run aground, shoot my own ships, collide in the dark, etc. I quickly discovered that the Italians were hindered by a lack of radar and much less accurate gunnery.

However, as it turned out, the dark was a two-edged knife. While one of my DD pickets, the Frescia (or Foccaccia as she was rudely rechristened), was hammered into scrap by opponents seen only by their gunflashes, my other picket, Ascari, detected the British at close range while herself remaining unseen. Her captain bravely turned towards the British line, flushed his torpedoes, and then steamed away at flank speed. The results were gratifying, with multiple hits causing fires, flooding and damage to the DD Nubian and CL Euryalus.

Getting caught in the narrows was bad luck on Curt's part, and on the sound theory that all wargaming is essentially role playing, he opted as the RN commander to turn away and not risk further damaged ships that the Luftwaffe might pick off come the dawn. Before he turned away his division fired all their torps, which had the effect of blowing the stern off the exultant Ascari, sinking her outright. The Italian commander, flushed with success, turned away from the fish and put on speed, saving further damage to Il Duce's ships and effectively ending the engagement.

Result, a minor Italian victory, as the two damaged RN ships would have been Stuka bait come the dawn. I greatly enjoyed the GQ3 rules, which Peter explained masterfully. It was a treat to push his lovely ship models around. 20th century naval gaming is something I would love to get into, but have to firmly forbid myself from indulging in. There are too many fun periods, and one must specialize in something. So all told, a wonderful weekend of gaming and good company. Thank you Curt and Sarah, John and Peter for the excellent adventure.
Blog Archive

Followers