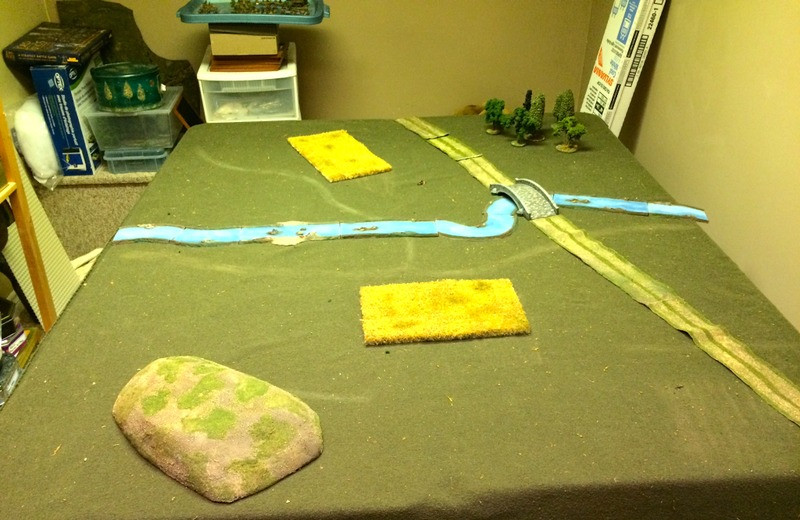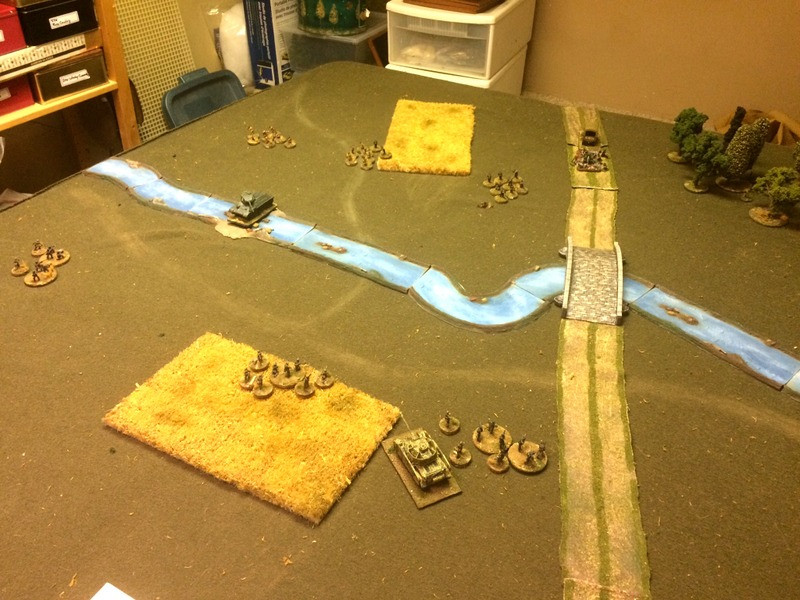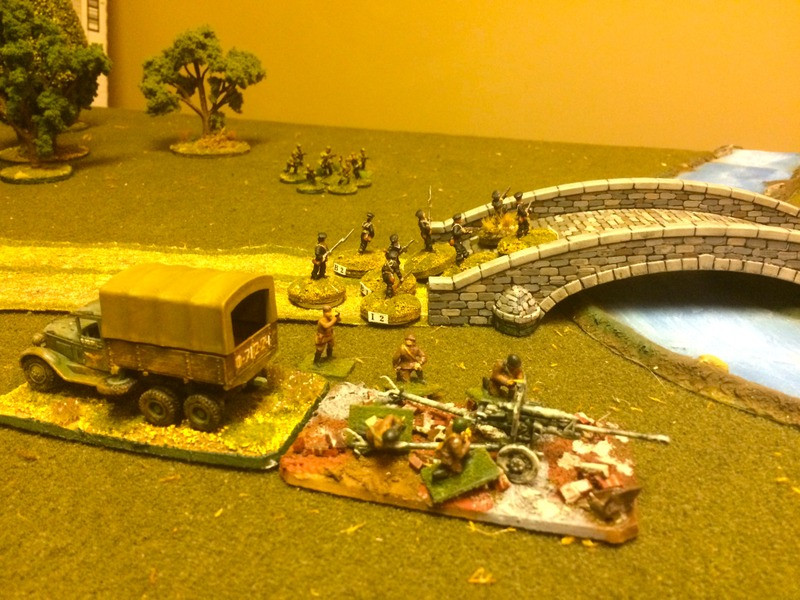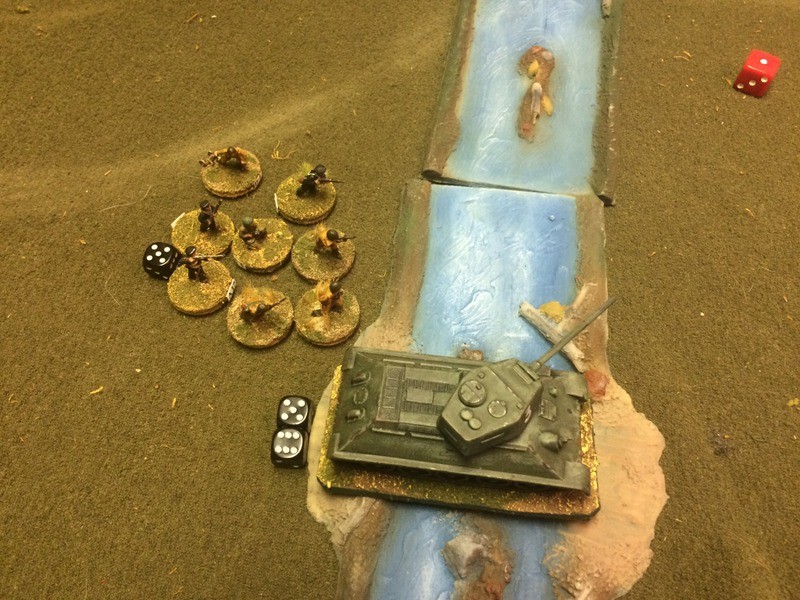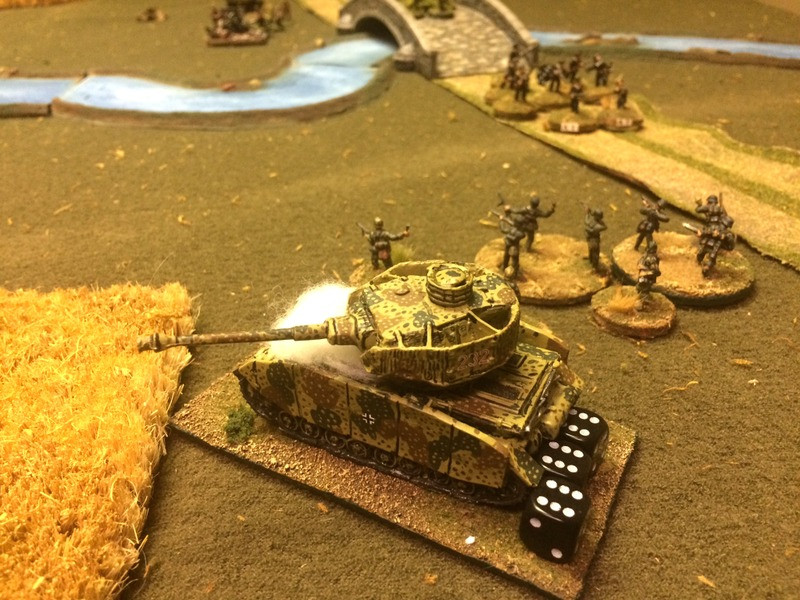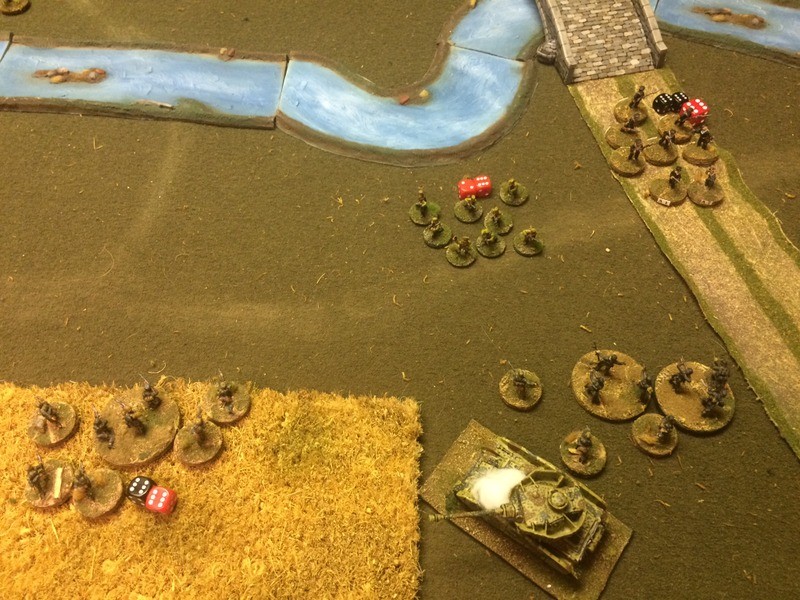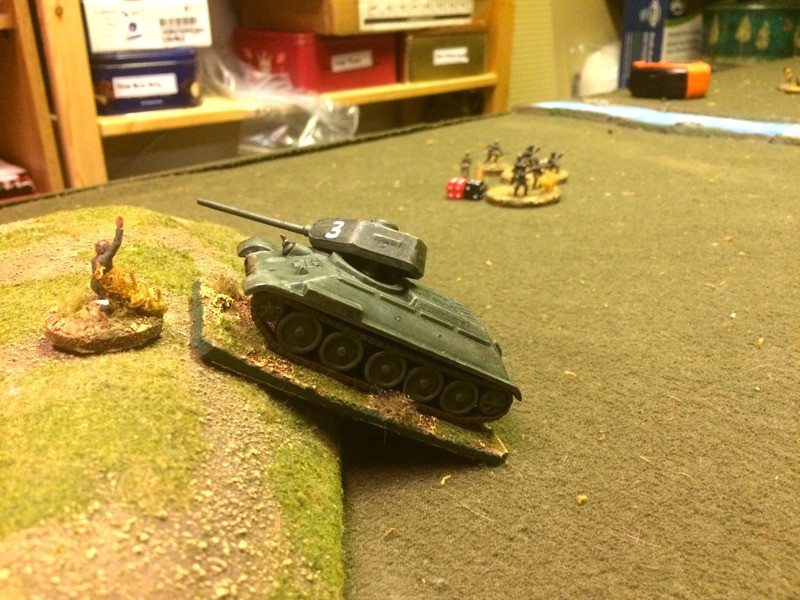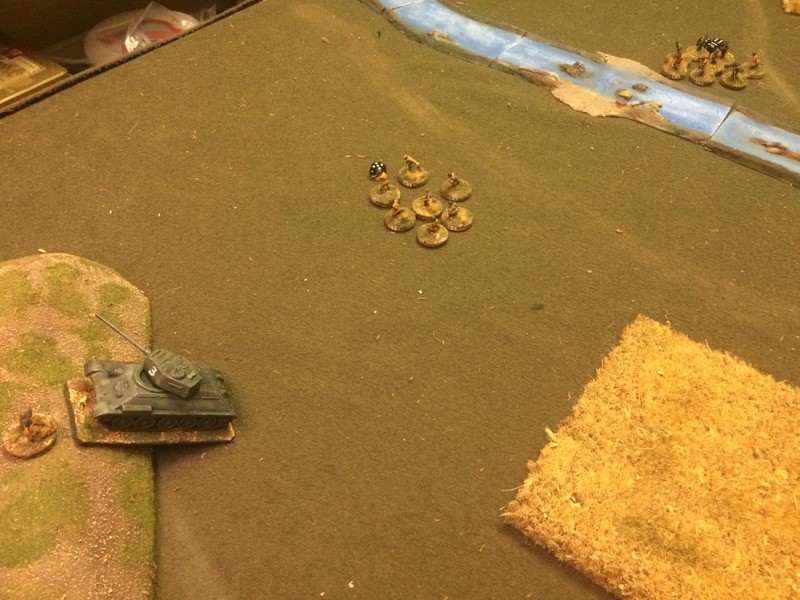
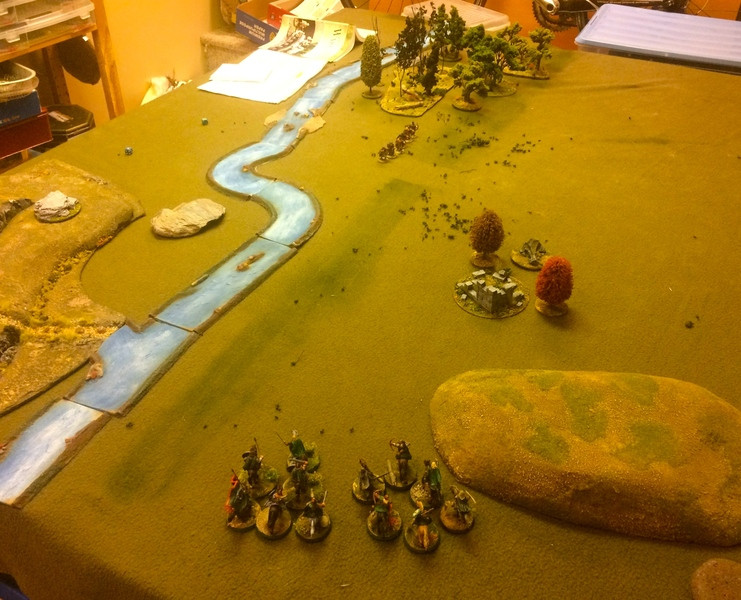
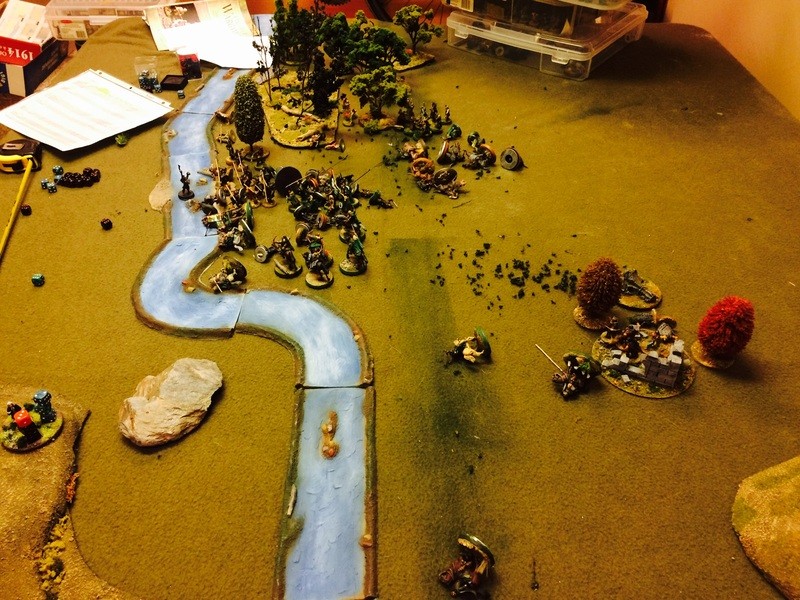
Here’s a quiet afternoon to report on a solitaire game I played recently, using Dragon Rampant rules but with a scenario from Neil Thomas’ One Hour Wargames. I chose Scenario 5: Bridgehead, in which Blue is trying to cross the river below from left to right, while the Red army has units arriving from several sides of the table to the right of the river to try and throw Blue back. Victory is achieved by there being no enemy units on the north bank of the river, within 12” of the bridge”. North is the right hand side of the river in the picture below.
One of the interesting challenges in mating DR with 1HW is that the DR rules end a player’s turn when an activation is failed. With the strictly limited # of turns in a 1HW scenario, I was curious to see whether it was feasible to play DR using a turn limit.
Using 30 points per force, vice NT’s six units per side, I came up with the following.
Blue:
1 unit of 12 SP Bellicose Foot barbarians, 1 Unit of 6 SP Scouts, 1 unit of 12 Orc SP Light Missile Troops, 1 unit of 12 SP Orc Heavy Infantry, 1 unit of 6 SP Orc Heavy Riders, 1 Orc Shaman (lesser wizard treated as a unit of Light Infantry), and 1 unit of 6 SP Heavy Infantry including General.
Red:
1 Unit of 6 SP Elite Riders, 1 Unit of 6 SP Elite Riders with Bows, 1 Unit of 12 SP Heavy Foot, 1 Unit of 12 SP Light Missiles, 2 Units of 6SP Scouts with Sharpshooter upgrade.
The downside to Red’s force selection is that almost half of the points are tied up in the two units of Elite Riders, giving it a smaller force than Blue has. Also, with elite riders activating on a 7+ to move, this tendency to immobility may hinder Red given the limited time (15 turns) to react to Blue’s incursion.
Blue can put one unit on the far side of the ford at the start of the game. I opt for the Scouts. On turn 1, Red, moving second, can bring on two units in one of three randomized locations. The two units of Riders make their activations and are randomly placed bottom right of the river in the picture below.
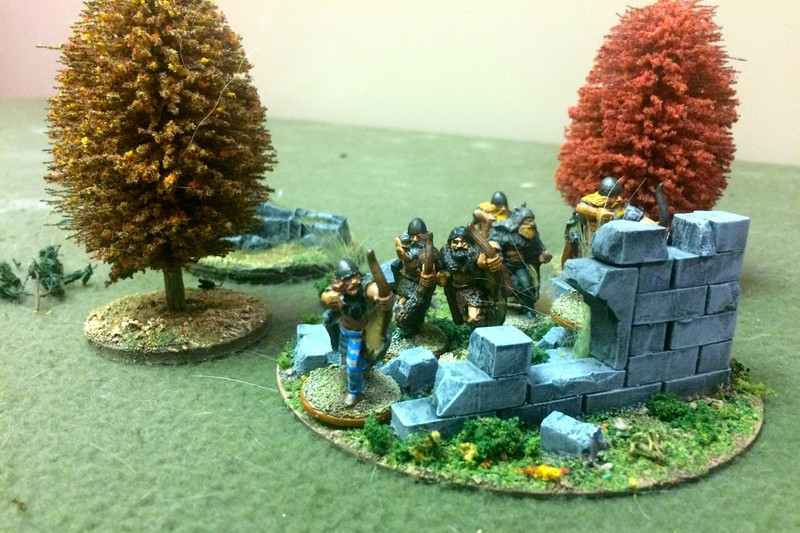
The Bliue scouts have a good run and make it to the ruins. The cover, plus the Scouts bonus of Hard Target vs missile fire, takes their Armour Class from 1 to 3, giving them lots of protection while they try to harass the Red cavalry. Yes, those are my recently painted Vendel hlllmen, while the ruins were scratch built by my friend James.
Turn 3. The Red Elite Riders are stuck where they started, but the Red Elite Riders with Bows are moving forward. Blue makes an activation roll and brings on the Light Archers, moving them towards the ford.
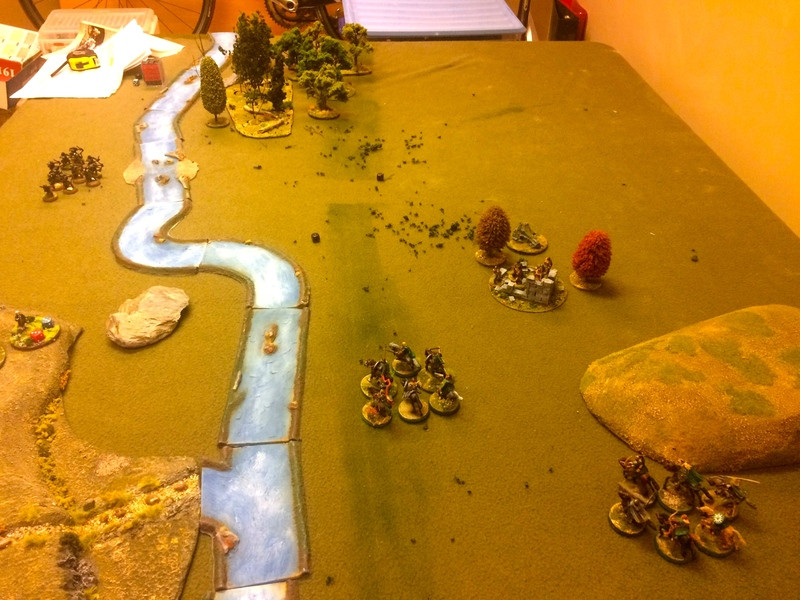
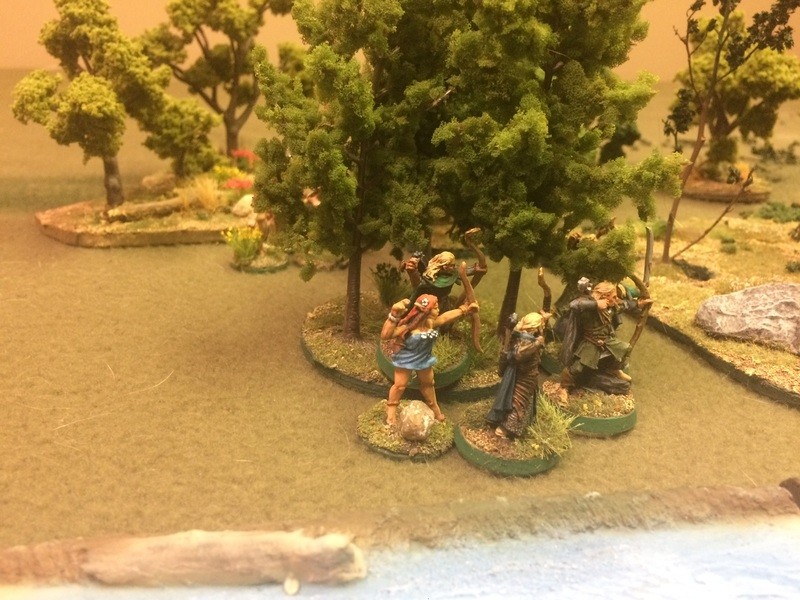
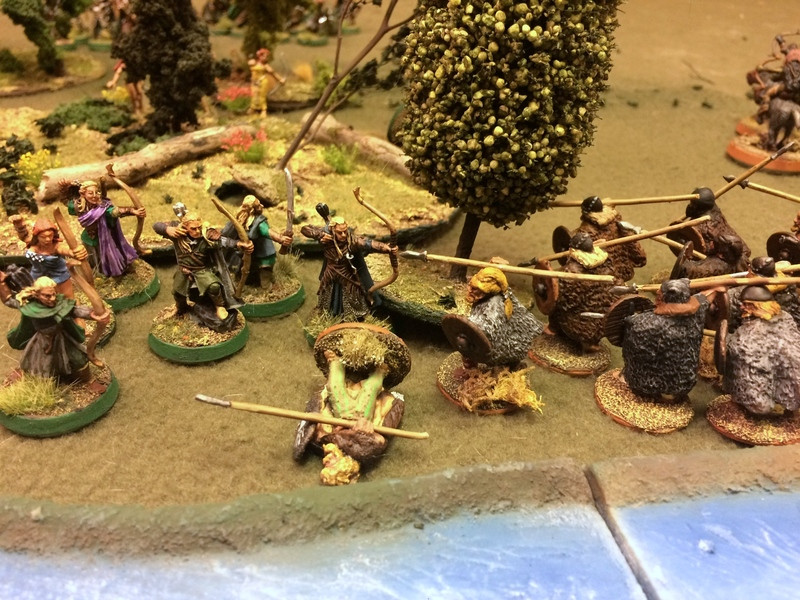
Red’s scouts come on and they use their Ranger ability to flit through the woods, hoping to bring the ford under fire before Blue can start crossing.
Topper, Lesser Catbeast of Mordor, makes an appearance. He looks a little sceptical about the Red plan, but like a good Observer/Controller, he is saving his comments for the AAR.
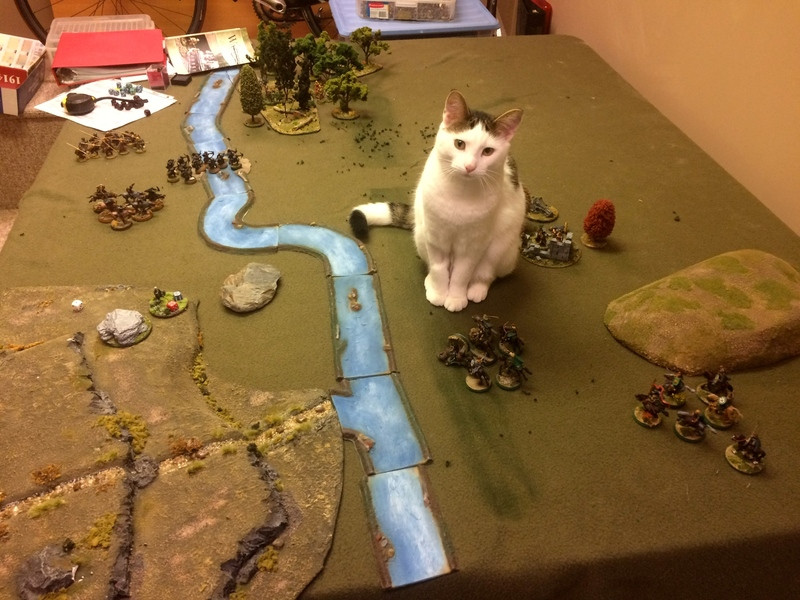
Meanwhile, the Blue archers are crossing the ford, while the Heavy Riders and Bellicose foot are coming on behind them.
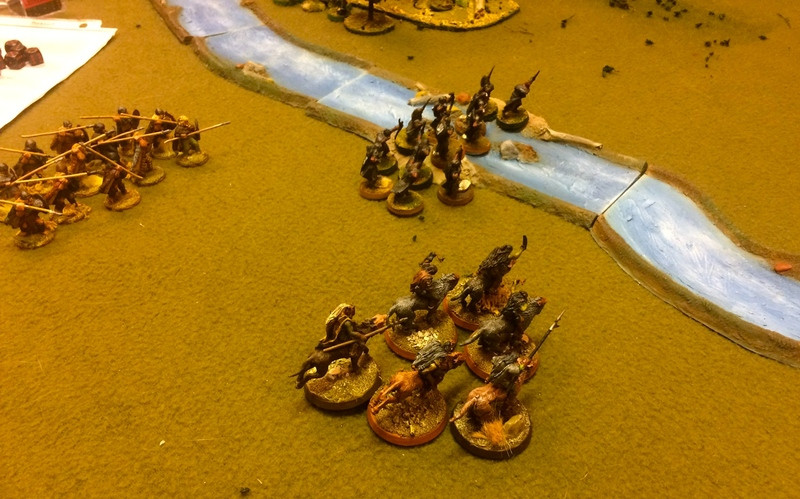
By Turn 8, Blue has had good activation rolls and has four units on the North side of the river. The scouts in the ruins have become battered due to the fire of the Elite Horse with Bows, but they in ten have taken one figure out of both of Red’s Elite Horse units, which was a profitable exchange for blue. Red’s Scouts in the woods have taken a toll of attackers, but haven’t stopped Blue from crossing the ford. The Blue bellicose foot are peeling off to clear the woods, while the Blue Heavy Riders are moving to face both the Red Heavy Infantry and Missile troops. Blue’s archers are facing off against the Red Elite Riders, which have not had much luck making their 7+ to move activation rolls.
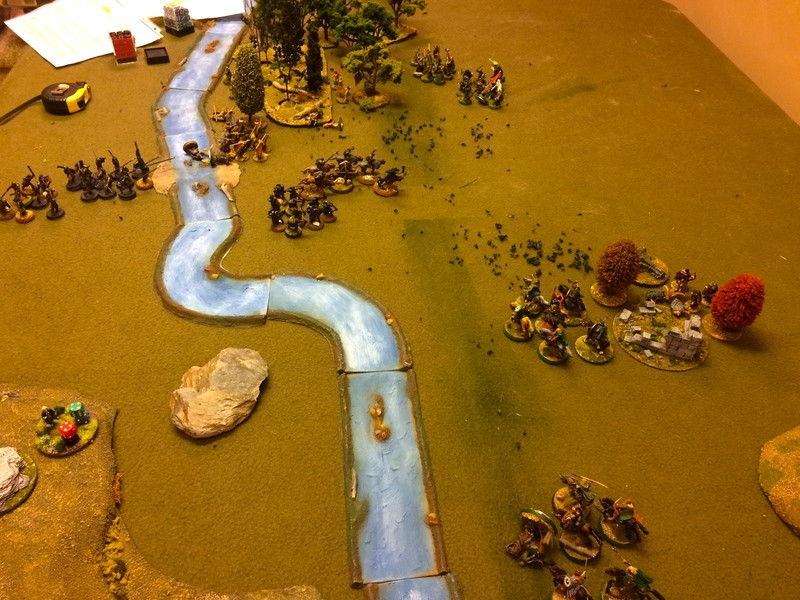
The Bliue Bellicose Foot surge into the woods. Their Ranger ability means that they are not impeded by terrain. The Red Scouts fluff their Skirmish roll and are butchered to a man (err, Elf) by the onrushing barbarians, who do pretty well for a newly painted unit.
By Turn 11, Red picks up the pace, its Elite Riders falling on the lightly armoured Blue archers and annihilating them. Meanwhile, Blue’s heavy riders threw themselves on Red’s Heavy Infantry, supported by their archers. The Blue wolf riders do some damage, but are wiped out in return.
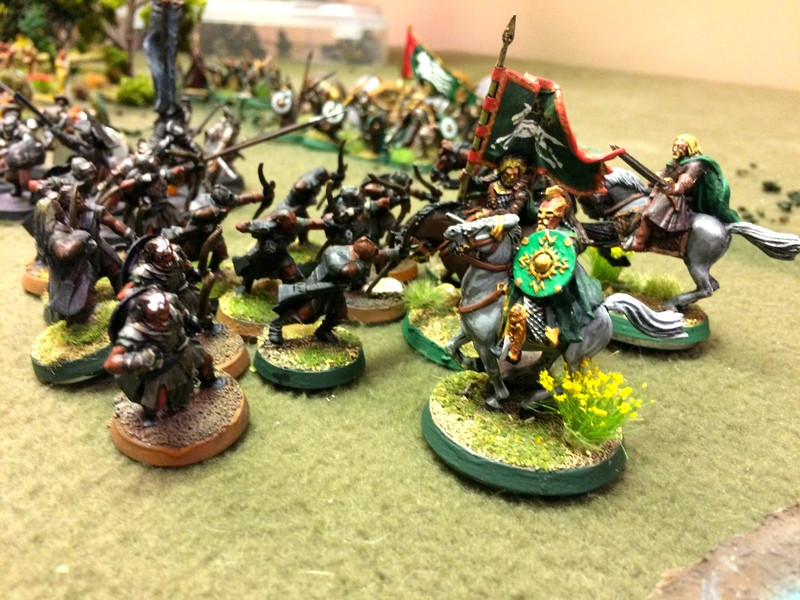
Turn 12, the battle for the ford is now fully joined. For fun I decided to depart from my usual practice and leave the casualties where they fell. I blame Ross Mac. In the centre of the scrum north of the ford, Blue’s Heavy Infantry have formed a Wall of Spears to deter the Red cavalry, but are suffering from Red’s archers.
Red’s Heavy Ifantry wade into their Blue opposite numbers to try and push them back. It’s a tough fight that bleeds both units, but Blue stands longer than expected, as the Blue Orc Shaman makes a series of successful spell rolls and “heals” the Blue heavy infantry, bringing a dead figure back to life for three turns in a row and helping them pass their morale rolls.
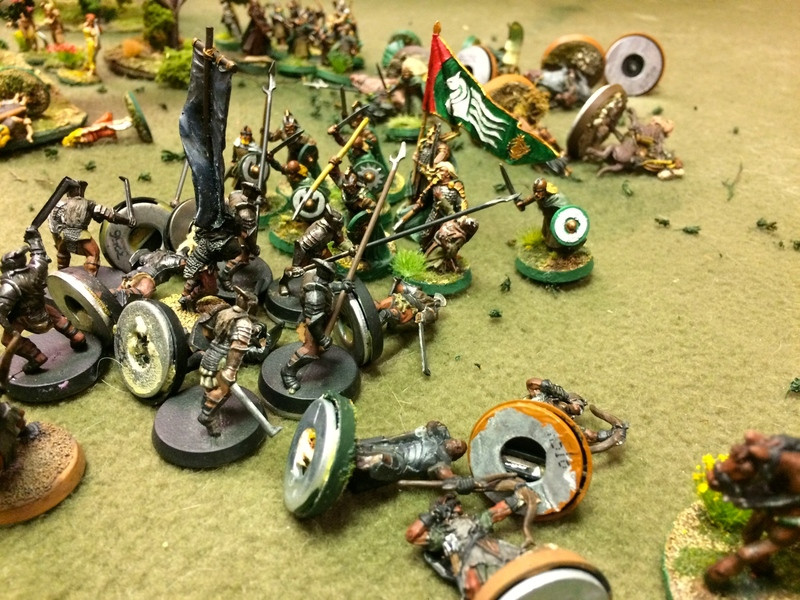
Red’s Elite Riders, 4 figures left out of six and almost at half strength, crash into Blue’s last reserves, the general and his Heavy Infantry bodyguard, whole the shaman cheers them on.
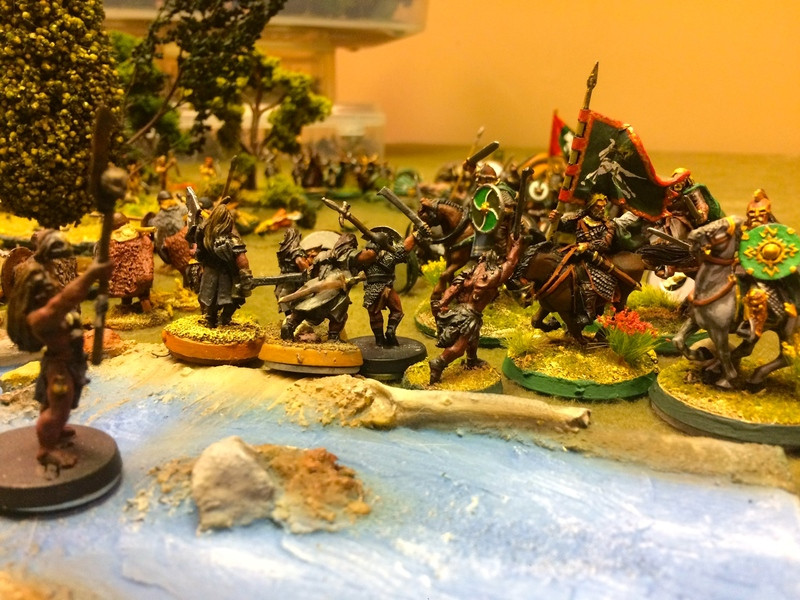
The General and his bodyguards are pushed back, but Blue throws its Bellicose shock troops into the depleted Red Riders, now at half strength, and throw them back.
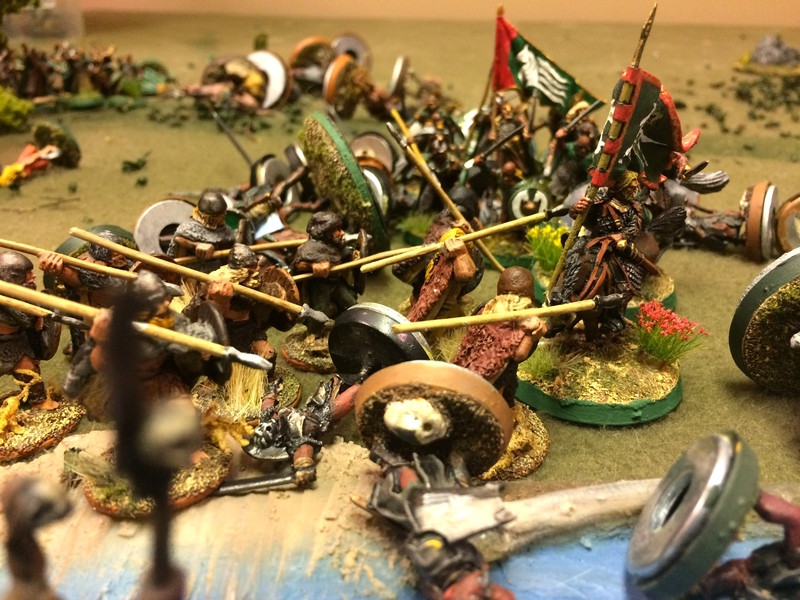
Game end at turn fifteen. Red has a handful of infantry, its foot and horse archers, but Blue has two units still on the north side of the stream, and its Scouts still hold the ruins. The Shaman intones a chant over the bloody field.
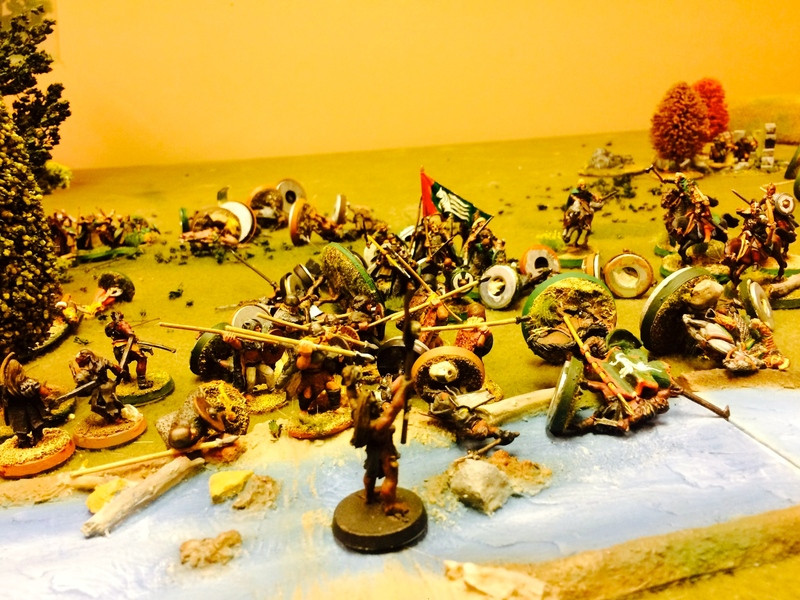
The game ended in a draw and I considered this experiment a success. On its own, DR tends to end with one side wiped out, but imposing a strict turn limit and clear objectives on DR makes the experience a little more tense and focused. It may seem cruel to lose a precious turn when a unit fails its roll, but it does force one to think carefully about what units one wants to try to activate first.
As I think I said above, putting so many eggs into the Elite Rider basket seems foolish in retrospect. I don’t think I would use this troop type for an army based on expert riders, such as the Rohiirrim. I think I would class them as Heavy Riders, with some units Light Riders with Bows upgraded as Sharpshooters. But more on that anon.
This game was great fun to p;ay and very tense. If you read this far, I hope you enjoyed it too.
Blessings to your die rolls,
MP+