It's been ages since I've posted any sort of games reports here, and truth be told, I do very little face to face gaming these days due to a lack of local opponents. However, my friend James and I managed one of our occasional gaming weekends, which we have christened EX THUNDERING DICE. I think this was our fourth or fifth over as many years. Last weekend James made the two hour drive and as the host I could offer the gaming room in the upstairs of the old rectory where I currently live. It's a lovely space and filled with natural light during the day.

It was also a chance to give James this piece for his Napoleonics collection, a 28mm Front Rank figure, Archduke Charles, for James' Austrian force. Seeing as James usually plays Sharp Practice, the Archduke may qualify as the biggest of Big Men. He certainly has a big hat! He's painted using the Foundry tritone system. I don't paint or collect 28mm Napoleonics, but Front Rank's figures may yet tempt me.

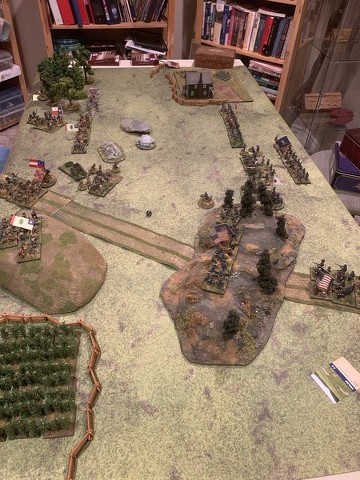
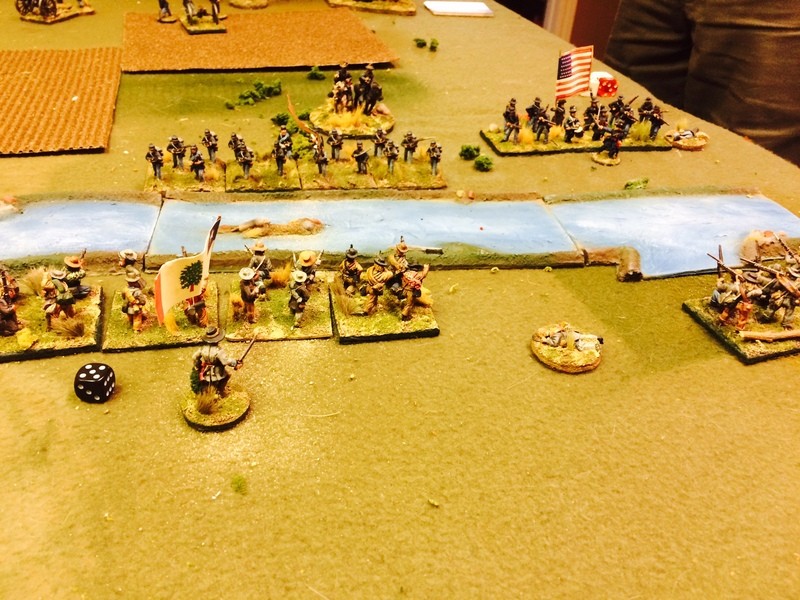
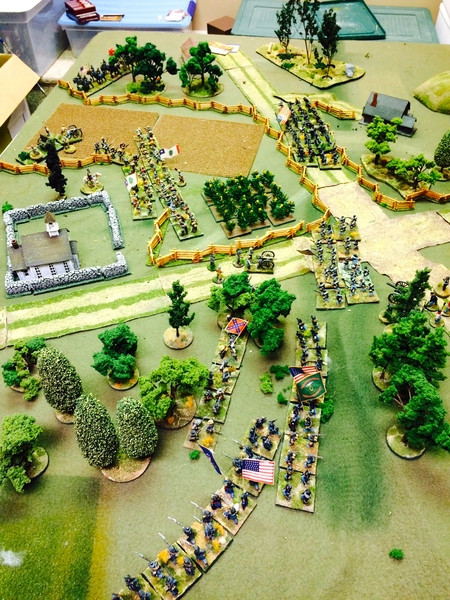
James and I started by playing an 18th century game using my 28mm collection of Prussians and Russians. We had a friend of mine, David, an avid scale modeller who was getting his first test of miniature wargames. We used Keith Flint's Honours of War rules from Osprey, and chose the introductory scenario, in which four units deploy to protect a river crossing, from five attacking units. It might make more sense to defend the other side of the river, but that would have made for a tedious game. Both sides had one regiment of line cavalry, which immediately charged. David's Prussians were eliminated, while the Prussians barely survived with only one hit remaining, and would sit out much of the fight to recover.

From then on, David had to divide his remaining force of two infantry regiments and one gun section against three Russian infantry regiments. It was a brave effort, but he was eventually swamped by numbers. We had enough time remaining to reset the table and try another battle with more troops, just to give David another chance to move some troops and roll some dice. I think he enjoyed it, and left with a stack of surplus wargaming magazines and a promise to try it again.

The game also reminded me that I have more work to do on my SYW collection of Russians and Prussians before I can offer a game with more than two small brigades per side, so I had better get cracking.
In the evening we played a boardgame of a Punic Wars battle in Spain (Baetis Campaign from the most recent issue of C3I magazine, which was a kind concession from James since his taste doesn't run to hex and counter games. I'll post a review of that game separately.


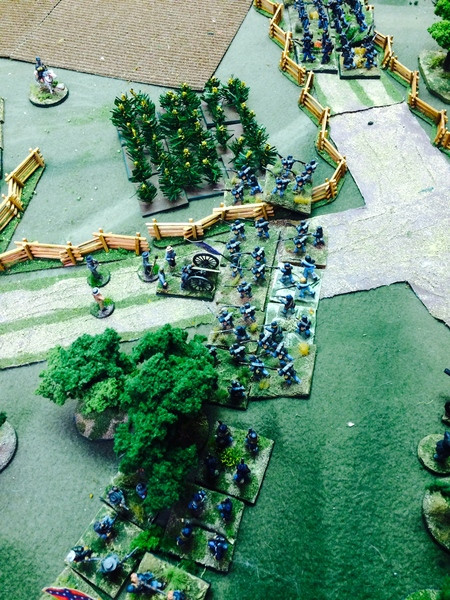
The next day was mostly taken up with Quar, which is James' latest passion project. I only managed to get a few photos of the table before we began. Once we started I was occupied trying to run a very large force, and did poorly. There are more photos on James' blog here.
I have huge respect for the way James dives in a project and single-mindedly pursues it. The Quar, a race of sentient and warlike anteaters, have clearly seized his imagination. It's World War One but in a transposed setting, I suppose in the same way that Flintloque transposed Napoleon's into a fantasy setting. I confess that I don't quite get it, as the troops look like WW1 French and English troops only with pot bellies and snouts, and I'm not sure why one wouldn't just play WW1 straight up. On the other hand, I like the whimsy of it, which steers clear of the grotesque aspects that make Turnip28 rather repulsive to me. We used the Osprey SF rules, Xenos Rampant, which seemed to work well enough.
I had what I thought was a decent plan, but a bad run of dice over several straight turns, which made me a little grumpy, for which I do heartily repent, as grumpiness in a gaming partner is never attractive and can be a deal breaker over time.
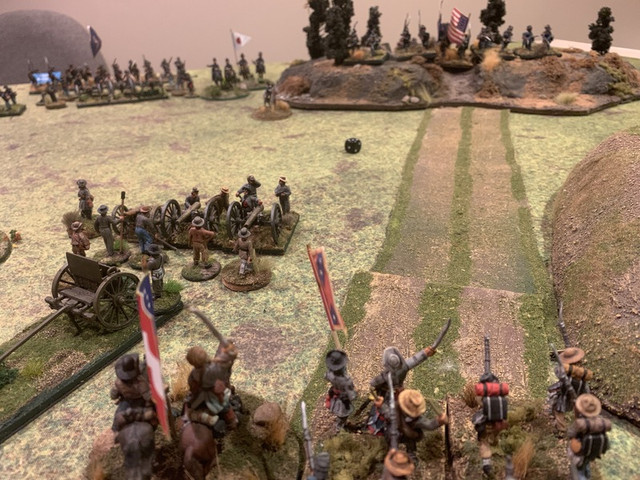
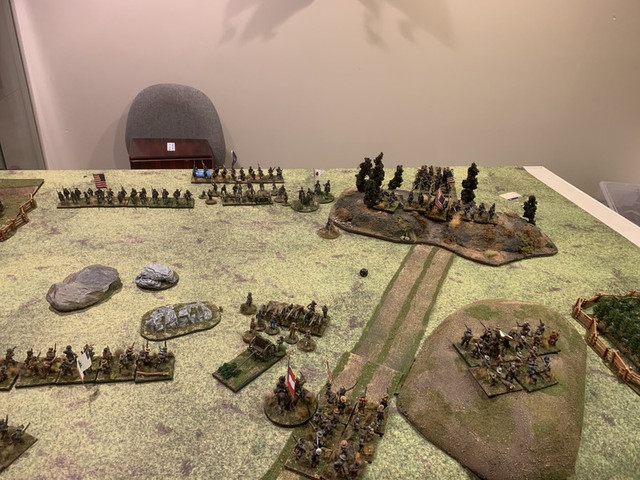
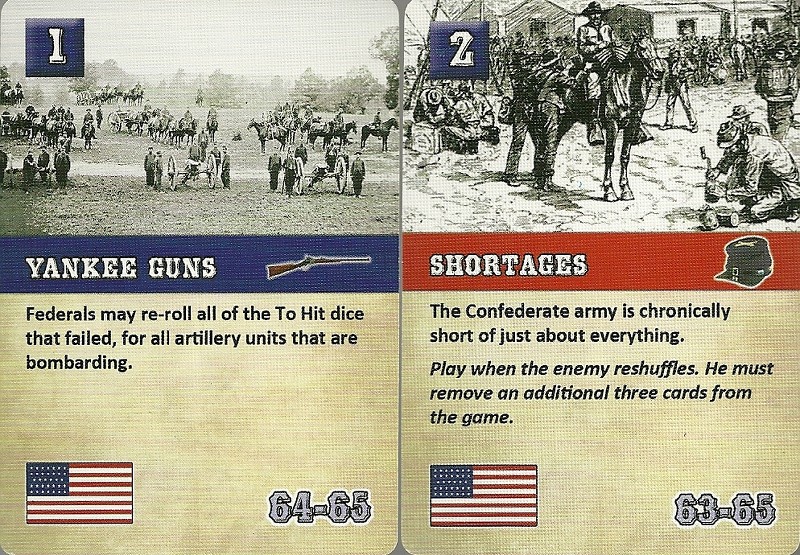
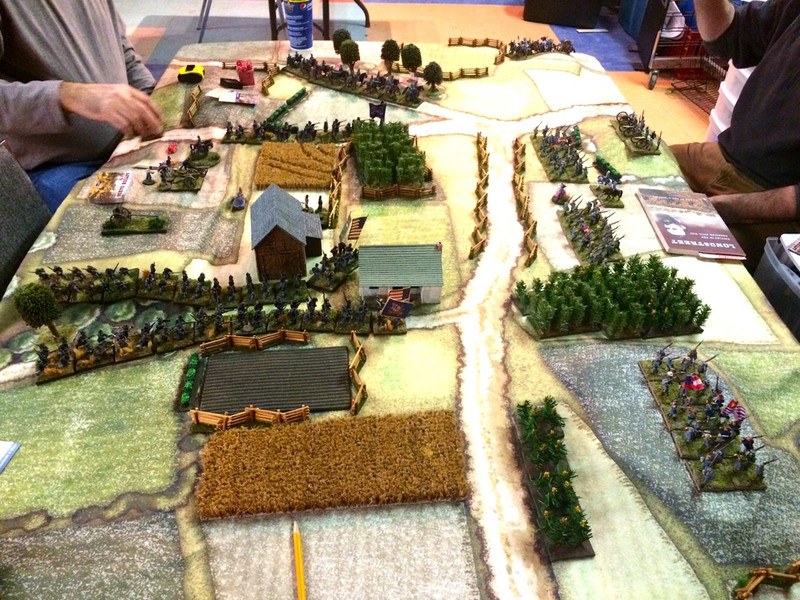
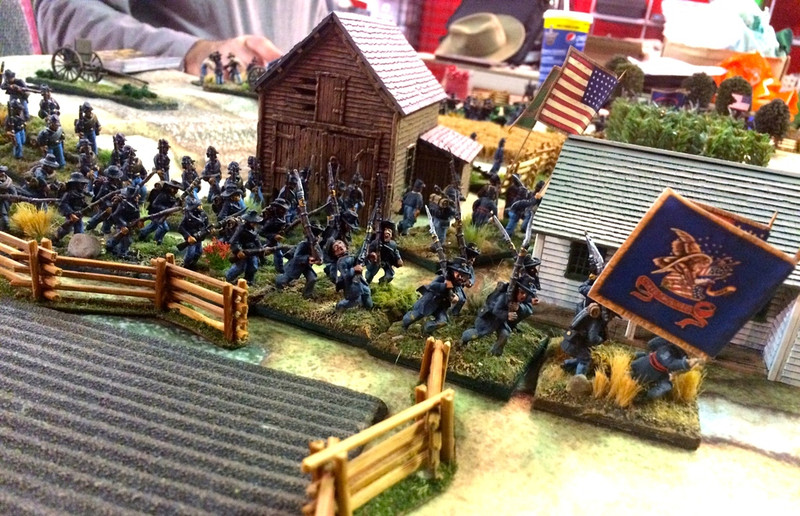
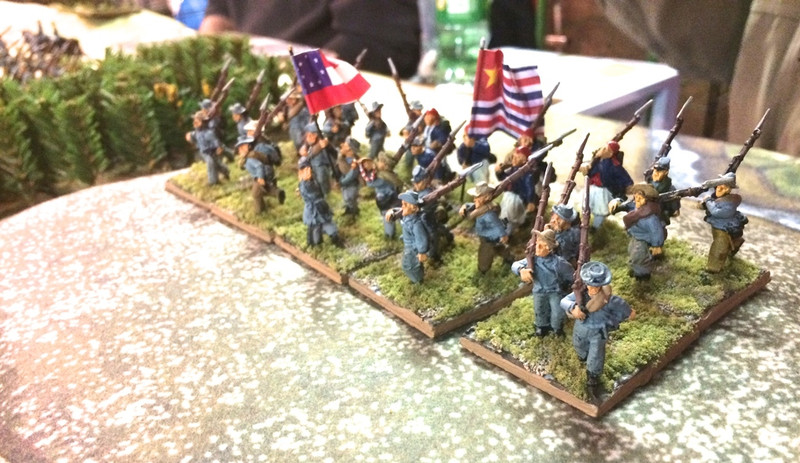
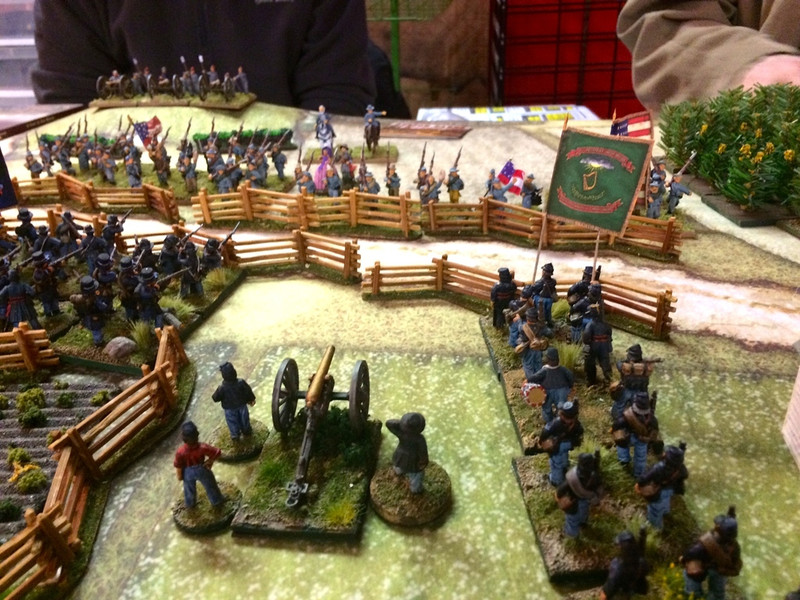
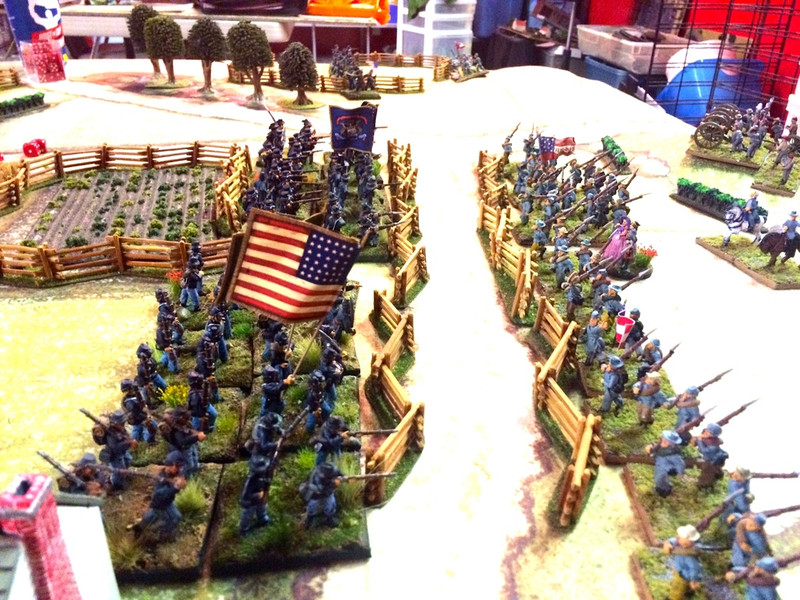
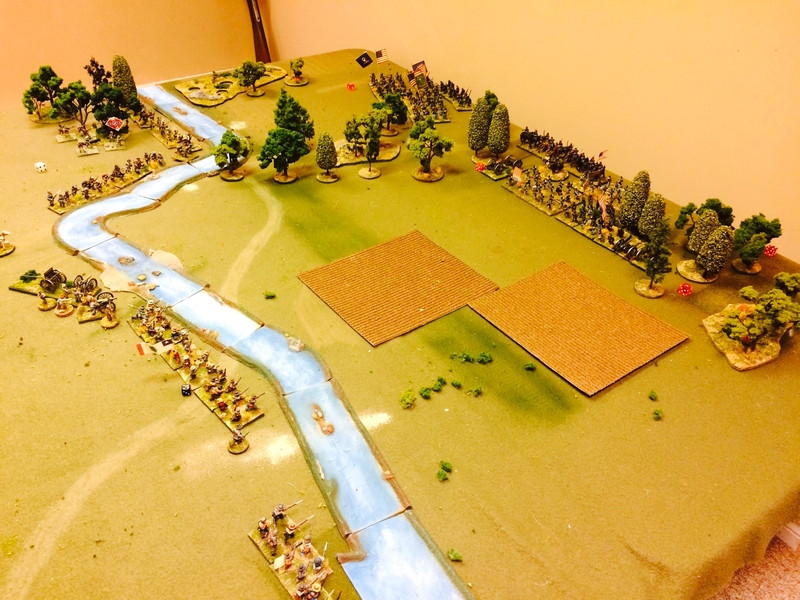
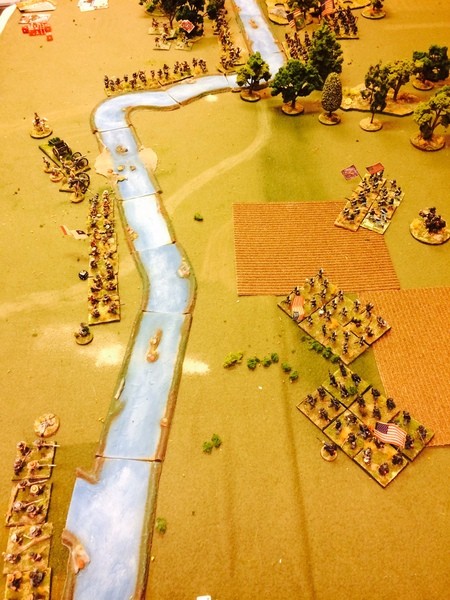
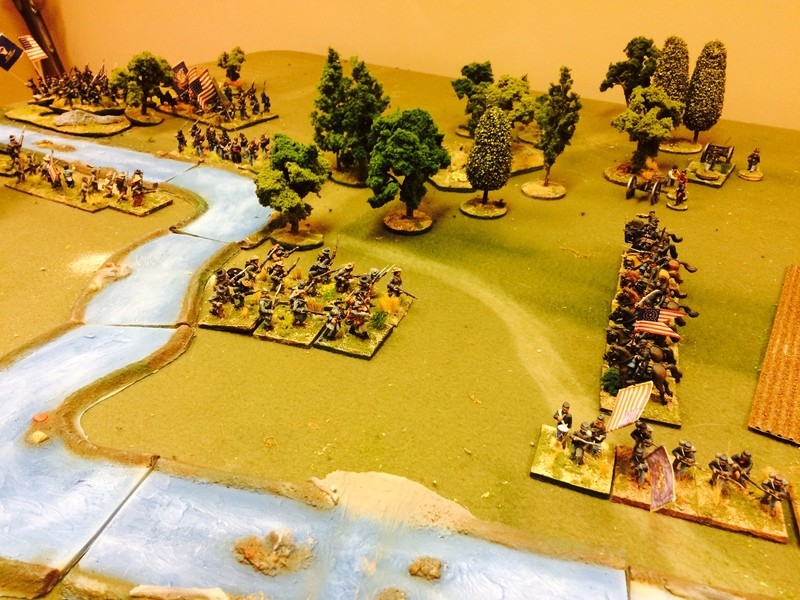
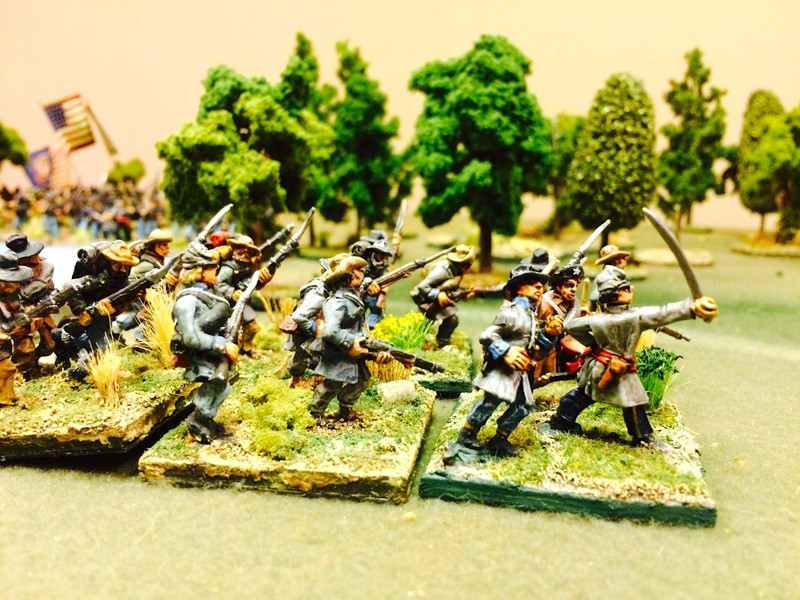
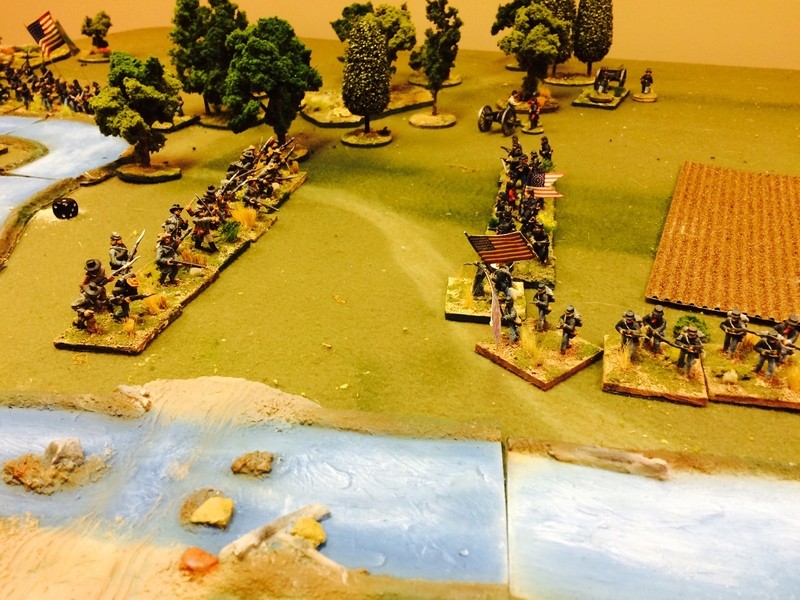
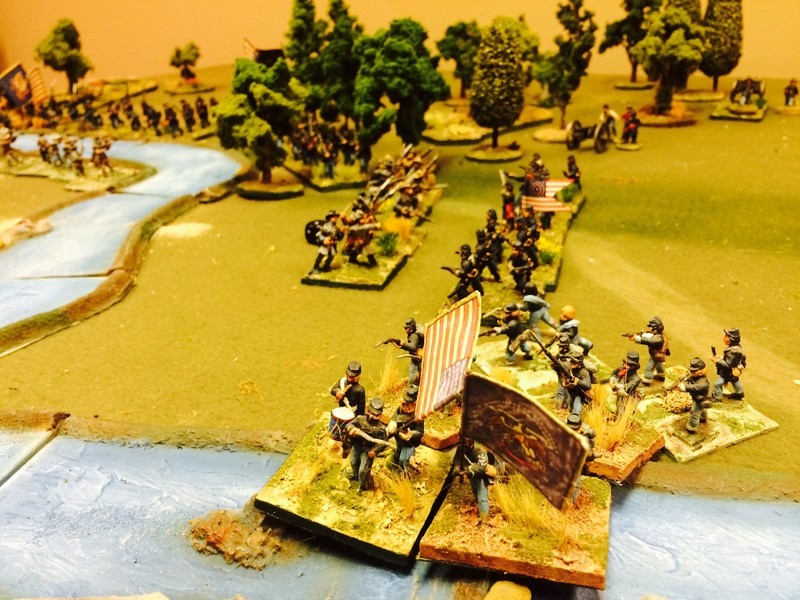
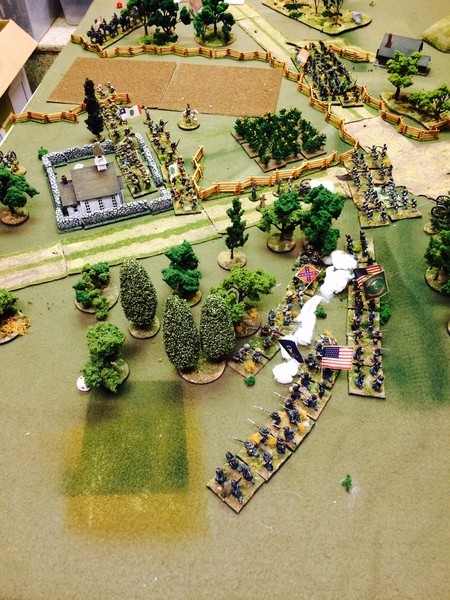
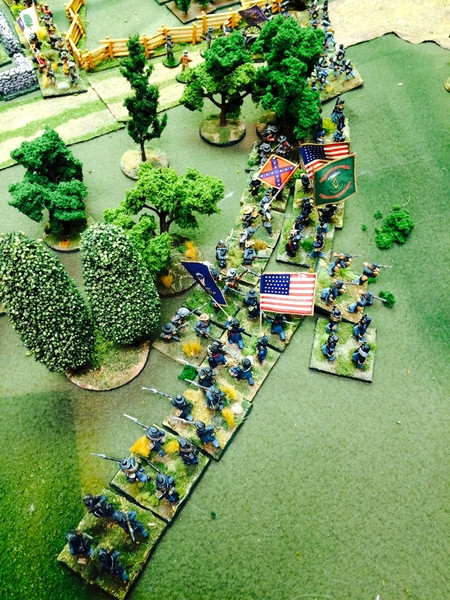
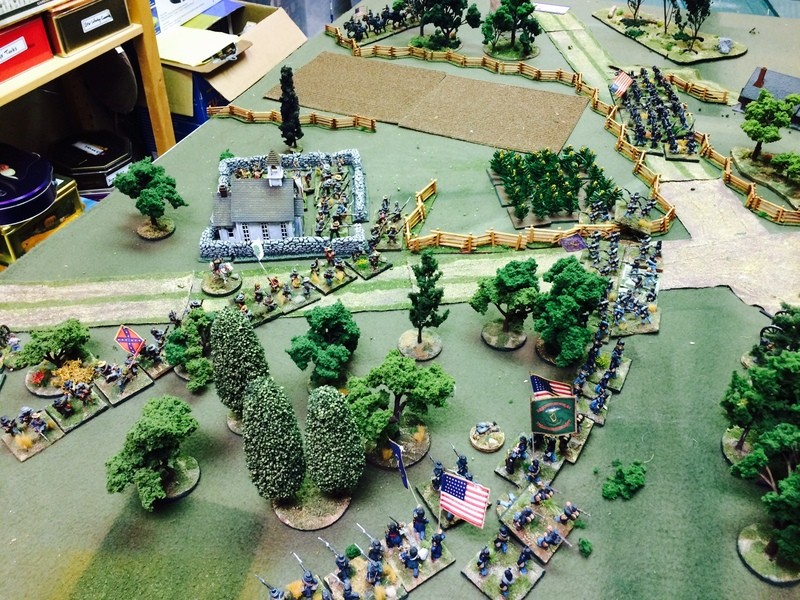
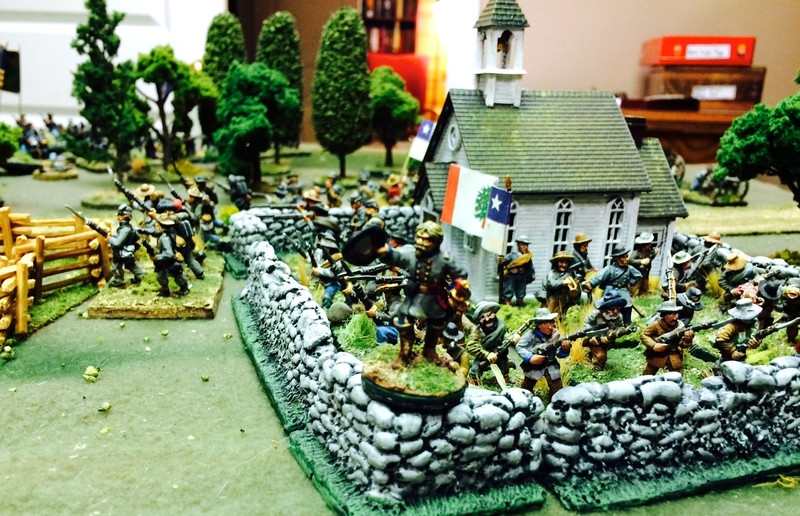
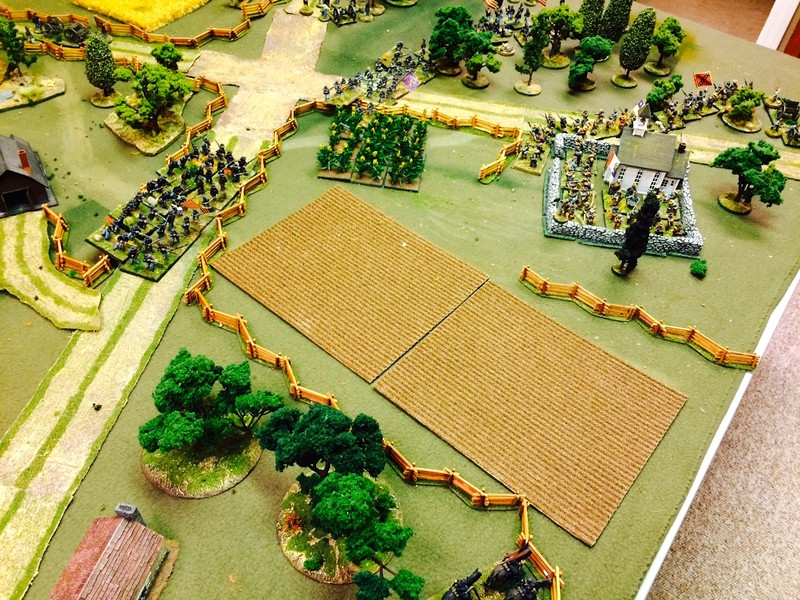
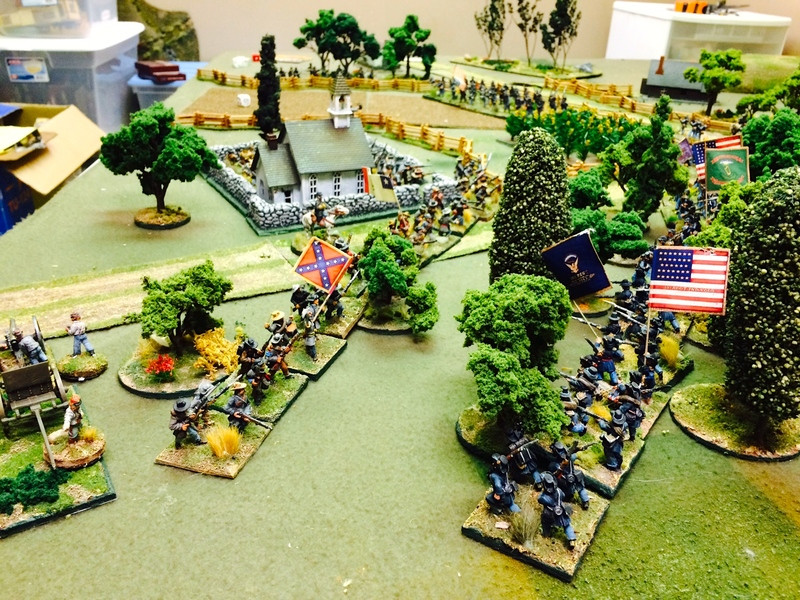
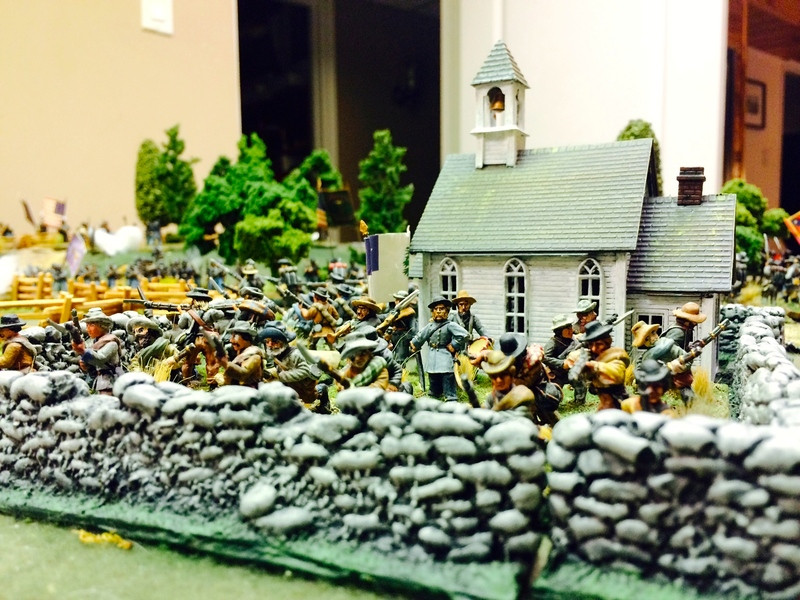
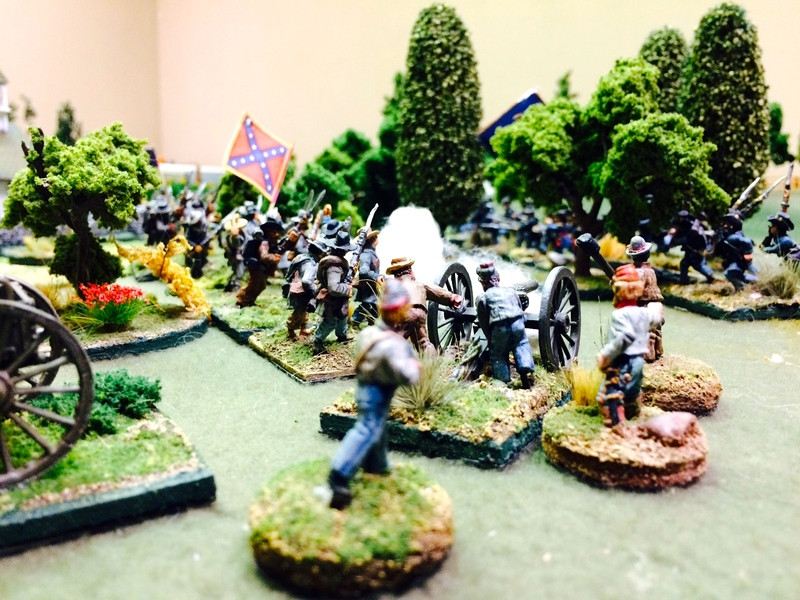
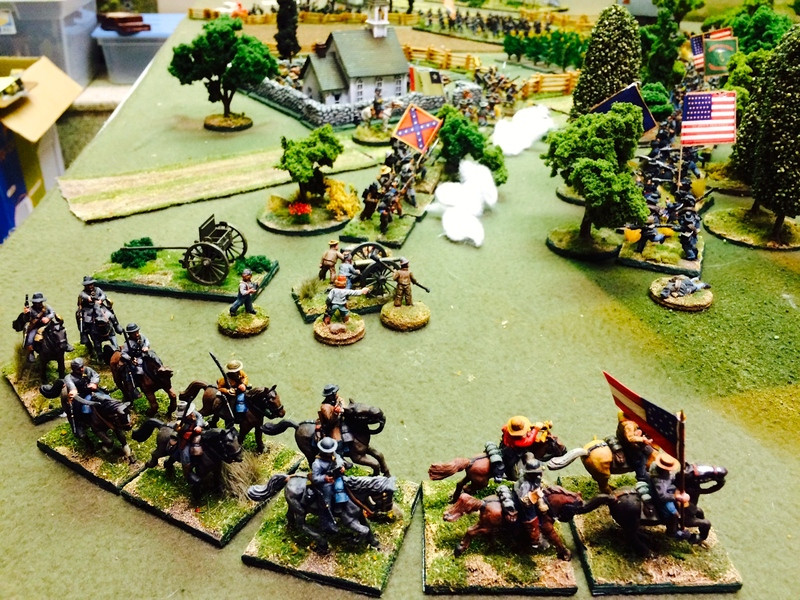
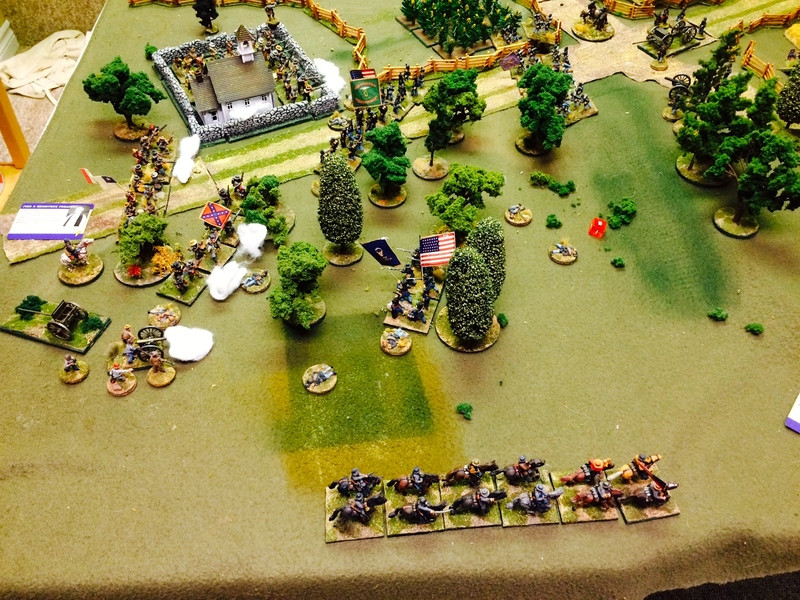
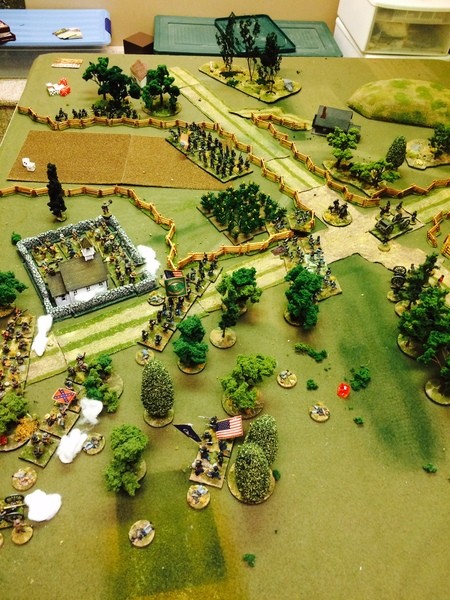
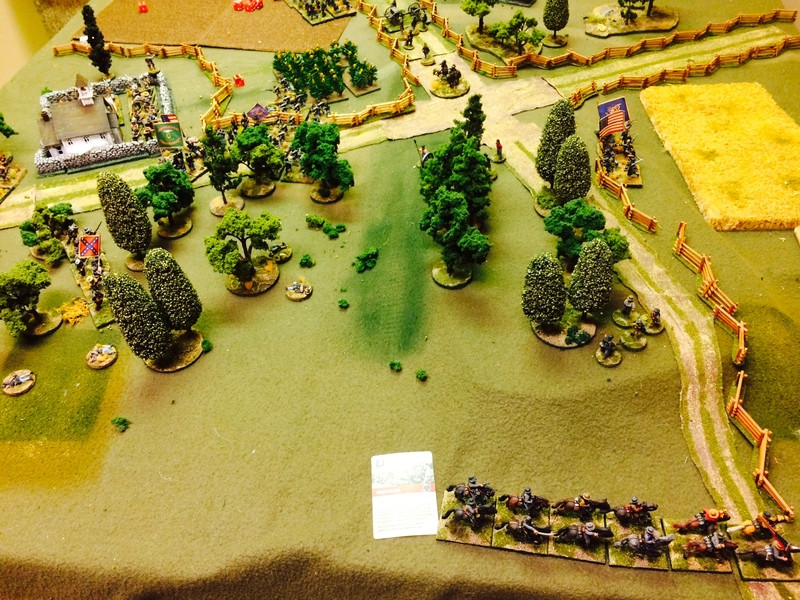
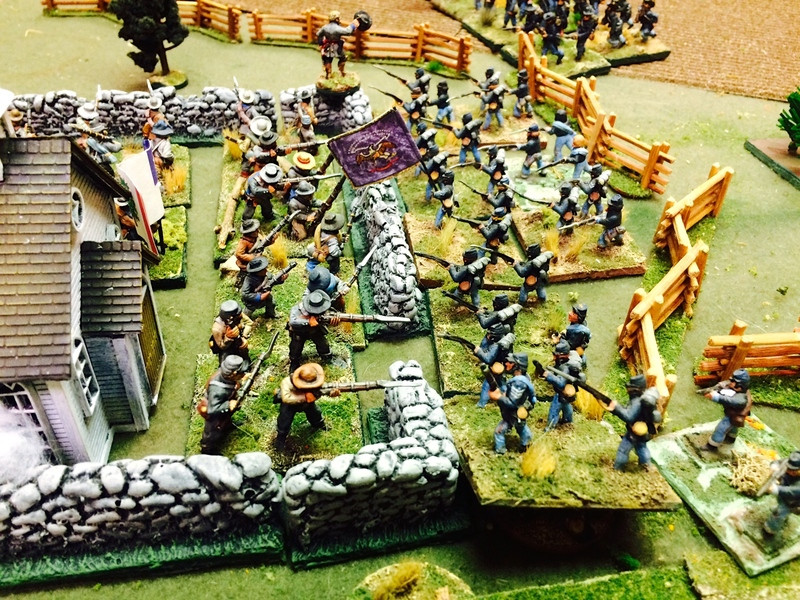
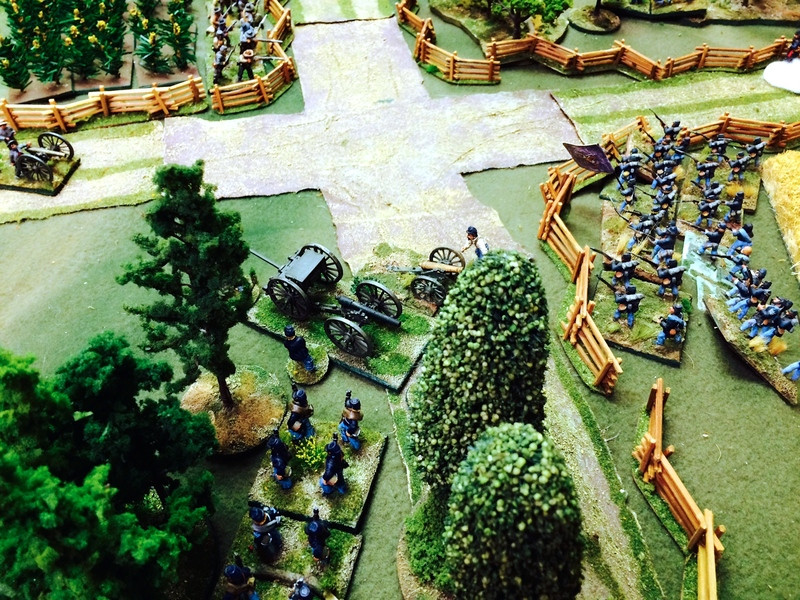
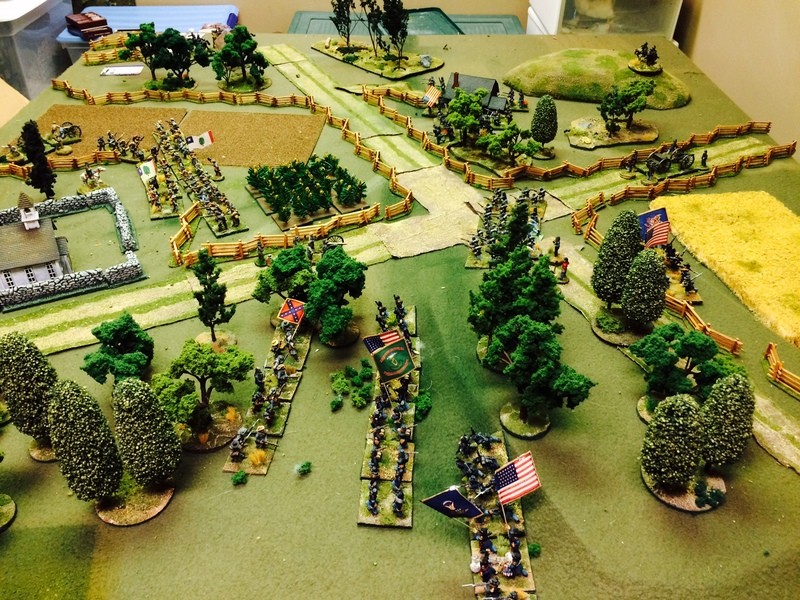
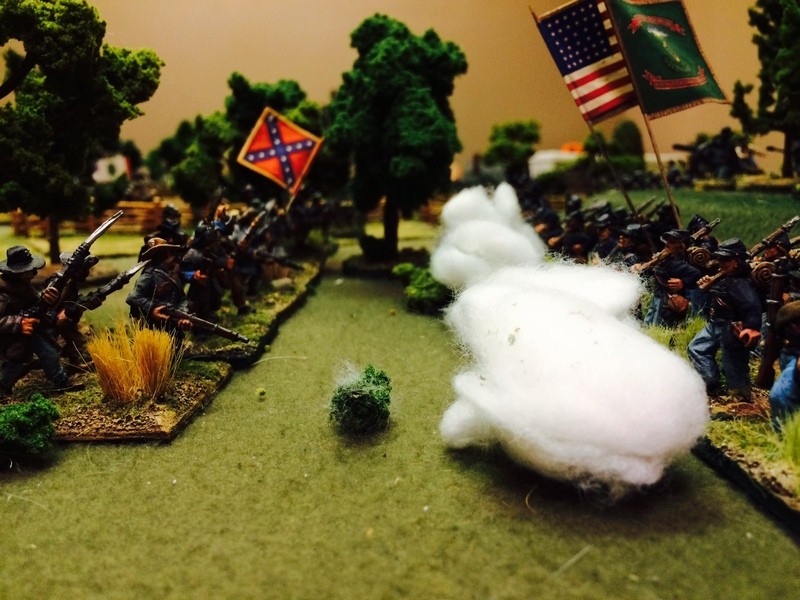
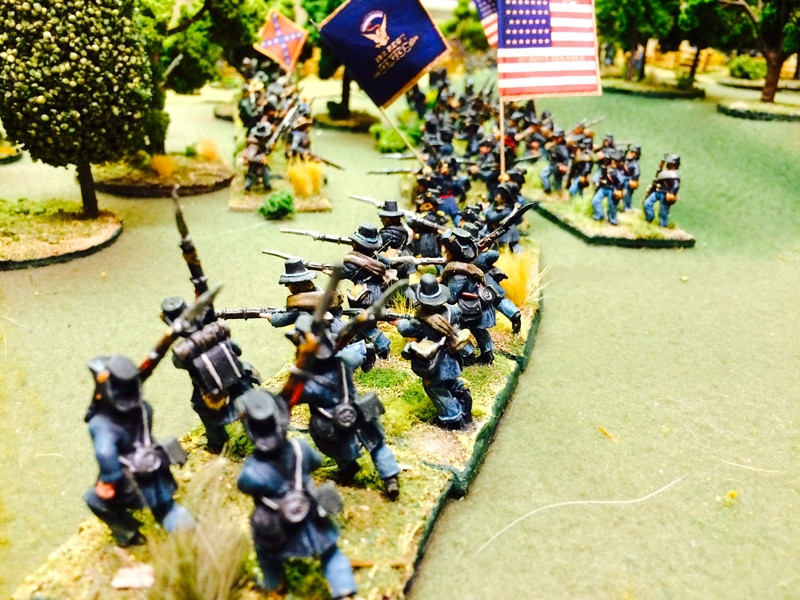
After dinner we reconvened and broke out my ACW collection, which includes some old Minifigs that I first painted while watching CNN's coverage of the first Gulf War, so that shows my age, I guess. We decided to revisit Sam Mustafa's Longstreet rules, which James and I played a lot of about a decade ago when we lived closer to one another. We each took five infantry units (3 Eager Recruits and 2 Seasoned Veterans) and a battery. James threw his two Texan regiments against a wood defended by one of my regiments, and quickly shot them out of it. We discovered that in these rules, defending in covering terrain messes up your shooting for little gain in return.
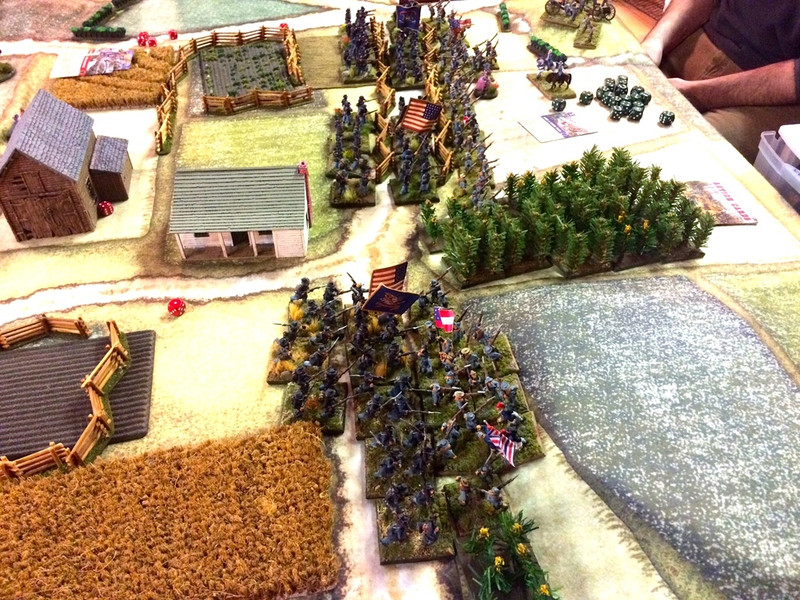
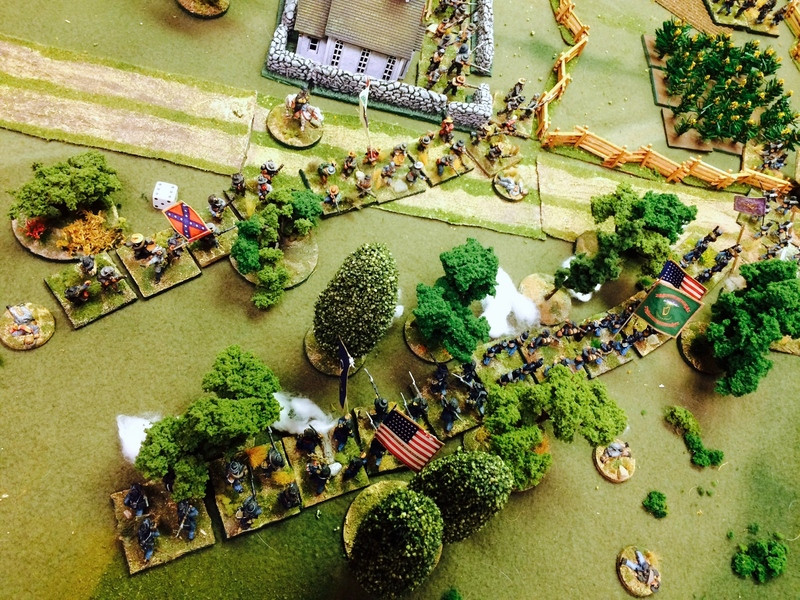
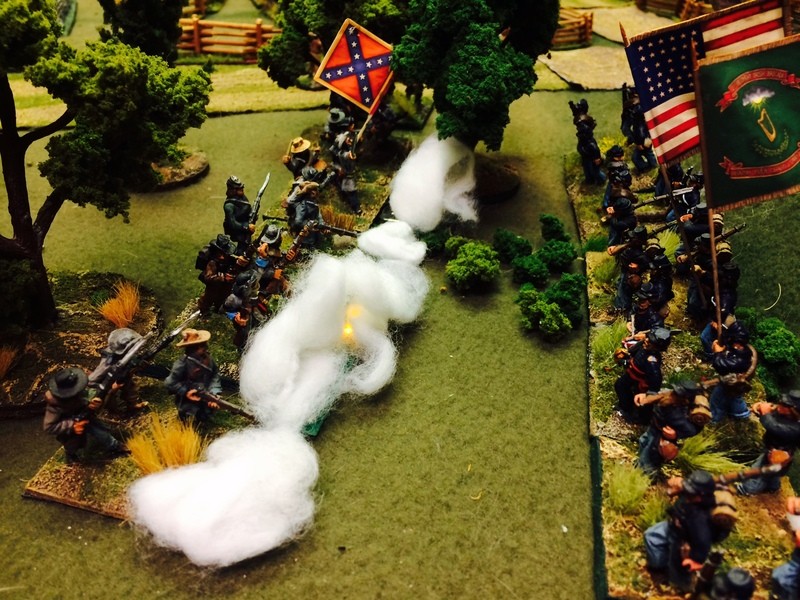
The main action was in the wheat field, which changed hands repeatedly. I had an edge here, as my battery was within canister range for much of the fight, and, as they say, dealt terrible execution. It took us a few turns to remember that in Longstreet, firing zones are straight ahead, without the customary 45 degree arcs to either side. At the end of the fight, I had pushed the rebs back across the wheatfield, and my fighting Irish in reserve had contained the Texans that had won the fight in the woods. A close victory to the Union.
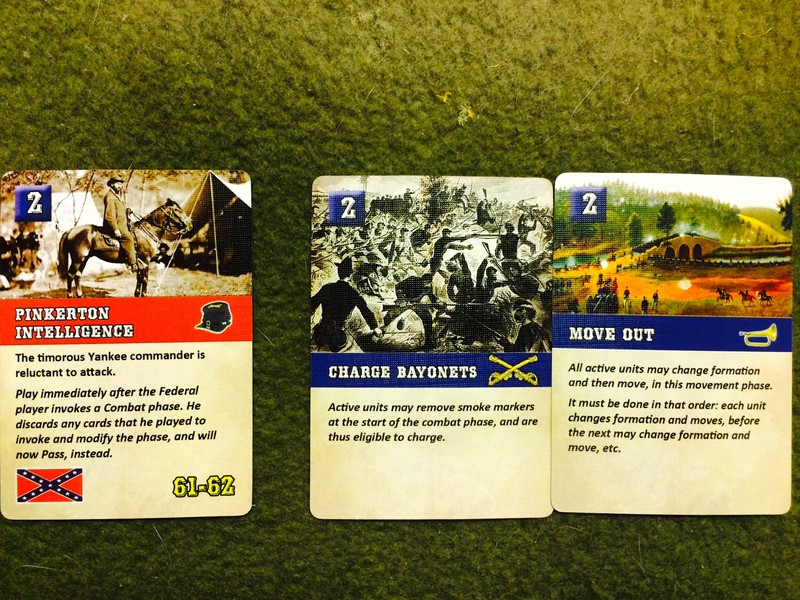
It had been a while since we'd played Longstreet, and I think we were both favourably impressed. Our memories of the card playing was that it could seem gamey, in that one can have the perfect attack teed up only to be foiled when the other guy plays one of the rare but annoying interrupt cards. However, cards are usually better employed for different reasons, such as ordering a move through difficult terrain, or trying to preserve units from multiple shooting hits against them. It's always a choice, and the choices do a good job of simulating a commander's limited bandwidth in a horse and musket battle. While we had both instinctively put commander figures on the table, they had little to do, as the command and control rules all live within the card play. Perhaps we missed some rules about command radii affecting card play? All in all, Longstreet is a fun and playable system for a brigade sized battle that can be resolved in a few hours.
We finished the second day with a viewing of the old Kubrick film, Paths of Glory, which James had never seen but which came up as we were playing our Quar game. James was a little surprised that the second half of the film was a courtroom drama, but it's a masterpiece of the antiwar genre, and brilliantly shot in black and white. The tracking shot of Kirk Douglas as Col. Dax walking through the trench and among his men prior to the attack is one of the memorable scenes in cinema.
We said goodbye after breakfast and hope to meet again over the gaming table sometime this winter. Good to see a dear old friend and to get some games in. I shall spend the next months looking harder for a gaming opponent in or near Collingwood. Maybe David will want to try again?
Blessings to your die rolls.
MP+