Showing posts with label Painting Technique. Show all posts

Tuesday, February 25, 2025

Freehand Roman Shields, or, Scutum Selfies

 Ave, amici!

Currently I'm working on a test batch of Foundry 28mm metal early imperial Romans, which come with separate shields, or scuta (neuter plural if I recall my college Latin).  I was vaguely considering ordering some shield transfers, but then I came across some work on the Bluesky social media site by the supremely talented @moiterei.bsky.social who still maintains an excellent war-games blog here.  

His Roman legionaries are stunning and their shields were all painted freehand, as you can see (nota bene - the image below is his work, not mine).  

His work gave me the courage to try my own freehand work, and I totally cribbed his design.   The result isn't nearly as good but to me it's good enough.


As they say, imitation is the sincerest form of flattery.

Blessings to your brushes,  MP+


Friday, May 26, 2023

Painting Styles: A Thirty Year Journey

This week a new unit was mustered into my 18th Century Russian army, and a suitable parade was organized. The First Grenadier Regiment’s new banners (flags by Adolfo Ramos) were blessed by the Czar’s preeminent mad padre, Father Mikhail Petrovich.  

Then, the Grenadiers passed in review before the commanding officer.  So why is this the First Grenadier Regiment?  Because it is the first such regiment that I ever painted, some thirty years ago, sometime around 1990 as I recall.  

Here below on the front of the right-hand base you can see three of the original figures, Front Rank Russian SYW grenadiers advancing which I purchased from the long defunct and legendary Emperor’s Headquarters, which I once visited on the south side of Chicago (I think it was the south side, it was a long drive).  I was a starving graduate student at the time, on a tight budget, so I think I purchased sixteen figures.   I was working from black and white drawings in a book on SYW Russian uniforms that I was lucky enough to find, and used whatever paints I could lay my hands on.   The green of the tunics was from a bottle of FolkArt craft paint (I want to say the colour was named Clover??) which wasn’t as dark as the traditional Russian Green of the period but I thought maybe the coats could be faded?

The other figures with the upright muskets are recently purchased from Foundry, which as I’ve said here before is now my go-to range for 28mm SYW.  Once I started rebasing my SYW figures six foot to a stand, I realized that I needed more Russian grenadiers to flesh out the unit, so I ordered another 18 of these figures from Foundry and got to work on them last month.   

In thirty years I’ve learned a few things about painting.   As you can see on the old Front Rank figures, I was fairly ignorant of layers, shading and washes.   The skin was very pale, and I had an idea that if I mixed red with flesh for their cheeks, they’d look a bit like toy nutcrackers,   I did my best with the eyes, but hey have that starey look to them.    I think I mixed some red with a bit of yellow to try and give some highlights on the red turn backs, but highlighting was something I didn’t really understand well.


The difference now, besides thirty years experience, is that I can afford better materials and brushes, which offsets the slight deterioration that my eyes have experienced.  The Foundry figures are painted using he tri-tone Foundry paint system in the school of Kevin Dallimore, and as someone kindly said on Twitter the other day, these new figures are done at a good tabletop standard, a compliment I’m glad to take.   

It gave me great pleasure to fold these old and new figures into a composite grenadier battalion, and to give them spiffy new flags.   It’s a small tribute to thirty years of trial and error and slow improvements, but I love them all.   These figures and the rest of the Russian army are rumoured to be preparing to march against Turkey.   More on that soon.

Thanks for looking.  Blessings to your brushes!

MP+

Thursday, May 22, 2014

Almost Wobbled On The Cobbles: Painting the Italieri Stone Bridge

I am happy to say that I am writing this on my Macbook, which I got back from the nice Apple Genius Bar folks yesterday.  I you read my last post here, you will recall that I was bracing for a $300 repair bill, but the good news is that only one part, an I/O Board, needed to be replaced, and so the total bill was $70 and it appears to work just fine.   Happy days.   My happiness level got a further boost when I was about to drive my Kia Soul to the garage to check out why the dreaded Check Engine Light (which should have the shape of a money sign ($) rather than a little engine) had come on on Tuesday.  After a day of sitting in the driveway, the light did not come on and the service guy told me it was probably just a bad seal with the gas cap.   Happy days indeed.

One of my painting projects while watching Game of Thrones with Mdme Padre over the last few weeks was to build and paint this Italieri kit, since I needed a stone bridge that would work for 20 and 28mm scales, and this looked like a sturdy and useful sort of kit for everything from Europe to the ACW (it does have an Antietam / Burnside bridge kind of vibe to it).   It also had the merit of being incredibly easy to put together.   Italieri has really thought out what gamers need in plastic kits.  Simply and strong as a rock when put together.   

But how to paint the blasted thing?   After an undercoat of flat back spray from the DIY store, I had to decide, should I just paint it a simple slate grey with some highlighting, or perhaps a brownish sandstone sort of look?   All the while this image from the box art kept staring at me, as if to say, come on, Mike, you know you want to paint it like this.   Cobblestones are fun, you can do it.   I almost got all wobbly and said no, but then I thought, I can do this on the couch with one eye on the TV, just choose half a dozen or so colours and do one colour at a time.  

Never being one to do something simply when it could be incredibly difficult, I decided I would not back down.  I would not be a cobble wobbler.

There were many, many times when I almost lost my nerve and thought that the bridge was looking like shite.   It was not terribly difficult to paint within the bricks and leave most of the black undercoat showing as outlines, but for this job I was using cheap craft acrylic paints (mostly Folk Art) and the paint didn’t always go on cleanly.  Also, with so much black showing, it just looked odd, but as I persevered and applied more and more colours, with the grey shades dominant and the darker colours as infrequent highlights, it started to come together.   Suddenly, I had a bridge that looked almost as good as the box art!  I’m pretty sure I missed half of GoT season one, something about winter coming, heads on spikes, dwarves with naked women, dragons with naked women, etc.  I’ll have to watch it again, I suppose.


 Now that the bridge is done I am debating whether to put some sort of wash on it.   I was thinking of Army Painter’s Soft Tone, but my concern is that since that product is basically a light brown colour, similar to GW’s sepia wash, I would lose the various shades of light fray, particularly along the top and bottom of the span, and the whole thing would look kind of gross.   I’m kind of thinking I might just spray the whole thing with Dullcote and move on, but I would welcome your suggestions as to what the finishing touches might be.


 The all important test of the bridge, using a river.  Hey, it works!


Why did the Ottiomans cross the bridge?  My newly finished Spahi command group test the bridge by riding across it.   That test was successful as well.  Hooray!


These figures bring my 2014 totals to:

28mm Mounted: 13

28mm Foot: 22

28mm Artillery: 1

20mm Buildings/Terrain Pieces:  1

15mm Vehicles: 4

15mm Foot: 26

15mm Buildings/Terrain Pieces: 3

6mm Buildings/Terrain Pieces: 2

Kilometres Run:  520

Blessings to your brushes!

MP+

Friday, January 24, 2014

New Follower Friday and This Week In The Hobby

It’s Friday again and time to acknowledge another five people who decided to publicly follow this blog in the last few months, and who I have been tardy in acknowledging.   

Aaron is, well, a man of mystery.   I don’t know anything about you, mate, so if you have a blog or a pet parakeet or anything else you’d like to mention in a comment, pray do so.  

Sgt. Steiner has a fondness for that classic film Cross of Iron and maintains an interesting blog - it’s always nice to see someone else who likes both miniatures and boardgames.  I gather he lives in Northern Ireland but is otherwise reticent about himself.

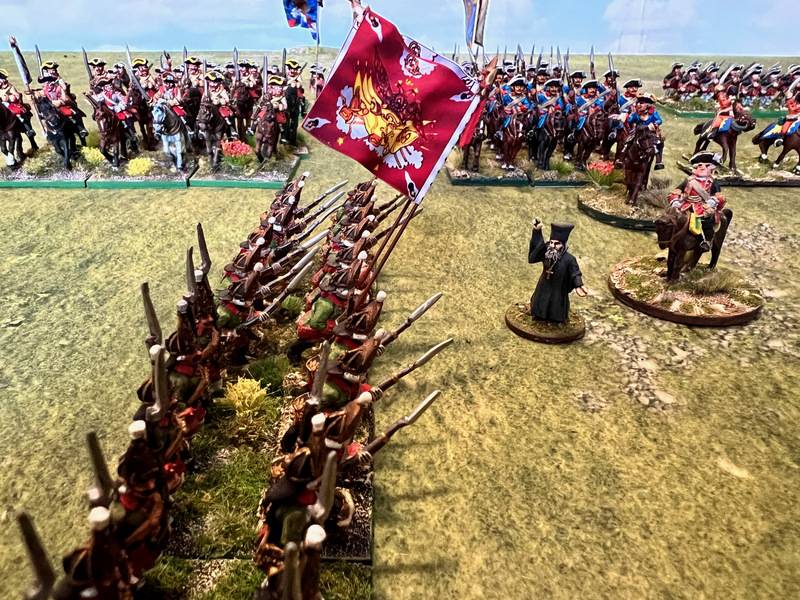
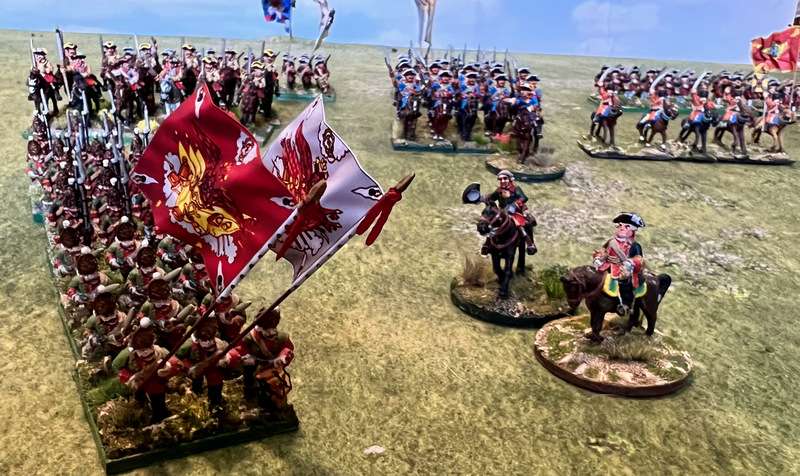
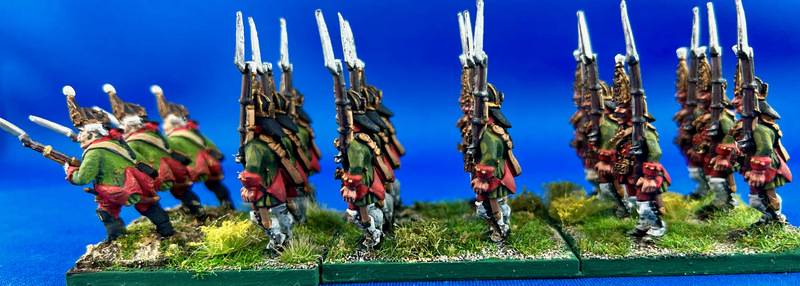
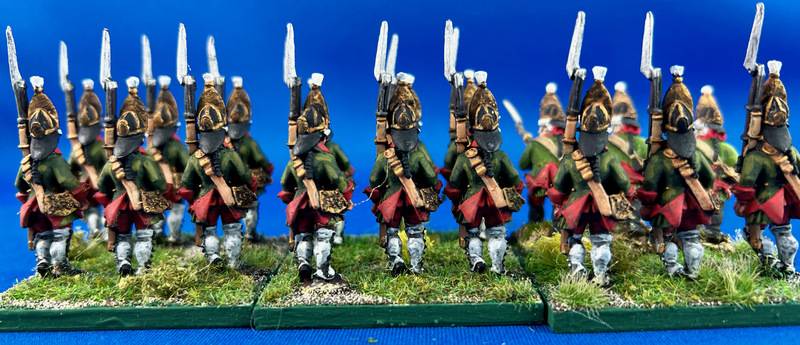
Mike, aka Fritz II, lives in Bayern, Germany, and is a talented painter with a particular interest in the Seven Years War, which is once again becoming a favourite period of mine.   I commend his excellent blog to all with an interest in the lace wars.

Shaun is a busy father and gamer in Australia.  His blog reveals a thoughtful guy who thinks a lot about rules and looks like it has a lot of interest for WW2 gamers - I shall be a frequent visitor.

Sofie Vandersmissen lives in Belgium and is a gifted and expressive painter who isn’t afraid to use bright colours in her palette, and does some nice fantasy figures.   Besides her blog, which is quite lovely, she has started a feature called Saturday painting table using Google Plus, which is a fine idea.

So we’re pretty much caught up, and at 136 followers and nearing 90,000 page views, I’m pleased that this blog is coming back to life, even if I wish I had more time to contribute to it.   This last week really brought home the realization that this semester at grad school will be a heavy one, and I am wishing I had more spare time.  I read a LOT last week, most school related.

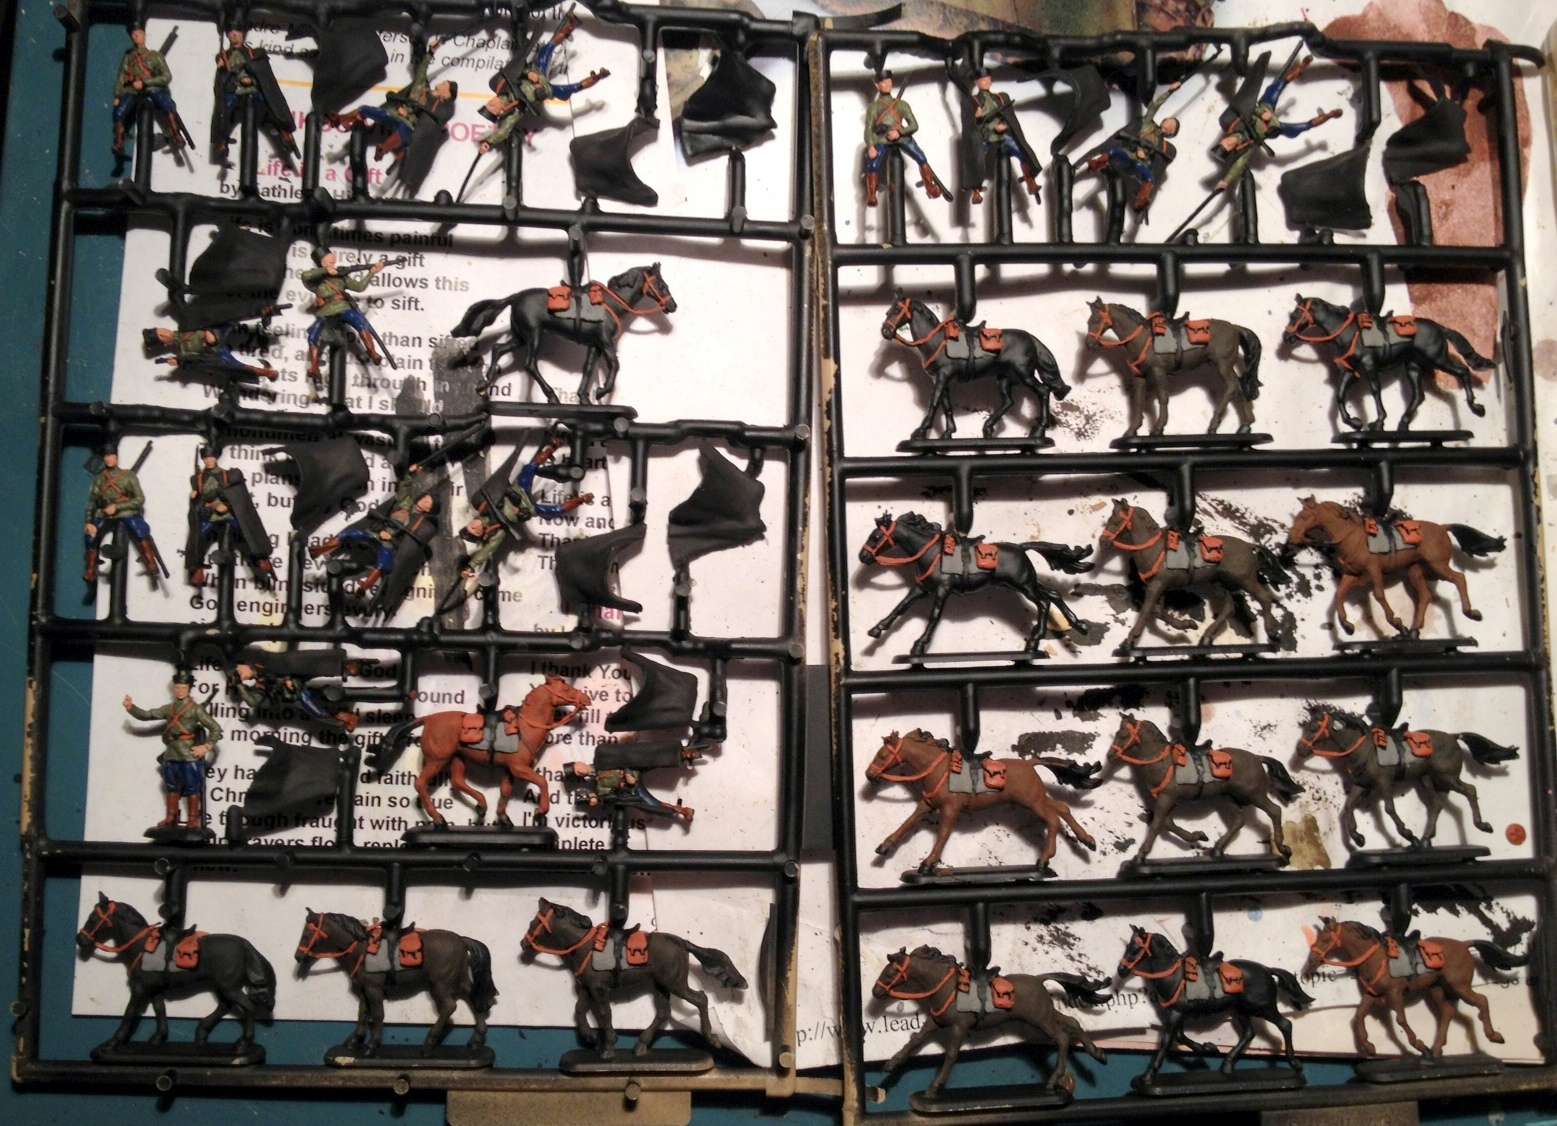
Last Saturday night I did get a chance to visit James Manto over in Stratford.   In his capacity as the proprietor of J&M Miniatures I browsed his stock and was very smitten with some 15mm Russian front scenery from 4Ground, and while I didn’t buy it, I noted it for a whack of 15mm Russians that are in the painting queue.   As friends, we went downstairs for a beer and bit of a chat while doing some hobby work, always a pleasant evening.   James worked on chopping up some rather indifferent 15mm lead figures (from Qualify castings, I think) to use the upper halves of the figures with some home made foxholes and shell scraps, a clever idea.

While James chopped up soldiers, I spent the evening trying to get over fear that I will somehow break or ruin my spiffy new airbrush, and managed to prime a set of Plastic Soldier Company 15mm Russian tanks and a mixed bag of German 15mm armour using these excellent Vallejo products.  

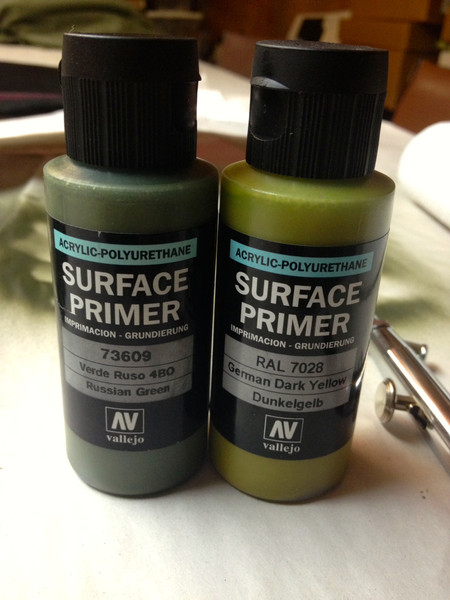
The primers worked nicely, and I managed not to break the airbrush.   I realize, however, that cans of air are not very satisfactory, and if I want to use it more often, I really need to look at air compressors and find room in the appropriations legislation for one.  

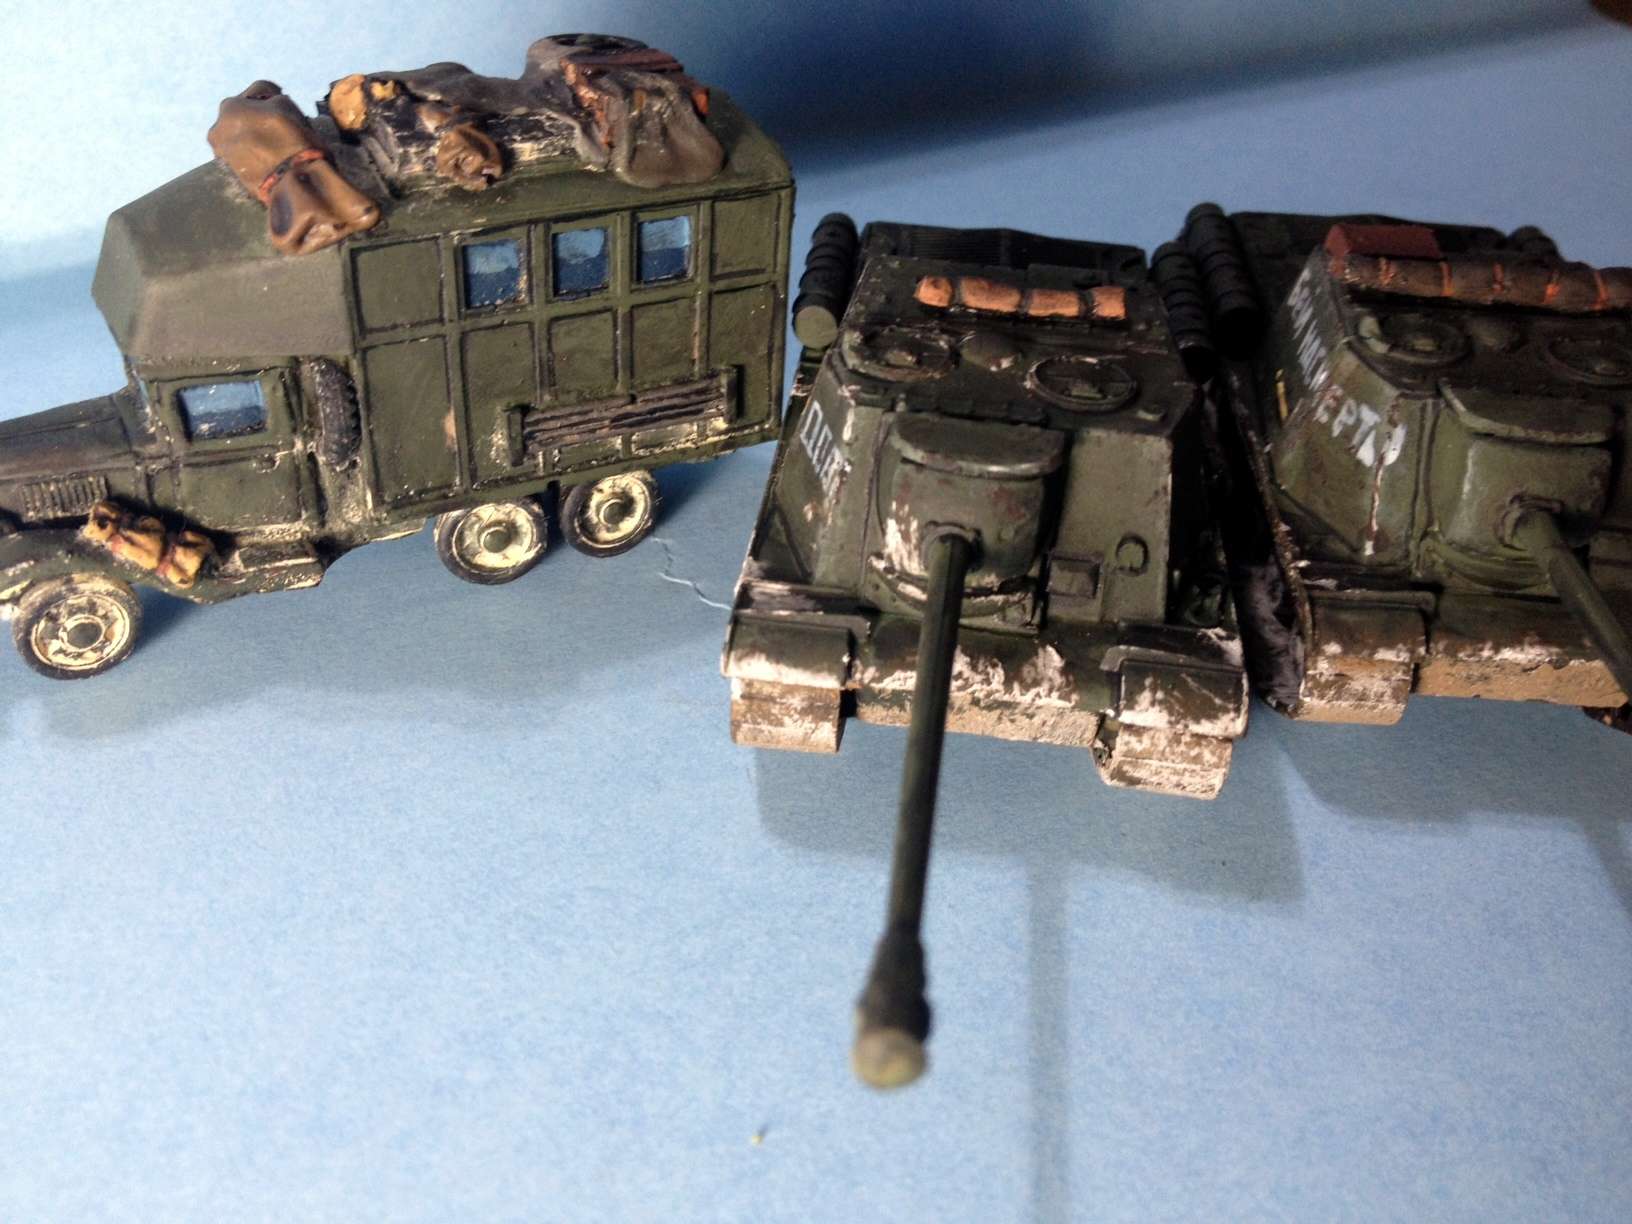
And yes, that is a Tiger 1.  I don’t know, maybe it’s all those photos of Flames of War type armies that you see, but I almost feel I should apologize for having a Tiger when there are armies of them crawling over tabletops.  I suspect it’s the only 15mm Tiger model I will ever get, as I don’t generally like to use uber-tanks in gaming, but they were used on occasion and they are kind of sexy.  The other models are resin kits from a company called Gaming Models.  They aren’t perfect kits in that they are a little shy on detail  but they are relatively cheap and the customer service was excellent.

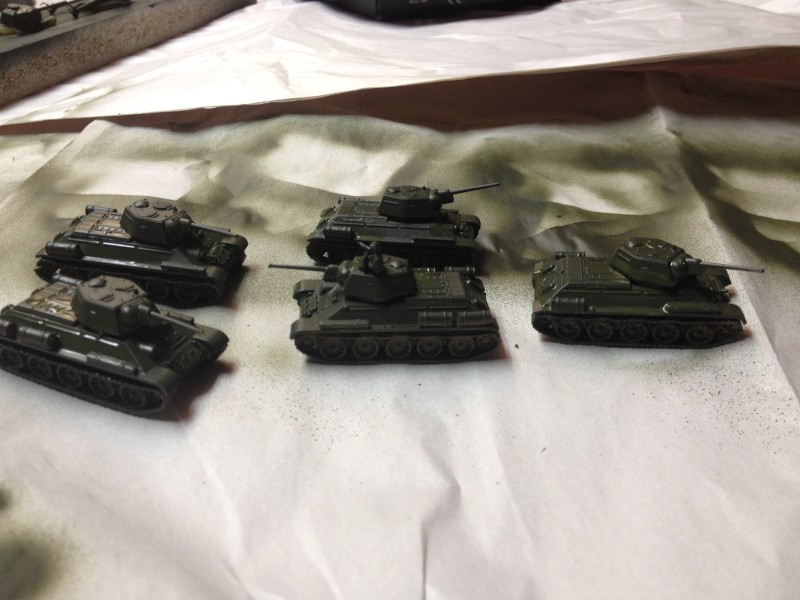
And the Russian T34s.  I am quite impressed with Plastic Soldier Company.  These kits went together in about fifteen minutes each, while I kept one eye on the evening news, and are perfectly serviceable, a quick and dirty way to get an army going.   All I need for them now is a source of 15mm Russian tank slogan and marking decals, though a lot of Russian armour, from what I’ve seen, was fairly minimalistic.


A few nice things came in the mail this week, and Mrs. Padre and I tried a board game called Mice and Mystics, but I will save those items for later posts.

Blessings to your brushes and dice rolls!

Michael

Monday, February 11, 2013

Pigment Pickle

Gentle readers may recall how excited I was a few posts back about those sweet looking ISU 122 tanks that I had treated, somewhat overzealously, some opined, with Vallejo pigment. Well, I treated treated them with my usual final step, a spray of Testors Dullcote, and when I saw them yesterday morning, I was horrified to see that where the pigment had not dissolved, it had turned white and now loooked like snow. The same was true of a Britannia resin Soviet command truck that I had also treated with pigment. All three will now require some remediation.

I share this with you because this morning I noticed that my favourite penguin, Thomas, had just finished a beautiful British western desert LRDG chaos buggy and had treated it, quite successfully, I thought, with MIG pigment, and was wondering whether to matt varnish it. Not wanting him to repeat the same mistake, I jumped on the reply button. I think Thomas may try some Vallejo Matte Varnish vice the Testors stuff, so we will see if he has better luck, but for now, the cautionary moral to my sad tale is, don't get yourself in a pigment pickle. Be careful how you finish that model, and maybe do more research than I did.

The season of Lent drawing near, with all its privations, I worked myself into a penitential mood Sunday afternoon by painting leather belts, straps, reigns and tack on 17 Revell Cossacks and their mounts, still left on the sprue. Soon I'll start snipping them off the sprue and seeing if I can get their capes (the bat-like dark things you see on the sprues) fit as advertised. If I can get them done by the end of this week, they will be Entry #6 for the Analogue Painting Challenge, and then a unit of 12 28mm Front Rank Hussars to carry on the theme of Russian February.

God prosper your brushes and bless your die rolls!

Sunday, May 20, 2012

A Tale Of Two Undercoats

For pretty much as long as I can remember I've used black undercoating for my miniatures, usually just a flat black spray paint from the local DIY store. I told myself that the black was forgiving, it saved time for belts and boots, took a simple silver drybrush for swords and chainmail and armour, etc. I knew that other painters used different, lighter colours for undercoat, and several years back painted some 20mm figures that had been primed in white. I found that experience irritating, and was always seeing white bits that I had to back and paint out. It wasn't that good an experience for me. However, I always wondered, was I sacrificing brightness and vividness, since black tends to suck out some of the vibrancy of the colours painted over it.

Last week however I was reading the article by Stokes Schwartz in Issue 29 of Battlegames, "Simplify Your Painting", and one of his suggestions if to use a white undercoat. Being the open minded (impressionable? easily manipulated?) fellow that I am, I thought an experiment would be in order. I bought some Army Painter white spray primer and applied it to a small number of Warlord weird war figures that are on my painting bench.

Here's the Warlord vampire hunting Padre in white, next to a Foundry Union cavalryman in my usual flat black. My hope is to put up several comparison shots as painting continues, and to get your feedback as to what you think looks better and why.

Blog Archive

Followers