After just over a year's hiatus, madpadrewargames is back. Well, maybe. No promises. But a post now seems like a step in the right direction.
Last night I had three officer colleagues from CFB Suffield over for a wargames night. They were James, a gunner captain who works for our Range Control section, Matt, an armour captain who works in our G3 planning cell, and Kevin, a construction engineering captain from our G4 group. Not a lot of gaming experience - Matt, the youngest, had played some Warhammer 40K and Squad Leader, the others some board anr role playing gaming over the years, but that was it. All are Afghanistan veterans, who have all heard shots fired in anger, so I was curious to see their reactions. After some of my wife's delicious chili and cornbread, a tasty bottle of Chilean red plonk, and some decent
BC Tree Beer, we headed downstairs to the wargames table.
The game I wanted to introduce them to was
I Ain't Been Shot Mum which I've mentioned here before. This flagship game from UK publisher
Too Fat Lardies, sets a benchmark for simulating leadership, friction and the fog of war. The scenario I chose was a LArd-written one, "Over the Hill" - you can find the player briefings for this scenario
here on the UK Durham Wargames Club website. A Commonwealth infantry company with a troop of supporting armour is tasked with clearing a low ridgeline defended by elements of the SS Hitler Jugend Division during the Normandy campaign of 1944. It's a challenging table to reproduce on the tabletop because it calls for hedgerows everywhere.
It was also a challenging table to reproduce photographically as well, since the only camera I had was my iphone and it wasn't really suitable. There are only a few naff photos in this AAR
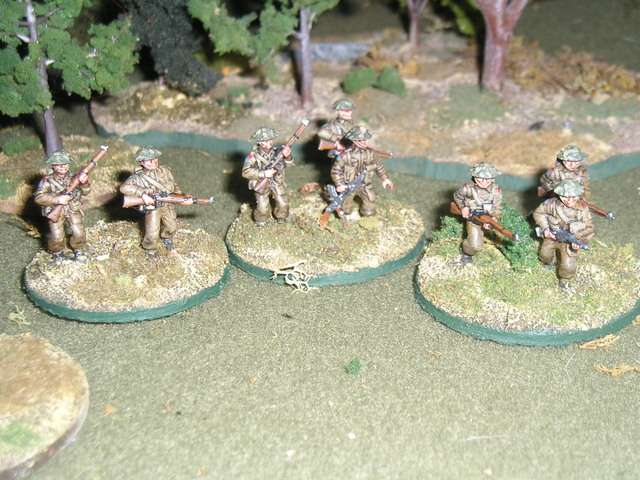
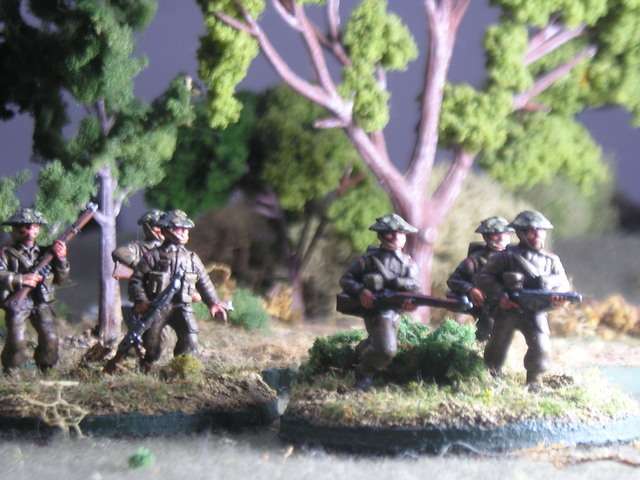
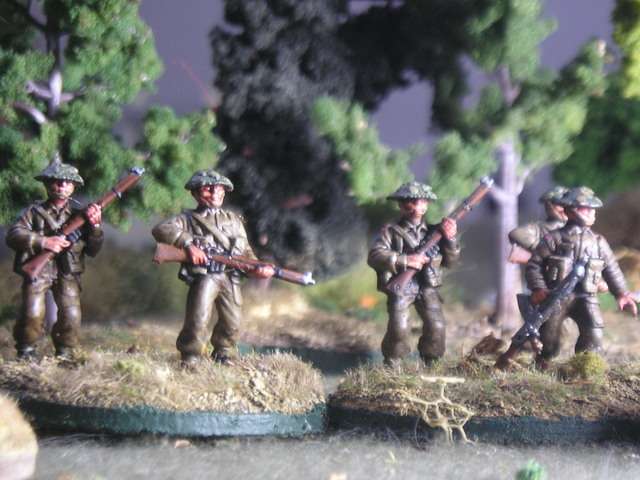
Due to figure constraints, I could only represent two of the three British infantry platoons (I could put two platoons on the table thanks to the commission I gave my friend
James Manto, whose work I am quite happy with),
 Battlefront late war Commonwealth infantry painted by James Manto
.
so I reduced each of the two SS defending platoons by a full section each. James took the defenders - I think the gunner in him liked the fact that his assets included the FOO with a supporting battery of 105s. James choose to spread his two understrength platoons in a wide arc across the middle of the table. The advantage of this deployment was that he would use his half sections as tank killers, counting on their Panzerfausts to kill the Allied armour on the road. His plan was to pull the sections back and consolidate them back into platoons once they made contact. The downside, as I warned him, was that his isolated half sections would lack the firepower to go toe to toe with enemy infantry, which indeed would be their downfall.
Matt and Kevin put their two rifle platoons on either side of the road and rushed the armour foward ahead of them, with the support platoon mounted in Carriers on the road behind them. They plotted their three prep fire barrages, or stonks, and I rolled the results secretly. Here's a nice example of the fog of war feature of the game when an umpire is present. The Allied players never learned the result of their bombardment until after the game, so they were whinging about how they didn't hit anything. James didn't learn the results either at first. Since his OP was near the AT gun position, it was two turns before he learned from a survivor that the Pak75, his ace in the hole against Allied armour, was gone, and he never learned that one of his platoons had lost a half section from the bombardment until it was engaged.
After the preliminary bombardment, no sooner did they come enter from the table edge they were in contact. James was very lucky with his Panzerfausts, He killed the lead tank, a Sherman Firefly, immobilised a second Sherman with track damage, and rolled an incredible 12 on two dice to fire a shot between two Bren Carriers into the Company Commander's Carrier. I decided this was an automatic kill on Niner Actual, and the two platoon commanders would have to step up and take the battle forward.
Coaxial fire from the surviving Shermans and fire from the Bren Carriers raked the hedgerows and got some lucky hits on the Panzergrenadier half sections. James discovered that subsequent shots from his half sections, once they were under fire, even unaimed suppresive fire, were not as likely to succeed as he hoped. As his isolated half sections took casualties, they also could not withdraw as quickly as he hoped, and were easy prey for the two Canadian rifle platoons as they pushed forward.
The first German fire mission from the 105s arrived at a preplotted point on the road, catching the Support Platoon in its carriers. A 2" mortar team and its Carrier were destroyed, and another Carrier had its intrinsic Bren gun destroyed. From this point on, Matt and Kevin would groan each time James' FOO card was drawn, but James also discovered that due to the randomness of the card system and the uncertain end of each turn thanks to the Tea Break card, the artillery card was not drawn as often as he liked and thus his artillery was not as deadly as he hoped.
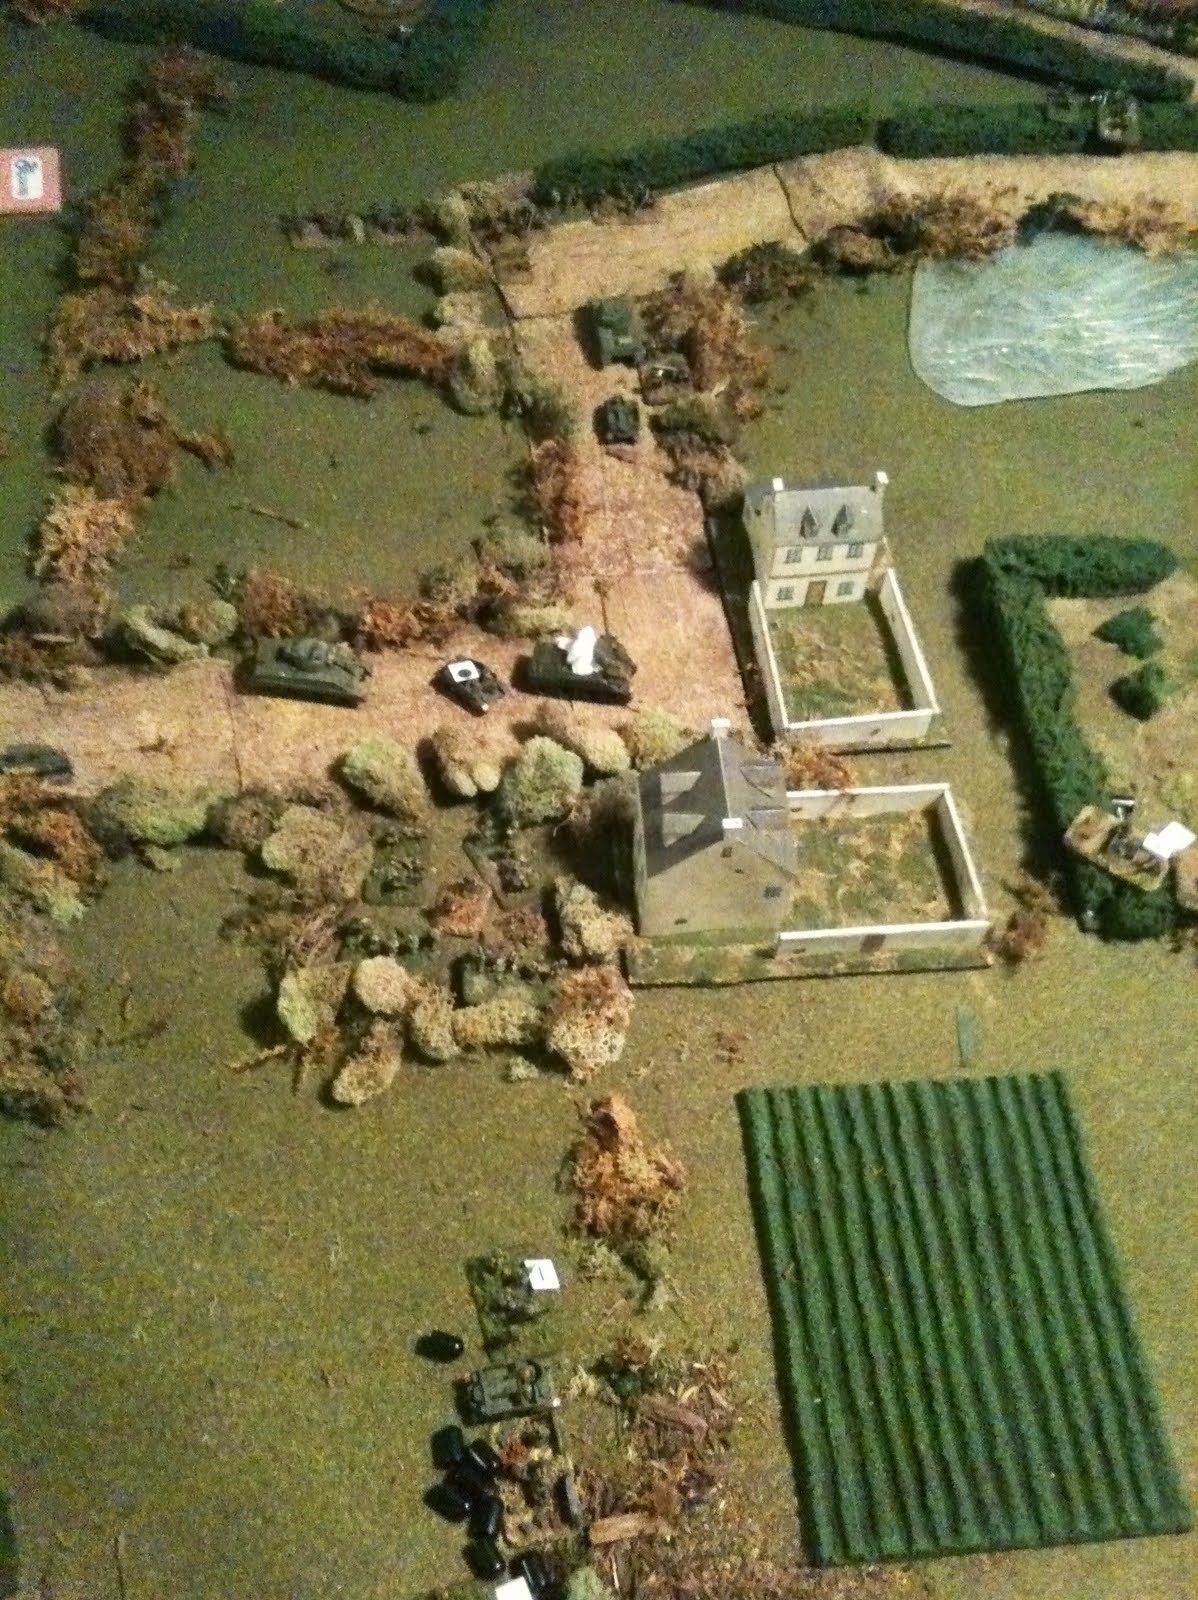
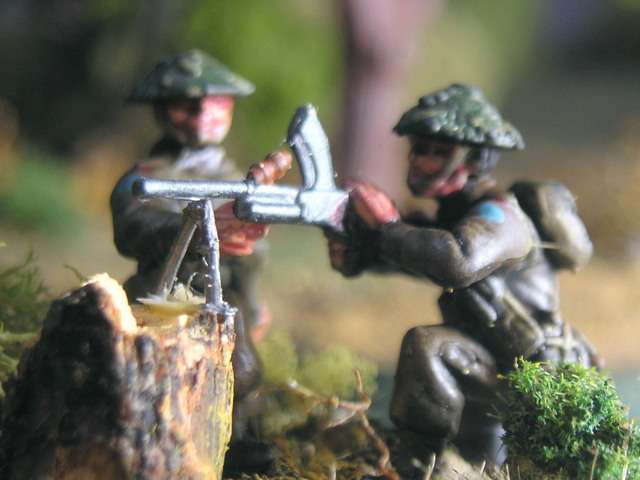
The two Canadian platoons now pushed forward, No 1 moving to the left of Ferme Valee, the terrain feature in the centre table, with No 2 moving to its right. 1 Platoon was bumped by the second SS platoon, and took some casualties, but the scattered German half sections did not do much damage and were easily brushed aside. No 2 platoon began taking fire from two German MMGs situated behind Ferme Valee, which elected to fire while the Canadians were still behind a hedgerow. The protection doubtless saved 2 Platoon from destruction in the open, but as it was one one section was pinned and took so many wounds (in IABSM wounds really reflect loss of cohesion). Matt and Kevin brought up a Vickers team from the support platoon, which along with its Bren Carrier started duelling with the German MMGs. Matt and Kevin were shocked by the deadly effect of the German MMG bonus fire, but decided to leave the one section pinned behind its hedge to absorb fire and moved their two unengaged sections of No 2 Pl to seize Ferme Valee and take the MMGs from another angle.
THe allied armour was not proving too helpful. Matt and Kevin kept missing the "6" on 1d6 to get their immobilized Sherman back in the fight. The second Sherman suffered some engine damage when caught within the template of James' second 105 fire mission, but gamely continued. It's coax fire proved murderous, killing Panzergrenadiers each time he fired. That coax gunner was easily the Allied star of the game.
 Last mobile Sherman supporting No 1 Platoon as it pushes towards the ridge.
Towards midnight we called it a night. Because we never gave the British a set number of turns to achieve their objective, the battle would have likely gone their way. Here are the final British dispositons:

No 1 Platoon and supporting Sherman on the left, taking the turn in the road leading to the ridge. They have brushed aside the German platoon facing them. In the centre, two sections of No 2 Platoon prepare to assault Ferme Valee while its third section on the right duels with the two German MMGs. James was trying to call a 105 fire mission down on Ferme Valee, and that might have messed up No 2 Platoon. However, No 1 was mostly intact, had good leadership from its Big Man, and was poised to rush up the road. Assuming its engine kept working, the supporting tank would have leant weight to 1 Platoon, assuming it did not fall prey to the Panzershcreck team, but that was really the last unit James had available to contest the ridge. His two understrength platoons had been shredded and scattered, and his plan to have them engage, delay, and then fall back on the objective had not worked. In retrospect, Matt and Kevin wished they had mounted one of their two rifle platoons and tried to rush it forward, since they felt the support platoon was not of great help to them and tied up their transport capability.
Final verdict, likely Allied victory. All players seemed to enjoy themselves. James fought a good delaying battle, given his lack of familiarity with the rules. Kevin and Matt were punished at first for leading with the armour, but they handled the infantry well, keeping their platoons together to use one section for a firebase and then another for close assault. All three liked the rules, enjoyed the elements of uncertainty, and felt it was more real than an IGO UGO format. I suspect they will be back for more and one even expressed an interest in getting his own rules set.