Wednesday, August 12, 2009

The Painter's Dilemma

One of the regulars on the Too Fat Lardies Yahoo group pointed me to the blog Iron Mitten, by Secundus, a British wargamers and gardener with an interest in Ancient Rome and Naoleonics. He is also a very talented artist, and his cartoons alone are a good reason to visit his blog.

As an example, this cartoon captures the dilemma of every miniature wargamer who has multiple projects competing for his attention on the painting desk, and only so much time (that would be me). Often, as Secundus notes, this dilemma becomes worse when a sexy new rulebook comes out, tempting you to try a new period and buying new figures which want to jump the older ones waiting in the painting queue.

Saturday, August 1, 2009

Battle in Progress - Skirmish in the Hedgerows 3rd and Final Report

Hearing the exchange of light machine gun fire from the walled farm to his right, Sgt. Olive leads the British second section and the mortar section into the ruined cottage across the road from the farm. Unwittingly he leads his section into a minefield, and his men watch in horror as a sharp bang and flash leaves their section leader a tattered corpse on the ground. This is bad news for the British, as this section is now leaderless. Unless the platoon commander, Lt. Thornloe, can give it direction, or until it another leader can arise from within its ranks, this section will be unable to advance towards the enemy.


Alerted by the exploding mine, Gefreiter Uhl, commanding the German second section, has spotted the Tommies in the farmhouse and prepares to open fire.
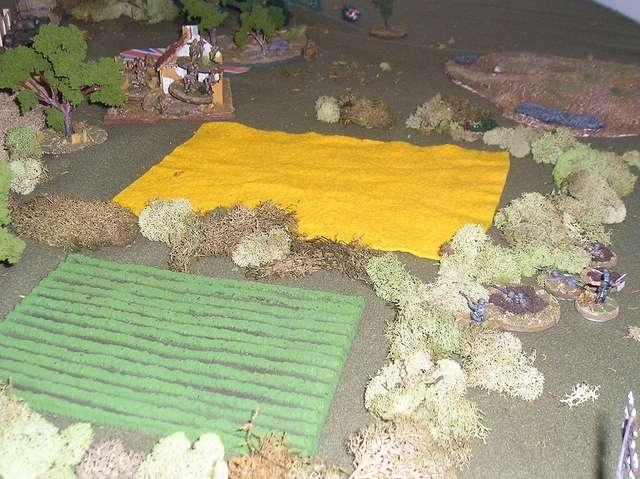


Lt. Rupert Thornloe saw the second section going to ground after the mine strike. "Sgt. Olive, keep going!" "'Es copped it, sir!". Damn. He'd seen men freeze like this in 1940. Another minute and the Spandaus would be opening up, pinning the section further. He raced forward, eyes darting in the hopes he'd spot the mines. "Move to the left, take cover behind that hedge. Go, blast you!"

Lt. Thornloe is blessed by a good string of cards. Two initiative cards are in play, allowing him to use them and his own inherent initiative to have second section make a full move towards the enemy.
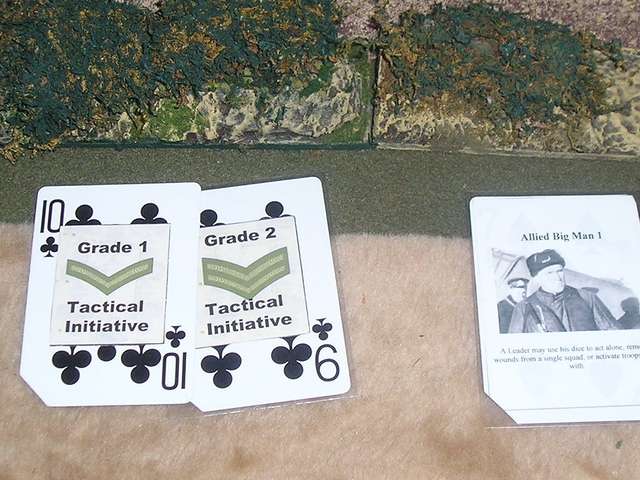


Lt. Thornloe directing his second section out of the minefield:
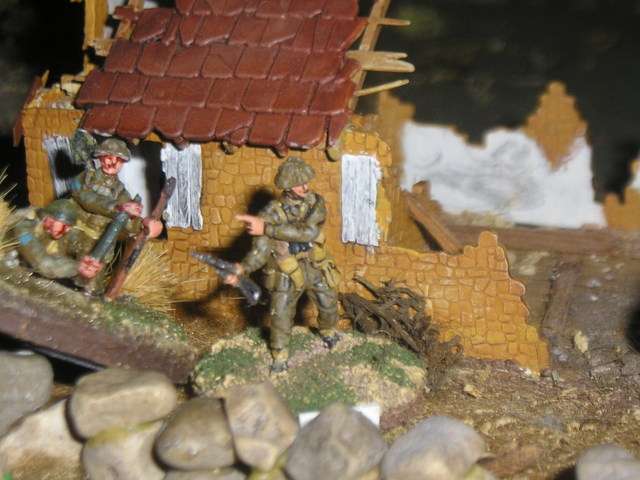


Second section double-times out of the minefield. They almost make it, except for the unfortunate Bren gunner, who has a leg blown off. Urged on by their lieutanant, heartless bugger that he is, his mates retrieve the undamaged light machine gun and keep moving, leaving him to be tended to by the stretcher-bearers.
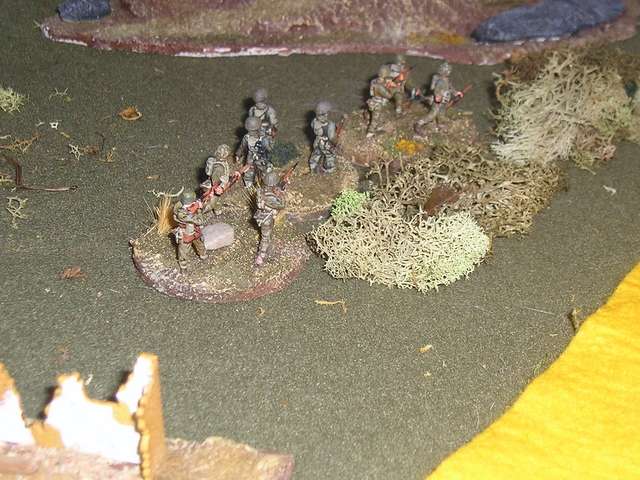


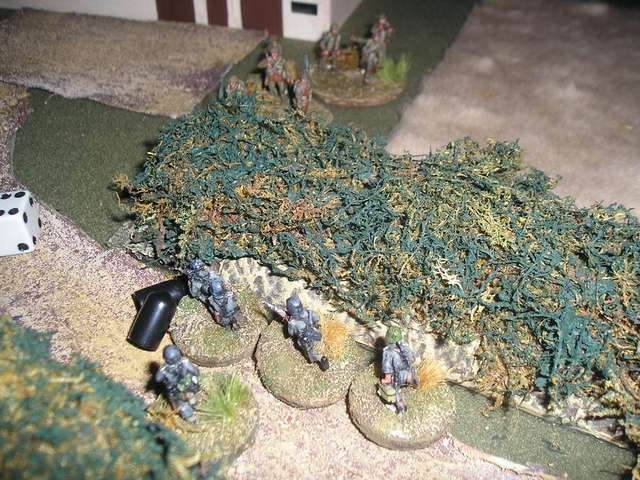
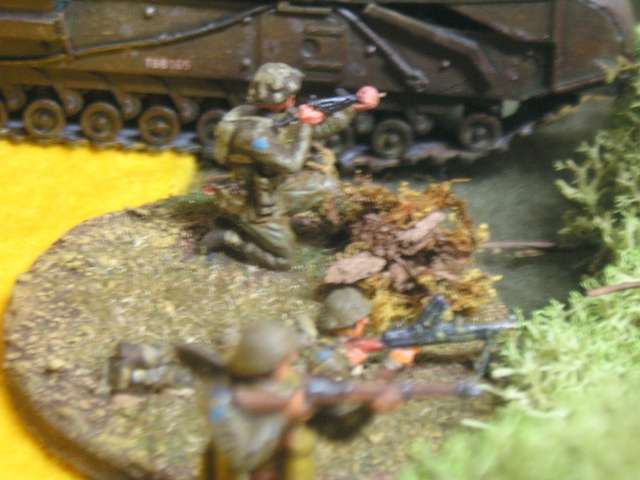
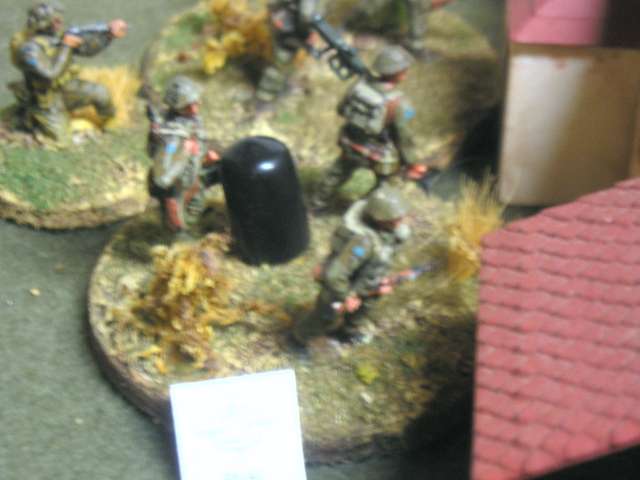
By the walled farm, the firefight continues between Cpl. Tate's and Gefreiter Halle's sections. One of Halle's landsers has been dropped by Bren gun fire, and the MG42 team has been taken two wounds (the black things in the picture). Shooting through the thick hedge, the German return fire has not been effective.


"Bugger this hedge, can't see nowt", cries Cpl. Tate, reaching for a fragmentation grenade. "Come on, lads, let's give them a good stonk. One, two, three!" He and his rifle team send a flurry of grenades over the hedge, and hear loud cries and curses. They can't see the results, but Gefreiter Halle and another German are killed. (Big men are going to be unlucky in this game, Olive and Halle won't be the only ones to die).


"Give them a good stonk!":
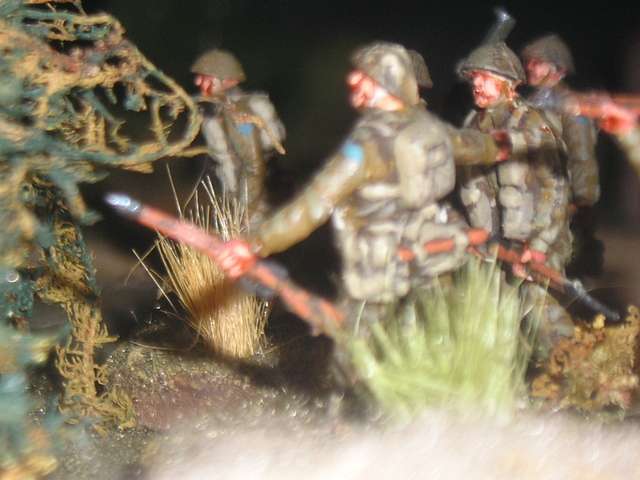


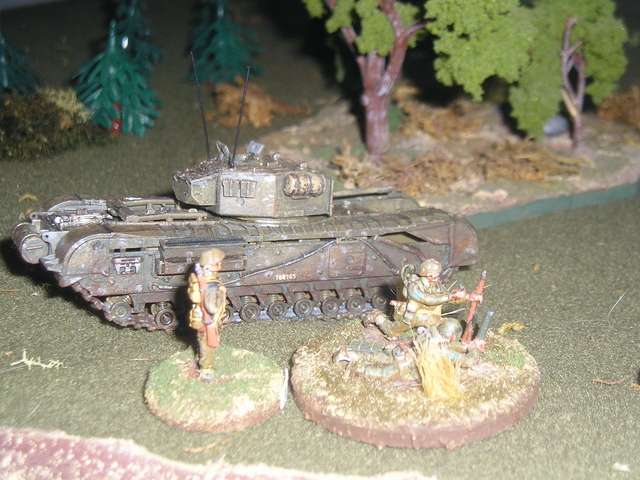
Having spotted it watched its progress, Gefreiter Uhl was directing heavy fire on the British section with his MG42 team. Thornloe watched helplessly as the trailing rifleman was hit and tumbled over while the rest of the section went to ground, pinned. He would need more help, and waved up the sergeant commanding his "supporting" Churchill tank. The sergeant definitely had the wind up, but he couldn't afford to be left hanging back on the road. The tank responded, edging off the road to its left, and Thornloe beckoned his mortar team and third section to follow. He'd bloody well outflank those buggers.


With Gefreiter Halle down, Hans the sentry reluctantly took command of what was left of his section. Having retreated shakily down the road away from the farm, he had his three colleagues gather behind the next hedgerow on the left side of the village and set up their MG42. (The Germans are lucky, and roll a replacement for the deceased Halle. Hans even manages to remove some of the wounds his section suffered from the grenades.)


Thornloe brings up the Churchill on the centre, and on the right, the British third section comes off its blind and begins moving to outflank the Germans pinning second section. This puts Gefreiter Uhl in a difficult spot - should he stay and risk being outflanked or should he pull back?
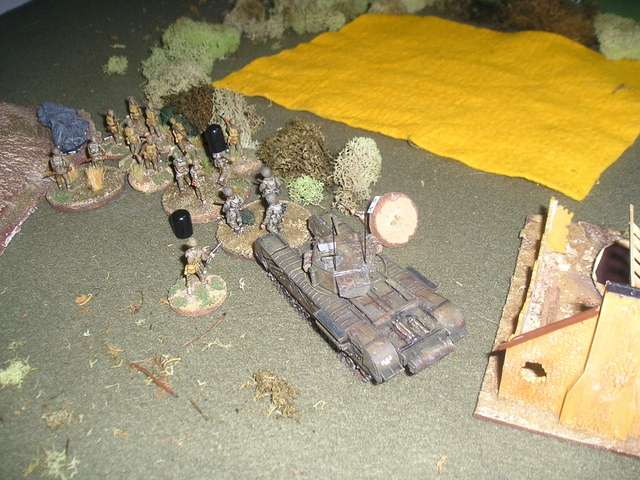


Leutnant Muller saw the Churchill maneuvering off the road and correctly judged that it was intending to start laying down fire on his second section. He noticed that a Tommy light mortar was already beginning to take the section under fire. By steering off the road, the dammed panzer was going to avoid his few anti-tank mines. "Let's try for a shot", he urges his tankhunters, but their approach is noted. The British second section Bren gun opens up on them, and a moment later the Churchill fires HE and co-axial machine gun fire. Muller and his men are lucky, only suffering a few wounds, but with that weight of fire, he judges he won't get a good shot with the Panzserschreck and has his men pull back.

Muller's team (bottom of picture) takes fire from British infantry and tank (top) and decides to retire in hopes of a better shot:
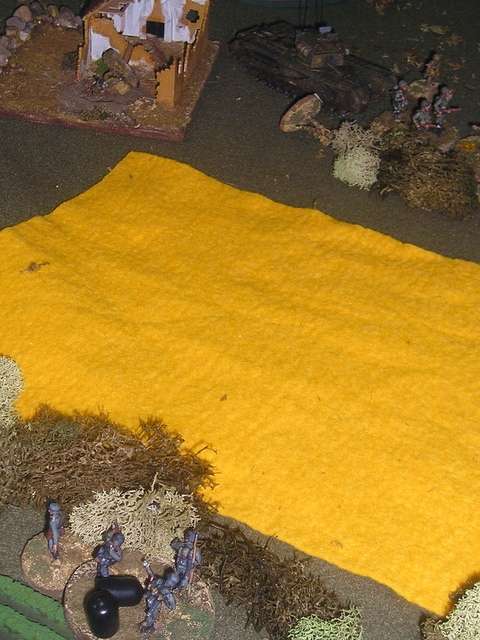


Sergeant Watson watched section beginning to recover as the German fire slackened, and judged it was time. Leaving his Bren team to provide covering fire, he lead his rifle team from three section around the corner of the hedgerow, in time to see the Germans pulling back to avoid being outflanked.
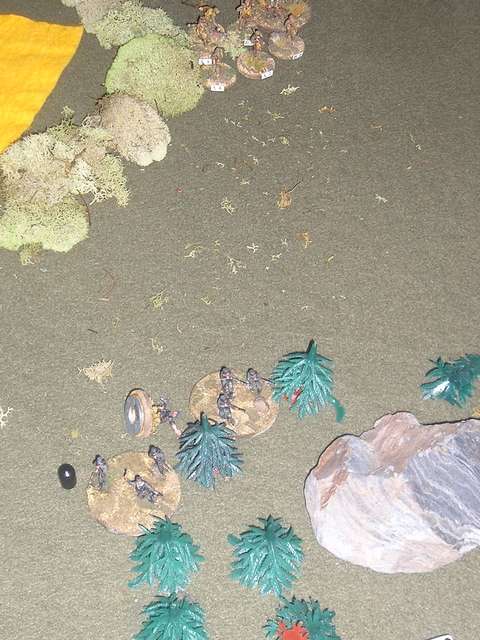


Gefreiter Uhl has called a withdrawal, and his men are almost into a small copse of woods, but he's too late. As he urges his men to hurry and set up a new firing line, three section's Bren gun cuts him down. (The Germans are very unlucky to lose Uhl, a level 3 leader (with level 4 being the best) - there was a 1 in 6 chance of the Big Man being the sole fatality scored on the section, and Uhl snuffed it). Watson and his rifle team move to close assault the retreating, leaderless Germans. The cards allow the Germans to shoot, but since they were retreating, have just lost their leader, and are closely pursued by charging Tommies, I judge it a poor shot rather than a great or ok shot. Three section's rifle team takes some wounds, but is able to close assault the Germans. In the melee that follows, while the Germans have a slight advantage, they lose three men to the British one and take more wounds. The depleted rifle team is forced to withdraw, and taking more fire from Watson's Bren team, dissolves in confusion.
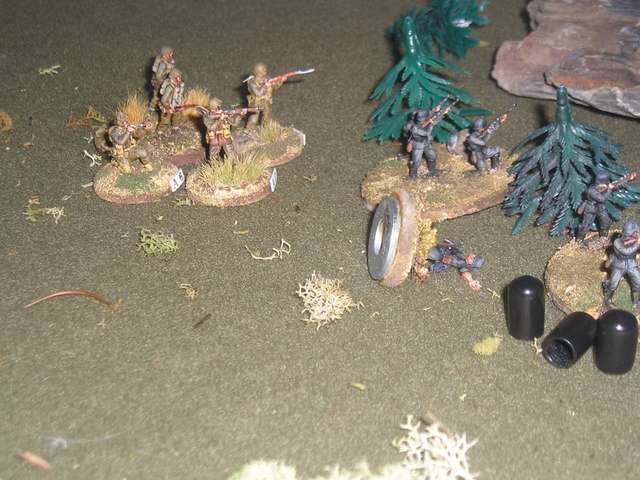


The only bright spot for the Germans. Hans and his three comrades have a good shot at Corporal Tate's first section as it advances up the farm lane. Two riflemen and one of the Bren team are cut down, and Tate has his survivors return fire.


The British respond, and while they are much reduced and the Bren gun only has one dice left (since it's down to one crew member, the British score a hit which turns out to be a kill. There's another 1 in 6 chance that it will be the Big Man and sadly, acting Gefreiter Hans is killed. AB figures casualty figure:


That pretty much decides the fight. Cpl. Tate's half section is going to hide behind its hedge as long as they are unsupported and that MG42 is across the lane. Leutnant Muller knows that Uhl and his second section are gone, so with his three tank hunters he follows the sound of first section's MG and retrieves the survivors. They slip away from the fighting. hoping to find others from their battalion. Muller judges that he's done his bit to stop the invasion - now it's time for the Panzers they were promised to come and roll the Tommies back into the sea.

Muller and his men slip away:
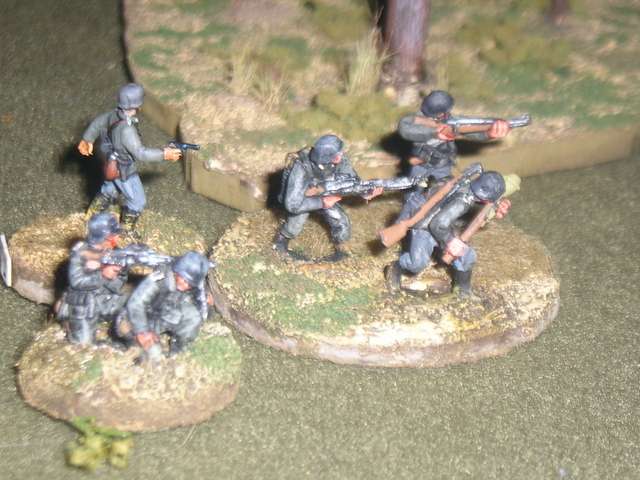


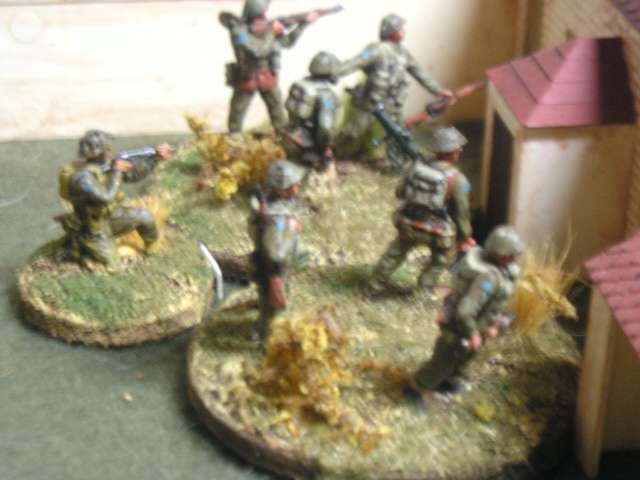
Final British positions - Tate's first section at the bottom, second section and Churchill tank in the middle, and Watson's third section, mortar team and Lt. Thornloe consolidate at the top:


British sniper (a Raventhorpe miniature) cautiously moves forward. He got a few shots off during the game but to no effect:
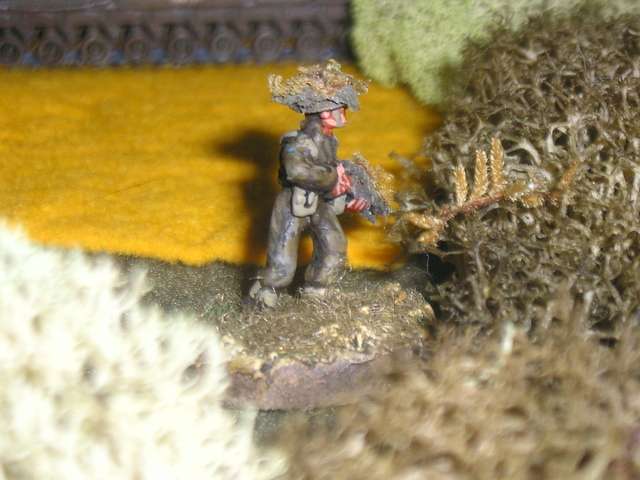


Second section and Churchill (an Esci kit) follow the retreating Germans:
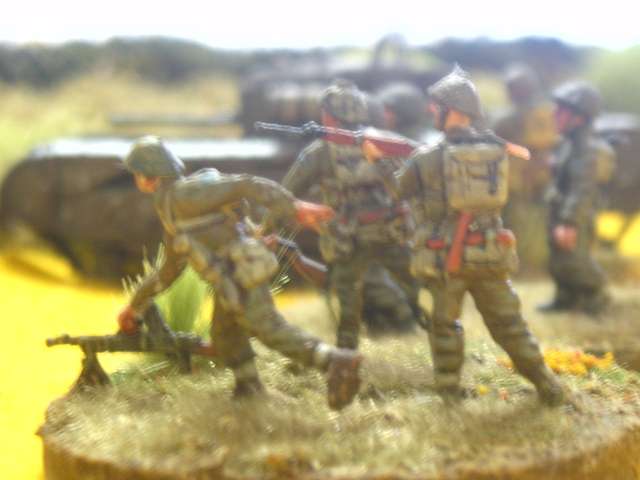


Lessons learned:

This battle confirmed my admiration for the TWWAT system and for the Too Fat Lardies approach. For the British it was frustrating but realistic to have a supporting asset like the Churchill but for it to do relatively little without the leadership of the platoon commander (since the tank didn't have its own Big Man to supply it leadership). The system also reinforced basic infantry tactics (spot, pin, outflank and destroy the enemy). For the Germans, it was a mistake to separate the two sections so that they couldn't support one another, and a further mistake to attach Muller, a valuable Level 3 Big Man, to the tank hunters. He would have been more valuable directing one of the two MG42s.

Thanks for reading. MP+
Friday, July 17, 2009

Battle in Progress - Skirmish in the Hedgerows 2

In thelast report, Cpl. Tate's section had made come under fire from a German sniper, and was pinned outside the walled farm. Seeing the Tommies stacking up outside the wall, and hearing the noise of the Churchill tank approaching, Hans and Frans, the two sentries, decide to leg it for the German lines and give warning of an attack.


"Well, Frans, I always thought that when Der Fuhrer said "Not one step backwards, he wasn't speaking literally - it was more of a metaphor."


A leadership card (Tactical Initiative) card allows Cpl. to wave his Bren team forward on the reasoning that it's just one sniper and he can't target everyone at once. The Bren team breaks into the courtyard but can't see the sniper.


Hearing the sniper fire, and seeing their sentries fleeing towards them, German blind begins probing towards the walled farm on the German blinds card. In this photo there are some small red dice around and near the walled farm. These represent possible locations of the sniper. Under the TWAT mechanics, a dice is eliminated when the sniper fires and gets an adverse result, or when enemy figures occupy that position, thus simulating the enemy force gradually working out the sniper's location through a process of elimination.


The sergeant commanding the Churchill tank is nervous about a possible antitank gun sited up that long road, but he's just as nervous and immobolising his tank trying to cut through the hedges. He cautiously moves onto the road to begin flanking the walled farm, keeping pace with the infantry moving forward on the far side of the road.


German blinds move forward cautiously on the right flank to take up firing positions to meet the Tommies' attack that seems to be developing.


Leutnant Muller peered through his Zeiss field glasses towards the walled farm where the commotion seemed to be developing. He focused and his throat went dry as he mades out the shape of a Britisher tank creeping around the farm. "Verdamnt!"

Hmm, that curling road needs a bit of work. The roads are strips of old tea towel, coated on one side with mono caulking, textured with model railroad ballast and painted. I believe the tip came from Fonzie's Scratchbuilding website.


Lt. Muller summons his last reserve, a three man panzer hunting team equipped with rifles and a Panzerschreck, and sends them forward to take up ambush positions in case his handful of antitank mines fails to stop the Tommy tank.


"I know it's a tank but you're bloody tank hunters. Get schtalking!" Lt. Muller briefs his panzerknacker team. The officer is an old Esci plastic figure, the other chaps are metal of unknown origin, carrying a panzerfaust and not the specified panzerschrek bazooka-type weapon. I need some German figs carrying a Pschreck.

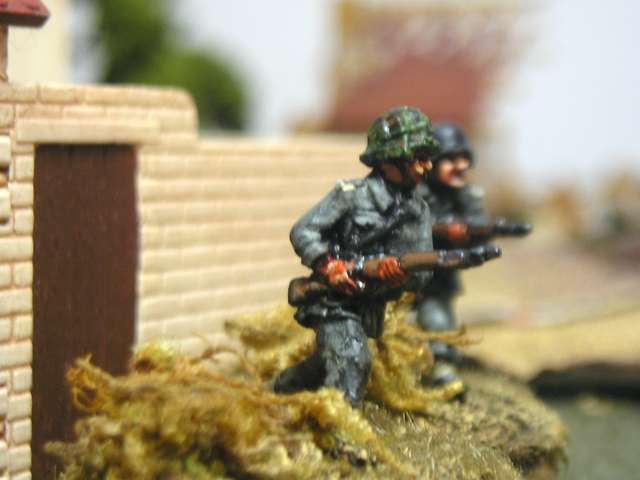
Gefreiter Halle peered through the hedge. The Tommies were in the farm, that much was sure, and his orders were to delay them as long as he could. He waved up his MG 42 team. "Give em a burst." Within ten seconds the two landsers with the LMG set up at the end of the hedgerow and began spraying the farm's gate.


The results are successful - a member of the British first section's Bren team is killed. However, the British aren't pinned and the cards allow Cpl to order his Bren team to return fire. They put two wounds on the German LMG team. uses the next two leadership cards to order his rifle team to use two of their three initiative dice out of the farm and towards the hedge. They use their third and last dice to throw grenades, which don't cause casualties but help persuade Halle pulls his section all back behind the hedge.


Hans and Frans the sentries breathlessly report to Gefreiter Halle and rejoin their section.


"About bloody time you two showed up!"

Tuesday, July 14, 2009

Battle in Progress - Skirmish In the Hedgerows 1

This solo wargame is a small-unit fight using the Troops, Weapons, and Tactics (unfortunately acronymed as TWAT)published by Too Fat Lardies rules in the UK. It's the best system I've found so far for skirmish gaming, using a card-based system that emphasizes leadership and the fog and friction of war.

The scenario assumes a leading platoon of a British battalion pressing inland on the late afternoon of 6 June, and encountering resistance from the German 716th Divison, which is scattered and badly disorganized after the day's fighting. the platoon commander has orders to advance to a crossroads and take up a blocking position.

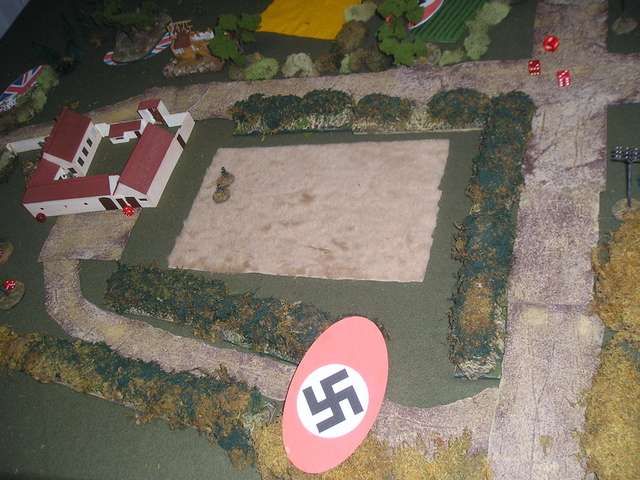
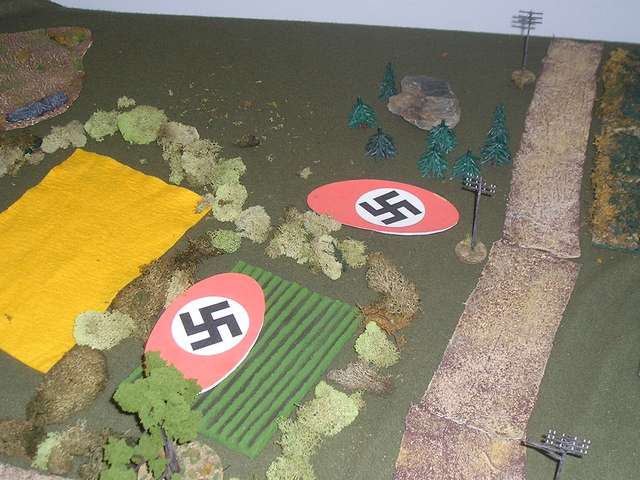
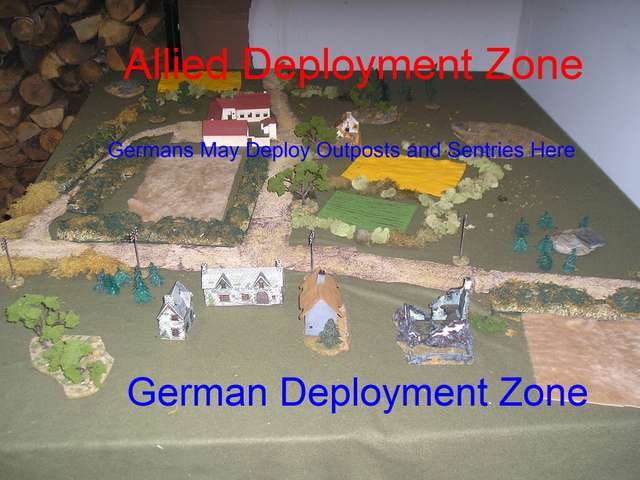
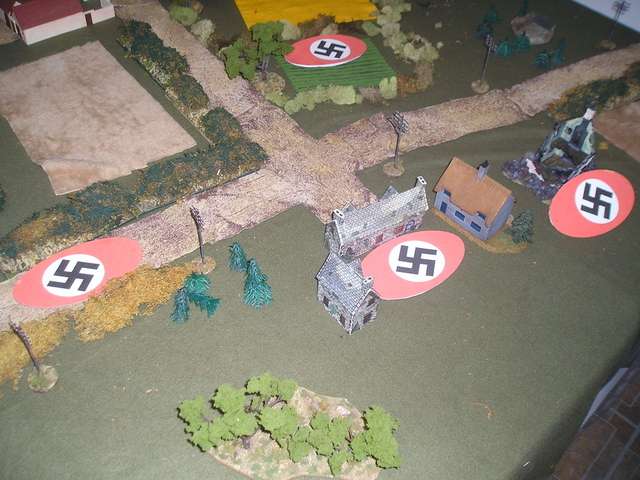
Here's the table - I wanted to see how "hedgey" I could make it, to give the impression of the closed-in countryside of Normandy. Yes, indeed, that farm in the center is the old Airfix Battle of Waterloo Hougoumont farm, and across from it is the Airfix field HQ/bombed out house.


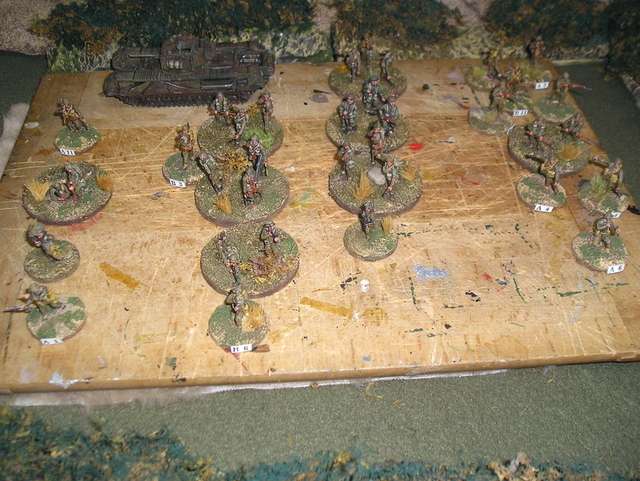
The British force - I used the charts in TWAT to generate a British rifle platoon. The platoon commander is a level 2 leader, without a platoon sergeant (wounded on Sword Beach?) but equipped with a sniper and a three man 2" mortar section, who also carry a PIAT ((anti-tank) and double as the anti-tank section. He has three rifle sections, two of ten men and one of nine. Each section has a 3 man Bren LMG team, a 6 man rifle team, and a section leader. In TWAT terms the section leaders are all level 1 or 2 Big Men. The British also enjoy the support of a Churchill tank (I'm not sure if the British landed Churchills on D-Day but I like the model).


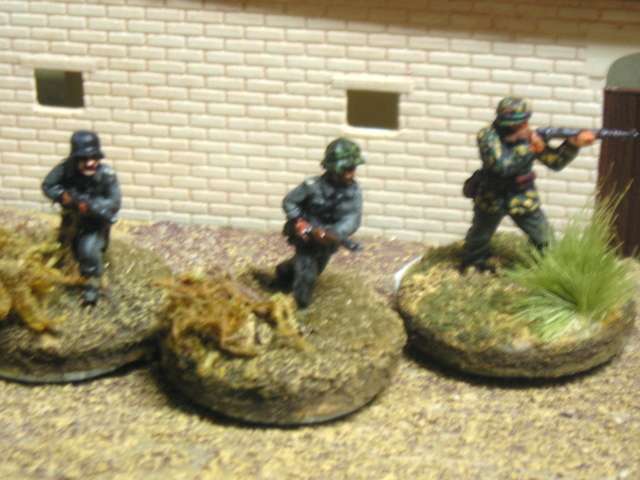
The Germans.

I decided to give the Germans only two sections, which each turned out to be two men understrength, suggesting a unit badly battered by the day's fighting and by RAF strafing. Fortunately the Germans have a proper Leutnant as commander, with a sniper, a Panzerschreck tank-hunting team, and two seven man sections, each with a 2 man MG42 LMG team, a four man rifle section, and a section leader. The Germans also have two minefields to place on the board, preplaced by the designers of the Atlantic Wall.


The scenario allowed Leutnant Muller to use the sentries and outposts rule to place some elements in the middle of the table. He designated two rifelmen, Hans and Frans, from one of his two sections to maintain a sentry position in the walled farm, and also assigned his sniper to that area. Hopefully these measures would give him a tripwire should the Tommies push up the road from their bridgehead, alerting him and giving him some time to hold the crossroads until support from 21 Panzer Division arrived. The two riflemen are A&B Figures minis, and the sniper is by Revell.


The German dispositions. All units start the game under blinds. Two of these four blinds are the German rifle sections, one is the HQ element, and one is a dummy. Since I was playing solitaire, I designated the HQ blind in the village but left it up to the dice to decide which of the other three blinds was fake. That way, playing the British side, I'd have some uncertainty to deal with.


The British forces arrive under three blinds: blind 1 = section 1 and the Churchill, blind 2 = section 2, and blind 3 = section 3 and the platoon HQ. Section 1 and the tank are tasked to clear the walled farm, while the rest of the platoon advances on the far side of the road to provide flanking fire on the farm if needs be.


Corporal Alf Tate sucked on his teeth nervously, in between quick glances over the hedge. With the bloody tank idling beside him, Jerry must now something was up, but if he was in that farm, he was lying doggo. He glanced over to where his Bren team and the tank were waiting and ready to provide cover fire.


Once the riflemen cross the hedge they are within 9" of German elements and therefore once within 9" of each other all opposing forces come off their blinds and go onto the table. "Right you lot, wiv me!" Arms in front of the faces as they pushed through the hedge, rifles catching on branches, Tate's men stumbled through the hedge (losing best one of their three initiative dice spent on the move) and rushed to the shelter of the wall.


For a second, Tate thought they had made it, but as they plastered themselves against the wall he heard a loud crack and felt stone off the farm wall bite his cheek. Strewth! "Sniper! Get yer 'eads down! Anyone seen him?" Heads stayed down under their steel helmets. They were pinned.

The sniper's first shot is good, resulting in a pin and a wound. In TWAT game mechanics, wounds are cumulative and reduce a unit's ability to move and shoot effectively. The black rubber thing shown below indicates one wound. Pin results prevent movement until the end of a turn, signalled by the turning of the "Tea Break" card.


To be continued ....

Sunday, July 12, 2009

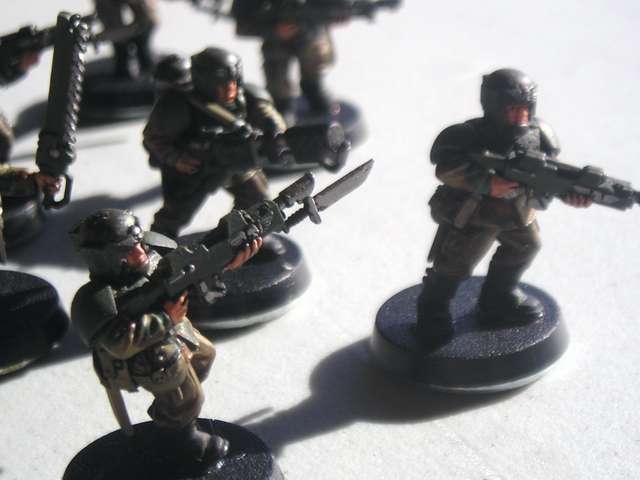
Work in Progress - GW Imperial Guard 2

Taken in bright late afternoon sunlight.


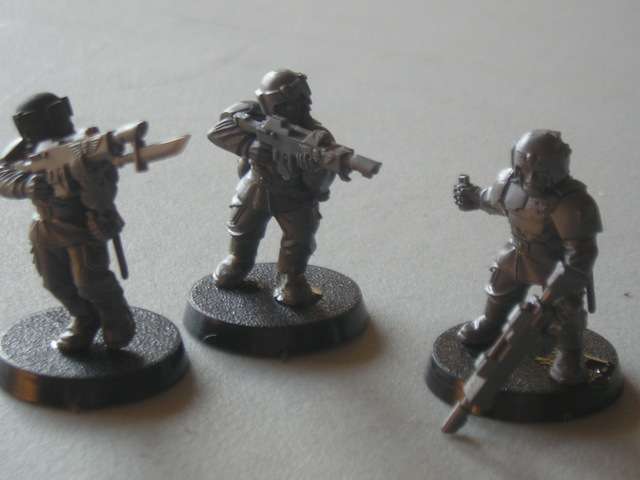
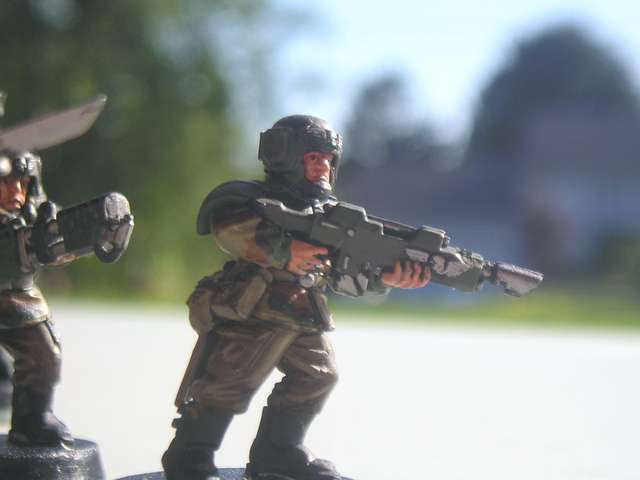
Since my last post, I've mostly completed the painting on these fellows and assembled the arms and weapons. As a friend of mine asked after seeing the last pictures, why didn't I assemble the models and then just paint the bits that show? Good point, seeing as when you glue on the arms, and given the bulkiness of the Guard weaponry, not much of the chests show. So, as you can see below es got glued before they got spray-primed, sparing me the hassle of repainting the areas where the glue (I'm using Testor's plastic model glue) is visible after assembly.


I'm reasonably happy with the camo pattern on the tunics, seen here on the vox operator, though I'm hoping the shininess will dull down with the dullcote finish.


Another view of the camo pattern, which as I mentioned was inspired by the WW2 English Denison style.


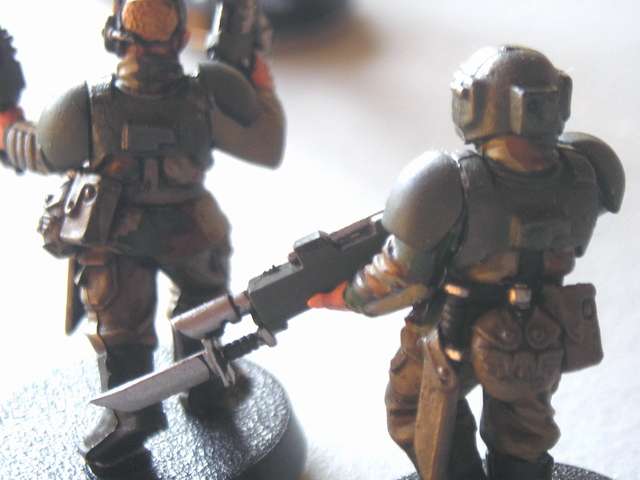
View of the backs of the figures, showing the paint scheme for the webbing, which is the same colour (Vallejo Khaki) as used for the tunic, only washed with a GW brown wash.


I still have to flock the bases, apply the tac decals to the shoulder pieces, and apply some black wash to dull down the GW Boltgun Metal on the weapons, but this first platoon is nearly done and itching to face down some Orks.

Friday, July 10, 2009

Miniature Wargaming Video on YouTube

I learned about this wargaming video via the lads on the Too Fat Lardies yahoo list. It's a curious piece of work, but the opening scene of a table top, and the stop-motion animation, is very impressive. I'm not sure I understand the last part and the accompanying music choices, but it does make the point that miniature wargaming is essentially some chaps sitting around a table with models having a good time.

">

Monday, July 6, 2009

Panzergrenadiers! or, How I Did My Bit for the Economy

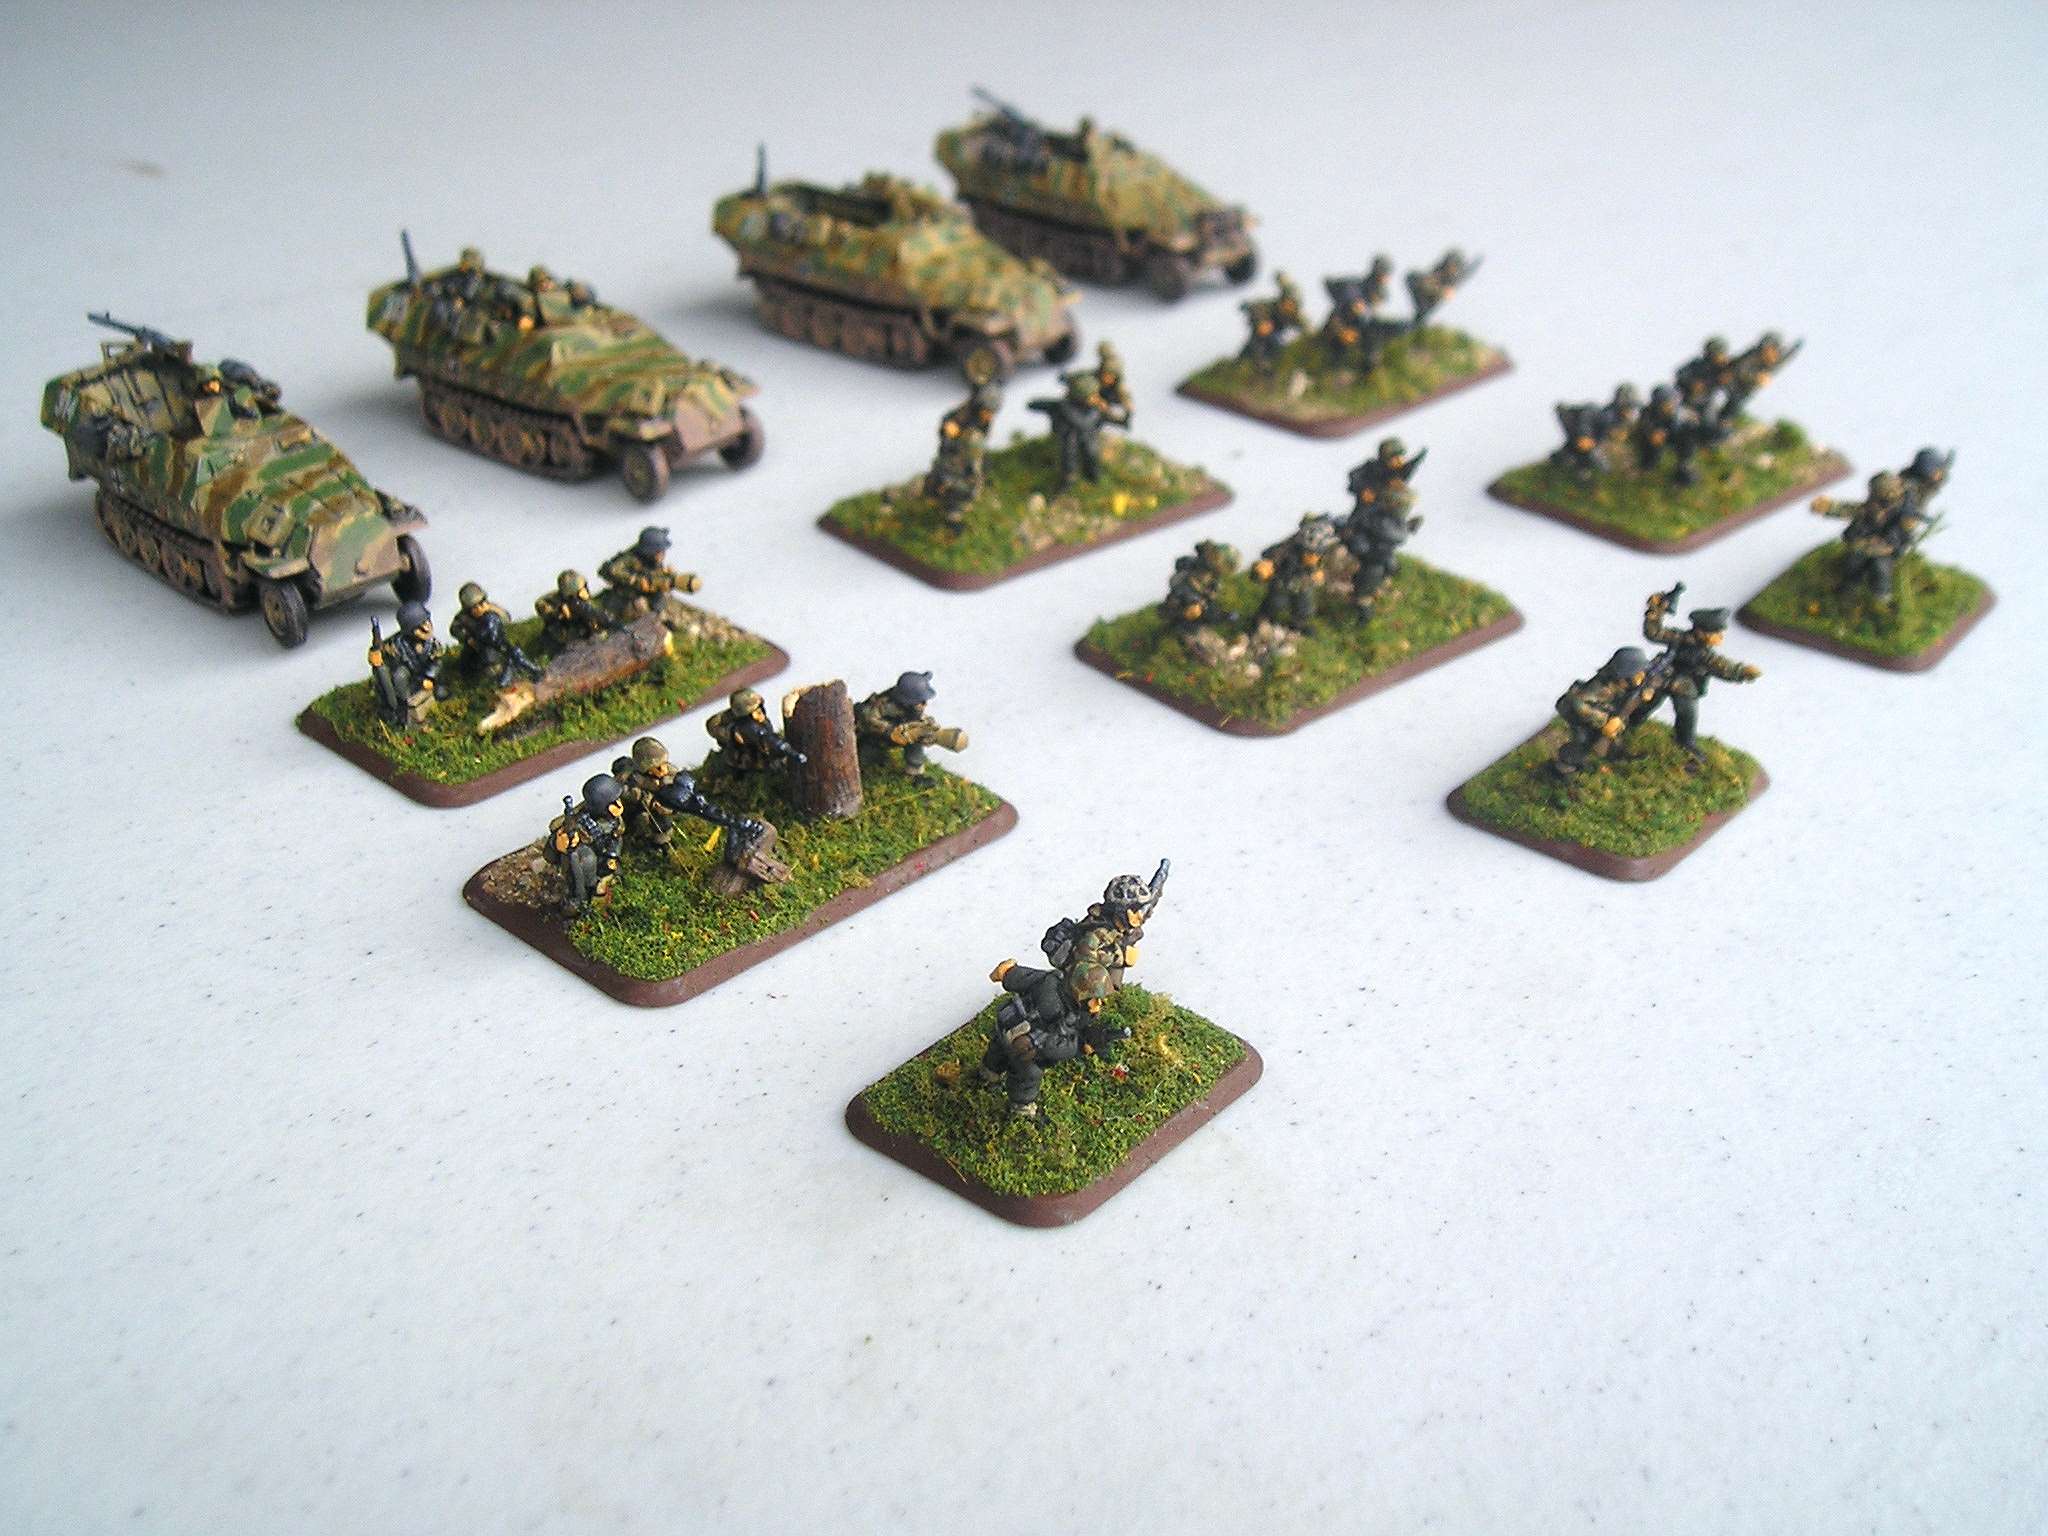
A good friend of mine, James Manto (of Hotlead fame - Hotlead being the premiere miniatures wargaming convention in SW Ontario) recently became a victim of the downturn in the auto parts industry, and is falling back on his painting skills to help make ends make. Some months back I sent him a Battlefront 15mm late WW2 Panzergrenadier platoon, complete with resin APCs, and was delighted to receive a well-packaged shipment of toys back from him last week, which make a significant addition to my Normandy project.

Here's the complete force, just itching to be unleashed and throw the invading Englanders and Amis back into the sea:


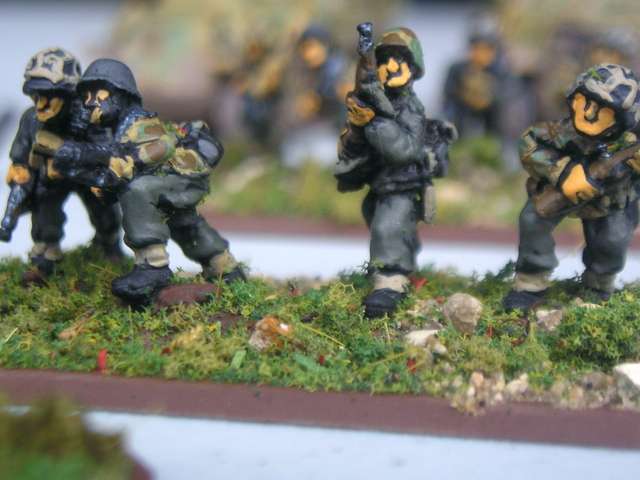
And here's another shot of the infanteers. I like the way James has done the camo in an impressionistic manner, without trying to slavishly repoduce one of the myriad German camo patterns. I also like the simple way he's done the faces.


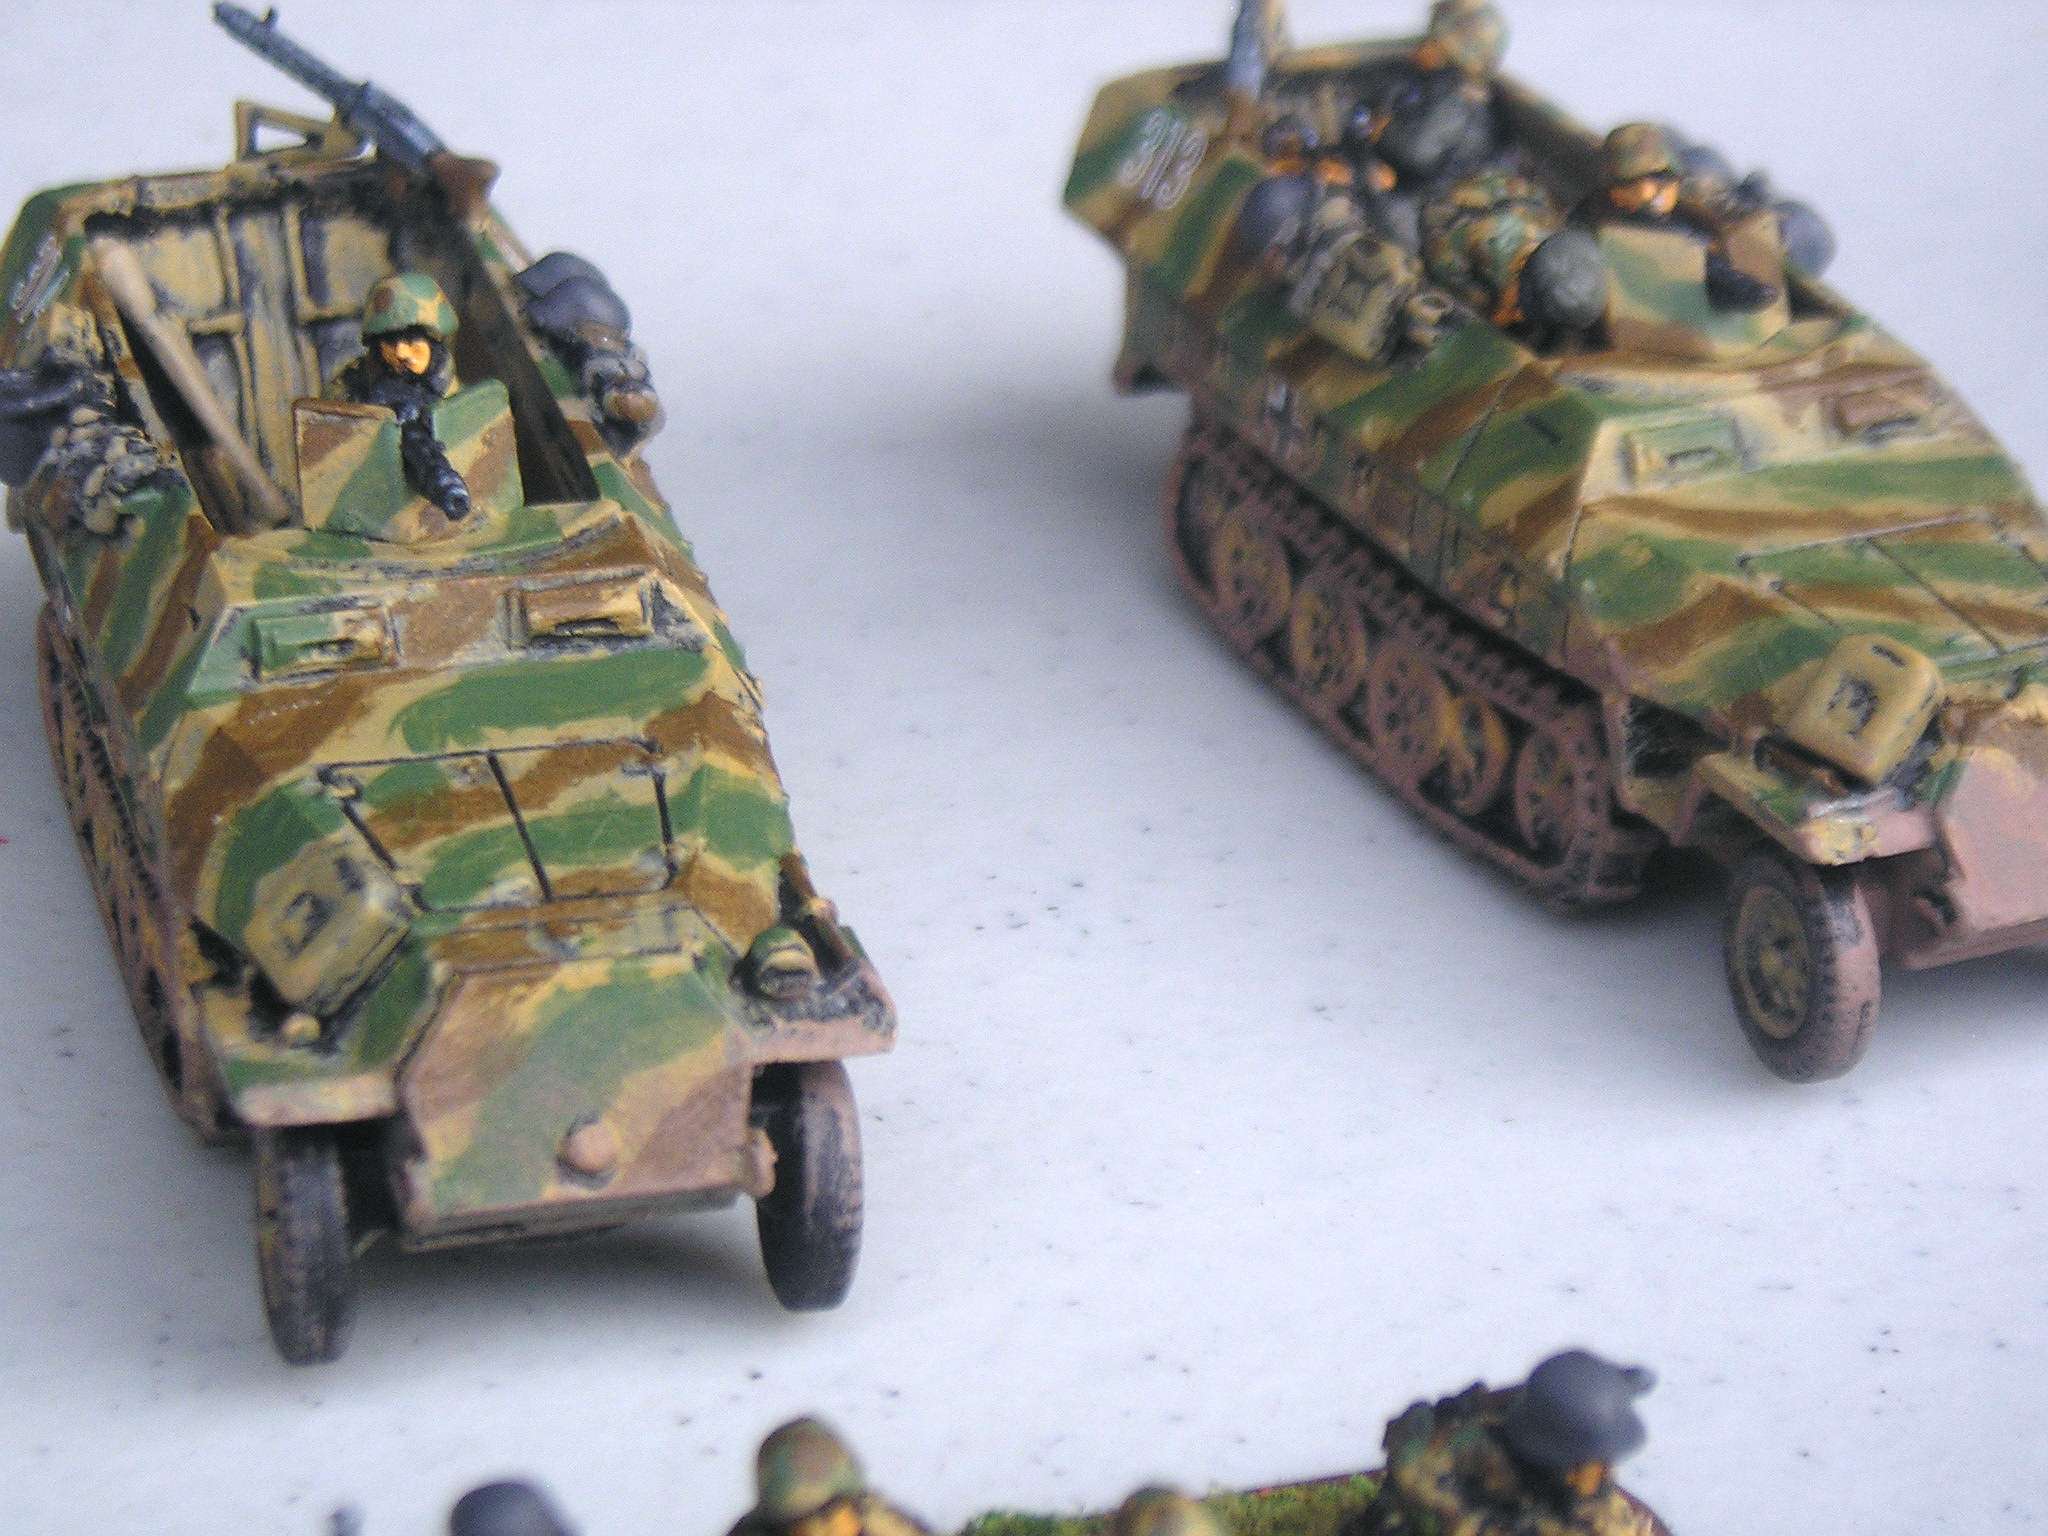
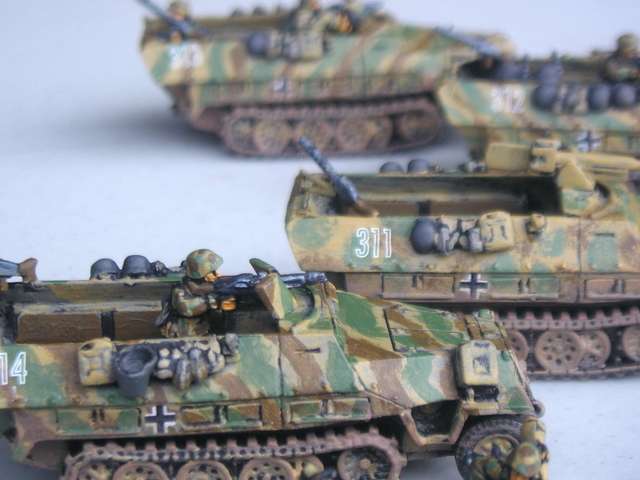
And here are some shots of the German Hanomag armoured personnel carriers.


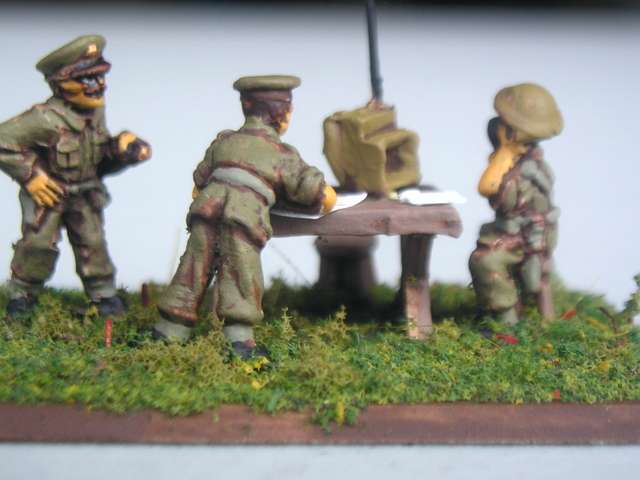
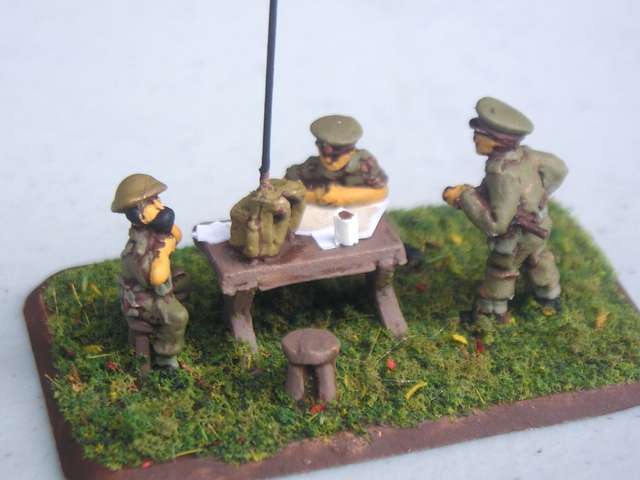
James also had a Commonwealth HQ group which he included in the detail. They will be a nice addition to my Canadian force - the little chap standing with the moustache is a deadringer for RCR demigod Strome Galloway.


This is the first time I've paid another person to paint my figures and I'm happy with the result. I certainly recommend James to others and I'm scraping up some cash to hire him again.

Blog Archive

Followers