Tuesday, December 31, 2013

General Petr Godsbodkin Cheers In The New Year

One of my newly completed figures waves his hat to celebrate the new year.   General Petr is one of the first figures to be completed since the Mad Padre's Painting Chapel shifted its location from The Frozen Canadian Prairie to bucolic and temperate Ontario.  He is a Wargames Foundry figure, one of their pack of three Seven Years War staff officers, and he is part of my Resurrected Armies (™) project to return my SYW Russian Army to a reformed and efficient state.   Prior to Clausewitz, one of the arts of command was to wave one's hat vigorously, and I think General Petr has mastered that art.


I made a foray out to Credit Valley Railway Store in Mississauga recently and picked up some Noch foliage clusters, seeing as all the cool kids seem to be using them.  I rather like the effect.

I just noticed that the poor horse could use some eyes.   Oh well.  Perhaps a trip back to the painting bench before I hit him with Dullcote and call him finished.

General Godsbokin has two colleagues who will be seen here soon.  Together they will lead the Russian Army to a year of glory in the new year.   It will be a dangerous year, as the Turkish borders are stirring ominously, and the diplomatic corps reports that the Prussians are rattling sabres and threatening to cut off supplies of sausage to the  Czar's court.   I expect too that we will see Godsbodkin again here soon, as he is scheduled to present new colours to the Apcheronski Regiment as soon as he returns from the New Year's holiday at his dacha.

To all my friends and followers of this blog, I wish you a very happy new year, and success at all your various projects.   My own resolutions can be summed up quite briefly: paint more, game more, complain less, keep running, work hard in grad school, be a good husband to Mrs. Padre and a good friend to all.


Finally, if you are looking for something to sing while in your cups this New Year's Eve, may I suggest this old English song, which may be sung to the tune of Greensleeves.  As a combination of piety and revelry, it must be Anglican.


1. The old year now away is fled,
The new year it is entered;
Then let us all our sins down tread,
    And joyfully all appear.
Let's merry be this holiday,
And let us run with sport and play,
Hang sorrow, let's cast care away
    God send us a merry new year!

2. For Christ's circumcision this day we keep,
Who for our sins did often weep;
His hands and feet were wounded deep,
    And his blessed side, with a spear.
His head they crowned then with thorn,
And at him they did laugh and scorn,
Who for to save our souls was born;
    God send us a happy New Year!

3. And now with New-Year's gifts each friend
Unto each other they do send;
God grant we may our lives amend,
    And that truth may now appear.
Now like the snake cast off your skin
Of evil thoughts and wicked sin,
And to amend this new year begin:
    God send us a merry new year!

4. And now let all the company
In friendly manner all agree,
For we are here welcome all may see
    Unto this jolly good cheer.
I thank my master and my dame,
The which are founders of the same,
To eat, to drink now is no shame:
    God send us a happy new year!

5. Come lads and lasses every one,
Jack, Tom, Dick, Bess, Mary and Joan,
Let's cut the meat unto the bone,
    For welcome you need not fear. 
And here for good liquor you shall not lack,
It will whet my brains and strengthen my back; 
This jolly good cheer it must go to wrack:
    God send us a happy new year!

6. Come, give's more liquor when I do call, 
I'll drink to each one in this hall,
I hope that so loud I must not bawl,
    So unto me lend an ear.
Good fortune to my master send,
And to our dame which is our friend,
Lord bless us all, and so I end:
    God send us a happy new year!


Saturday, December 28, 2013

St. Benoit des Lapins: A Chain of Command Report

Last night James (Rabbit Man) Manto and I had another chance to try Too Fat Lardies' Chain of Command, our second time out with these rules.    We chose Scenario 3, Attack and Defend, using James' 15mm collection, Canadians vs German Fallschmirjaeger, and diced to see who got what.   I got the German paras.   We decided not to rate the FJs as Elite, just Regular.   Even so, with their two LMGs per section, each throwing out eight dice, plus one SMG per section for another three dice and one rifleman for one dice, a single intact FJ section with no suppression or casualties can throw out 21 dice per fire combat.    In other words, each section is a bullet buzz saw.   I normally dislike playing with ubertroops, but I have to admit I was glad I wasn't on the receiving end of these guys.

Situation:   A platoon of the Toronto Fusiliers, supported by armour from the Niagara Yeomanry, have been tasked with clearing the village of Benoit des Lapins.   Holding against them, a zug of infantry from 7th Fallschmirjaeger Regiment, with the regimental mortars in support, is tasked with stopping them.   The Canadians are well-trained but new to France, while the German paras are recent recruits from the depots in Germany, so neither side is Elite.

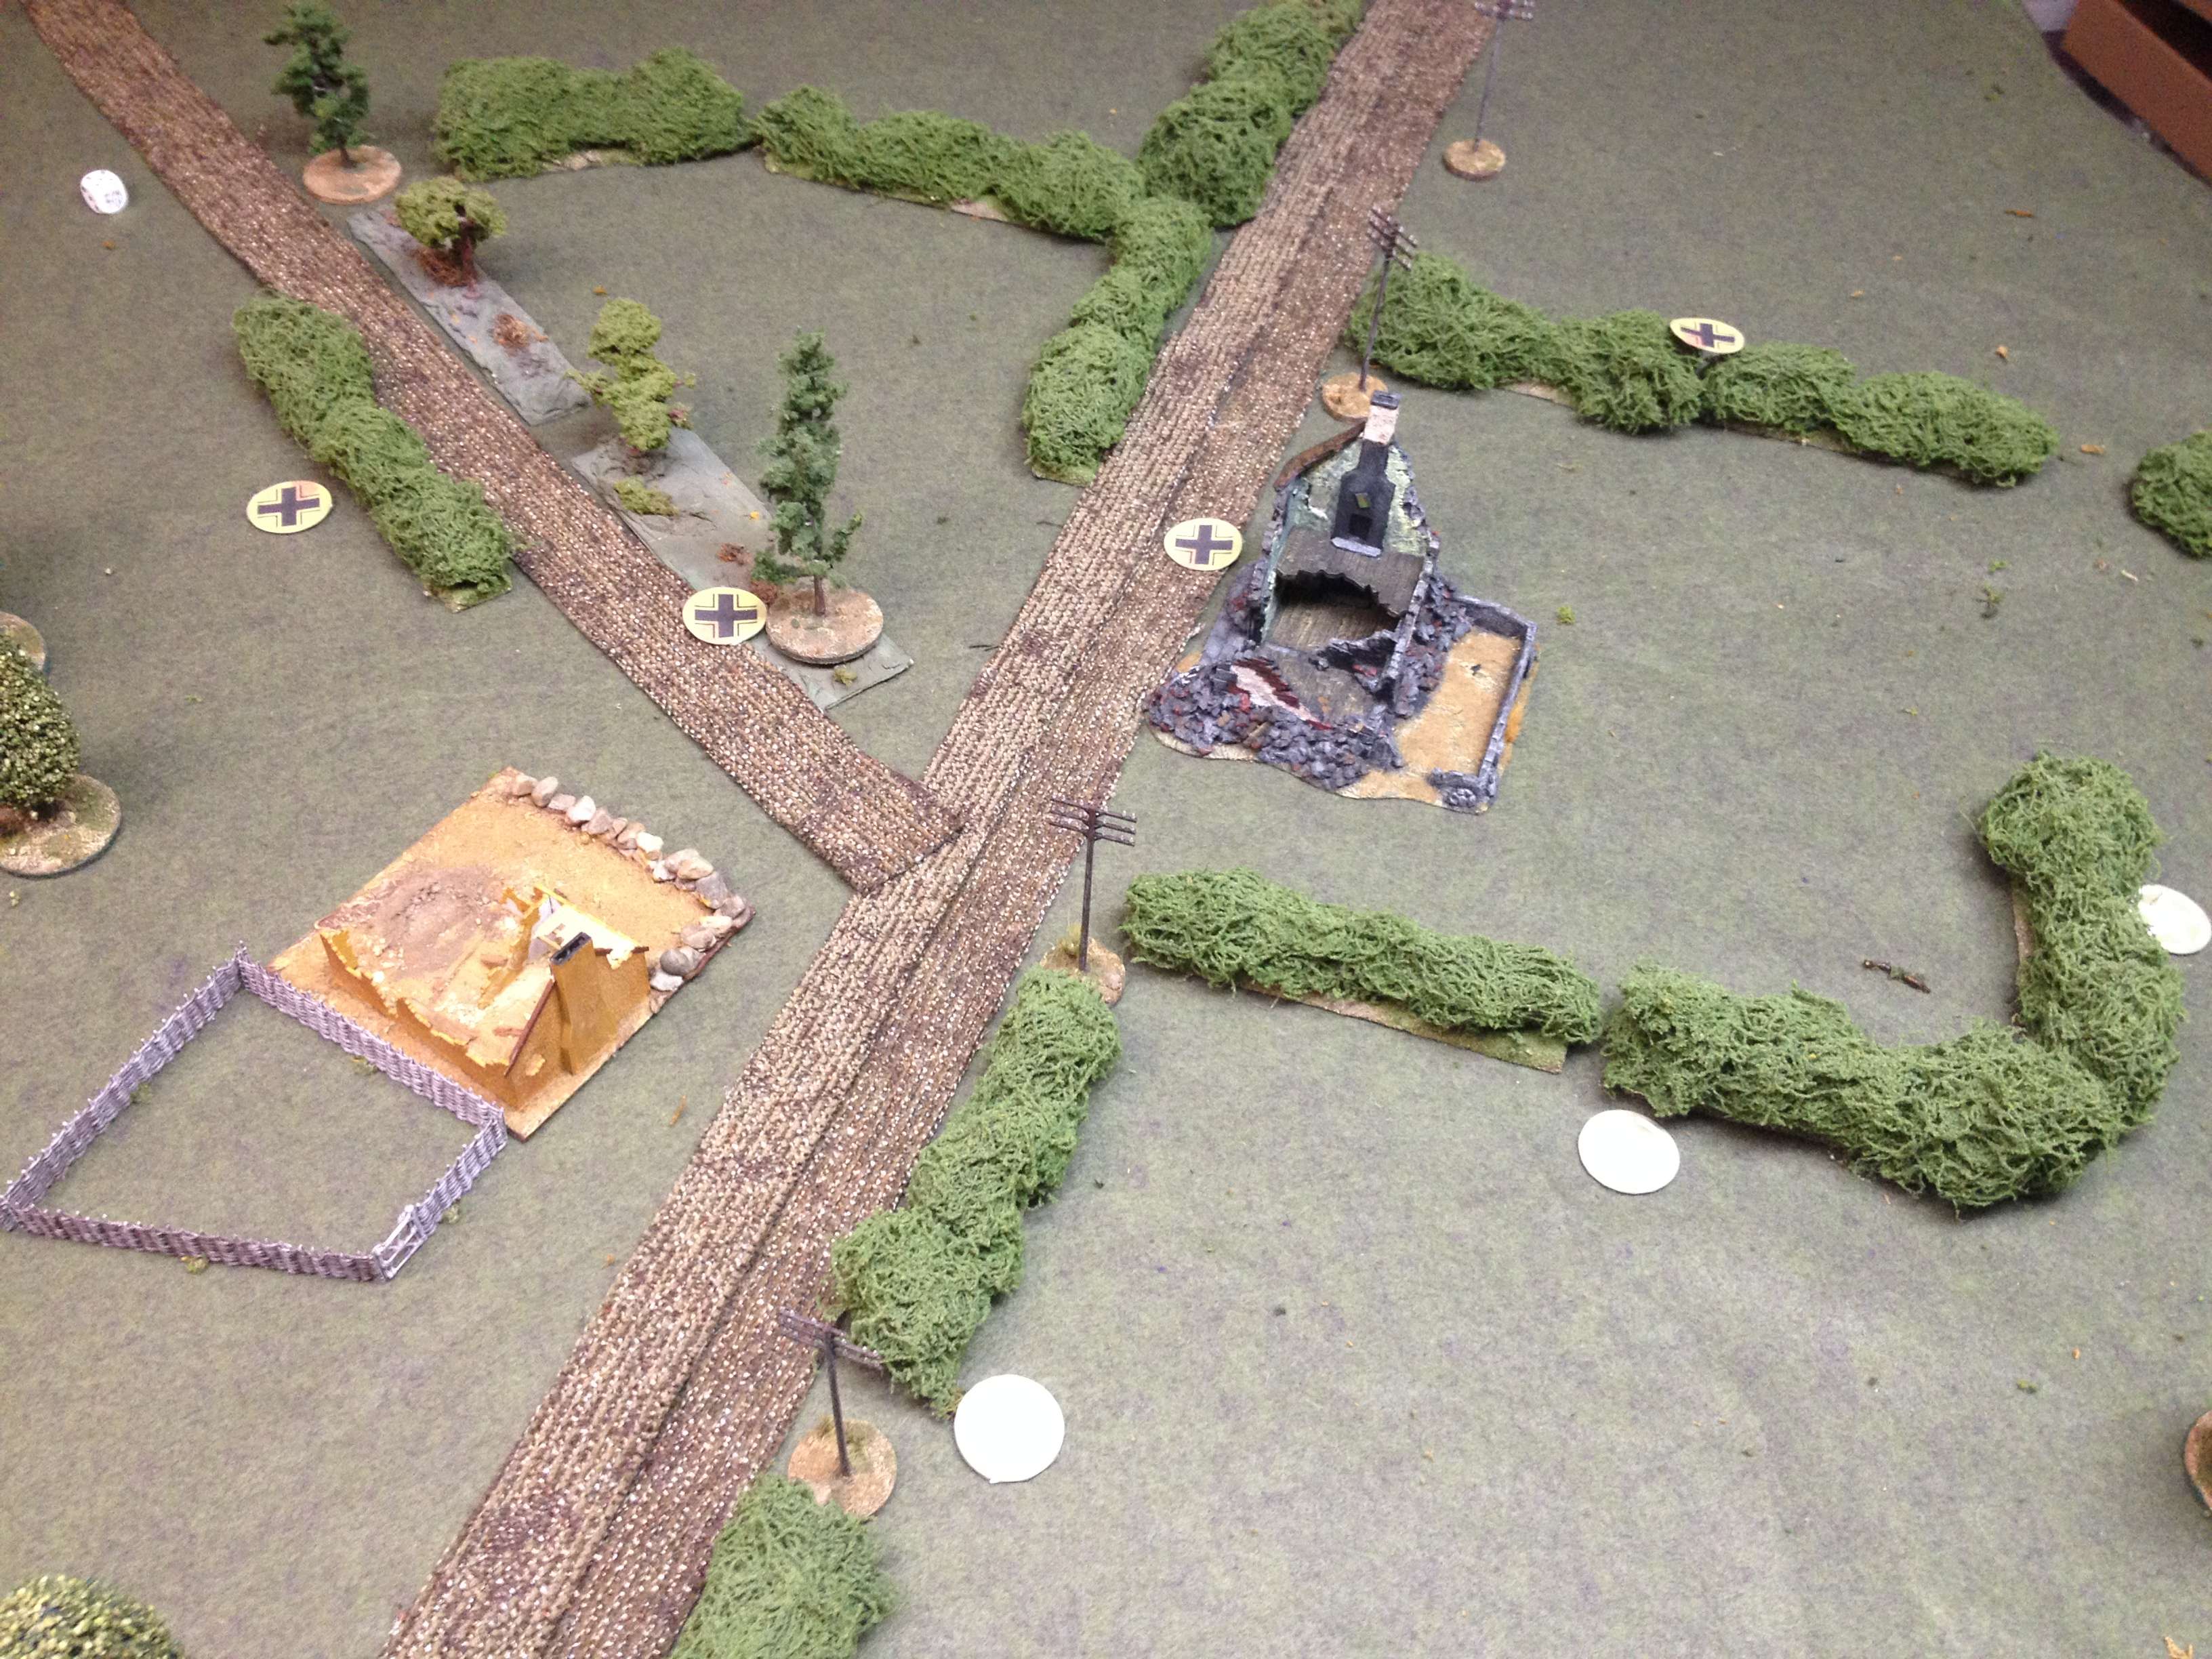
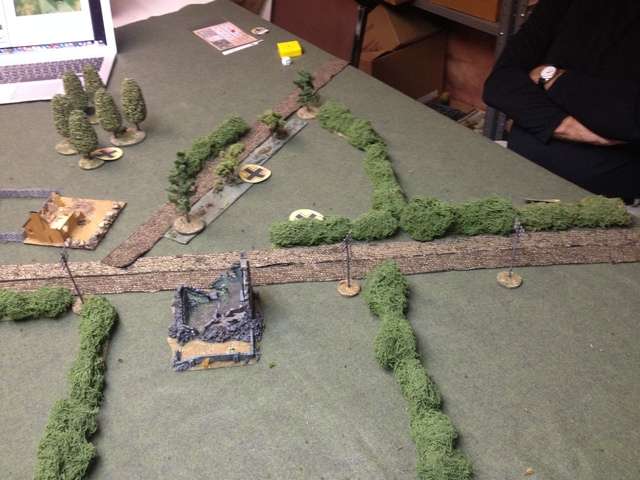
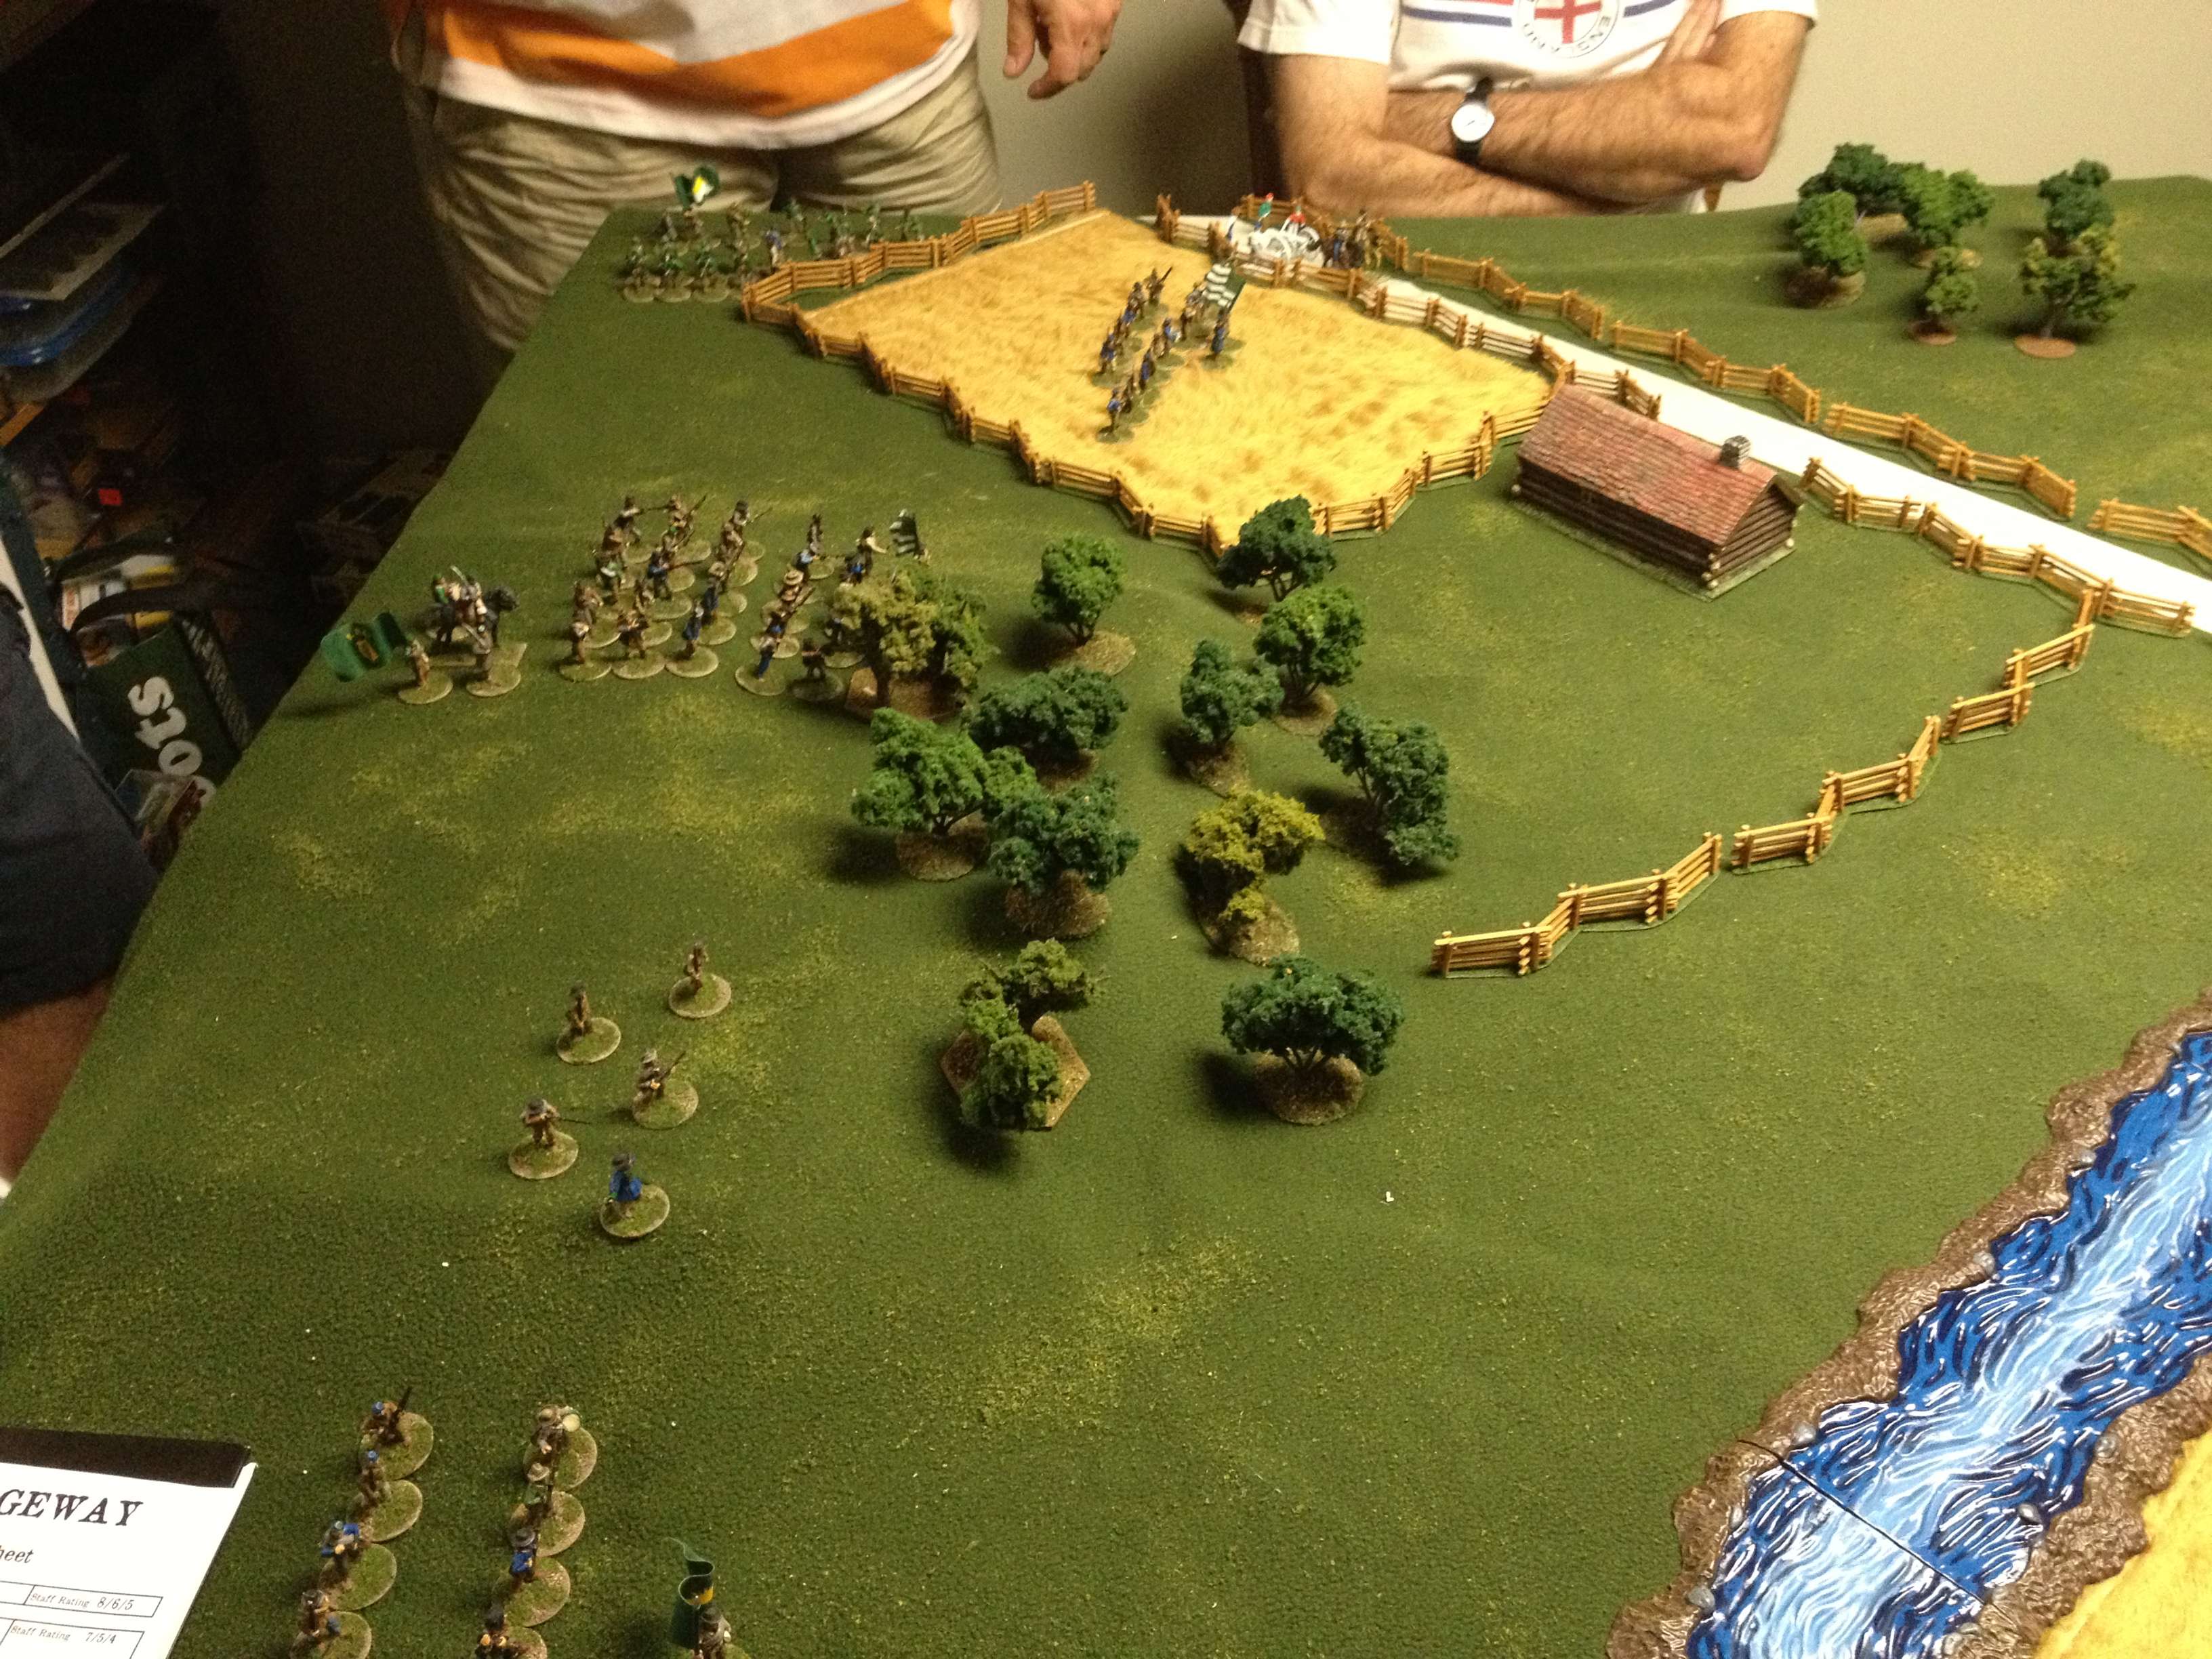
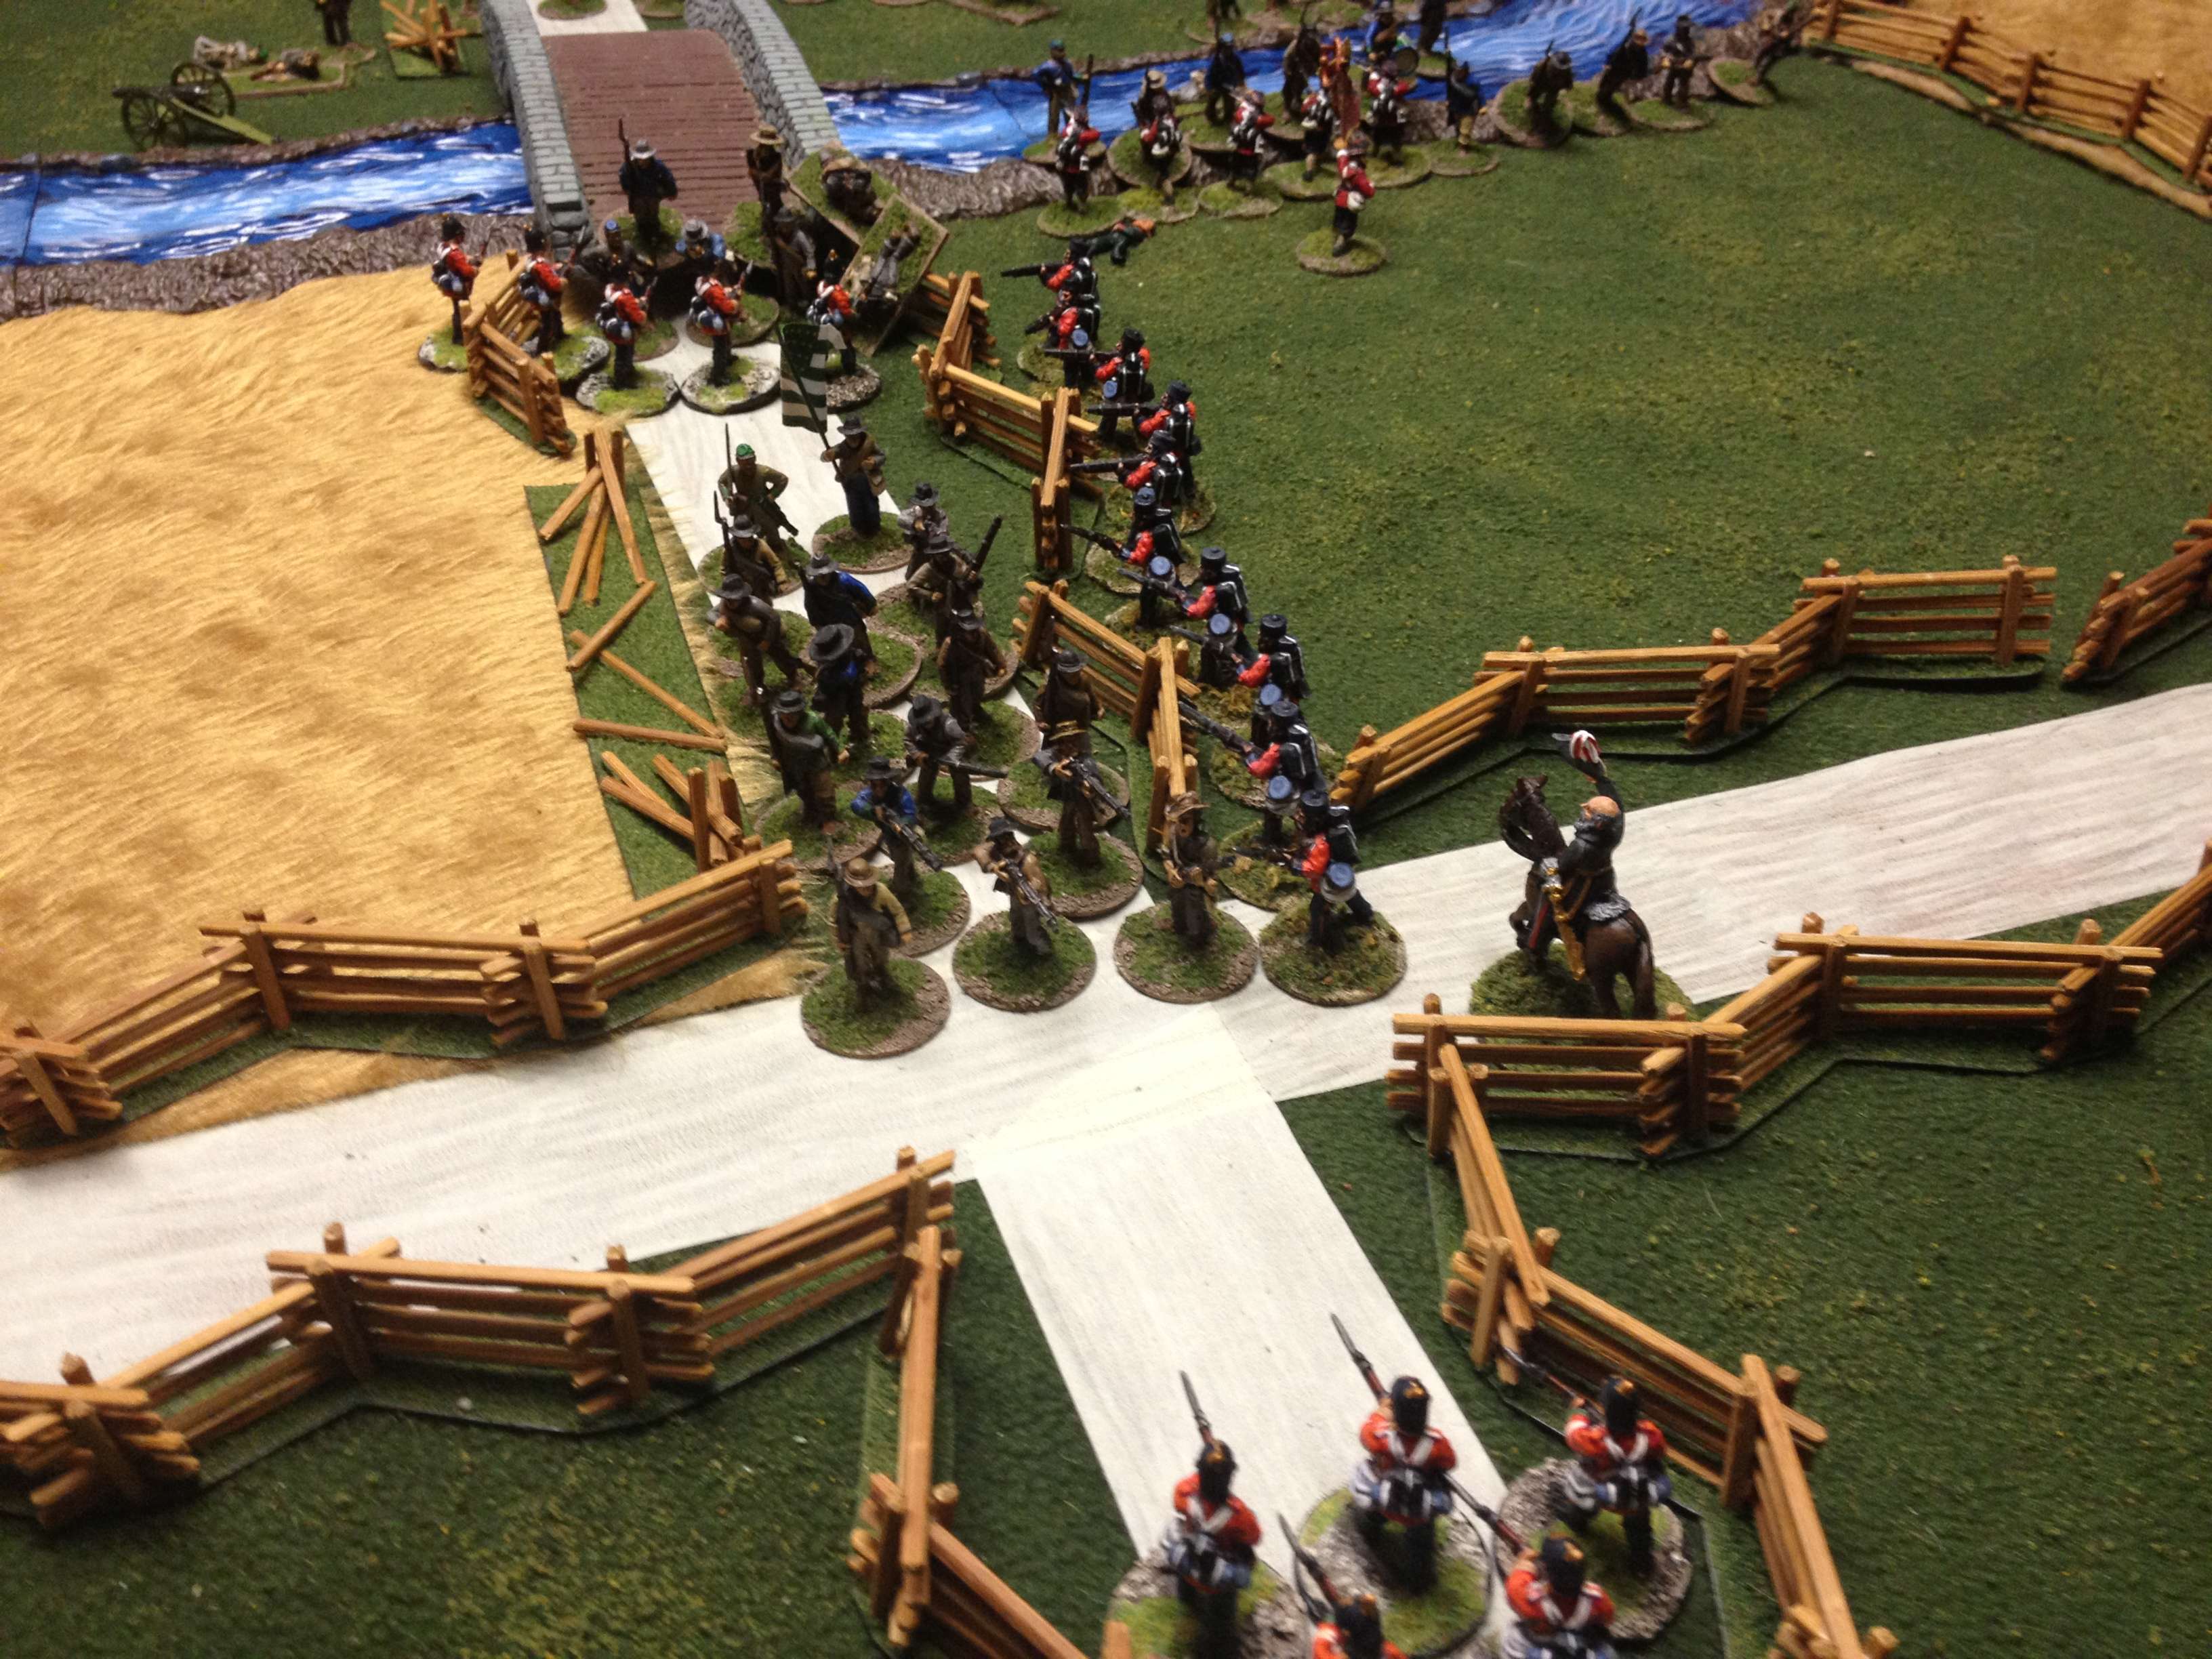
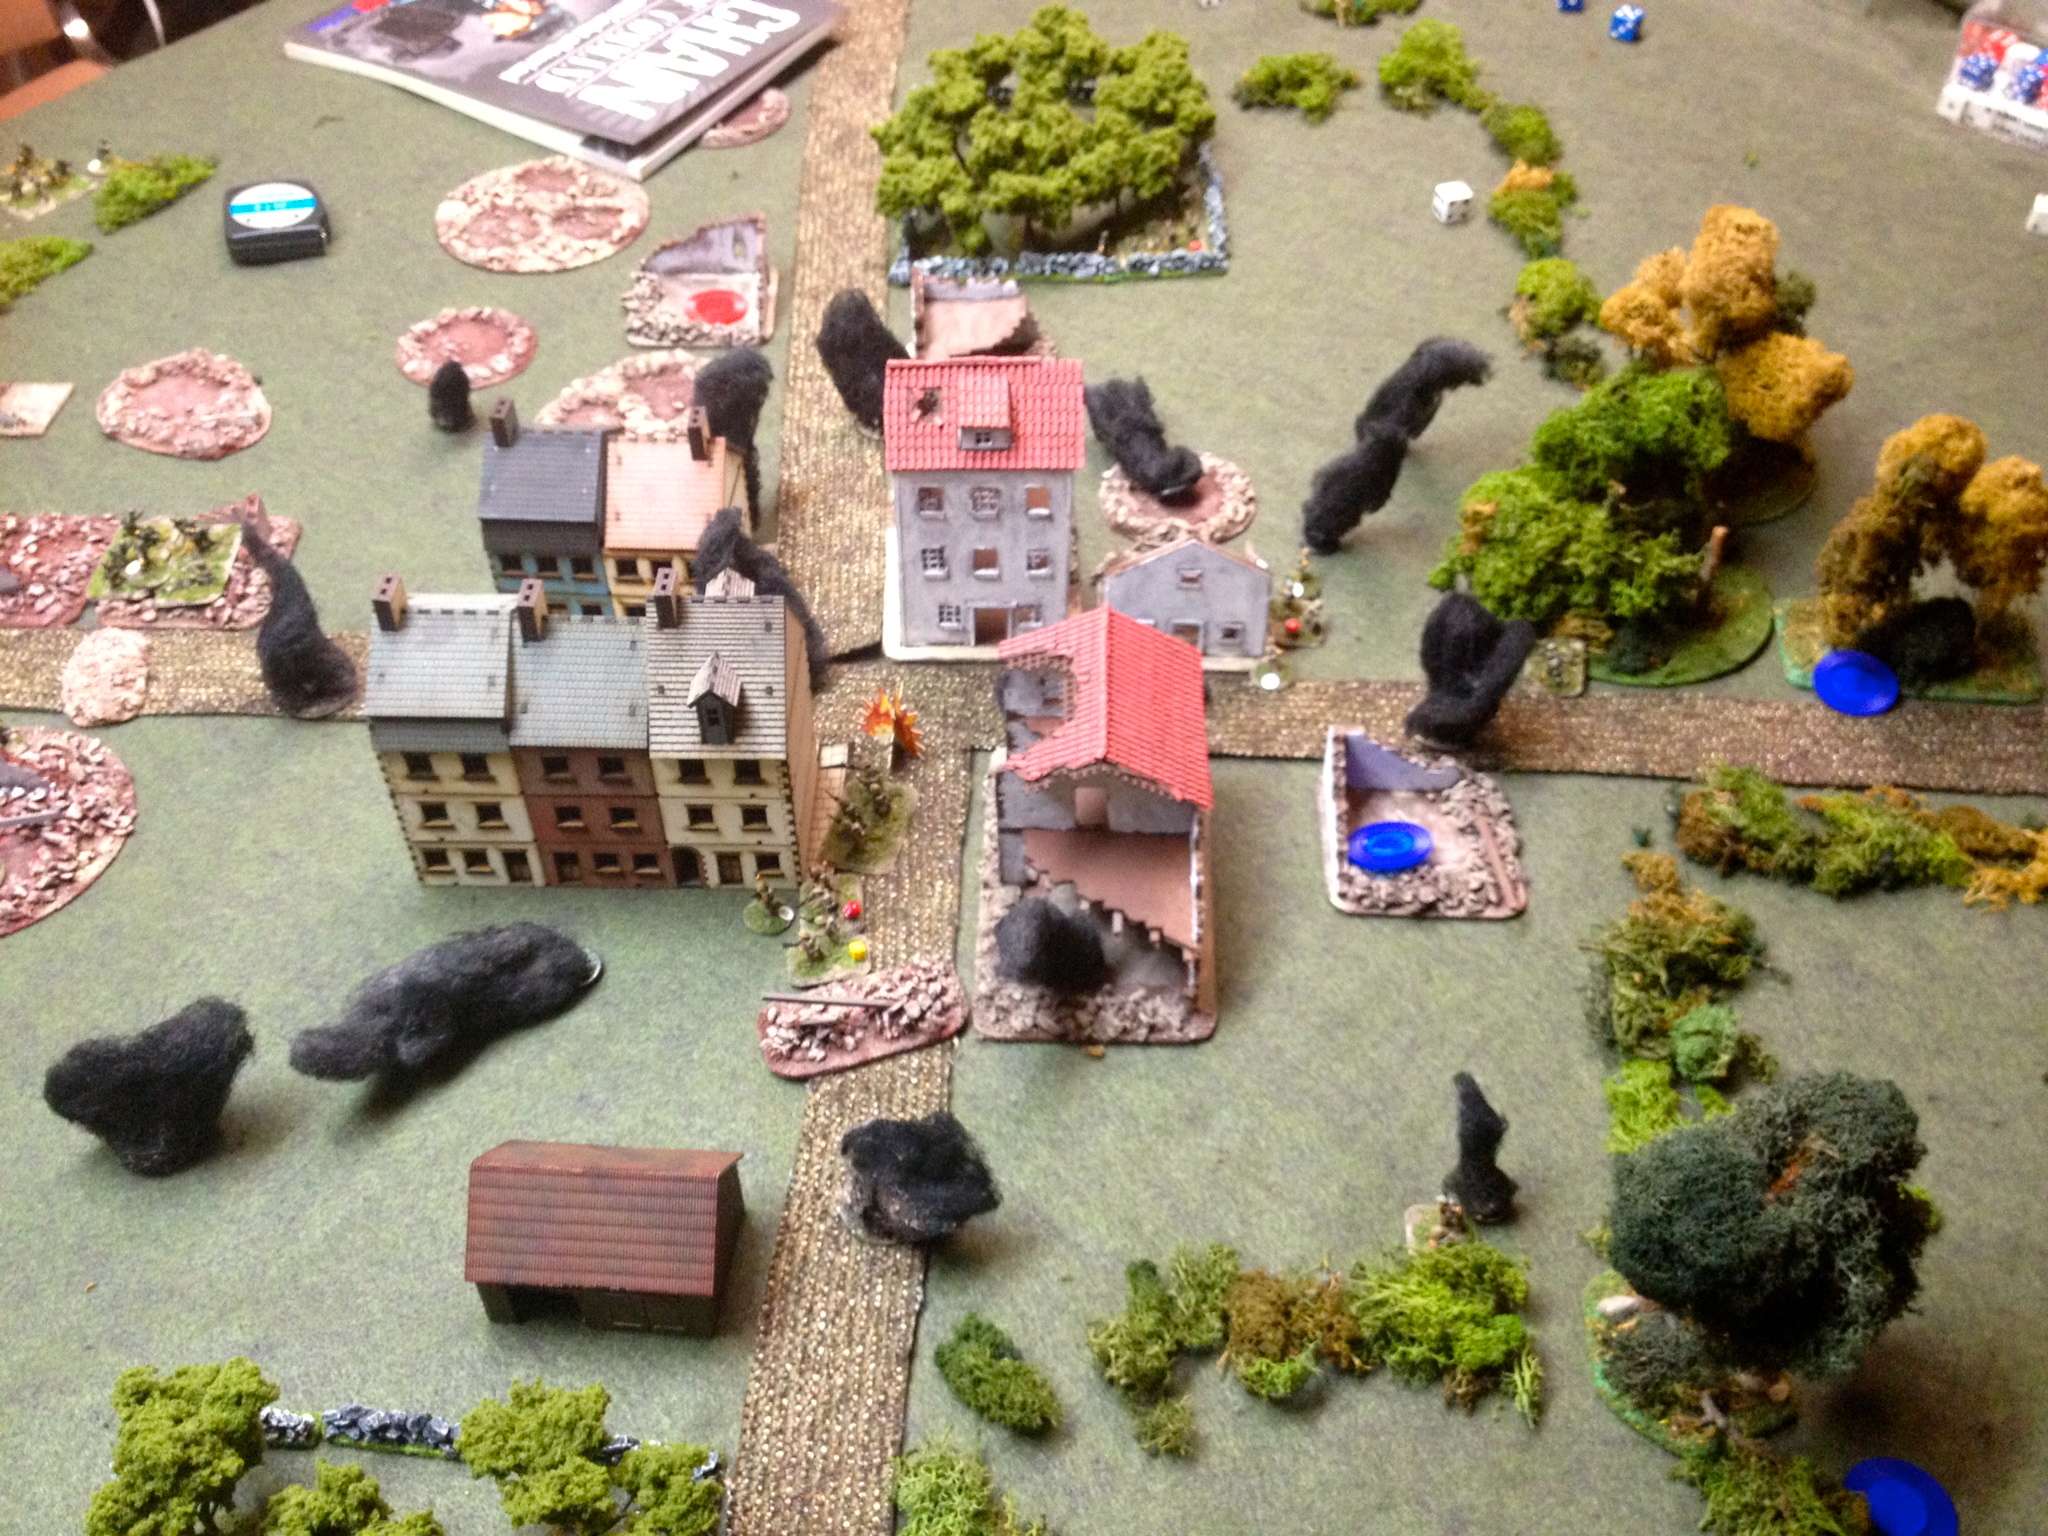
Here's the left side of the table.   The Canadian table edge is off the top end of the picture, and the German is off the bottom edge.   The large red poker chips are where the German Jump Off Points (JOPs) ended up at the end of the patrol phase.  The large blue poker chips are the Canadian jump off points.   


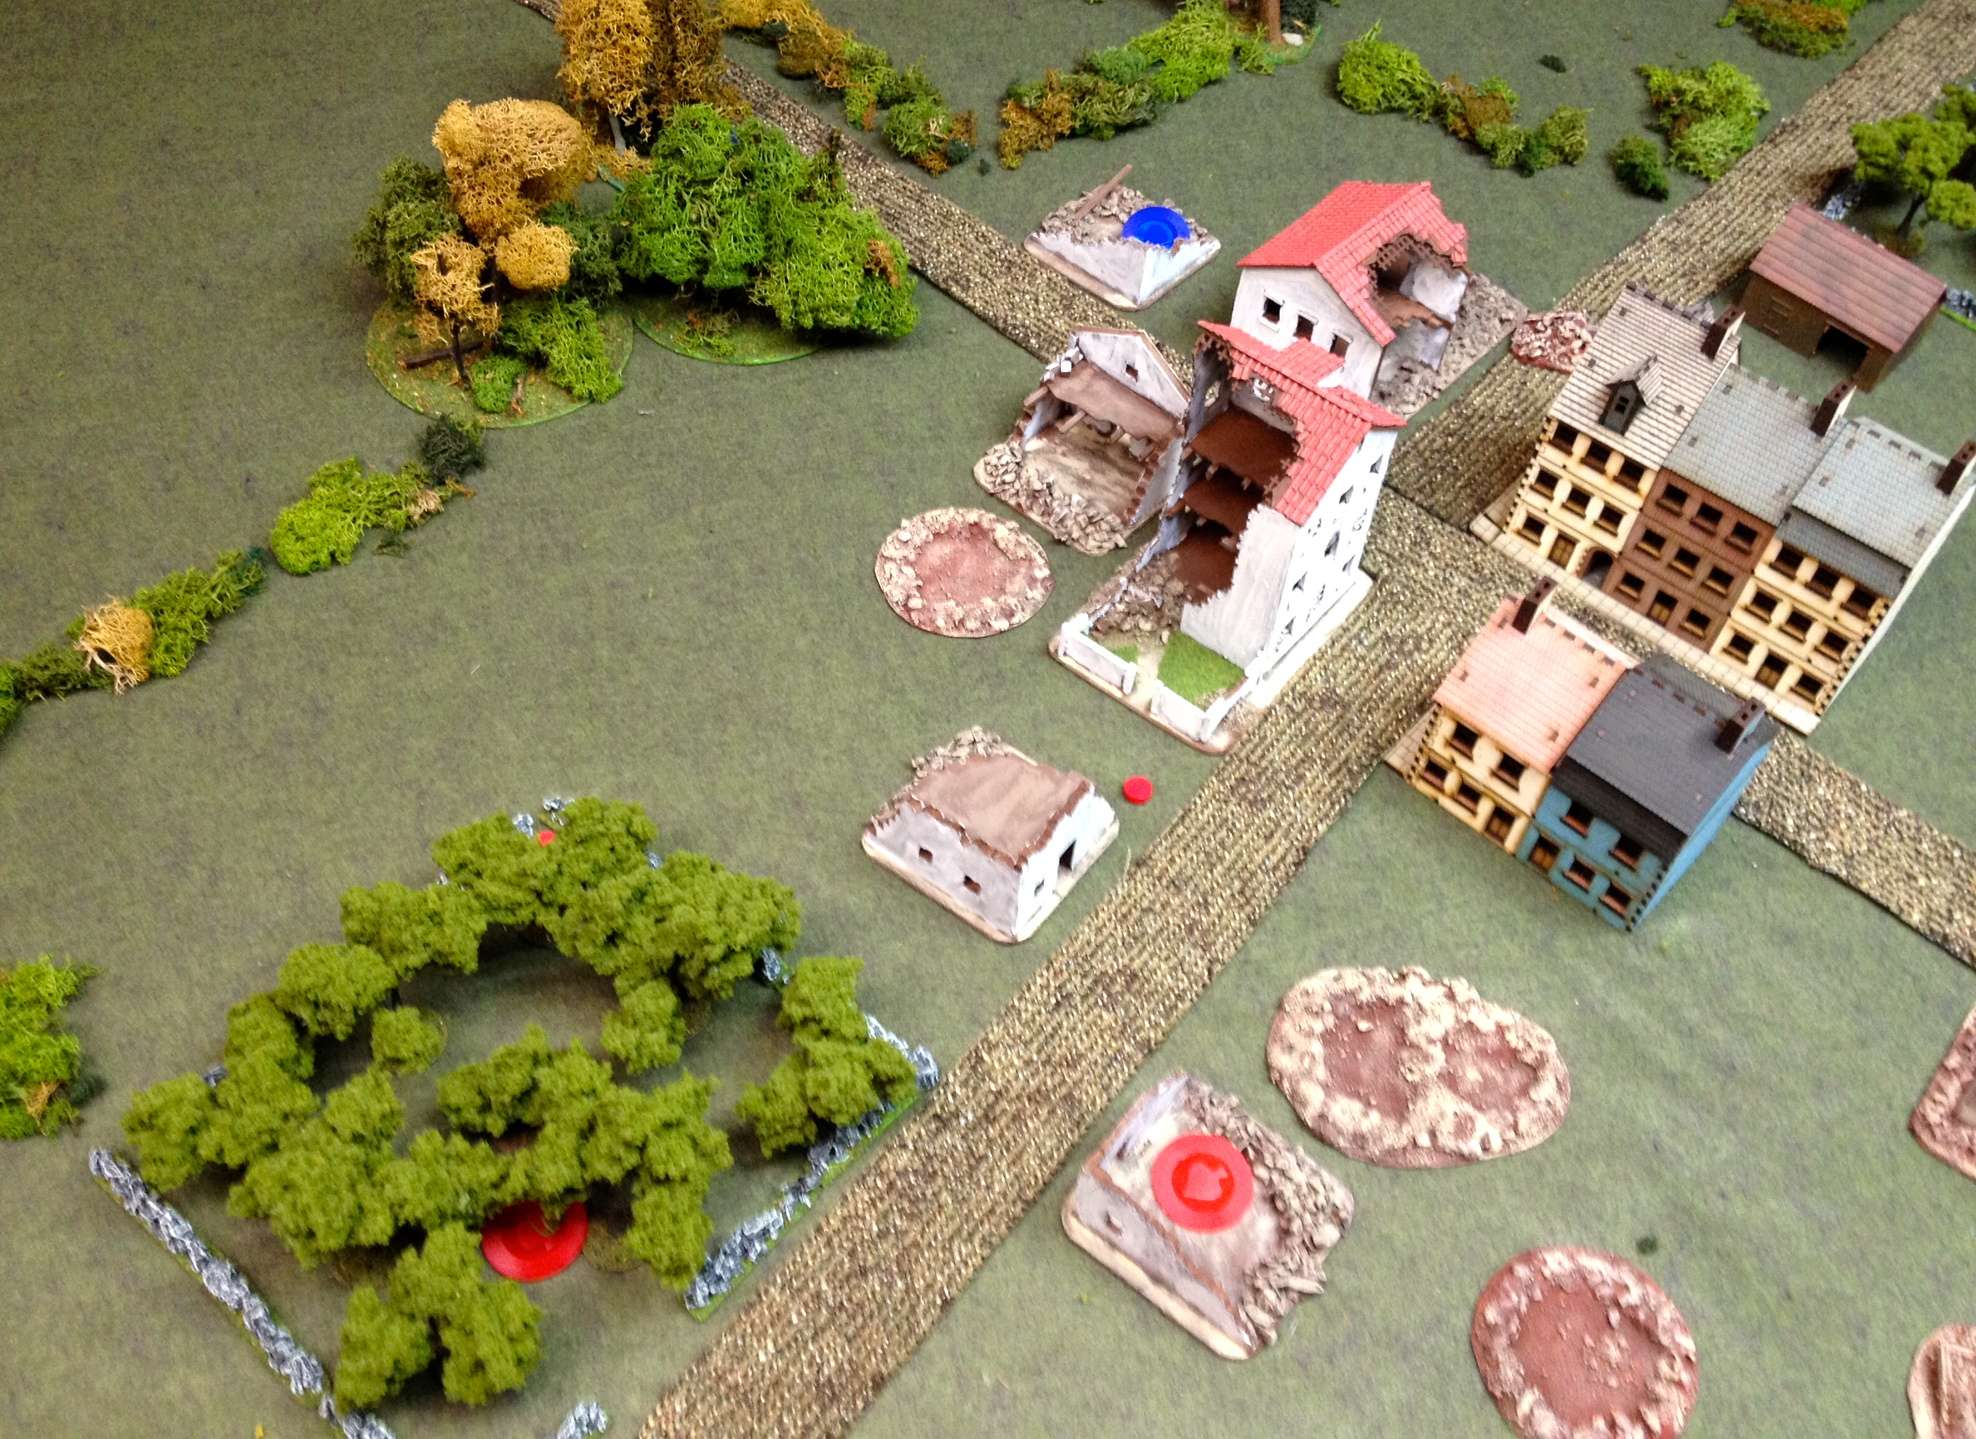
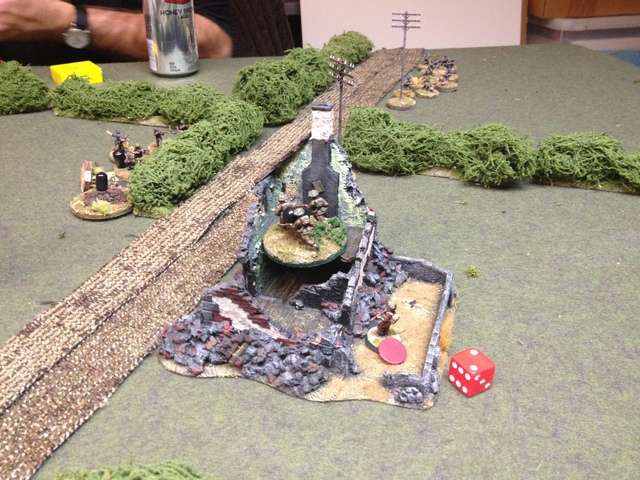
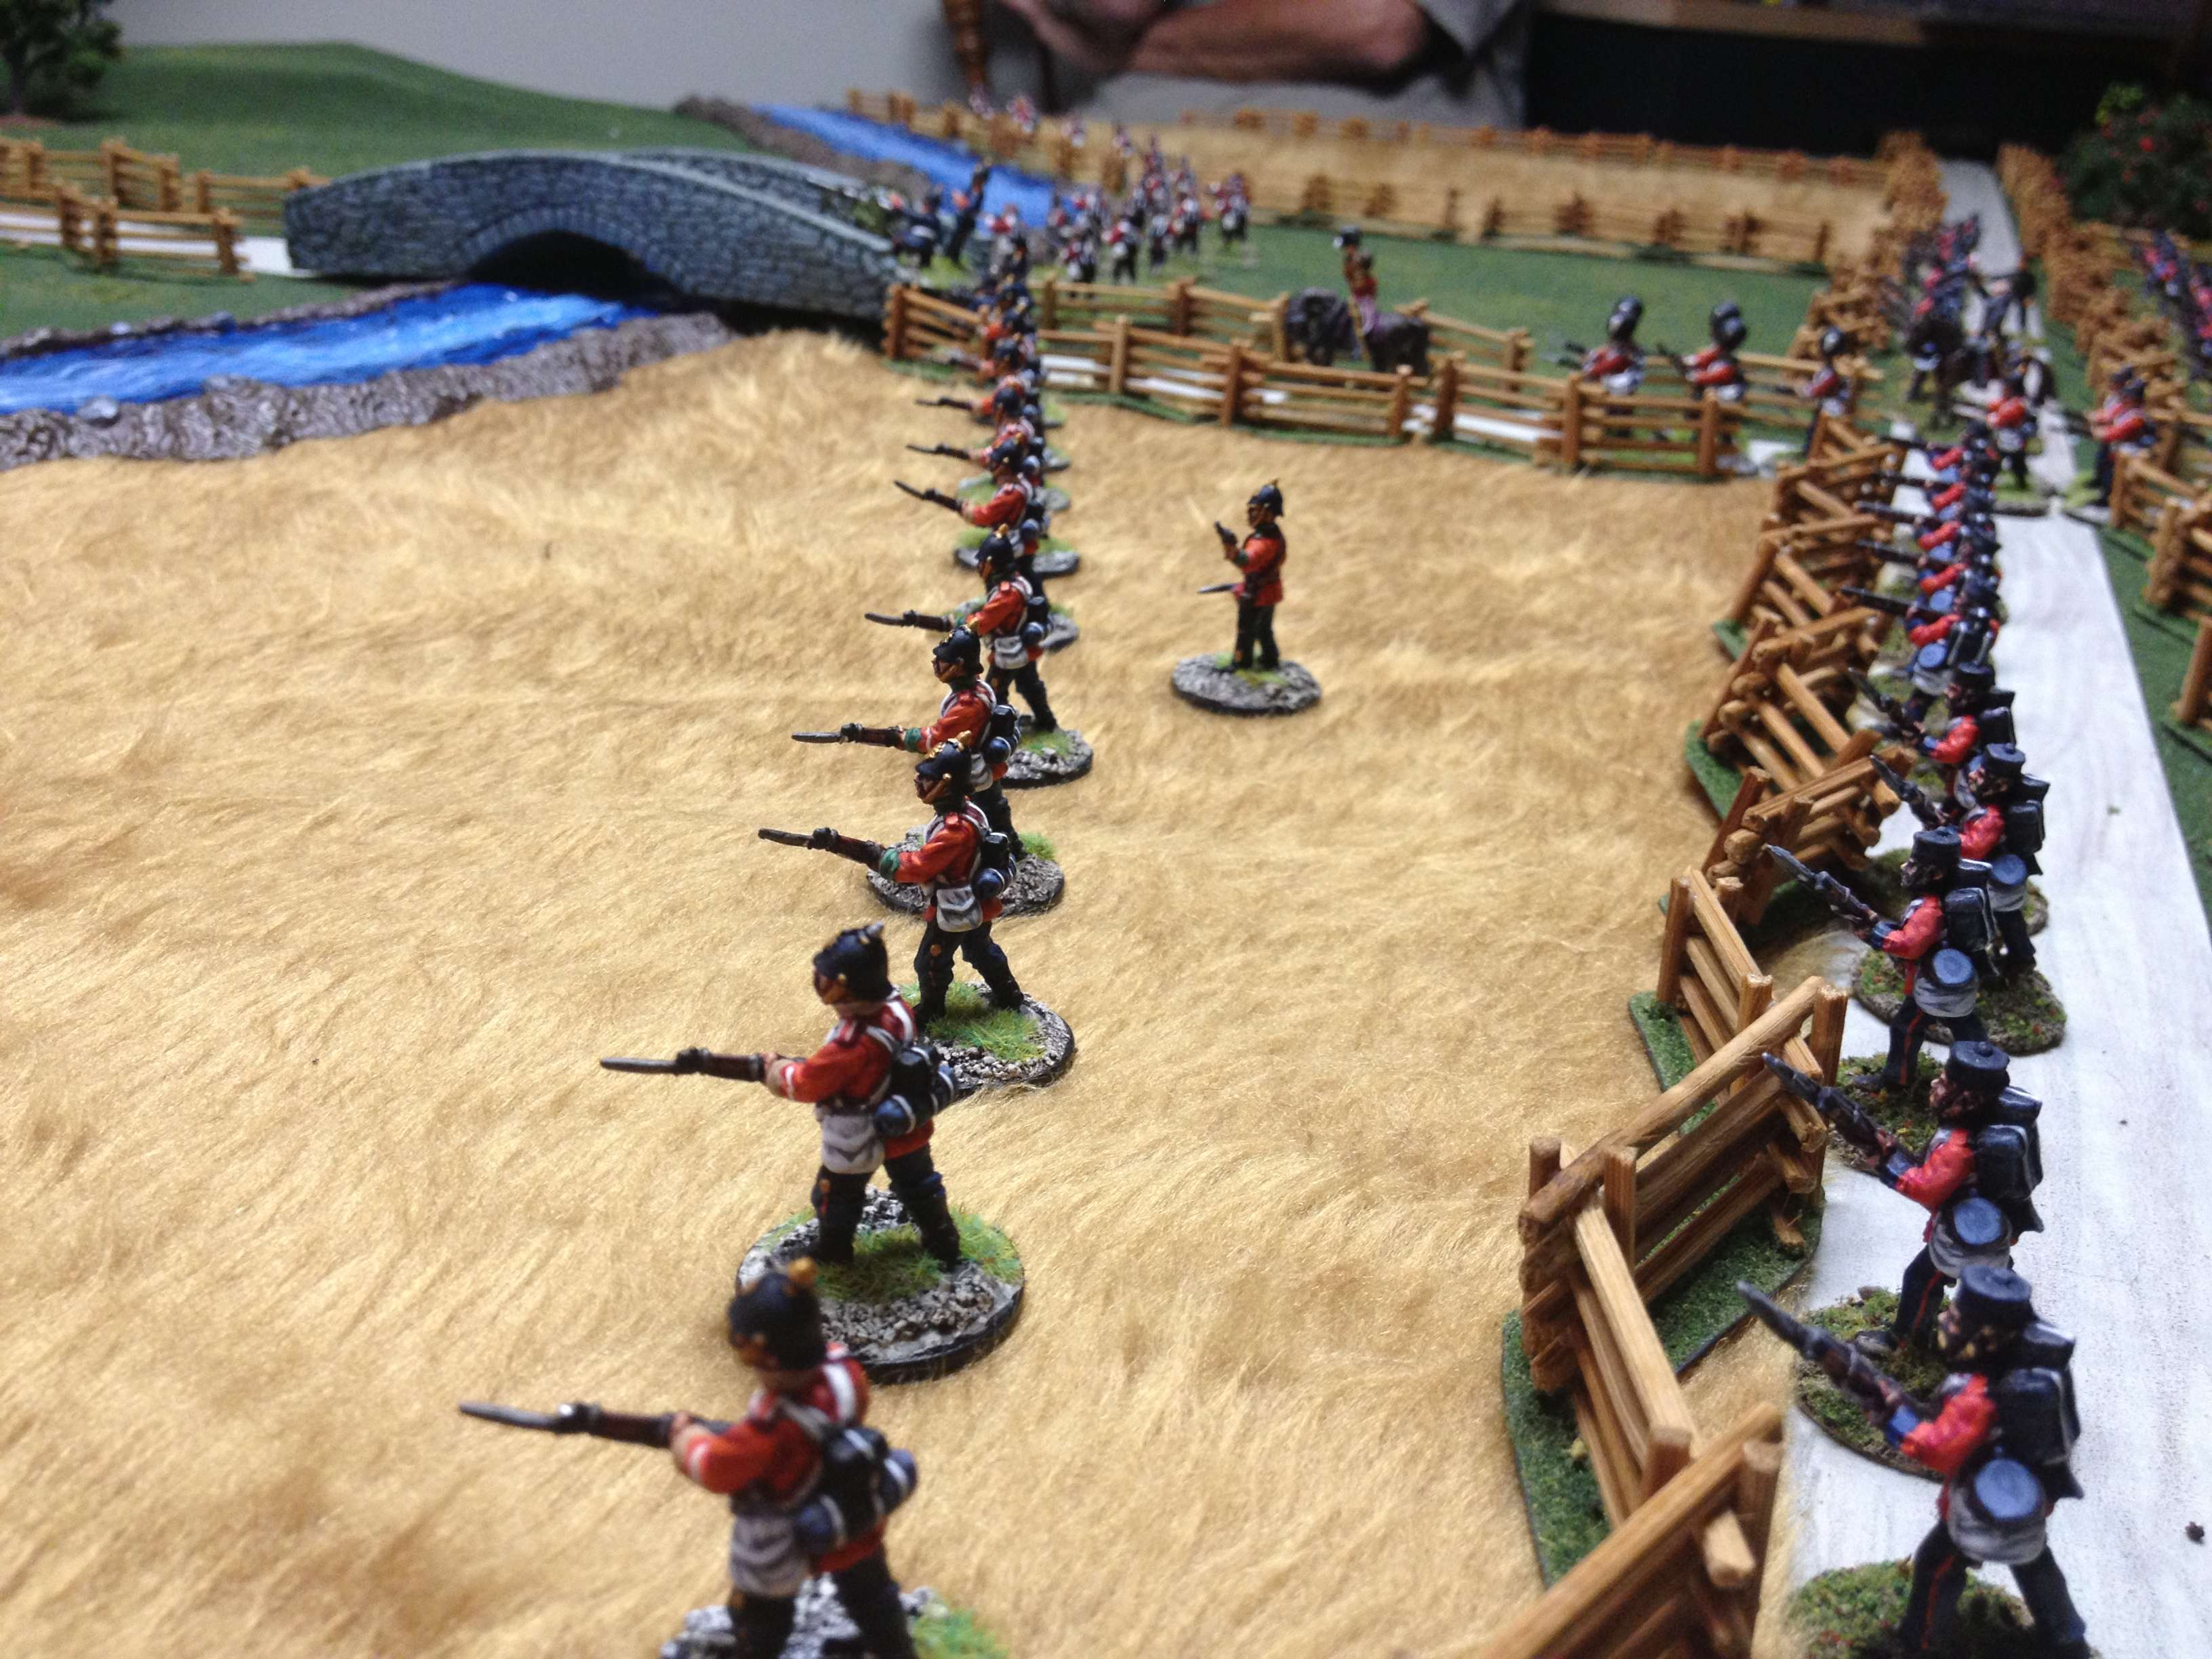
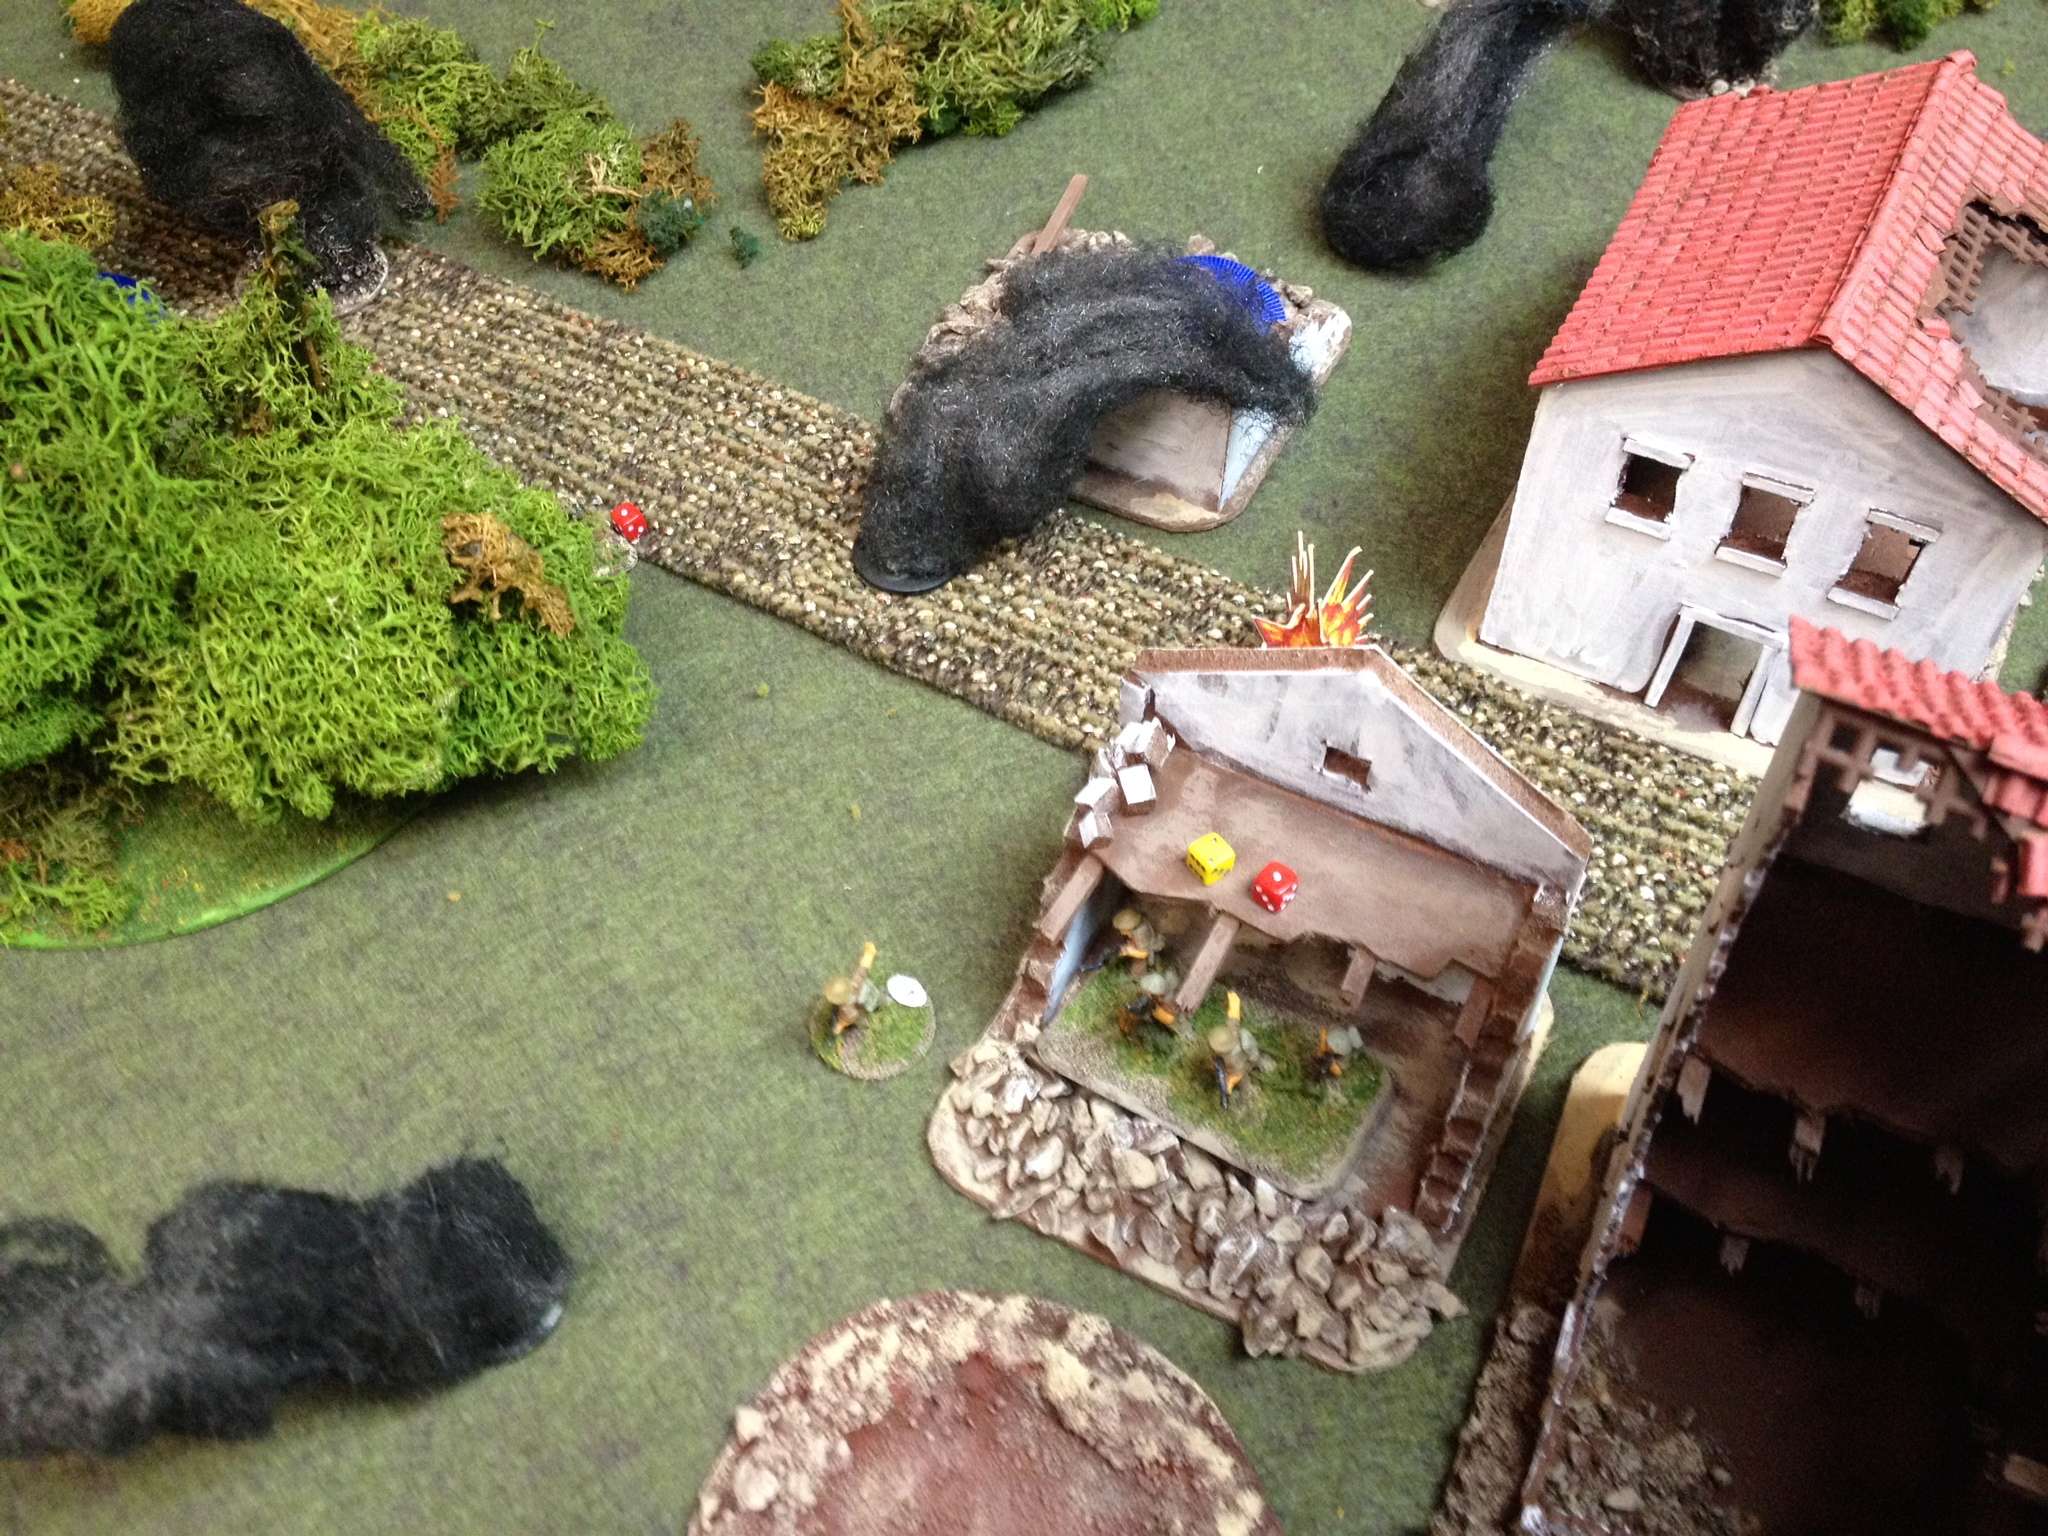
And the right hand side of the village from the German side of the table, showing my other two jump off points.  I wasn't happy about how the Patrol Phase played out, in that James managed to grab several JOPs at his edge of the village, which was vexing, seeing as I was supposed to be defending the darn thing.   However, I was happy that my four JOPs formed a line from the orchard on the edge to the hedgerow just behind the orchard on my right, with two close by each other in the rubbled part of the village in the centre.   The orchards could anchor my position if James chose to try a flank attack, while the two in the centre could get my guys into it quickly if James decided to come up the road.


So that left the question of support choices.  James had 14 has his support number, so he could either make lots of small choices or a couple of big choices.  My number was 7, meaning I could either take one big item, like a Panzer IV, or a few smaller items.   Much as I wanted the reassurance of tank, I opted for a FOO with a 8cm mortar battery from Table Four, a Panzerschreck Team from Table 2, and an Entrenchment for the Pzschk team from Table 1.   Together with the Panzerschreck Team I had with the FJ platoon HQ, I was hoping that I would have some AT capability to counter James' support choices, particularly if I could use a Chain of Command dice to drop one of the AT teams onto the table as an ambush against his tank.  That would leave the FOO and mortars to help stop the infantry, even though I had no experience of using indirect fire in CoC.  Well, there's a first time for everything.

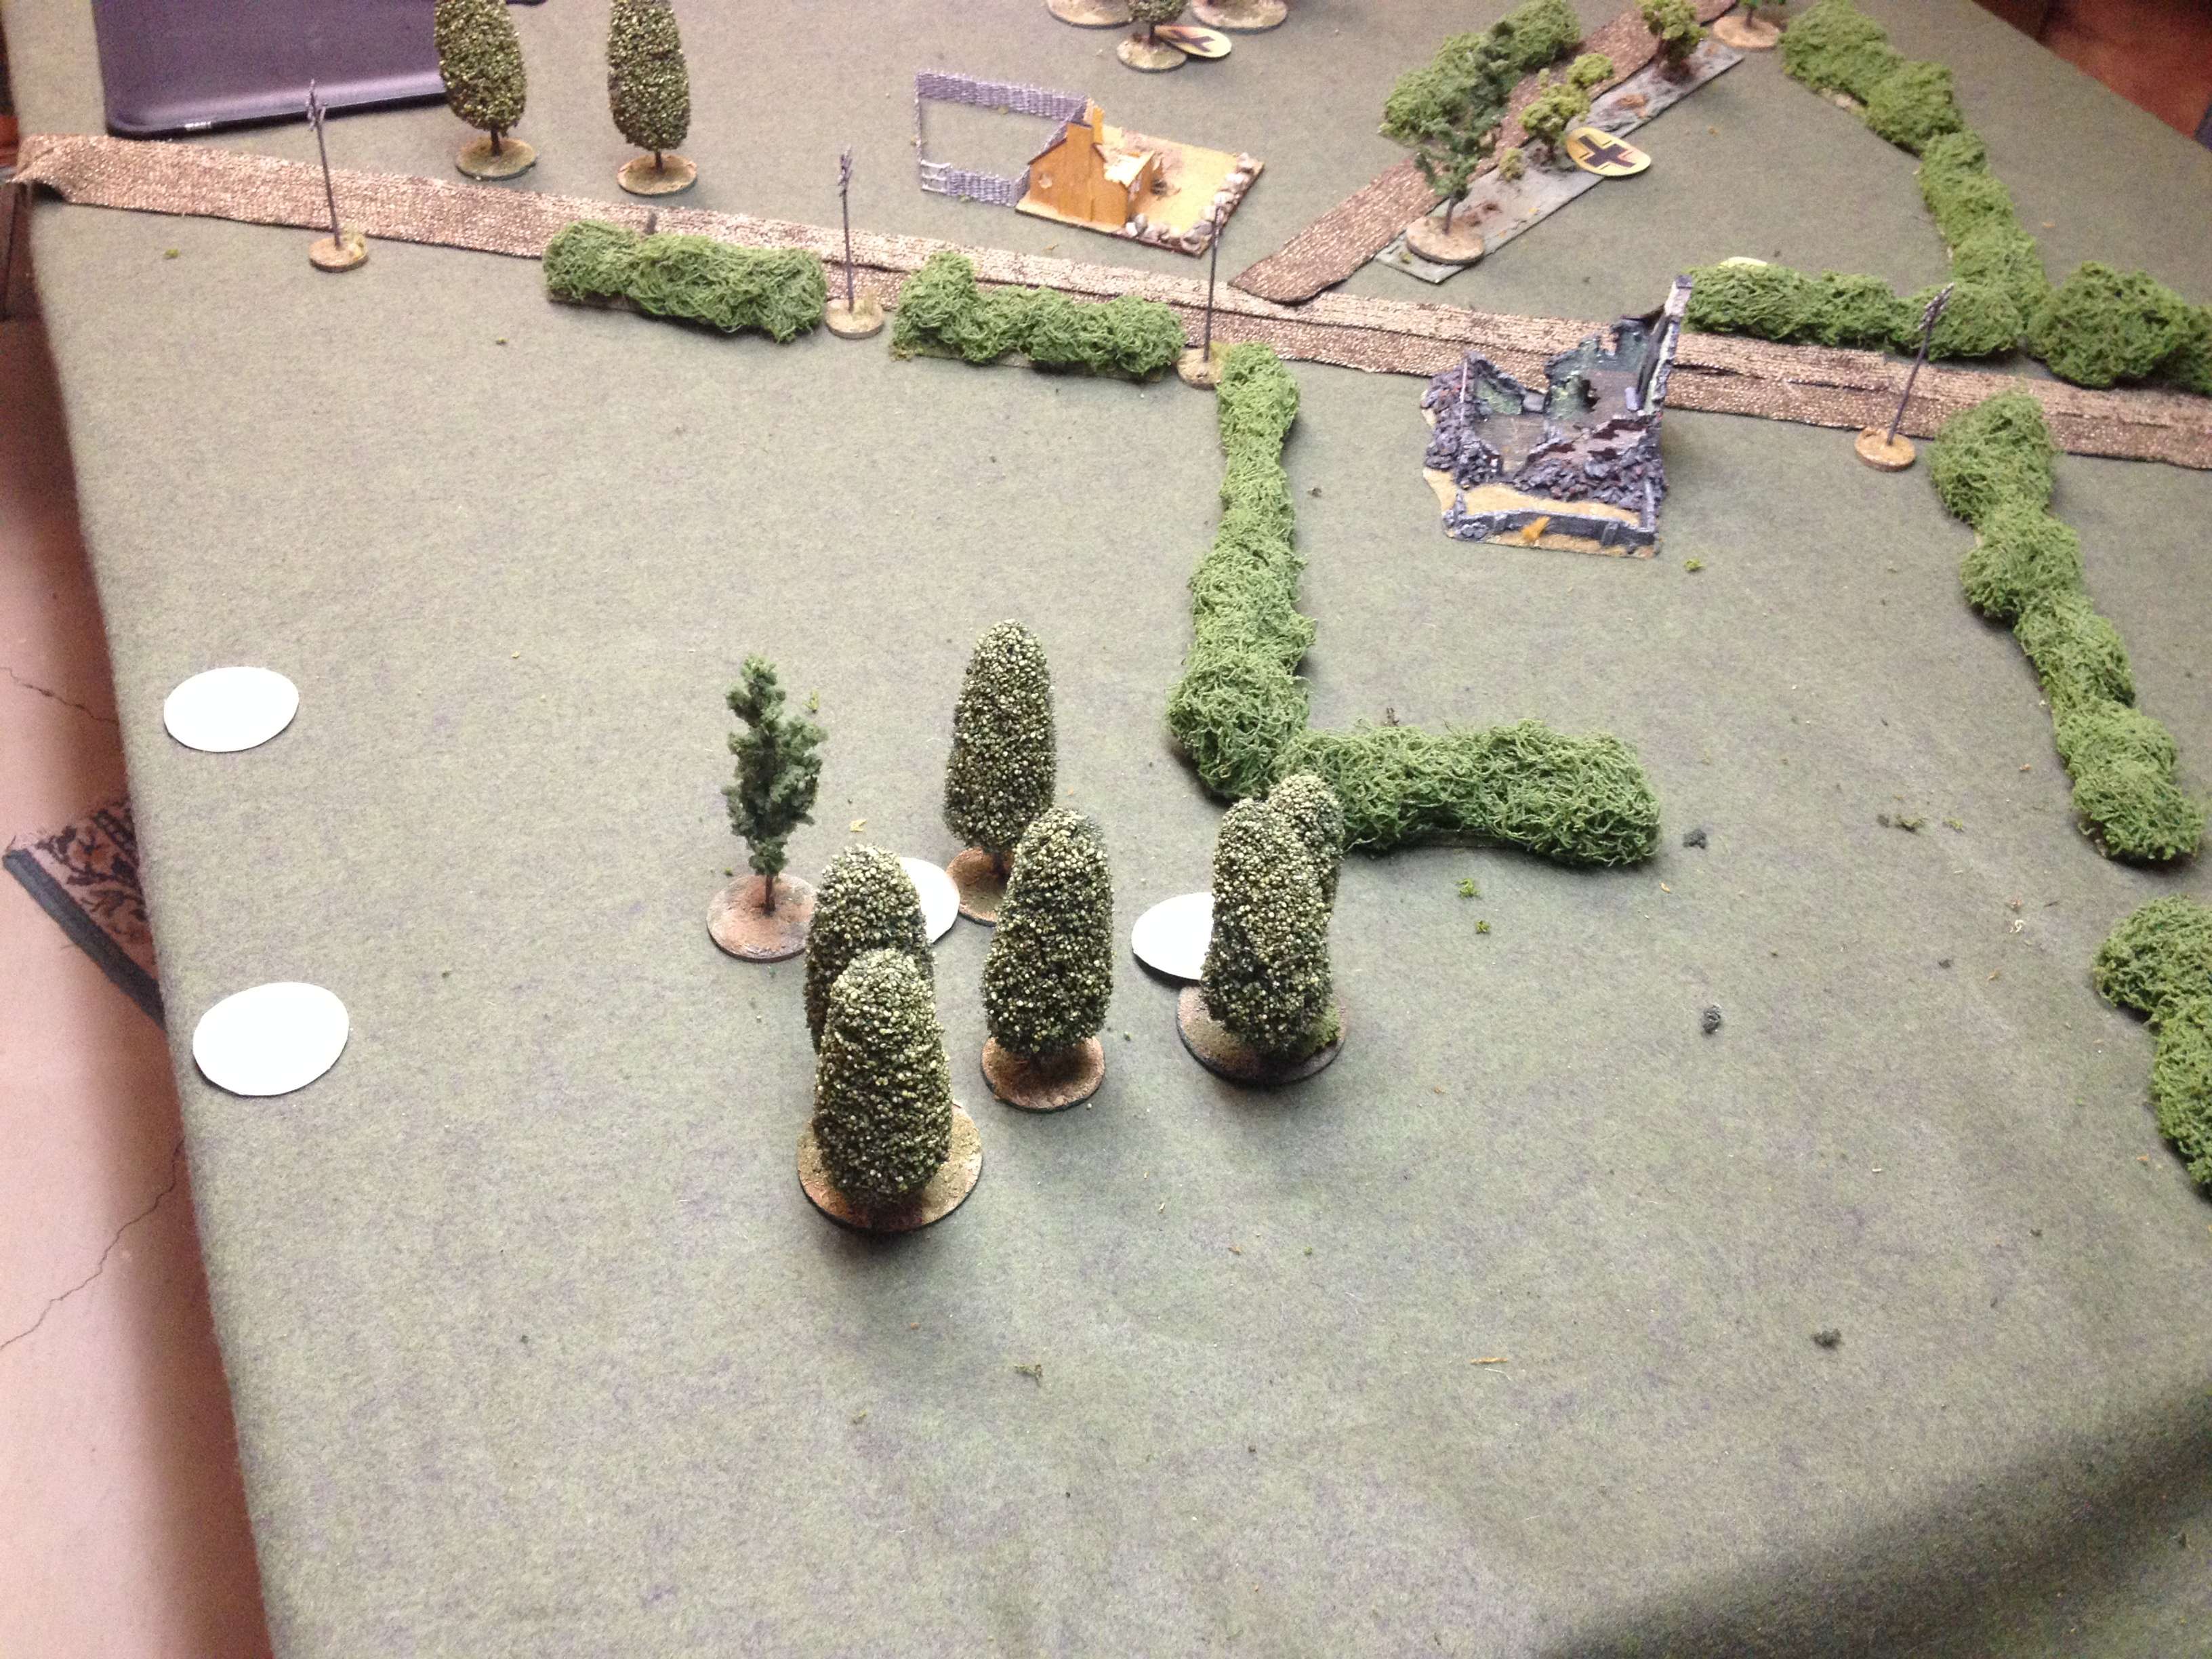
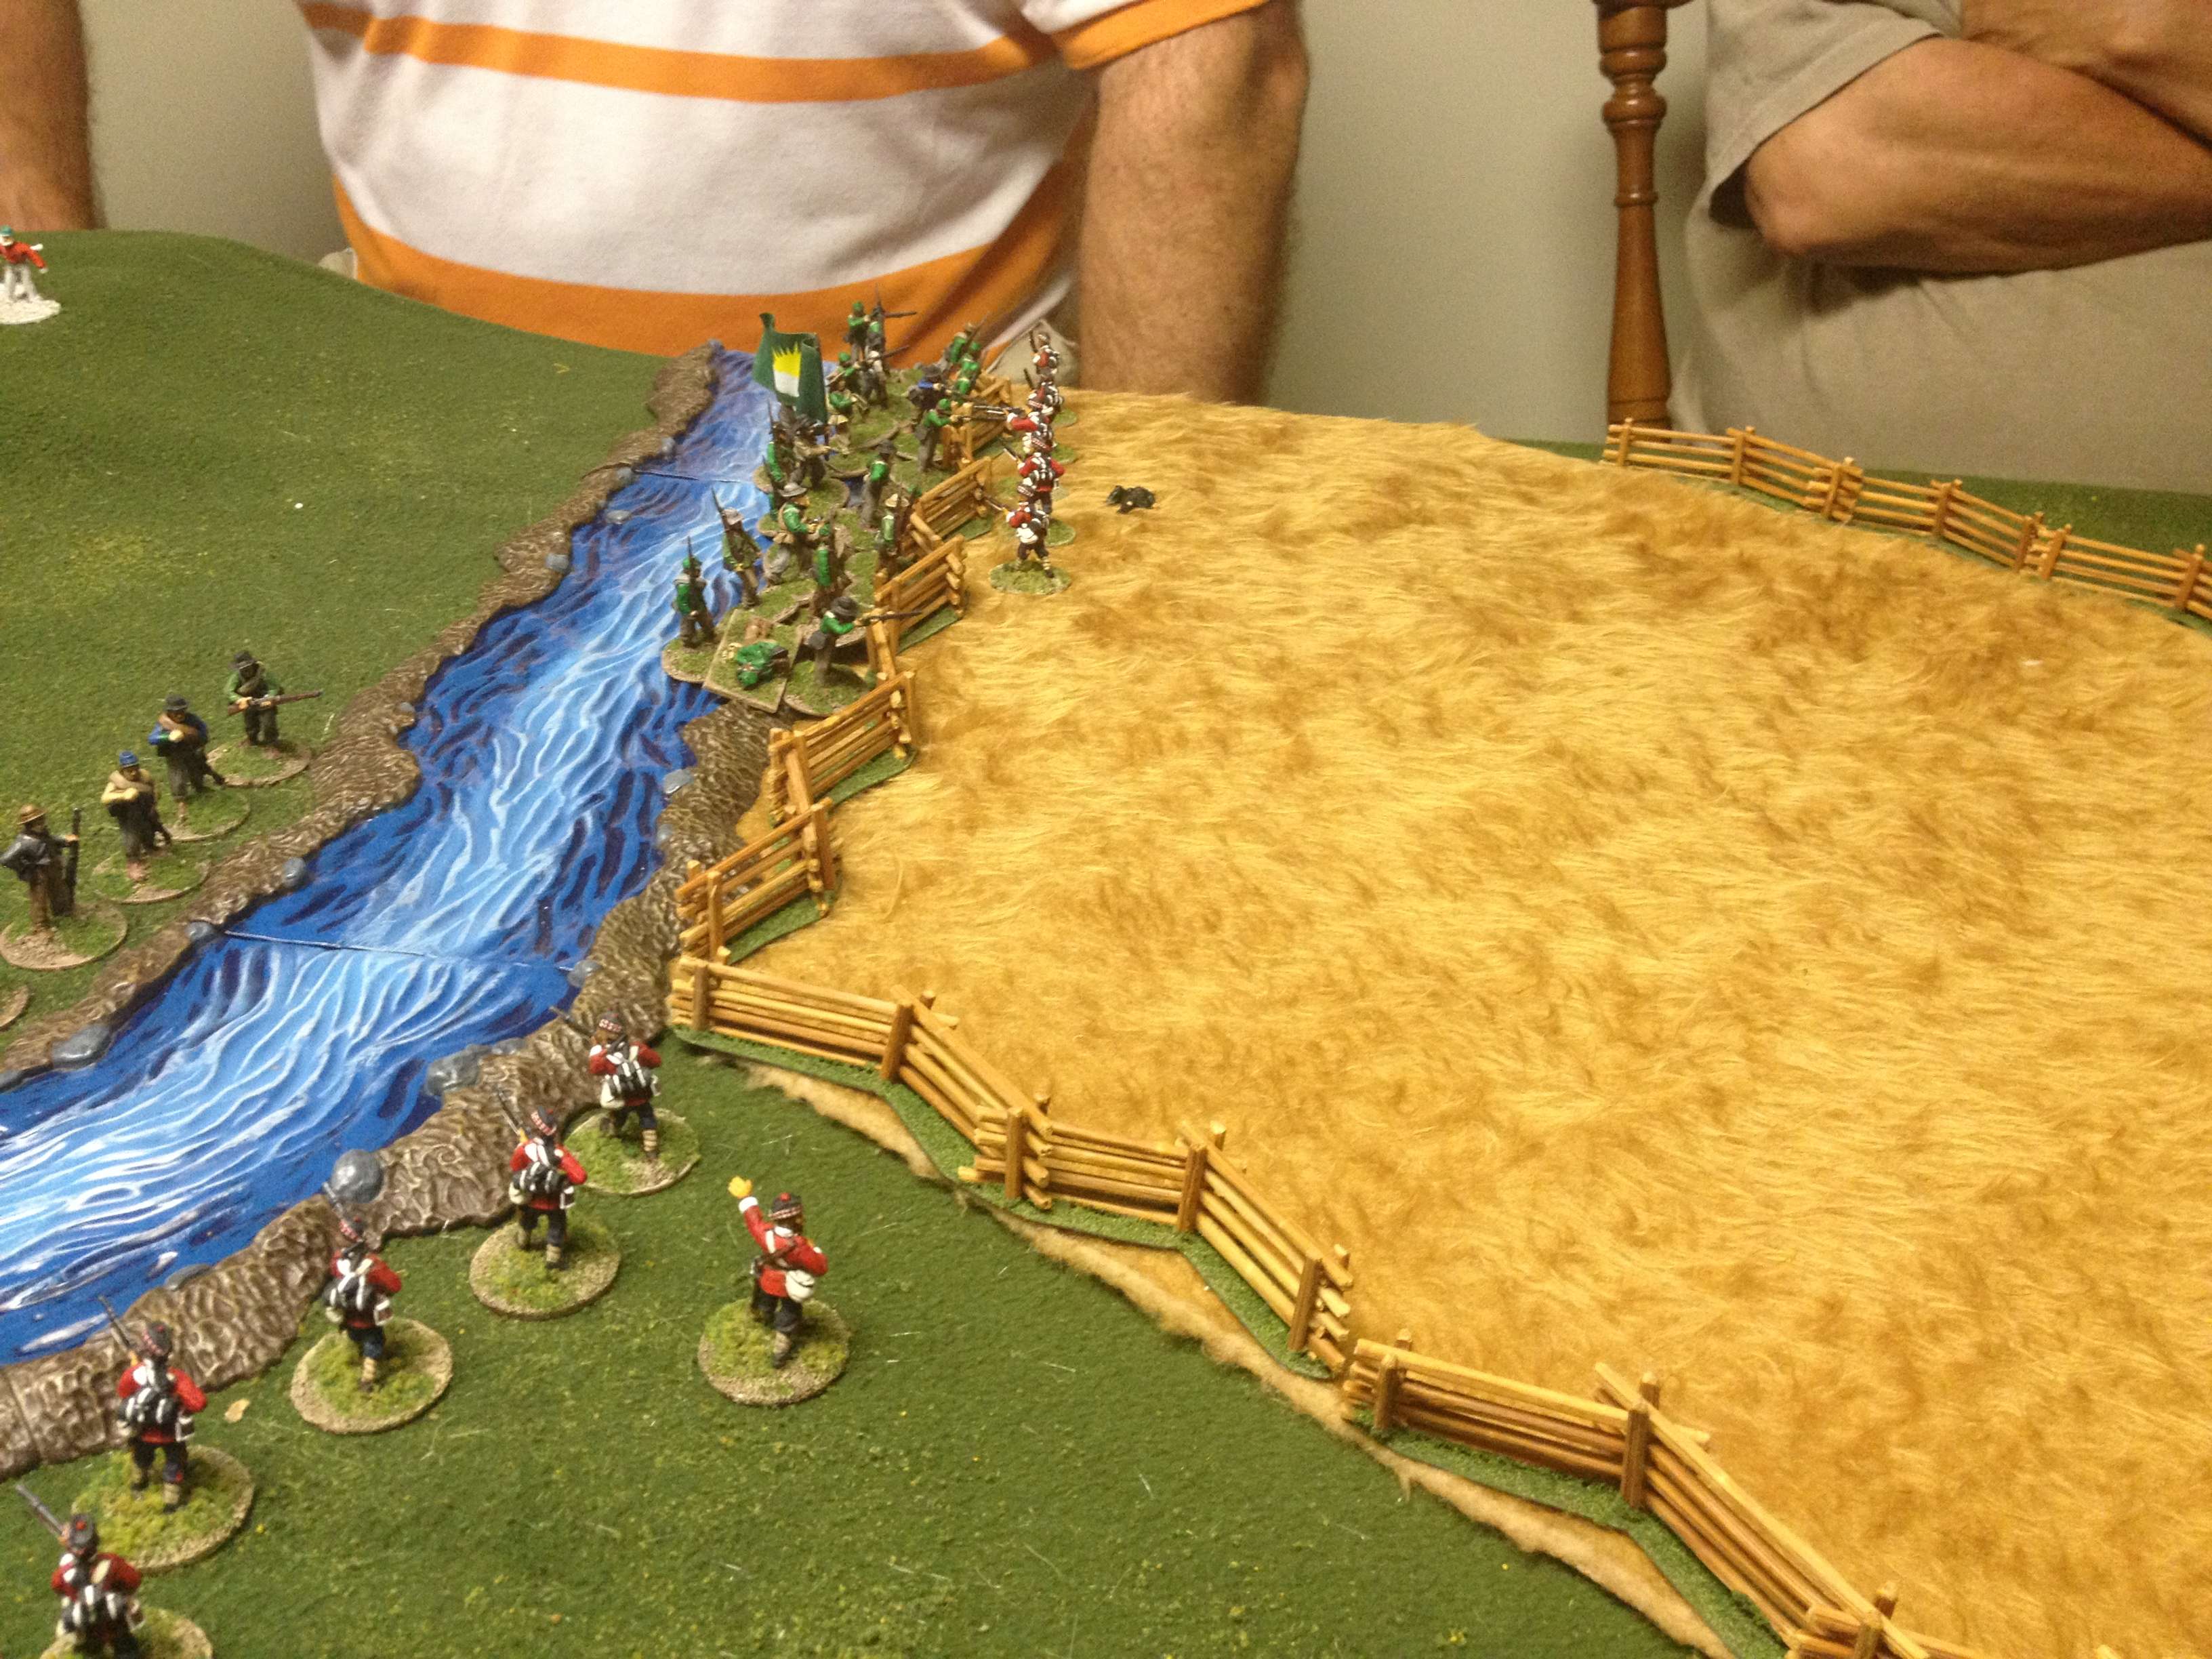
Here are the four Allied JOPs.  Which ones would James use?  I would have to wait and see.


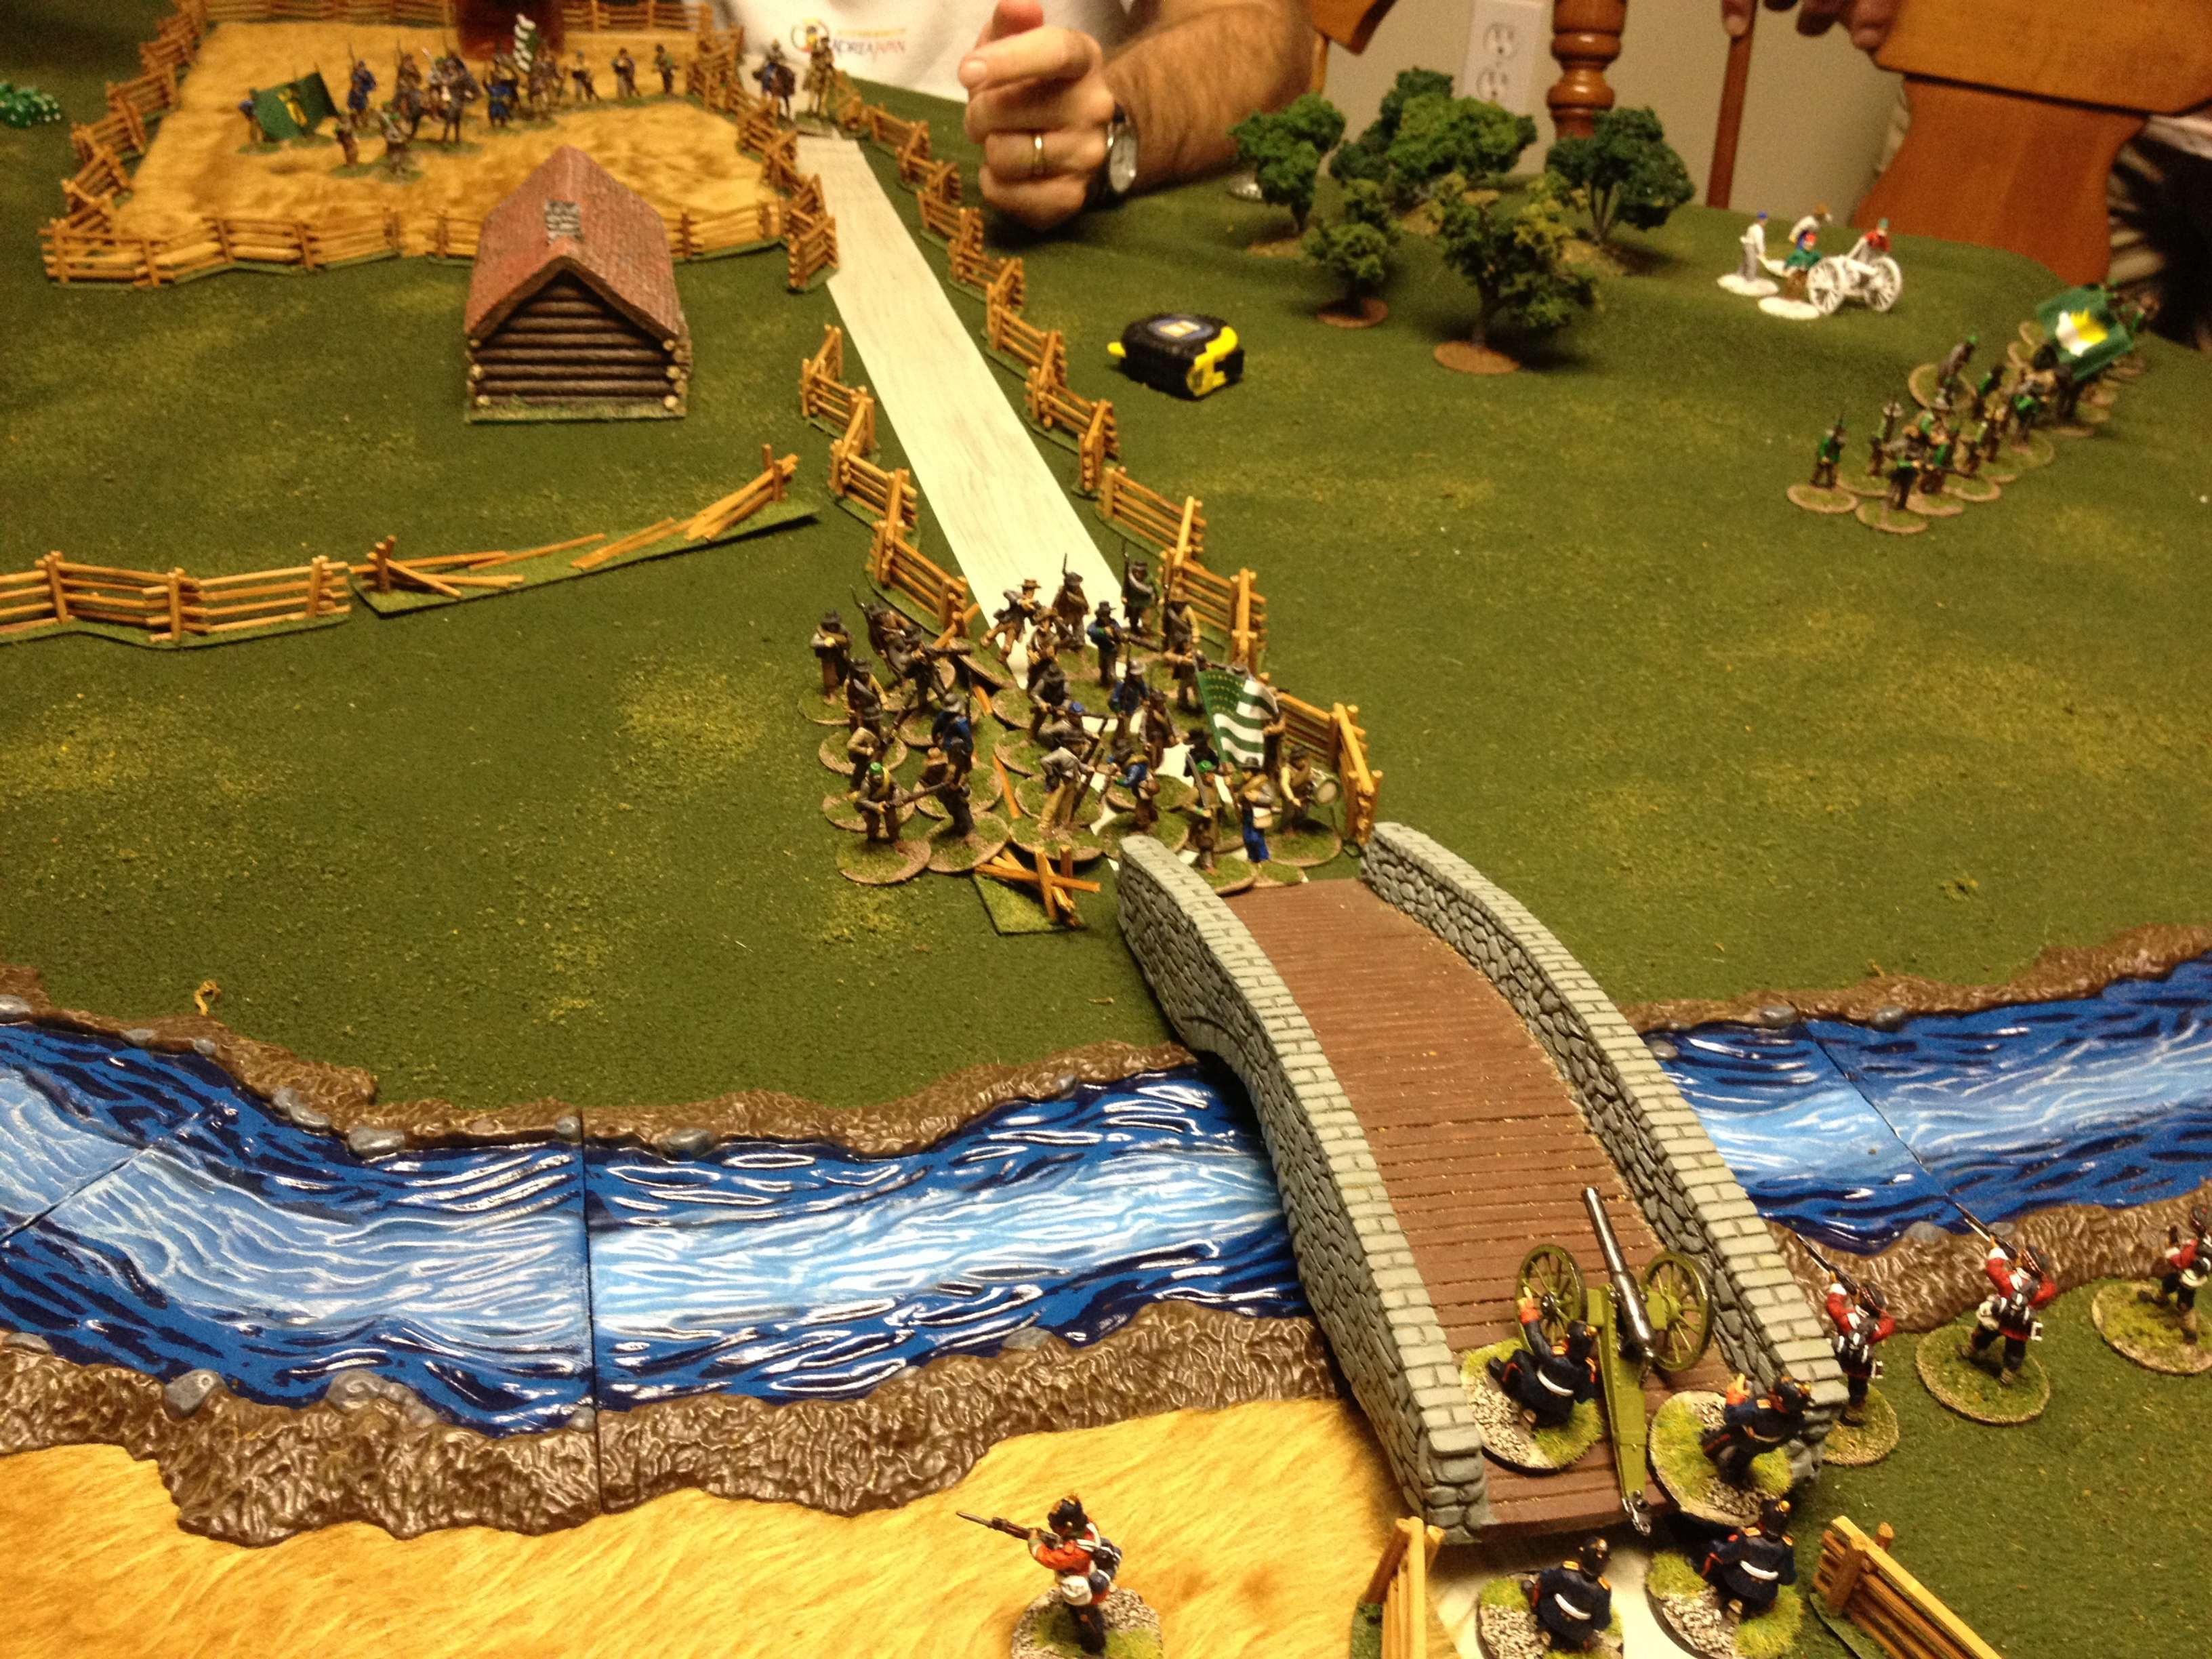
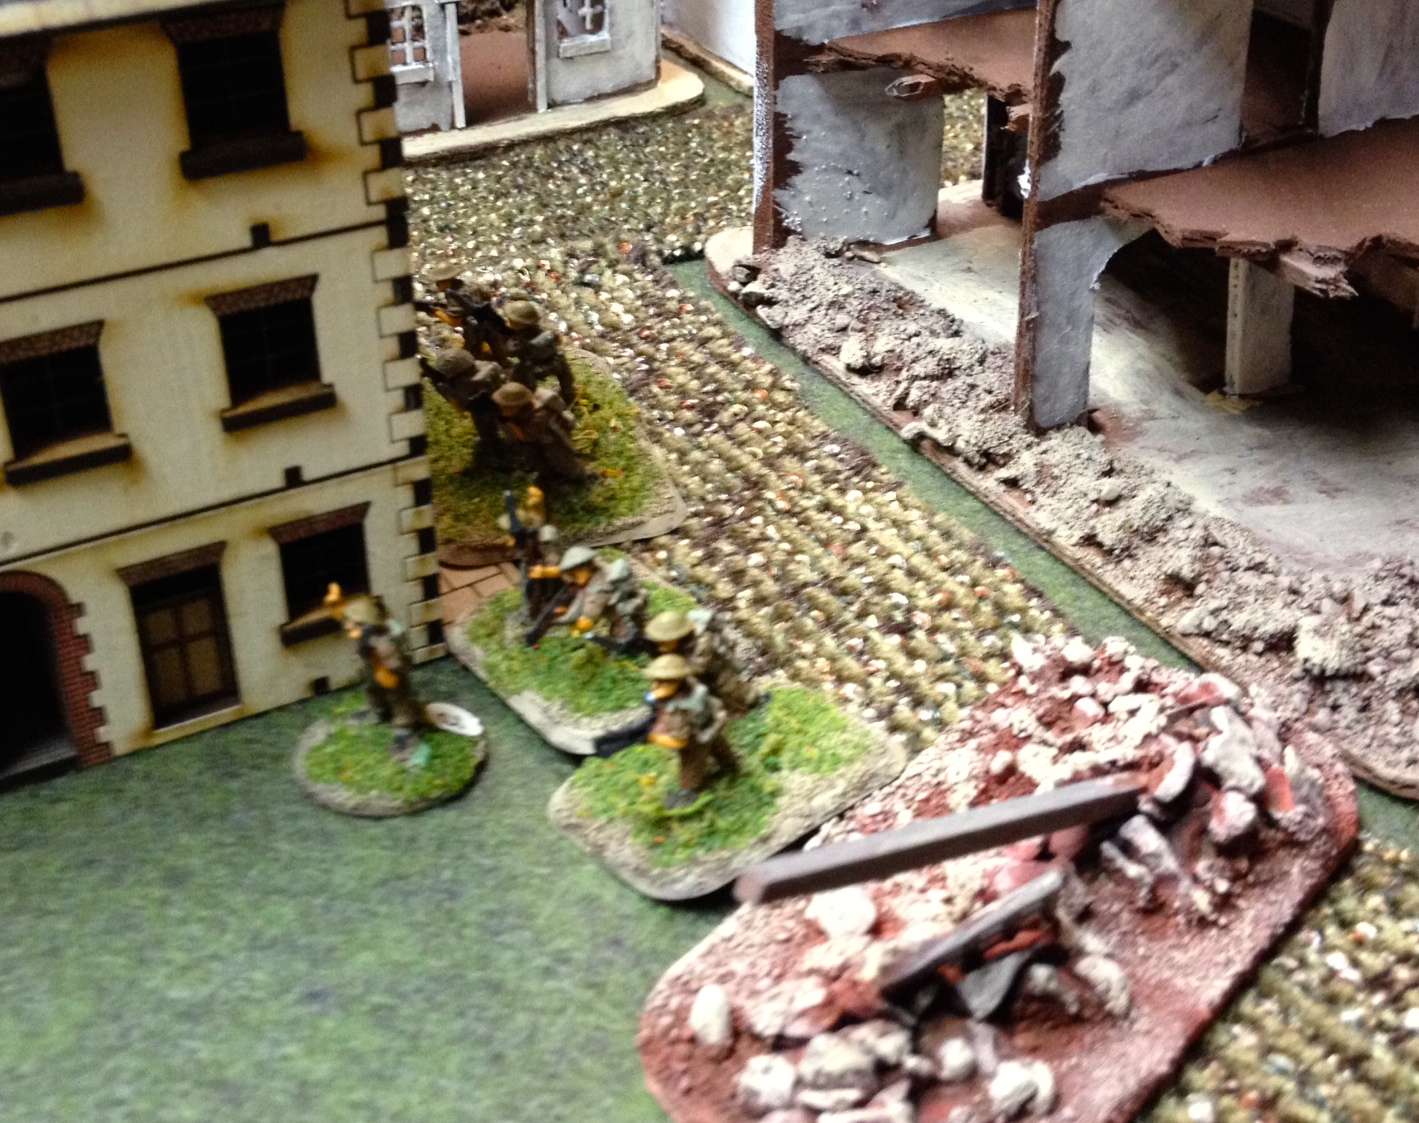
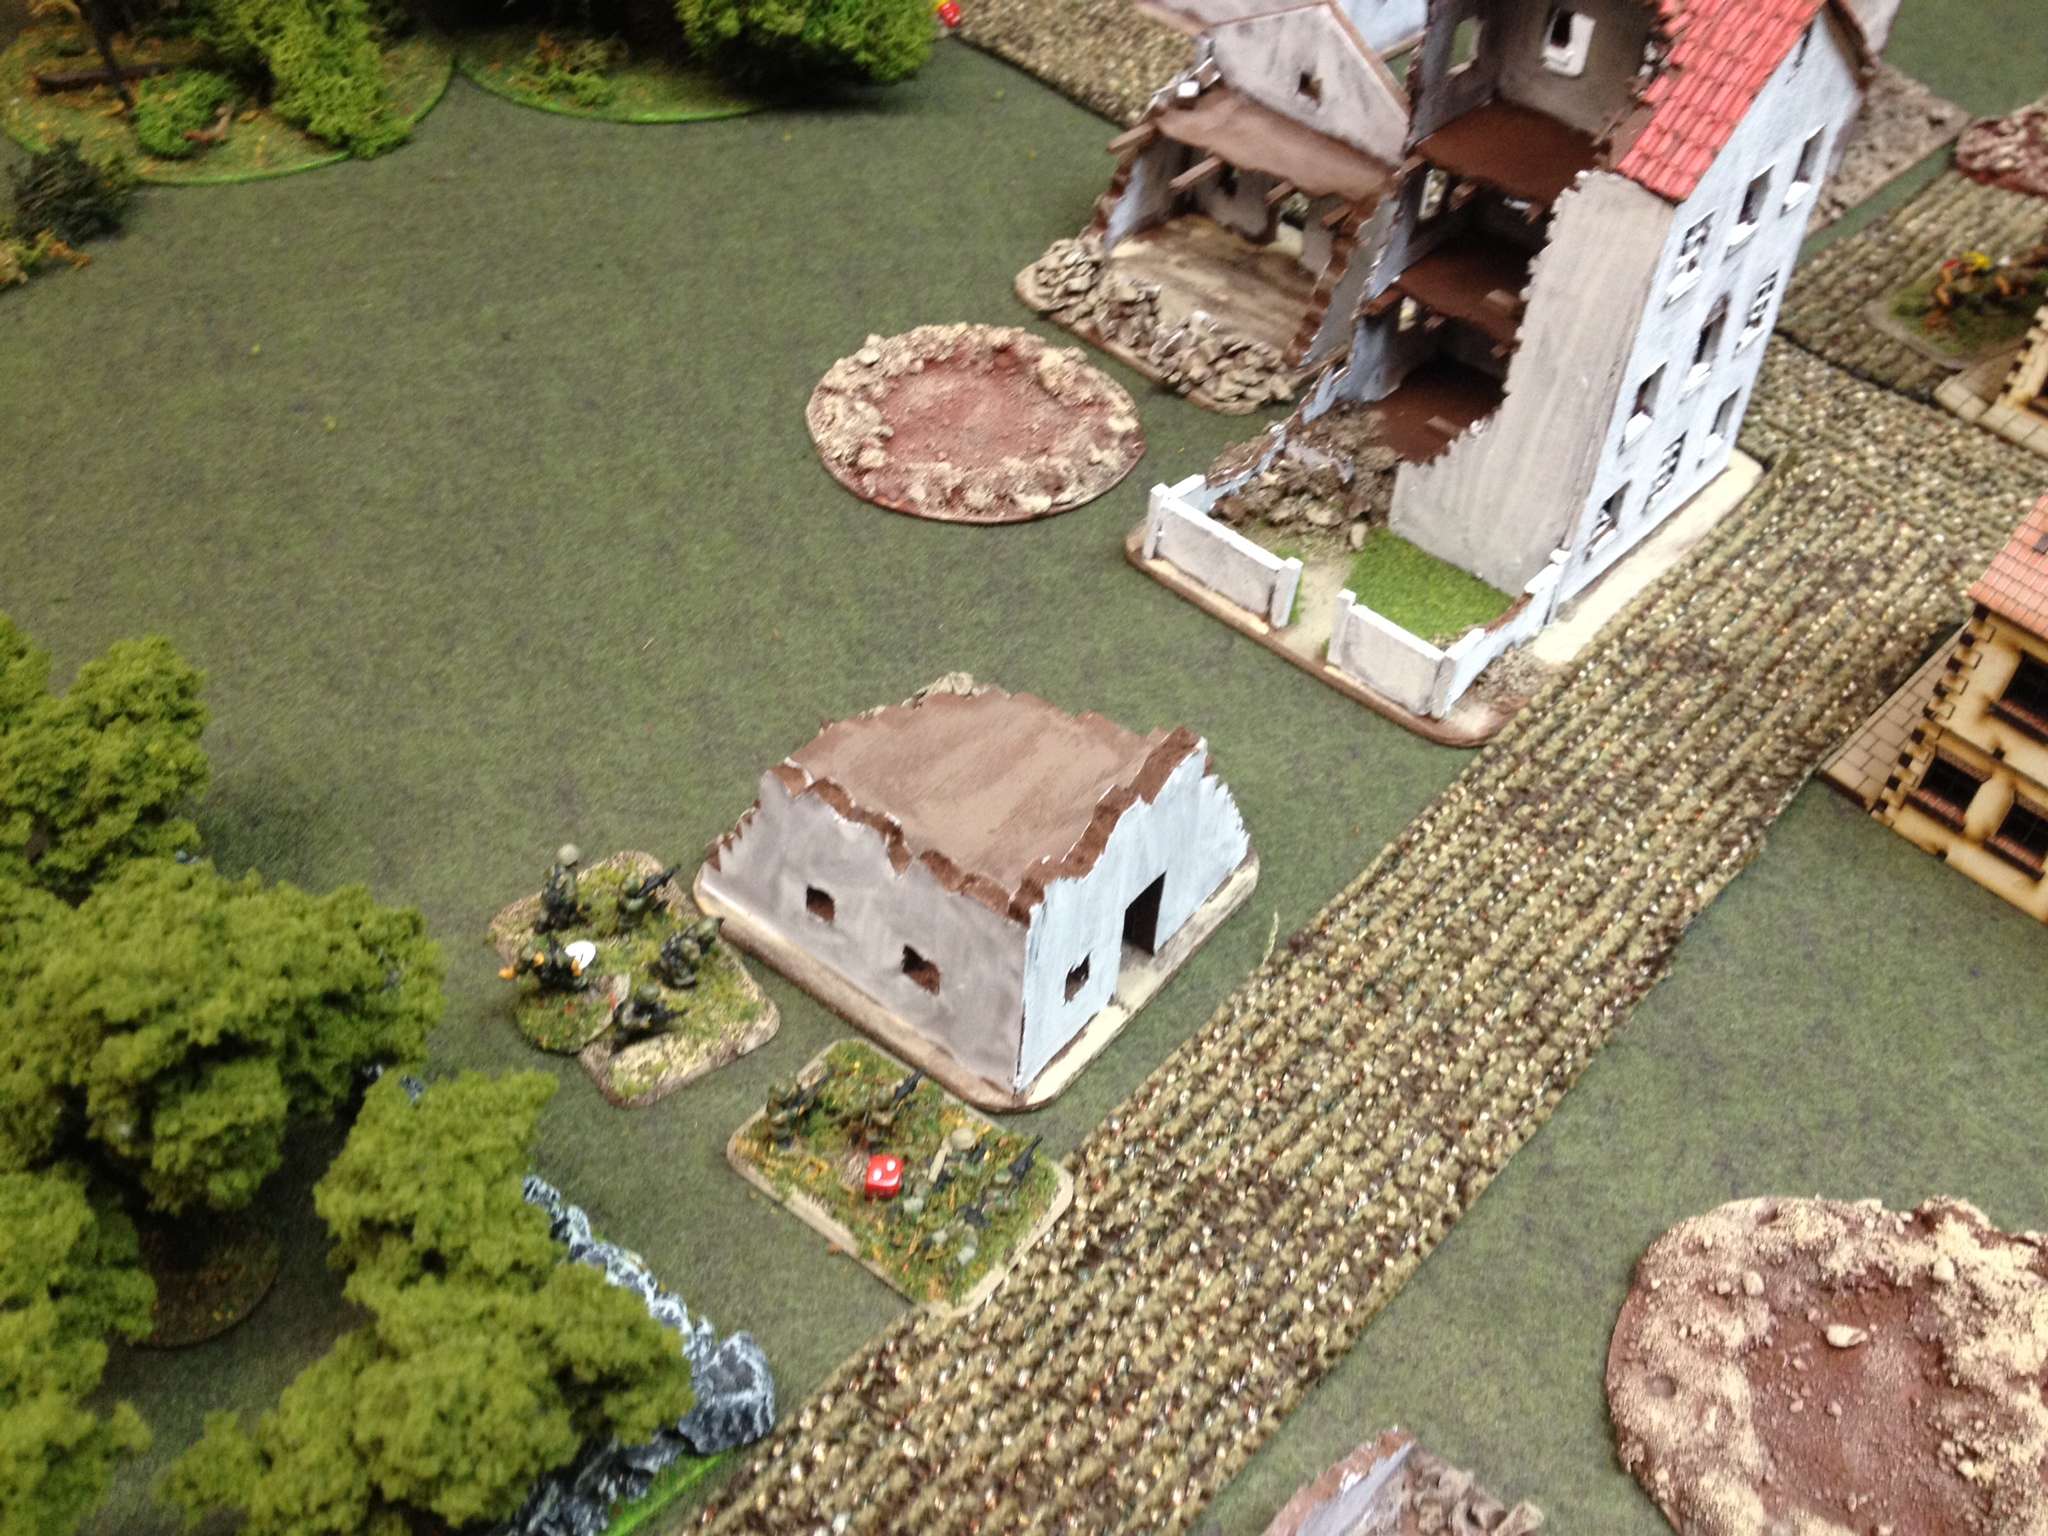
I shortly have my answer.  A Canadian squad takes up position in the ruined apartment building on my left of the main road.  Both those buildings, by the way, are scratch-built by James and rather fine, I think.


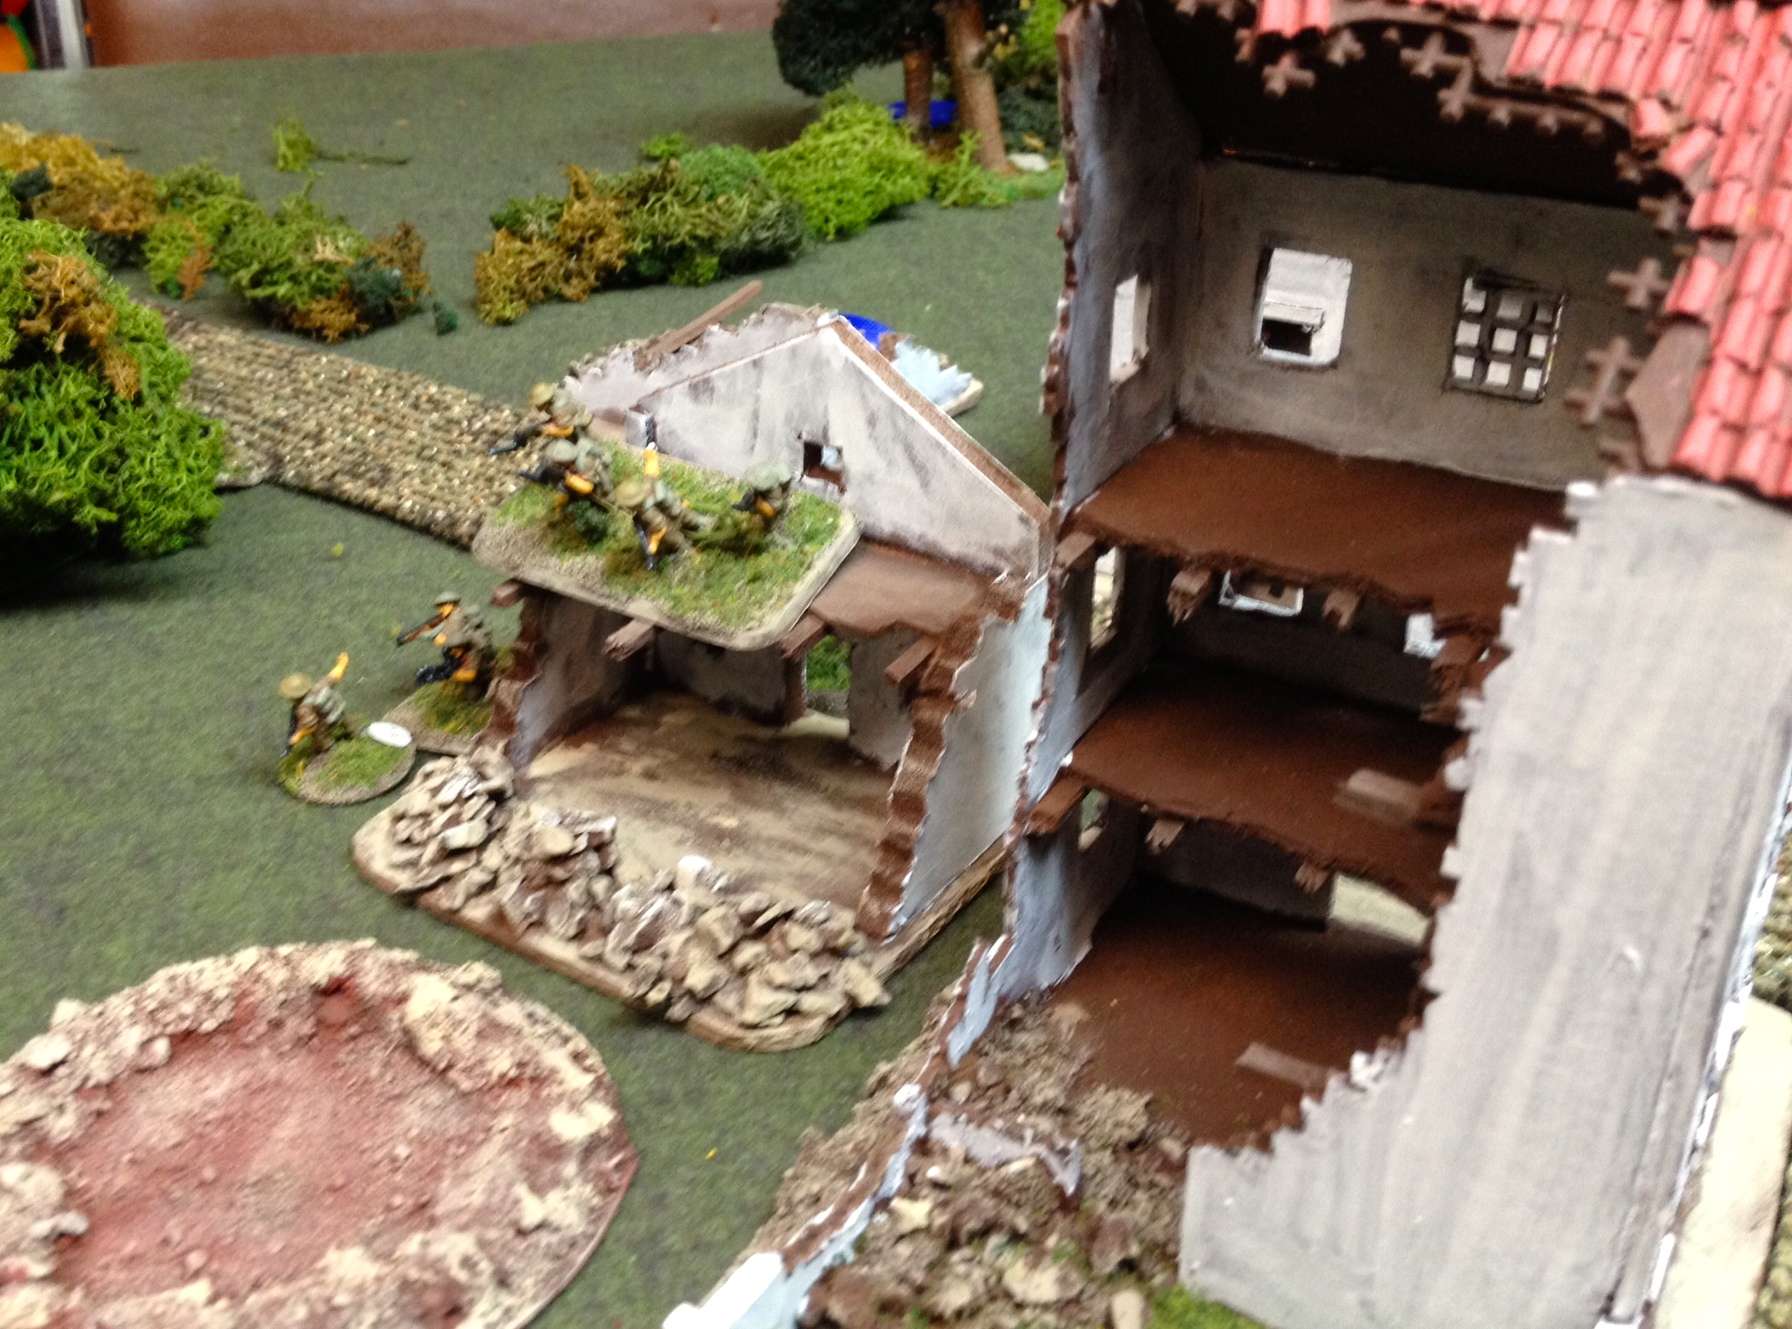
And a second section takes up position on the other side of the road, on the left flank of their comrades.   So it's fairly clear now that James is committed to coming up the centre and grabbing as much of the town and its hard cover as possible.

My first deployment choice is fairly simple.  I'm lucky to roll a 4, a 1, and a 2, among other things.   I use the 1 to put the FOO team on my right of the road, in my centre.  With the 2 I put a section with their junior leader on the far side of the road, to protect the FOO and to seize any opportunities to move forward.  I use the 4 to put my platoon sergeant, Unteroffizier Krebbs, beside the FOO, so I can use his leadership to activate the FOO in case I don't roll a "1" in subsequent turns.   As it turned out, he would be my star of the game.  I never had to bring my other senior leader, the Leutnant, on to the table.  I guess he was busy at Cafe Renee a few miles back.


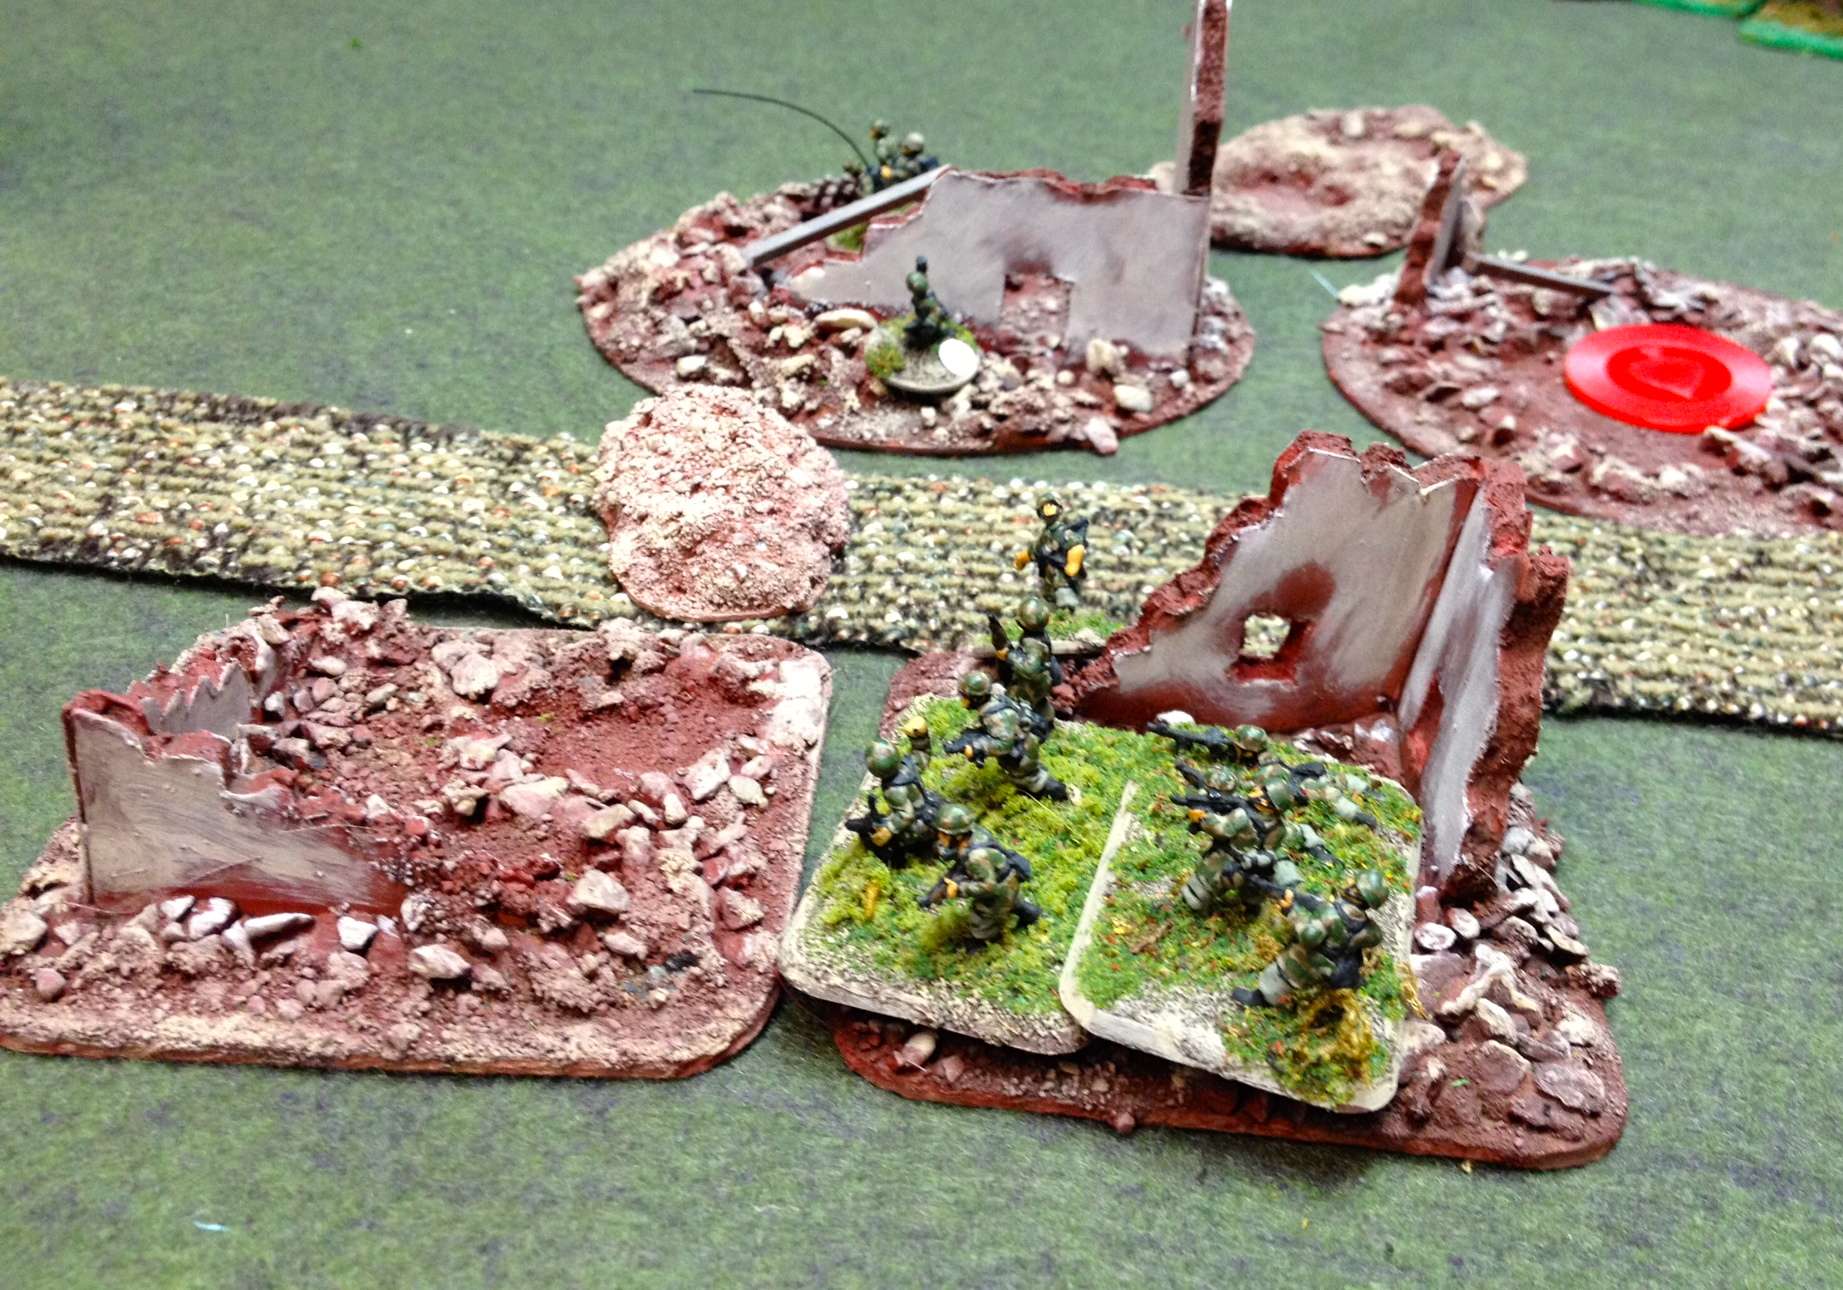
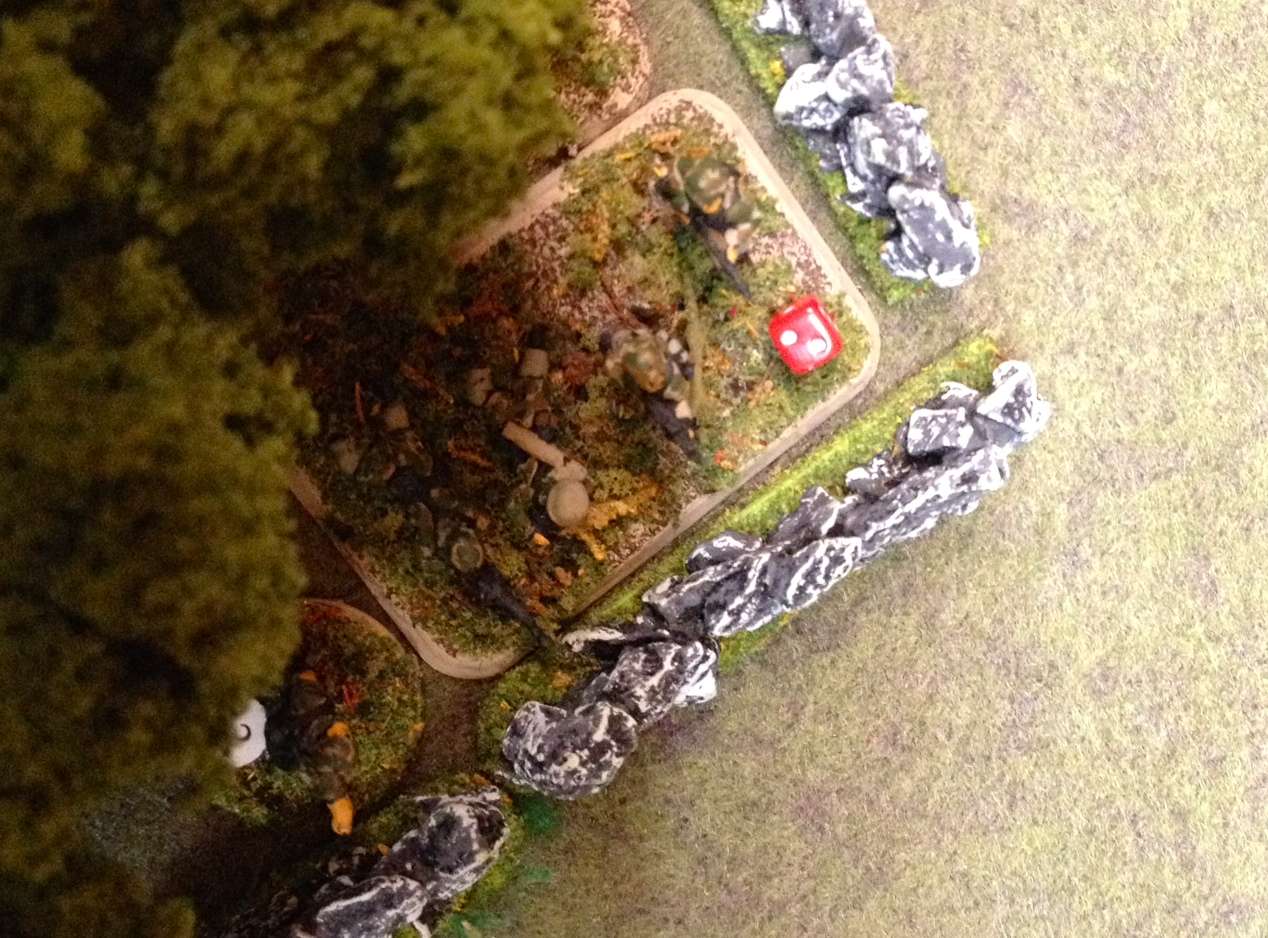
Fairly soon it's a firefight.   I use my left most  JOP to bring on my second section in the orchard, with a line of sight to the Canadian section on my left (James' right) side of the road.   The two LMGs of the paras chews up the plaster and brick and send the Canadians ducking for cover.   The Canucks lose two men and take three points of shock - visible below as per James' spiffy new micro dice.   As an aside, I think these truly were micro (as in microscopic) dice. being just slightly bigger than grains of salt.   


James' lads resolutely fire back, dealing out two casualties to my paras in the orchard.     However, with all four LMGs still in play, the FJs clearly had the upper hand in this exchange.


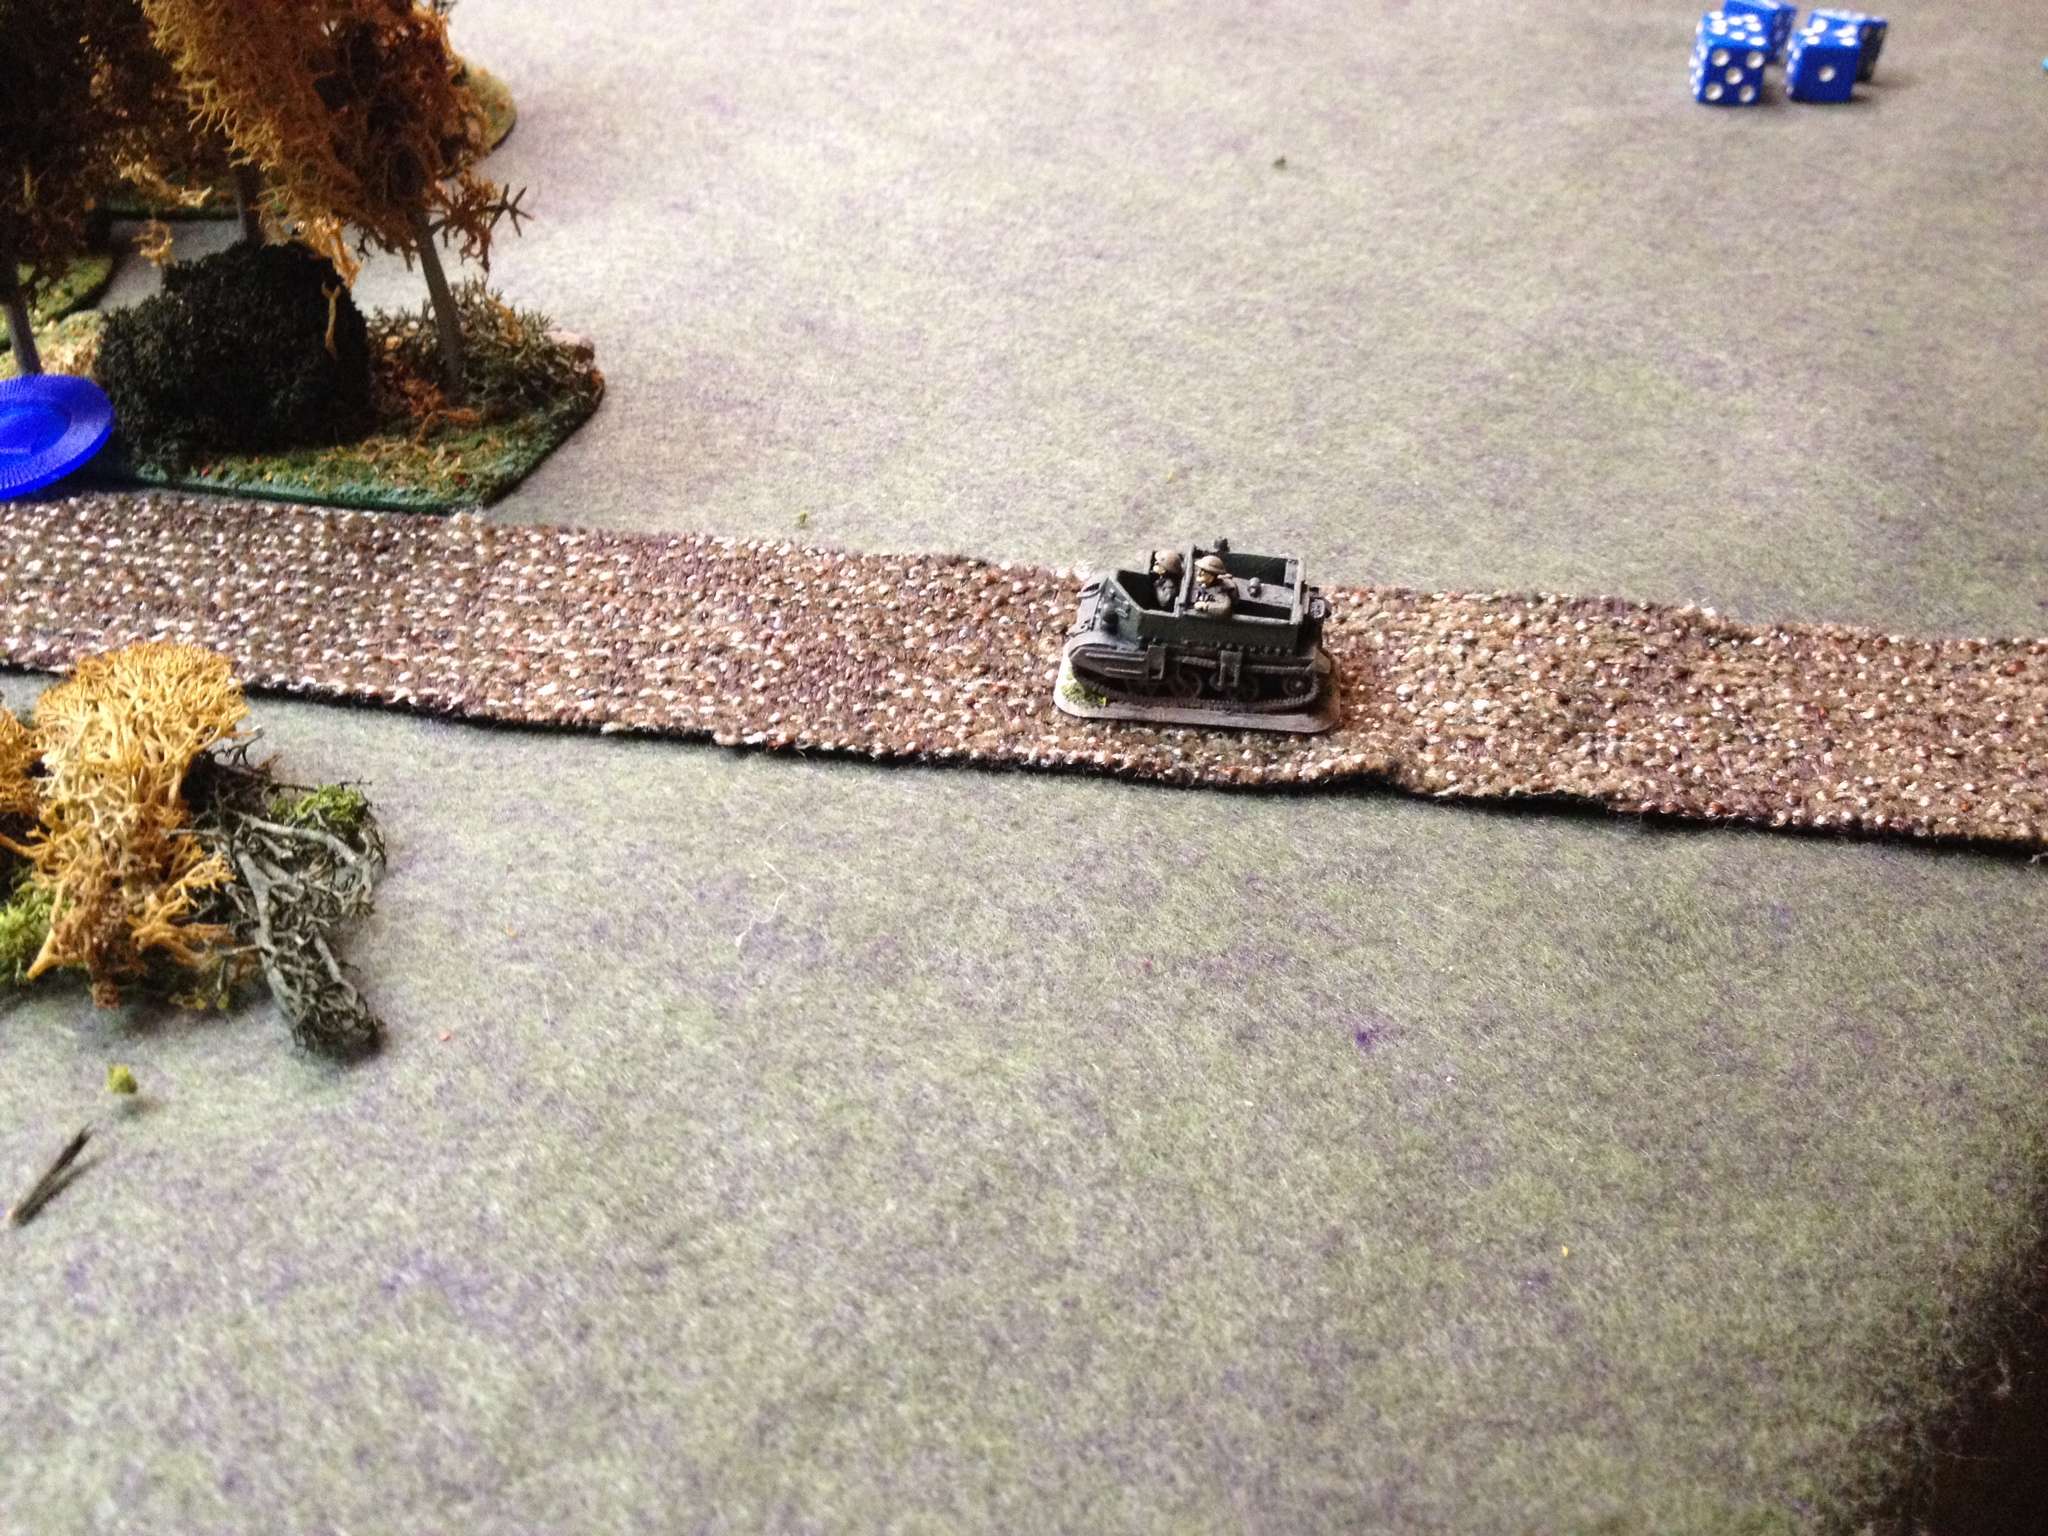
Meanwhile James reveals his first support choice.  A Bren carrier, I think?  That doesn't look too threatening as it slowly chugs its way forward, then stops for a look and possibly a brew  Not too threatening.  Not yett.


"Wait a minute, Sarge, my bootlace had come untied!"   James elects to move his section on his left (my right) side of the road forward a tactical bound, but he rolls a "3" for movement, leaving them stranded in the middle of the street, just as a horrible whistling sound is heard.


CRUMP!  CRUMP!  CRUMP!  The unfortunate Canucks are caught in the middle of the street, losing men, taking shock, and best of all, from my point of view, pinned.  This was incredibly lucky on my part, because I already had step one, contact with battery, established, but with a moving target in my FOO's line of sight, I didn't' have time to use a spotting round.   I called for fire immediately, and was very fortunate with a minimum deviation of 1" in the direction I needed it to go.   It couldn't have been a better shot had I planned it.


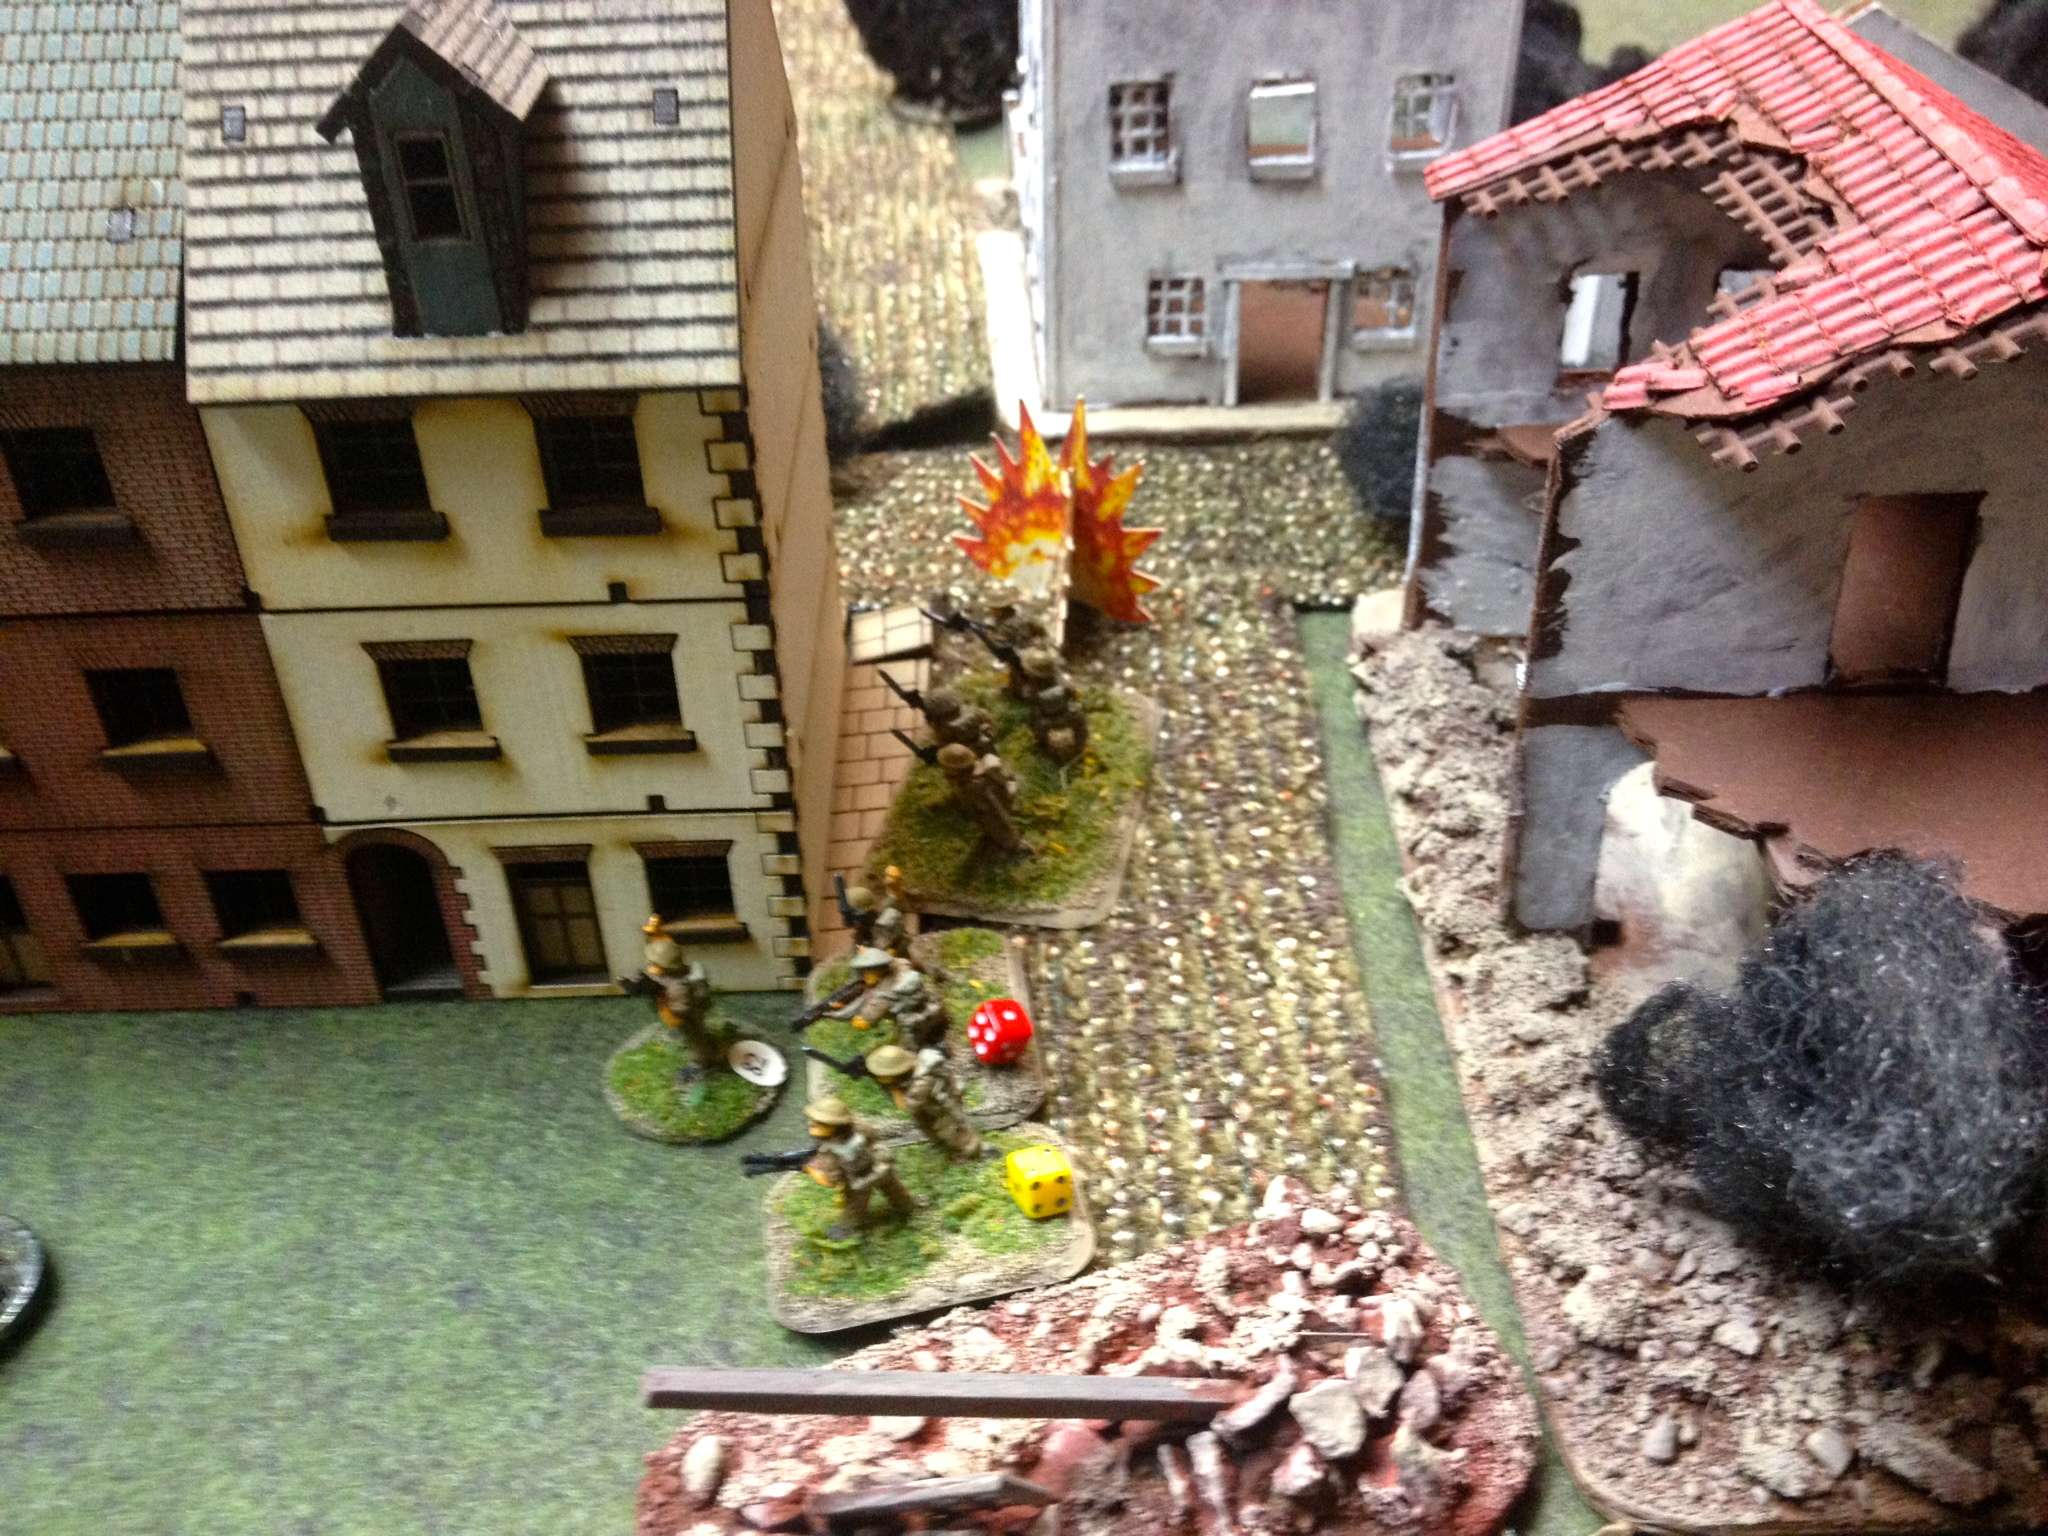
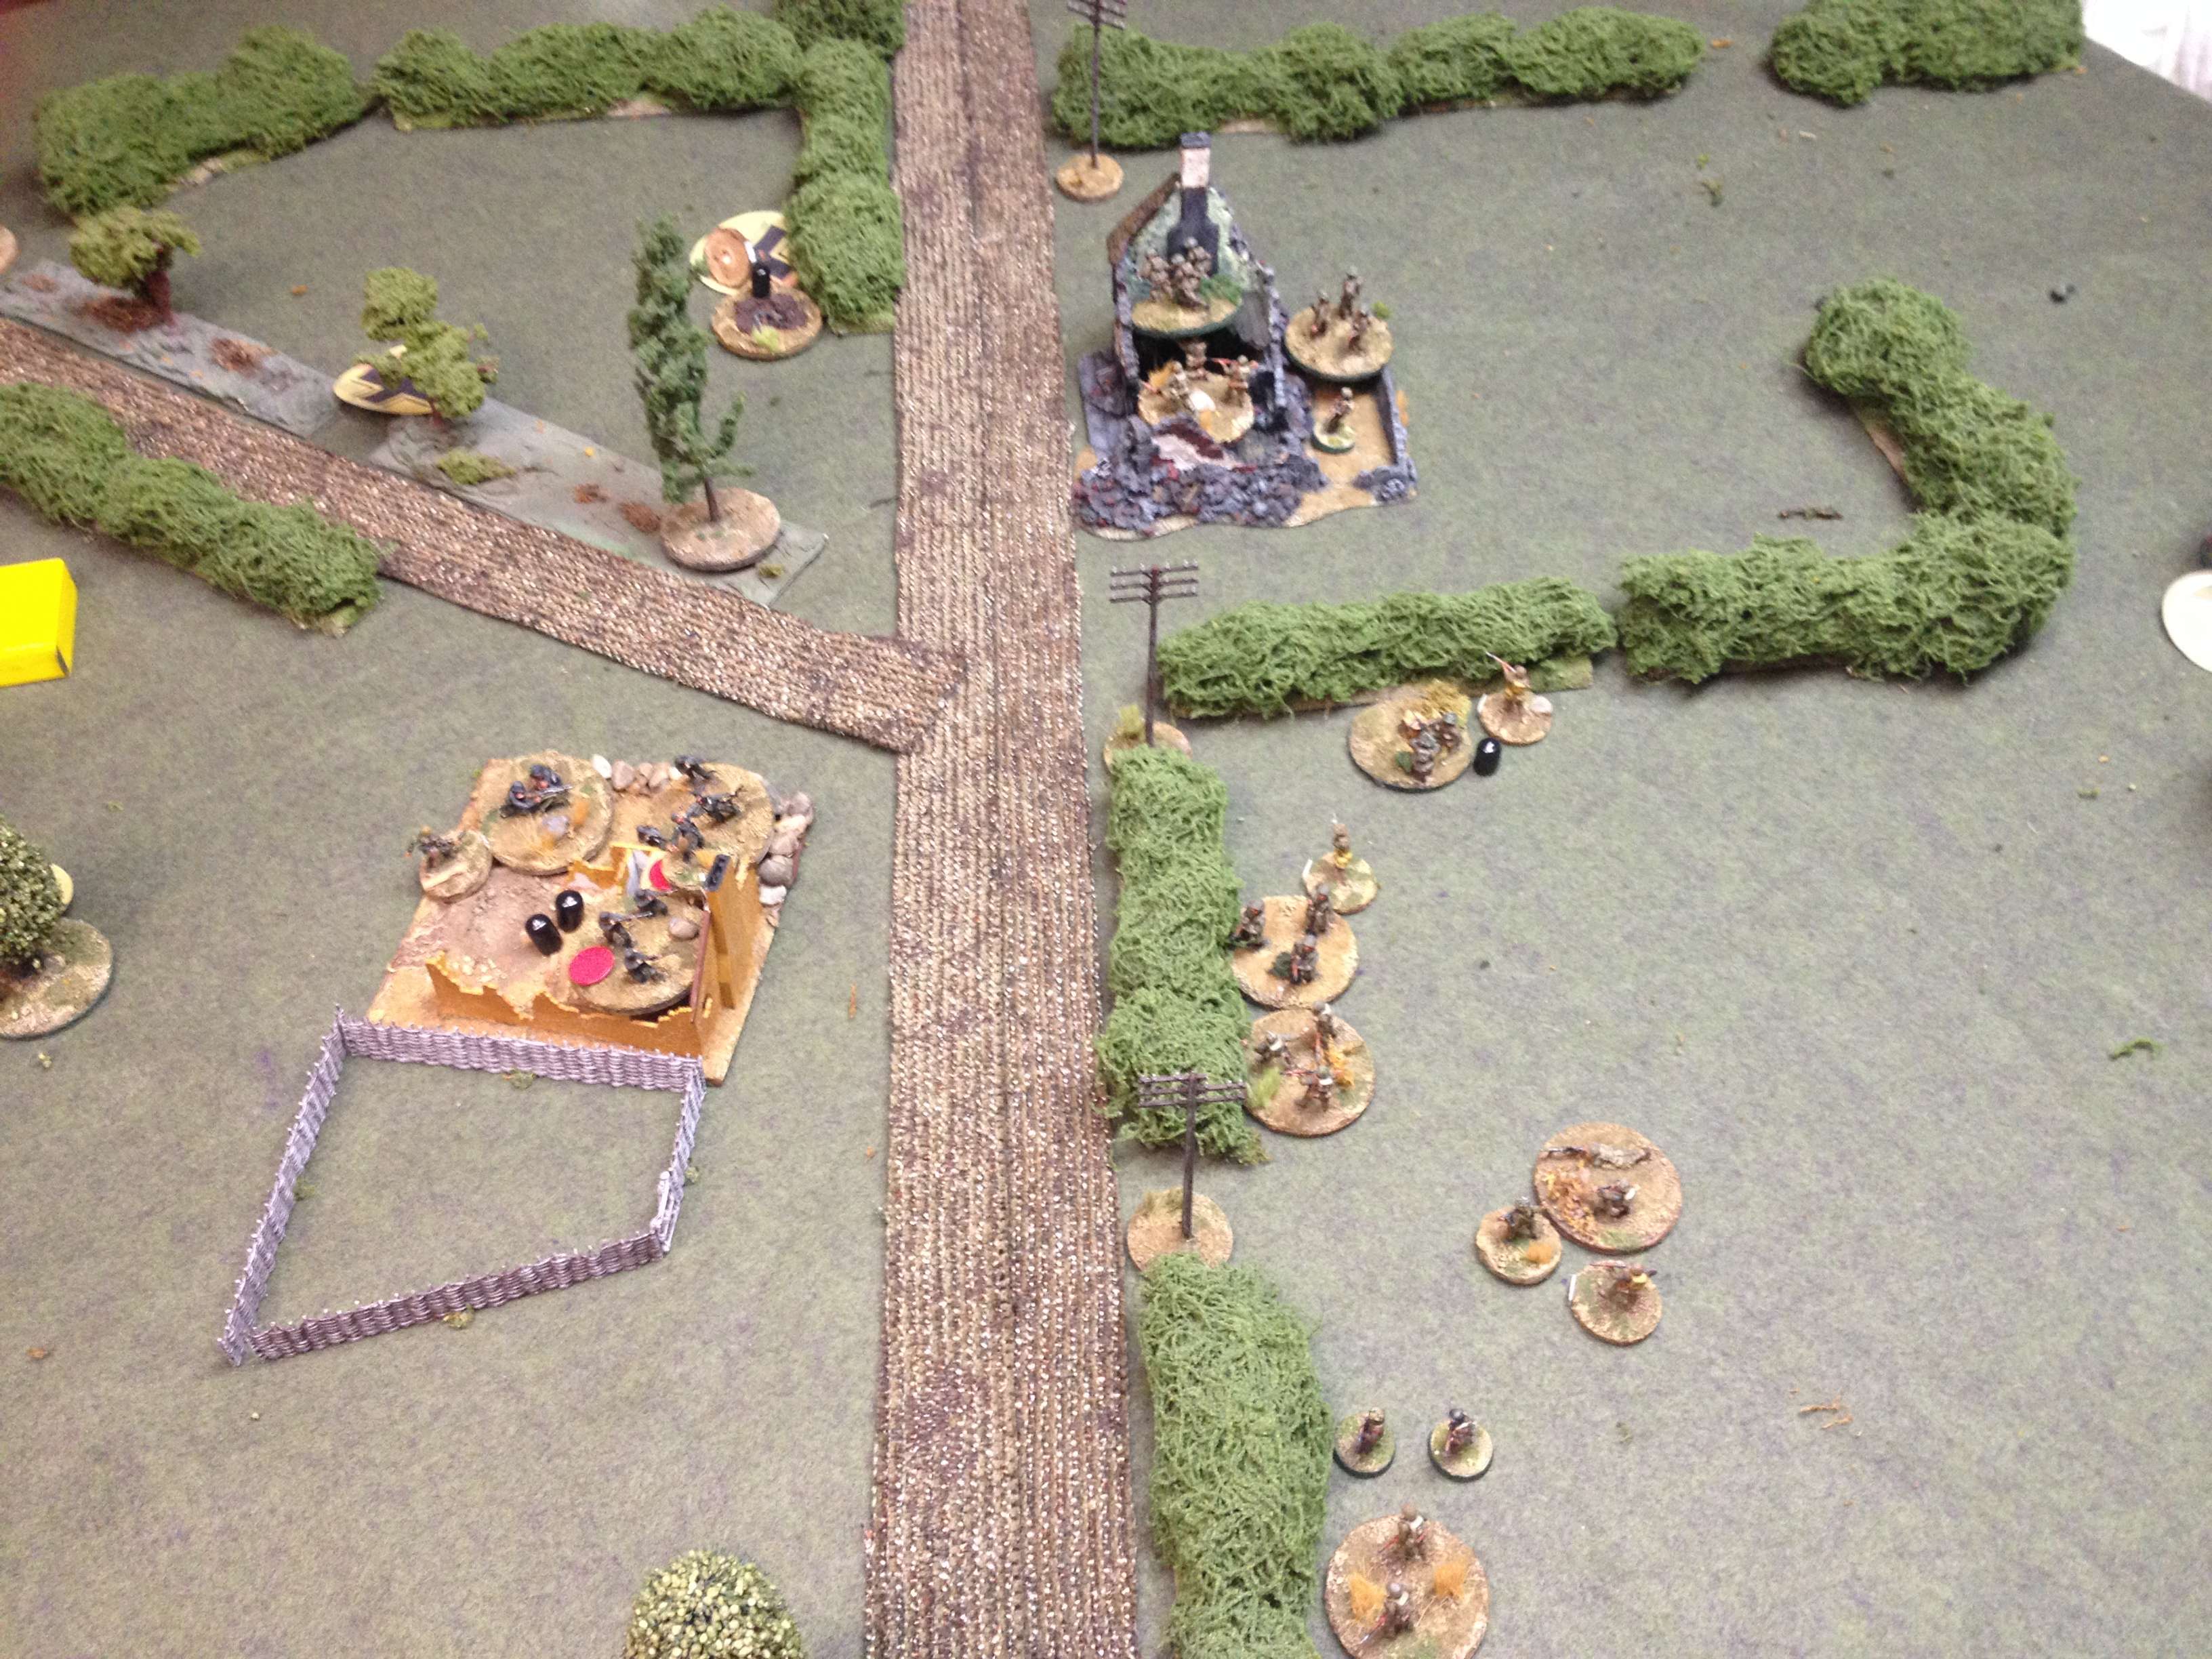
Here's a picture showing the scope of the barrage, an 18" square with the aiming point in its centre.   From my point of view, this is perfect.   I've got the two attacking squads pinned, one in the open and the other losing some of its cover advantage because of the indirect fire effect, which means they can't move and their firepower is halved.  As long as I can keep the barrage going, James can't feed any more infantry forward in the centre, and I've got a section in reserve in case he tries to bring his third section up via either flank.


Caught by mortars and German LMG fire, James' infantry are getting whittled down.  That other micro-dice by the side of the road is the poor Canadian 2" mortar team that happened to get caught in the barrage.


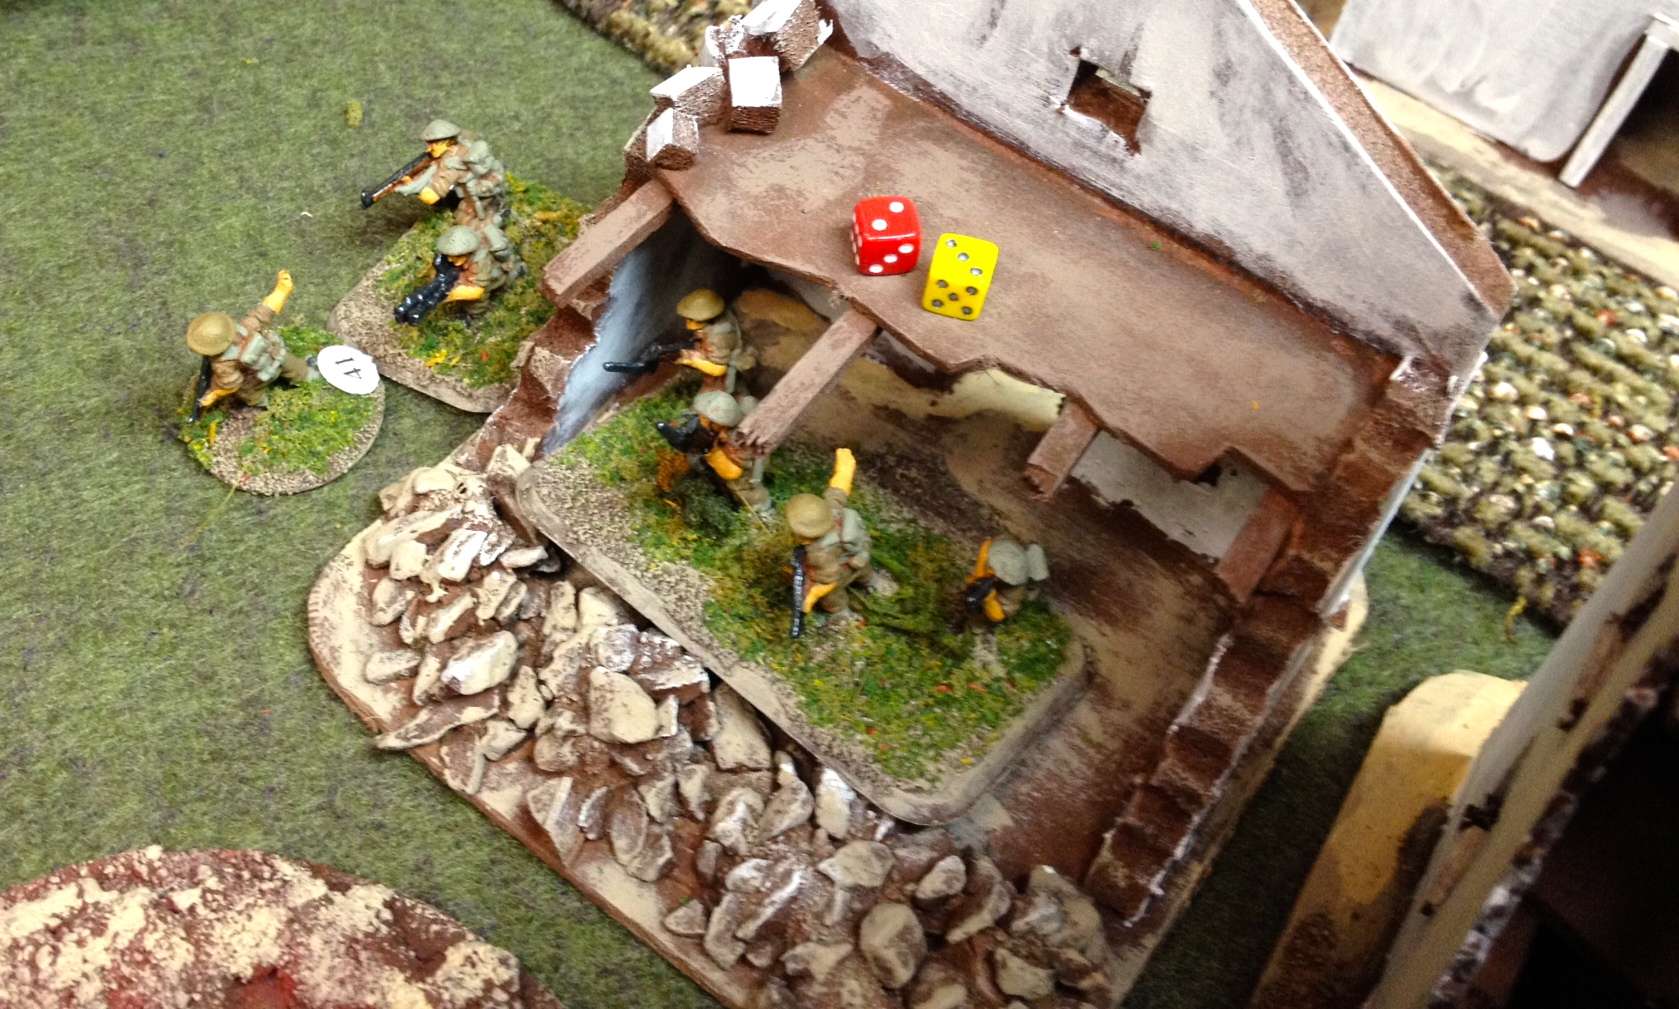
As soon as he acquired one, James wisely used his CoC dice to end the turn and my barrage , but by them one of his sections was wiped out, and the second was at half strength.  Finally unpinned, they holed up in a building. I  decided to advance as the dice allowed it, moving one section out of the orchard.

The other section moved up, and entered the building (a lovely 4 Ground model that James had just completed) so we could test the melee rules in CoC.   The melee rules are not dissimilar from previous Lardie WW2 rules.   There was a short,fight in which two German paras were killed, while the remaining three Canadian infantry fell.   The Canadian junior leader was badly wounded, and the platoon sergeant was lightly wounded,.  We allowed the platoon sergeant to win a Military Medal by dragging the wounded corporal out the back door and to safety.

We were now in the Endgame.  James brought his third squad on, also in the centre, since that was the only real route that would do him any good.  I elected to use my CoC dice to try an ambush with one team from my uncommitted section.   They did a little damage, and took some in return.


Better for me was that I was able to get my barrage restarted (not a guaranteed thing for subsequent fire missions, I got lucky), and with the threat a little less this time, my FOO could afford a spotting round in order to place it where he wanted it.   If James had any more infantry as a support choice, it would have trouble pushing forward as long as this lasted.  James' morale had crumbled from 11 at the start to just 3, and he was down to three command dice from an initial five, so we agreed that the Canucks had come up short this time.

We managed to get a decisive result in a three hour game, while getting a better feel for using the support tables and for using off board artillery.  There were a few things we did wrong … we were not diligent in checking for leader casualties until half way through the game, which could have changed the outcome somewhat.  Otherwise we felt comfortable with the mechanics.

I was insanely lucky in getting my win.   James had terrible dice getting his support choices onto the table.  I knew that besides the Bren carrier he had a Sherman, but what I didn't know until the end, thankfully, was that his third choice was a Wasp flamethrower carrier.  I would definitely have had the jitters knowing that this fearsome beast was lurking nearby.   In retrospect, James agreed that having a FOO of his own might have been more useful than three AFVs.   Putting the FJ sections under a barrage would have pinned them and halved their shooting dice, taking away some of their insane advantage in firepower.   We also agreed that the Canadian 2" mortar should have been pumping out smoke for all that it was worth.

A great game lovely figures and scenery, and best of all, with a gracious opponent, though there were times when I think James might have tossed me out in the snow - it was bringing the beer that saved me, I think.   I am sure that the next time Rabbit Man and I throw down, the whupping will go the other way.


Friday, December 27, 2013

Ottoman Cannon and Crew

A few projects have left the painting desk this fall and winter but haven't been blogged.

Here is a 28mm cannon and crew for my Ottoman army.   I have no idea what make the figures and gun are.  Pray let me know if you recognize them.

The paint scheme is blessedly ignorant of any research as to the uniforms of Turkish artillerists.   I've been using blue as the standard for my Ottoman gun carriages, and for these figures red seemed to be a nice contrast.  Besides, you can't go wrong with red when painting gunners, can you?

Long-term readers of this blog may recall that the Ottomans were part of my Resurrected Armies project to mark Easter earlier this year.   These chaps should add a little more heft to my Turks, and give some opportunity to respond to the lashings of all those guns the Russians can field against them.  Looking forward to another game of Maurice to try it out.

Tuesday, December 24, 2013

Merry Christmas

On Sunday we had an ice storm here in SW Ontario, and while it wasn't kind on the trees or on many hydro customers, it did the magical effect of encasing the boughs and branches in ice.   Here's the view of the decorations on the yews outside our house tonight.


The Christmas tree in the living room of Chez Padre.


Skittles the Cat has her stocking ready for Santa.   Was she a good cat?   I think she's being rather optimistic.


For those of you who are people of faith, Kay and I wish you a blessed and joyous Christmas.   For those of you who aren't, may you know rest and joy with those you love this holiday season.


Michael

Sunday, December 22, 2013

Praise the Lard for Chain of Command!


Here's an AAR from a few months back and a brief review of Chain of Command, the new skirmish-level rules from Too Fat Lardies.


I ordered the .PDF set of the rules from TFL for a quite a reasonable sum, and have access to it on my tablet and my laptop.  As always, Richard Clarke was very helpful and attentive to a minor issue I had with the download, and all was quickly resolved.   I honestly don't know how Rich does it, investing so much time in the rules, and so much of how own money in the launch, but from what I hear on Lardies Comms, the rules are a hit and he's been rewarded for the investment of time and treasure.   I certainly hope so.  


Chances are there are very few readers of this post who don't know about Chain of Command (I confess I wince at the acronym, as I did with the previous rules, Troops, Weapons and Tactics.   Boys will be boys.   I puzzled my way through the rules solo and found that the mechanics, at least as far as shooting and melee, were very similar to TW&T (wince) and I Ain't Been Shot, Mum.   So something this fall (October, maybe?) I drove over to Strateford and to Rabbit HQ where James Manto and I tried a very simple fight, a Brit platoon vs a German one, somewhere in Normandy.  We found the patrol phase quite interesting, and a game inside a game, really.  Here's the table with at the end of the patrol phased.  James had his in a line across the centre of the table, while I had two up near the house (visible bottom right of the photo behind the hedge) and two back bellow the bottom frame of the photo.  At this point we converted our patrol markers to jump off points.


Here on the right side of the table are my four Jump-Off points, two in the woods near the ruined house in the centre of the table, two on my table edge. 


James' four jump off points, much closer to the centre of the table than mine.   James folds his arms triumphantly, savouring the victory to come.


I had a good sequence of dice that allowed me to bring my three sections and platoon CO onto the table.   With one section lining the hedge, the other ran for the ruined building which attracted me like a rabbit. 


 I got my section into hard cover but it wasn't hard enough cover against a German MG that James got into action.   My section leader was wounded and the lad were whittled down pretty quickly.   


The game ended well for James.   My battered section fell back out the bullet magnet of the house and I was watching James starting to lap my flank on the right.   My other two sections were still intact and lining the hedge on the right side of the road in the photo above, and had damaged the German section opposite them.  However, I was now outnumbered, since James had elected to take as a support choice.  I forgot what support choice I took but it didn't help me much.  I conceded.

I apologize for the dearth of photos, that don't really show much except for the use of Patrol and Jump Off markers and the overall flow of the skirmish.   Hopefully they convey something of the game.

Some thoughts about Chain of Command:

Likes: 

The pre-game phase, placing the patrol and jump off points, is interesting and makes the game fresh and interesting, as opposed to placing your troops in advance.   CoC (wince) gives you some significant tactical choices as to where and when to feed your troops into battle.

The use of command dice as opposed to the traditional Lardie method of assigning cards is simple and much less cumbersome than assigning cards to sections and elements in advance.

Leadership and morale are still very important in the game, keeping it true to its Lardie roots.  

The basic mechanism of CoC is highly adaptable.  I am thinking about using it for my W40K figures at some point.

The absence of spotting rules and blinds makes the game flow more smoothly than other TFL games.  If you can see it, you can shoot it.


Reservations (not strong enough to call them dislikes)

My only qualm about the game is that because of the absence of cards  it seems to me less suited for solitaire play than either TW&T (wince) or IABSM.   While the idea of the special 6 Command Dice, which allows you to do things such s interrupt your opponent's turn or bring uncommitted sections/teams onto the table to ambush enemy sections/teams in their move is clever, it works better for me in a two player game.   The same thing can be said for the pre-game Patrol Phase.  I'm not saying it doesn't work for solitaire, just that CoC really shines in a face to face game.   For solitaire games, I think I will keep using TW&T.

I haven't tried playing the game since, and would like to try it again with AFVs and artillery.    I would agree with all that has been said on the blogosphere about CoC being one of the significant rules releases of 2013, and hope it had a long future.


Wednesday, December 18, 2013

Concerns About Sauron's Battle Plans

Hoping this gives you a chuckle.  It certainly makes me want to dust off my GW LOTR collection once I get my last term paper in today.

Monday, December 16, 2013

Padre Kevin and His Lads Are Home

I've blogged here before about my friend Kevin White, a fellow chaplain and wargamer who I met at British Army Training Unit Suffield last year.   Padre Kevin was in Canada with his unit, 2nd Royal Tank Regiment, preparing for their deployment to Helmand Province, Afghanistan, and we had a chance to have a game at my place, where he politely and skillfully used his tanks to mop the table with my German infantry.  Serves me right for giving a tankie padre the side with the armour.   

I had asked your thoughts and prayers for Kevin and for the safety of his lads.  I'm happy to say that Padre Kevin and his flock will enjoy Christmas at home in the UK.  This photo below from the UK MOD new service shows the medals parade for 2RTR at Tidworth Camp, Wiltshire, last Saturday, 14 December.  I hope Kevin will have a chance to roll some dice or paint some figures over the holidays.


Thursday, December 12, 2013

A Fall Visit To Antietam

So as I was saying recently on my other blog, the God Blog, my first term of graduate school has kept me busy.  There were a few games that I managed to get in, which gave James Manto and I much mirth, but mostly a lot of reading and writing and only a little painting, none of which I am ready to show off here.

One thing I did manage this fall, which I think is relevant to this blog, was to travel south to the National Park at Antietam, MD, in the company of a friend from reenacting days, Kevin, and his son (my godson), Brendan. 

It was a warm day in early October, and the place looked more autumnal than it would have on Sept 17, 1862, when most of the trees were still green and leafy and the crops, particularly the infamous corn, had only just started to be gathered in.

This shot was taken by the visitor centre.   in the background, behind the canon, you can just make out the observation tower by the Bloody Lane.   Not far beyond that tower is Antietam Creek, with the hills of South Mountain visible in the far background. 


Brendan and his godfather outside the visitor centre.   Brendan and I were both wearing dinosaur themed Tshirts, so we decided that our tour was happening on "Walk and Talk Like a Dinosaur" day.   Brenday knows more about the civil war than most eight year olds - for example, he knows the difference between a Napoleon and a Parrot cannon.   He comes by this knowledge thanks to having a huge ACW nerd as his dad, though I have to admit, Dad made an excellent and knowledgeable tour guide.


The Dunker church.  Matthew Brady's famous photograph of wrecked Confederate artillery and dead artillerists was taken not far from this spot.


The famous cornfield, with the East Woods visible to the right.  James MacPherson writes in his Antietam book, Crossroads of Freedom, that "Many cornfields were the scene of fighting during the Civil War, but this one was ever after known as the Cornfield."  Here elements of Hooker's and Mansfield's Union Corps collided with the Confederate divisions of Stonewall Jackson, and storied units like Hood's Texans and the Iron Brigade annihilated each other.   Here, as one soldier of the 6th Wisconsin described it, "Men, I cannot say fell; they were knocked out of the ranks by dozens" (MacPherson, Crossroads, 115).


The Bloody Lane, a natural trench which appears, choked with corpses, in Alexander Gardner's famous photograph.   This view is taken looking towards the visitor centre, with the observation tower directly behind.  One thing I noticed walking the cornfield to the right of the photograph is that there is a hill in the centre, so that the Union brigades attacking through it towards the Lane would have been concealed from sight until perhaps 100 metres from the Confederates lining the fence rails.   At that range, in their massed formations, it would have been difficult for any shot to have missed.


Monument to the Irish Brigade at the Bloody Lane.   By an odd and sad coincidence, we learned that the sculptor of the bronze bas-relief on this monument, Ron Tunison, died on 19 October, just a few days after out visit.


Mr. Tunison's work.  He was a talented gentleman.


This picture was taken from the grounds of Union commander McLellan's HQ at the Pry House, on the east side of the Antietam creek, looking west towards the cornfield and the East and West Woods.   McClellan never stirred from these grounds during the battle, relying on couriers and signallers to manage the battle.   You can judge for yourself how effective a 19th century commander would have been in such a position, managing a battle a mile distant.    In his Antietam book, Landscape Turned Red, Stephen Sears calls McClellan a spectator of the battle, and quite rightly so, I think.   McClellan never managed to send more than 20,000 men into the fight at any one time, despite outnumbering Lee's Army several times over during the whole battle.  By contrast Lee managed the battle directly, positioning himself directly behind his iines and using the turnpike to move and see the situation as required.


The famous Burnside Bridge, seen from the heights on the west side where a handful of men from two Georgia regiments were able to hold up Burnside's IX Corps for several key hours, allowing A.P. Hill to march from Harper's Ferry and halt Burnside when he finally crossed the bridge and threatened Lee's right wing late in the day.  From this range, it's hard to imagine a trained and experienced shooter, as those Georgians must have been, from missing his target.

 A view across the bridge.   Would you be brave enough to dash forward across this, through a hail of minie balls?   


A view of the McKinley Monument, near the Burnside Bridge.   I took it because I thought this comely lass was fetching, though her manner was cold and stony and did promise any dalliance.   McKinley was one of two future US presidents to serve in the Union army at Antietam, the other being Rutherford Hayes.


The day after our Antietam tour, before we headed home, Kevin and I visited several of the battlefields that are collectively known as South Mountain.   After he was fortunate enough to learn of Lee's dispositions thanks to the missing orders intended for D.H. Hill, McClellan had the means to destroy the Confederate army in detail, but moved sluggishly.   The next day, Sept 14th, after a long delay, he moved against the small rebel detachments holding the three passes through the chain of hills called South Mountain.  This handsome monument at Fox's Gap remembers the North Carolina troops that tried to hold long enough to buy Lee time to regroup.  They might have died in vain, if McClellan had not been more aggressive, but he waiting until the 17th to attack Lee at Sharpsburg/Antietam.  We found this monument after a long walk through some woods, and it was worth the searching.   A Union Corps Commander, Jesse Reno (IX Corps) and a Confederate Brigadier, Samuel Garland, died near this spot on the 14th.


One last picture.   This stone church is found at the summit of Turner's Gap on South Mountain, another skirmish that occurred on 14 September.   I knew nothing about it until I stumbled on it.  It's called the Dahlgren Chapel, built in 1881 in honour of the wife of the Union Admiral John Dahlgren, and for a while was a Roman Catholic chapel.   I j had the chance to walk around it and peek inside the windows.  A lovely place in the Gothic style that is still available for weddings, if you want to get married in Maryland.


 If you are interested in Antietam, I would recommend two books, both mentioned above.  One is James M. McPherson's Antietam: Crossroads of Freedom, a short book that sketches out the battle but does a brilliant job of situating it within the political and military context of 1862.   If you want a blow-by-blow account of the battle, Stephen Sears' Landscape Turned Red is the book for you.   McPherson notes that this battle may well be the most important of the Civil War, because it was the victory that made Lincoln's Emancipation Proclamation possible and thus ended any chance of a pro-Confederate intervention by the great powers of Europe.   While Gettysburg has military significance, Antietam, one could argue, is the battle that effectively ended slavery and thus changed American history forever.   

It's impossible not to walk this battlefield and read about it without concluding that McClellan lost it may times over.   Had he been anything like Robert E. Lee, he would have smashed Lee's army, instead of giving it time to gather and fight for its life.   At every turn, Lee and his generals were active, vigorous, courageous and effective.   By contrast, McClellan's generals were mostly ineffective, timid, or disgruntled with one another and with their commander.   This is a problem that any war-game simulation of the battle has to model, for if the Union player representing McClellan has freedom of action, the battle is pretty much a foregone conclusion.   That is the problem addressed in SPI's famous Antietam monster game,  A Gleam of Bayonets, which sits on my shelf awaiting its moment.  Perhaps when I retire.


Friday, October 4, 2013

Chris Weuve On Wet Navies In Space


I was noodling around the Foreign Policy website today and was delighted to find an interview, first published last year, with US naval analyst Chris Weuve on how science fiction models naval warfare, including "Air Craft Carriers in Space". The models Weuve discusses come from popular culture: Battlestar Galactica, Star Trek, Star Wars and Babylon 5, and he makes some very clever and insightful comments on how science fiction models and sometimes anticipates trends in warfare of the day. Here's a taste:

" But science fiction is the literature of "what if?" Not just "what if X happens?" but also "what if we continue what we're doing?" In that way, science fiction can inform policy making directly, and it can inform those who build scenarios for wargames and exercises and the like. One of the great strengths of science fiction is that it allows you have a conversation about something that you otherwise couldn't talk about because it's too politically charged. It allows you to create the universe you need in order to have the conversation you want to have. Battlestar Galactica spent a lot of time talking about the war in Iraq. There were lots of things on that show about how you treat prisoners. They never came out and said that directly. They didn't have to. At the Naval War College, one of the core courses on strategy and policy had a section on the Peloponnesian War. It was added to the curriculum in the mid-1970s because the Vietnam War was too close, so they couldn't talk about it, except by going back to 400 BC. "

Wargamers and military/SF nerds will find a lot to like in this article. Wargamers intuitively understand the idea of modelling reality, and those of us who remember games like Star Fleet Battles, or who play current games which draw Great War air combat a la Wings of War into the Star Wars X-Wing vs Tie Fighter franchise, have thought about the assumptions involved in translating air or naval games into space combat. One of the gaps I did notice in the interview with Wueve was David Weber's Honor Harrington series of space opera, which to my knowledge (and to my unscientific mind) is the most interesting and detailed thought experiment in what strategic and tactical naval warfare in space might look like. I'd welcome suggestions on author others whom you think "get it right".

Friday, September 27, 2013

Canadian History - So Not Boring


After my last post here on a wargame which turned out NOT to be the battle of Ridgeway but a post Ridgeway what if (I shouldn't fall asleep in O Groups), I received a charming email from a reader of this blog who told me that he too used to think Canadian history was rather dull.  However, the reader told me that he discovered some information on the Battle of the Plains of Abraham which made him rethink his position.  Apparently the French army was thinking more of the local ladies than the security of the position, which is always a fatal mistake.

To provide more evidence that the Plains of Abraham, like the rest of Canadian history, is not boring, I offer this cartoon from Kate Beaton.   I referred to Ms. Beaton in my last post, and she is to my mind the Official Muse of Canadian History, or at least one of its foremost practitioners.   In fact, I urge you all to go out and buy her book of cartoons, Hark A Vagrant!, from Amazon

Did you like the cartoon?  Good.  Then be a good chap and go buy her book.

Sunday, September 22, 2013

Canadian History Is Not Boring! Comic Operaish Yes, At Times, But Not Boring

There is a school of thought that Canadian history is dull, a debate which is conveniently summarized here by Kate Beaton.  Consider the Battle of Ridgeway as an example of how Canadian history is actually quite exciting.  On the one hand, a bunch of Irish-Americans nationalist  yobbos, many of whom had not received their fill of the horrors of the American Civil War, and who wanted to stick it to John Bull by having a go at Canada (which is rather like getting revenge on your big, frightening neighbour by kicking his little dog tied up in his front yard).  On the other hand, you have the Canadian militia, made up of local farmers and University of Toronto students who got to dress up in Gilbert and Sullivan style uniforms, go fight in a battle, and get a cheesy monument erected in honour of those unfortunate enough to get shot.

You have to admit, that is a much more impressive way to go that choking on your vomit at a weekend frat kegger, but I digress.

Yesterday much of the brain trust and secret society behind SW Ontario's Hot Lead Gaming Convention assembled to celebrate the fiftieth birthday of one of our own, Postman Pete, or WO Garnham as some are unfortunate enough to have to call him.   Among the day's events was a 28mm battle of Ridgeway by Keith, who had brought an impressive assortment of Fenians, looking suspiciously like Perry Bros ACW infantry in greenish uniforms.  Opposing them were the Canadians, stout chaps in gorgeous red uniforms like this fine fellow.

I believe that the Canadian minis are a mix of Empress Victorians and Foundry from their Indian Mutiny range, and that some were painted by James Manto, but I will let others confirm that.  Suffice it to say, they looked good.

Here is the table provided by Postman Pete, with the Canadian side prepared to defend the stream, with their one gun guarding the bridge in the centre.  Our two better units are posted forward, while our less effective militia units are in reserve, but surely those Irish rebel scum won't get as far as the second line of fences!

The Fenian side of the table, showing the Fenian dispositions.  Spirited demonstrations by Rico (Fenian right, Cdn left) and by Patrick (Fenian left, our right) will try to pin the flanks while the main force under James and Brian will aim to pierce the centre.


Having introduced the armies, I should say that the rules we used were Black Powder (my first time playing them) with Keith as game master.


On the Canadian left, defenders shake out into skirmish and move forward to check Rico's push on our left flank.  The redcoats will soon rethink this policy and fall back on their supports.


Rico's gobshites crash into Postman Pete's militia and a fierce punch up along the fenceline begins.  This melee will rage for most of the battle.

On our right, Fenian Patrick watches in satisfaction as his yobbos sully Ontario's fair stream with their dirty brogues and tear into Mikey's militiamen, who had taken the worst of the musketry so far and were beginning to falter.  As the Cdn CinC, I soon had a lot to worry me.

My chief worry was in the centre, where Brian massed an entire battalion, but paused longer than he wished while he tried to get a good orders roll to sort them into a column of companies for the assault over the bridge.  This gave my gunners time to do some damage and disorder, but I had trouble getting my infantry supports to shift over behind them.  I was hoping I could withdraw the gun and plug the bridge with infantry.

Alas, it was not to be.  The Fenians charged, the gunners panicked and fired their double shotted grape high, and were cut down.  I did manage to get several companies of redcoats to plug the gap, but their die rolls weren't much better.  There was much Fenian mocking of the cool bearskins my lads were wearing, but as a gentleman soldier scholar knows, chicks love bearskins.


After a few pokes with  bayonets, the bearskins remember that they have a big varsity game tomorrow, and skedaddle.  The mass of the Fenians break through the centre, shrugging off Canadian counter attacks, while James pushes some of his boys over the stream against poor Mikey's last survivors from his fight downstream with Patrick.


On our right, Patrick's Fenians have overrun Mikey's lads and pitched into our second and last line of defence.  Barry's militiamen try to hold at the apple orchard but quickly decide that Ontario has more than enough fruit to share, and they fade away.  The pressure on Barry's unit prevents him from shifting enough forces to check James and Brian in the centre.

The final view of Fenian victory.  

The Canadians are rolled back everywhere and have done a fraction of the damage that was inflicted on them.   There will be much mourning among the belles of Toronto, and a lot of lads with excellent excuses for late term papers.  The cry among the Fenians was "On to Hamilton!", but in real life, after winning at Ridgeway but discovering that the Canadians did not welcome their visit, the Fenians decided enough was enough and went home before the British Army showed up. 

All told, a very pleasant game with some terrific looking figures and with a very unusual "Redcoats in the American Civil War" feel to it.  The rest of the day was spent in sillier but equally amusing pursuits.  So happy birthday Postman Pete and thanks for your hospitality.  

Blog Archive

Followers