Showing posts with label GMT GBACW. Show all posts

Tuesday, August 16, 2016

We're Back ..With A Small Trove of ACW Boardgames

Hello and welcome back to this sadly neglected blog, which I am tempted to rename Dragon Dormant.  Since I returned from La Belle Province de Poutine, all has been well, but busy.  Madame Padre celebrated her third post-chemotherapy bloodtest with very good results, and has decided to celebrate with a new bicycle and a more active lifestyle, so bravo to her.   

There has been a little painting and a little gaming, so some updates coming.  One of the most exciting things to happen lately was this small pile of out of print American Civil War (with one Mexican War title thrown in) cardboard counter type boardgames that came my way.   A friend at the local club was helping to sell off the collection of a gamer friend who had passed away.  I am sorry I didn’t know this fellow, as I think we would have gotten along well.

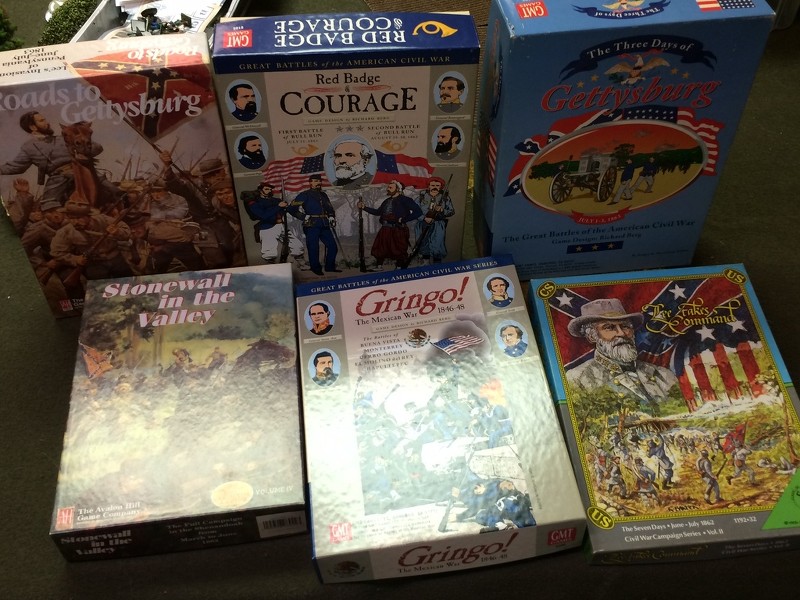
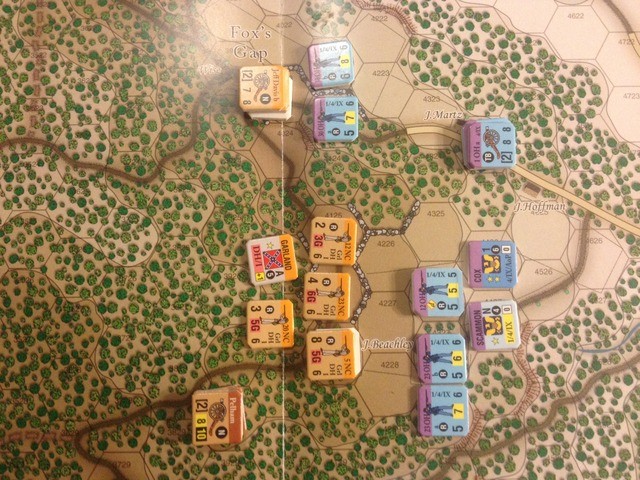
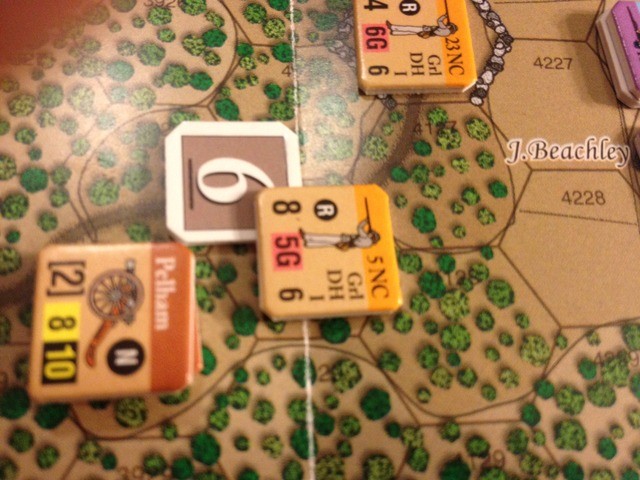
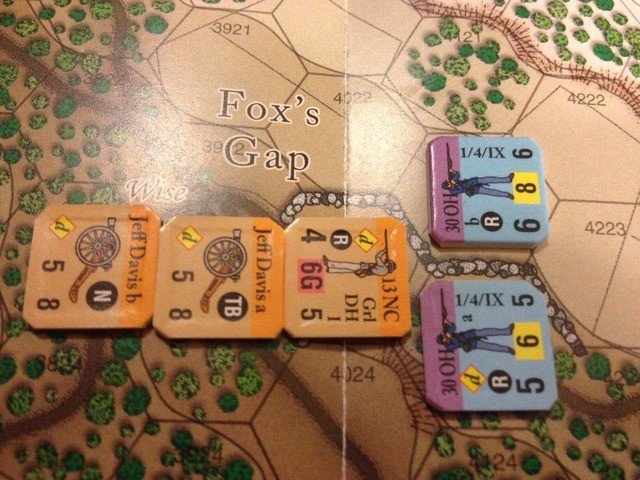
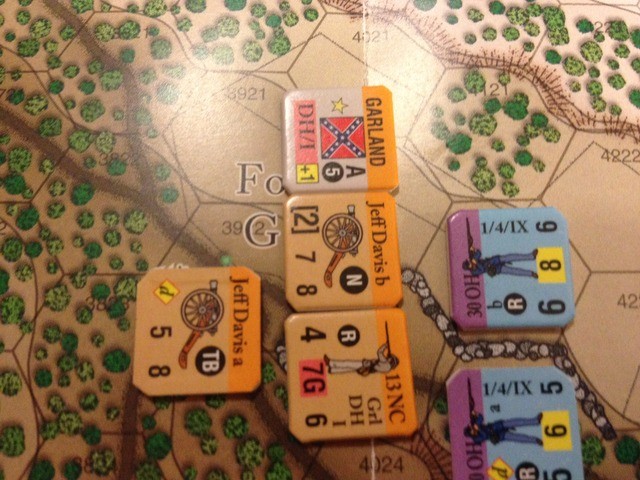
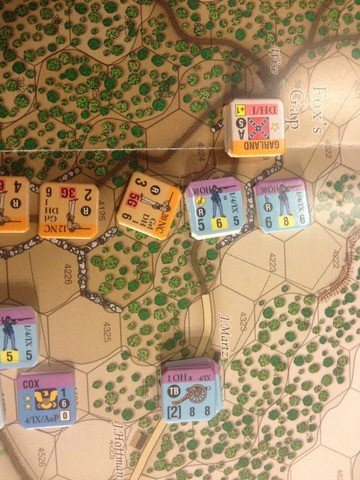
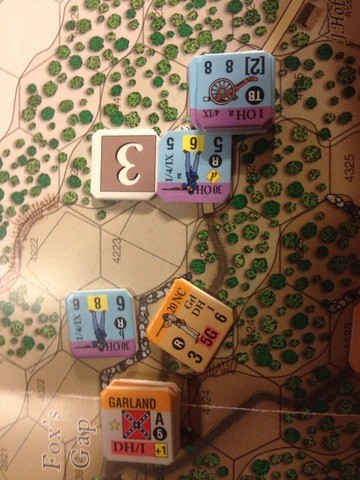
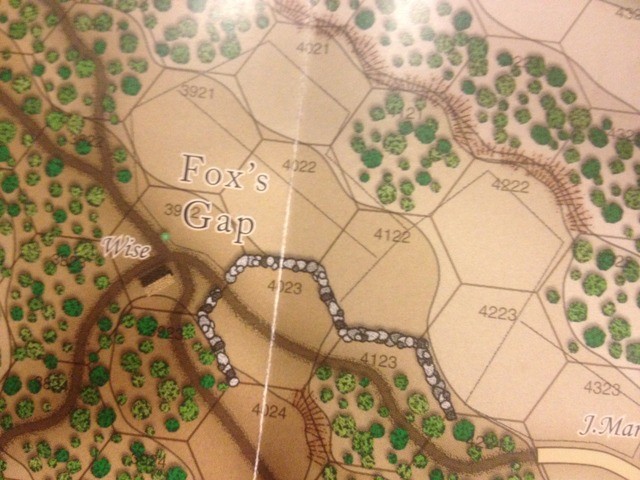
Three of these titles are from the GMT Games series, Richard Berg’s Great Battles of the American Civil War.  Red Badge of Courage covers First and Second Bull Run, Three Days of Gettysburg was GMT”s answer to Terrible Swift Sword, and Gringo used the GBACW system to treat some Mexican War battles.   I am very fond of the GBACW system, it lives at that Grand Tactical sweet spot for me.   The two titles on the left came from late in Avalon Hill’s existence, from their Great Campaigns of the ACW series, designed by Joe Balkoski, and offer a more operational/strategic scale of treatment.    Finally, at the right is a Clash of Arms game on the Seven Days - I haven’t yet opened the box so know nothing about it.

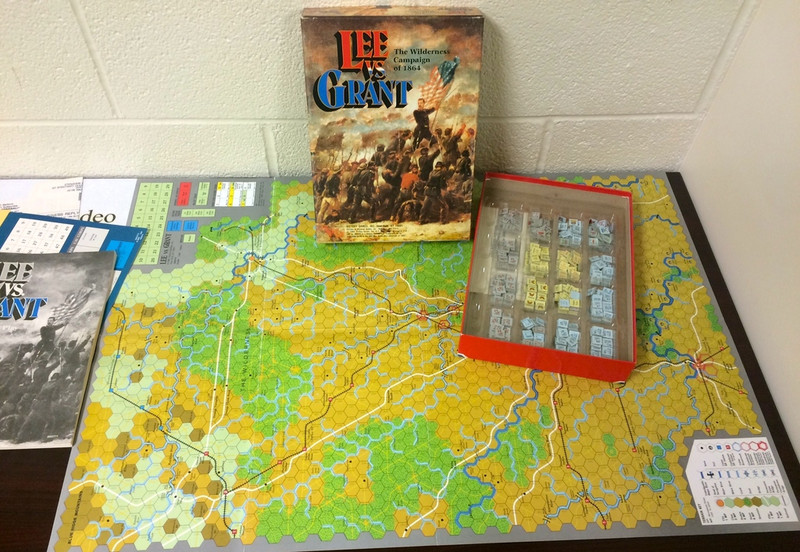
Below is the seventh game, Lee Vs Grant, another Balkoski GCAWC design, on one of my favourite campaigns, the 1864 Wilderness campaign.   It is currently set up in a quiet corner of the chaplain school library at work, and I am slowly figuring it out on my lunch breaks.


I know that these games will cut into my painting time, but it can’t be helped, hex and counter games have a large claim on my heart.  If you have played any of these titles, please let me know what you thought of them - your comments may influence which one I take on first.

Finally, because it’s too amazing to pass up without comment, here’s a What If article imagining WW2 German and Japanese battleships at war, because …. battleships. 

Blessings to your die rolls!

MP+

Wednesday, November 26, 2014

Tuesday Boardgame On Wednesday: Fox's Gap From GMT's South Mountain/Twin Peaks

So my irregular Tuesday Boardgame feature appears on Wednesday … reason why, it’s complicated and tedious.   Last time I ran a Tuesday Boardgame it was GMT’s COIN game on Afghanistan, A Distant Plain.  This time it’s another GMT game, South Mountain from the double game Twin Peaks that I mentioned about a month ago.

 I chose the simplest scenario from the South Mountain Battle Book, Fox’s Gap, in which a brigade of Cox’s Kanawha Division, Ohio troops with a good reputation, go up against Garland’s North Carolinans, who are all rated as Green but have the benefit of a good defensive position.   It’s a two-turn game, and the side to hold hex 3922, the hex behind the Jeff Davis artillery unit at the top centre of the picture, at the end of two turns wins.  It’s a simple scenario to get my head around the key rules of the Great Battles of the ACW series, which basically go back to 1970s and Terrible Swift Sword, except that the command and control rules, which run from Army Commander through Corps to Division and Brigade, don’t apply in this scenario.

First side to go is by dice roll and the Union wins so the order is prep fire against the Confederate centre while two battalions of the 30th Ohio advance on the right, supported by the artillery, three sections of the 1st Ohio.

 The rest of the Union infantry uses Prep Fire, which gives a stationary shooter a +1 bonus.  Two units fire on and hit the 5th NC, causing a step loss and a disruption.  5NC gets hit a second time and fails its morale test, losing another step and falling back two hexes. 

 30th OH advances on the 13th NC and its supporting artillery.  The Parrotts of the 1st OH don’t do any damage on the way in.  The Jeff Davis artillery get to shoot on infantry moving within three hexes of them, but don’t do any damage.  30 OHb doesn’t have the movement allowance to charge, so shoots and causes no damage.  30 OHa has the movement to charge and does so.  It takes fire from 13NC on the way in but no damage and it continues with the charge.   I misread the rules and counted the Jeff Davis artillery (4 SPs) as part of the Shock Odds.  In fact, artillery don’t count in Shock Combat.  The Union didn’t roll well, and the result is that everyone is disordered.


That ends the Union turn.  The Confederates don’t have a lot of options, but Garland runs over to 13th NC to try to help them rally and defend against a second melee.  His modifier (leaders get a -1 for each star on their counter) helps Section B of the Jeff David artillery and the 13th NC to rally, which will help them trying to stand another assault.


Garland’s only reserve is the 20thNC, which uses all its MA to charge the 30 OHa in the flank.  Ouch.  That’s a whole lot of hurt on the Buckeyes..


 The 30OHa are thrown back with two step losses.

And that pretty much ends the game.  The Union don’t have the ability to dislodge the rebs at this point.  Perhaps if the Union had thrown more weight at the Rebel left to begin with?  At any rate, the mechanics are very smooth and easy to grasp.  It will be fun to try a larger scenario with the command and control rules.

About my only quibble with the game so far is that the contour lines are a not always easy to decipher on the map.  For example, Hex 4023 , which the rebs were defending above, is clearly on the same contour level as 3922.  But, is 4023  higher than 4123? I’m not entirely sure but I think it’s higher, because of that line wandering through 4023 just to the left of the right hex edge.  It is certainly higher than 4022 and 4122, I think, as the contour line seems to run under the stone fence.  At least, I think so.  Seeing as it’s a game fought over hills and contours, it rather makes a difference.  I’m not sure if all the light perpendicular lines and right angles are trying to represent - fields, maybe?  They don’t seem that helpful.

 Anyway, a minor quibble.  This would make an excellent miniature scenario, even for my 28mm figures.   I should give that some thought.


Blog Archive

Followers