Monday, April 20, 2009

A Wargames Report - Canucks and SS mix it up in Normandy

My son John, whose painting work has been featured here earlier this month, wanted to see all of Dad's 15mm WW2 miniatures collection on the table. Dad thought a lot of it wasn't ready for prime time, but he agreed, as it would an excuse to try out the Rapid Fire miniatures rules he bought a year ago. The battle was loosely based on the initial fight of the Sherbrooke Fusiliers and the North Nova Scotia Highlanders for the Norman village of Authie on 7-8 June, 1944.


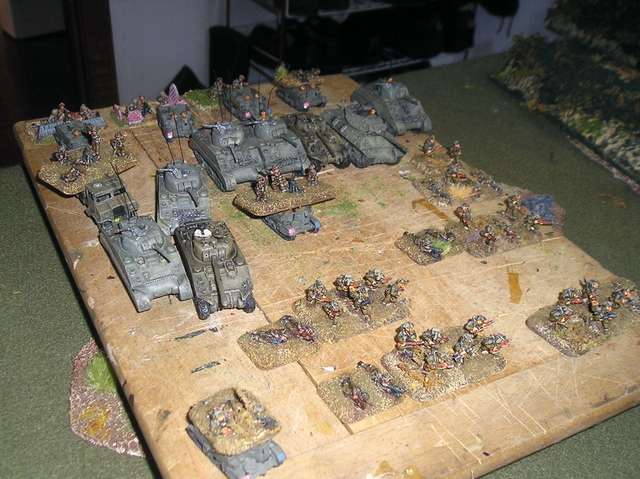
Here's the Canadian force. The miniatures here are mostly Battlefront, though the two tanks with a slightly darker paint job are Old Glory Sherman Firefly tanks, a variant of the Sherman carrying a 17pdr cannon. In Rapid Fire terms, the Canadians had two squadrons of Shermans, an independent troop of Achilles M10 tank destroyer, four companies of infantry with their HQ company and support company, and a carrier platoon. In support was an offboard battery of 25pdr guns with an onboard Sherman observation tank.


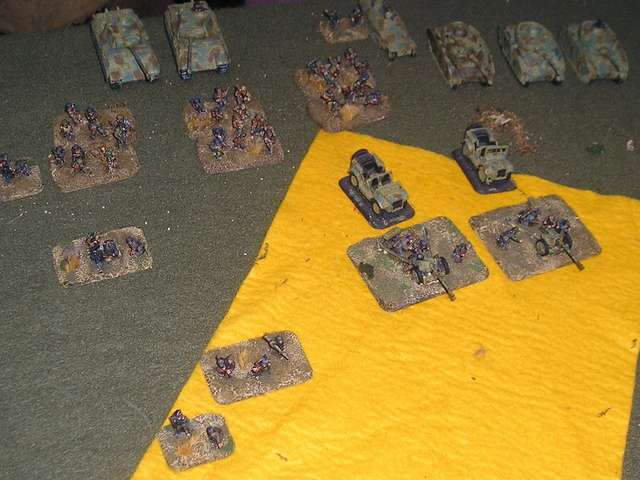
And the German force representing elements of 12th SS Division, consisting of a platoon or zug of Panzer Mk IV tanks, two Panther G tanks, two PAK 75 AT guns with transport, a platoon of panzer grenadiers and a headquarters group (two HMGs, a command team, an OP team, and two antitank or "panzerknacker" teams. The Germans had the support of an offboard battery of 105mm guns. All miniatures are Battlefront.


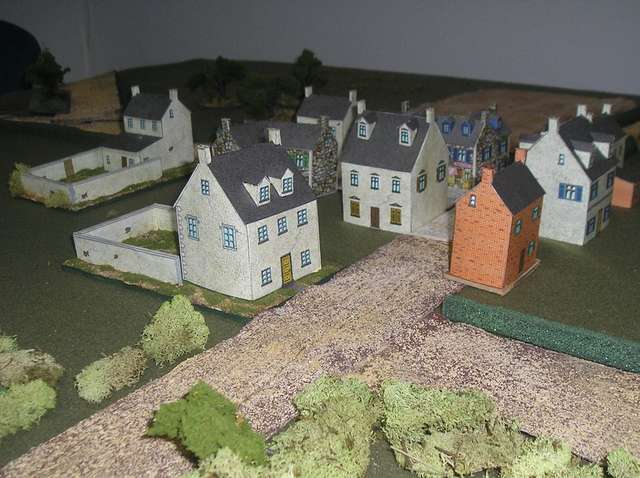
The battlefield, showing the central feature, my spiffy village courtesy of Paper Terrain:


And the larger table - since I forgot to take one before the battle started, this table shows the battle at midway point. We rolled randomly to see what side the Canadians entered from, and they got the two parallel roads screened by hedgerows and the open field in the centre - the yellow felt represented a crop field and offered moderate cover.
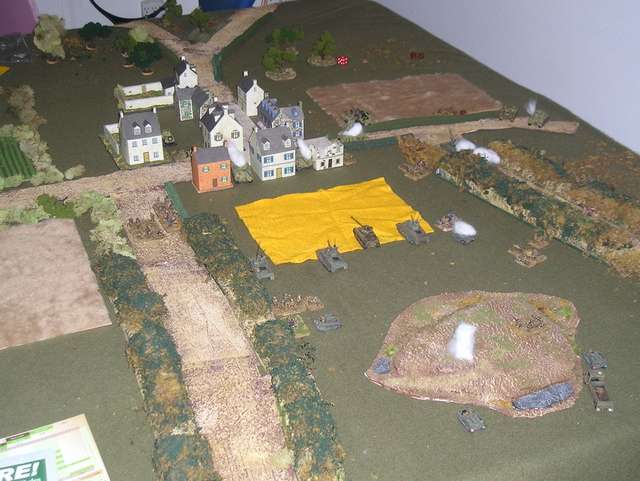


Achilles TD troop leads off on the left, while A Sdn of the Fusiliers take up positions on the ridge in the centre overlooking Authie.


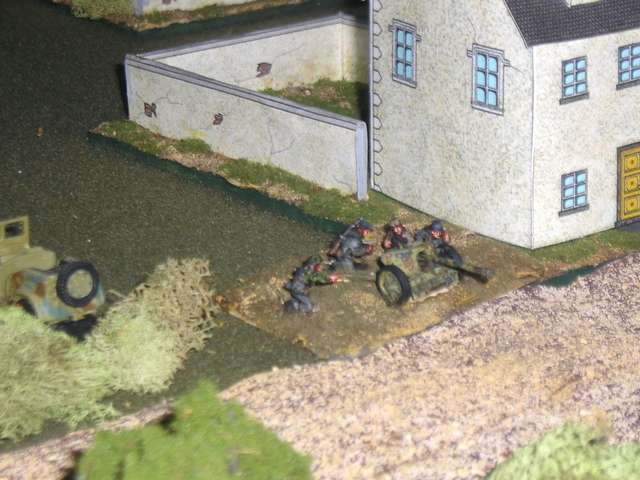
The tank destroyers immediately take fire from this German AT gun, which may son posted to cover the road. Good call on his part. The result, heavy damage, forces a morale check which, because the TDs are acting as an independent detachment, is hard to beat. The TD leaves the table for the rest of the game.


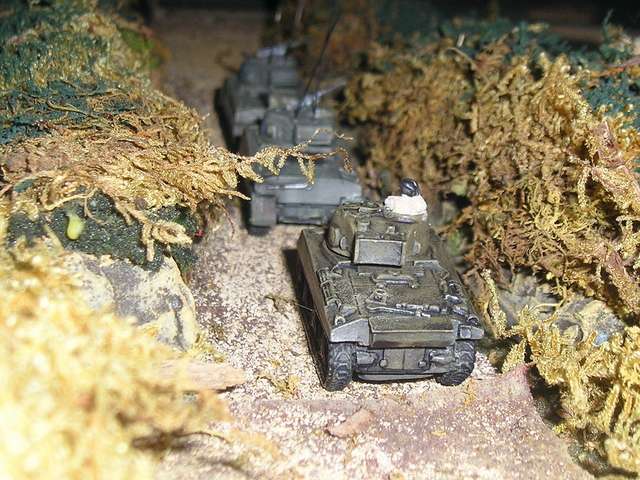
B Squadron of the Sherbrook Fusiliers advance confidently up the road on the Canadian right.


D Company of the North Novas advances behind A Sdn of the Fusiliers:


Ambush! My son John unleashes his zug of Panzer IVs - the thick hedgerows prevented my spotting these guys until it was too late. Should have known he'd be all sneaky and tricksy. The German tankers knocked out the first two Shermans, and the Firefly failed its morale and had to remain in place for several turns.
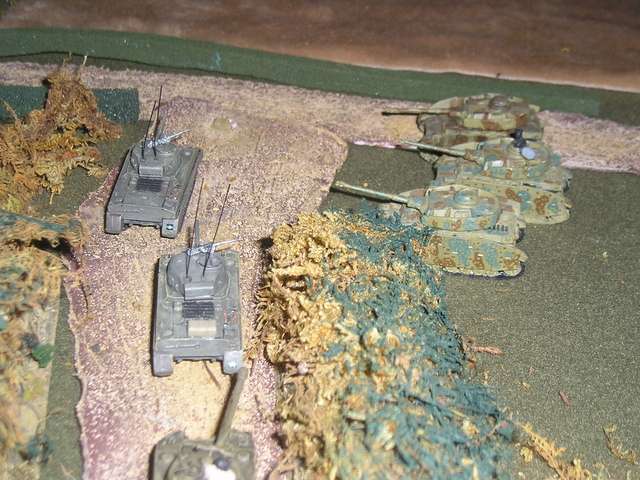


In the centre, A Squadron of the Fusiliers bears down on Authie. Carriers bring up a Vickers heavy machine gun team and a PIAT (Projector Infantry Anti-Tank) tank-hunting group on the right. A German panzerknacker anti-tank team is spotted in one of the houses and put on the board, but at present they are out of range of the Canadian armour.


Flushed with success, John shifts his Panzer IVs over to engage A Squadron, but this time the Canadian tankers are ready. One Mark IV is destroyed and another receives light damage. They pull back.


D Coy of the North Novas finds a gap in the hedgerows and tries to push forward with on the extreme right, hoping to outflank the two reamining Mark IVs.
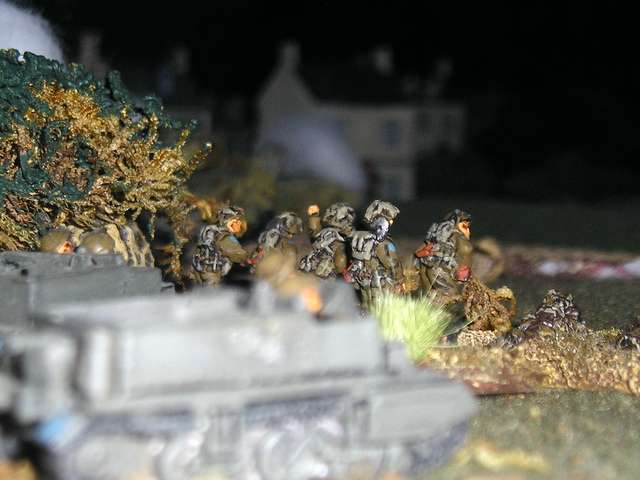


Unfortunately they are caught by coaxial machine gun fire when the Mark IVs shift back to the Canadian right, catching D Coy in the open. Reduced to nearly half strength, the company pulls back, screened by the company PIAT team which remains to duel the tanks. Heroically, they inflict light damage on the second surviving Mk IV before being wiped out.


The surviving Firefly from B Squadron also moved into the open to try and defend the retreating North Novas, but was also knocked out.


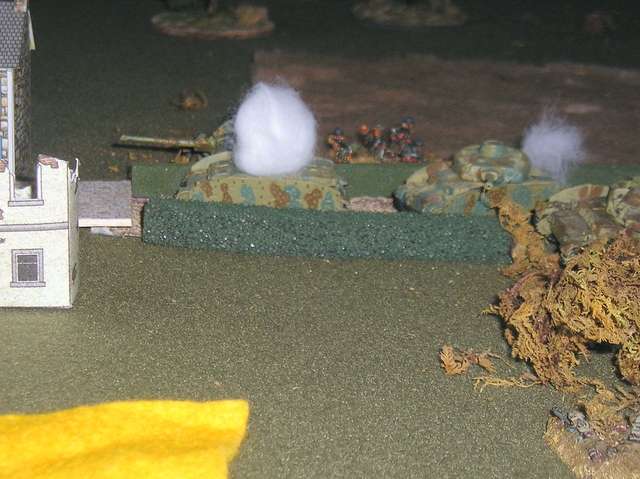
Note to self - make some brewed up markers for tanks that look more convincing than white puffballs.

However the battle began to turn against John. He decided it was time to commit his mobile reserve and moved his two Panther Gs to the edge of town, confident that they would blow the Sherbrookes off the field.


Undaunted, A Sqdn concentrated their fire on the newcomers, and incredibly, destroyed the two Panthers immediately! Emboldened by this development, C Company of the North Novas advanced on A Sqdn's immediate right with the intent of rushing into Authie.
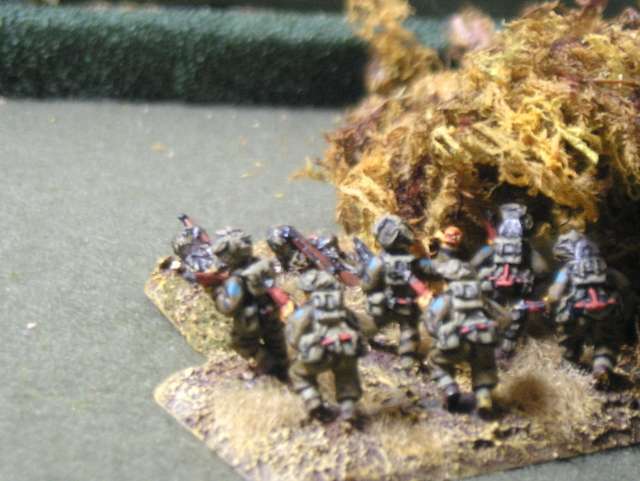


At this point John made the mistake of moving his infantry out of the buildings in the village, where they were impossible to spot unless my troops were right on top of them. This company of SS Panzergrenadiers line a hedge to block C Coy's advance, but they were now visible to several command elements. Minutes after this picture was taken, they were half-destroyed by fire called in from the offboard artillery.
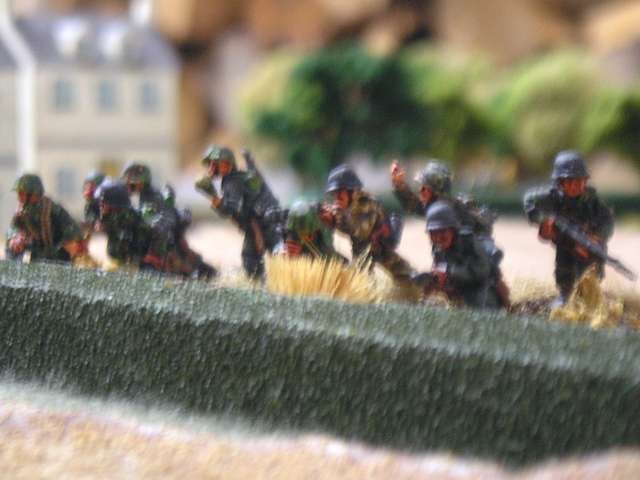


With the Grenadiers blown out of the way, C Company of the North Novas (those crazy brawling Cape Breton boyos!) rushed across the lane and put the bayonet to the crew of a PAK 75 that John had deployed behind a hedge.


On the left, John moved two more companies of Grenadiers out of the sheltering buildings in a counterattack down the road. However, this move exposed them to machine gun fire from several of my Universal (Bren Gun) carriers and from more observed artillery fire.


The survivors attempted to halt the advance of the Fusiliers in the centre with a few Panzerfaust shots but were driven off by the supporting infantry of A Coy of the North Novas, seen here advancing on Authie from the Canadian left. You can also see one of the Paper Terrain buildings, showng the ruined shell after the outer, intact version of the building is removd - a nice feature. By this point several buildings had been brought down by tank HE and offboard artillery fire.
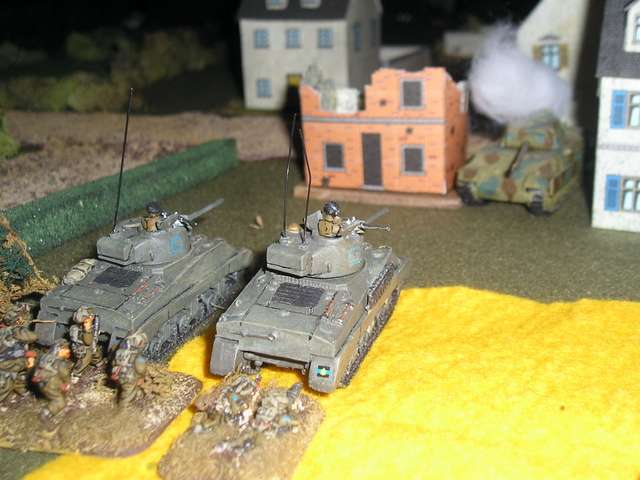


A Sqdn's Firefly deploys to engage the two remaining Panzer Mk IVs, which are still being pesky.
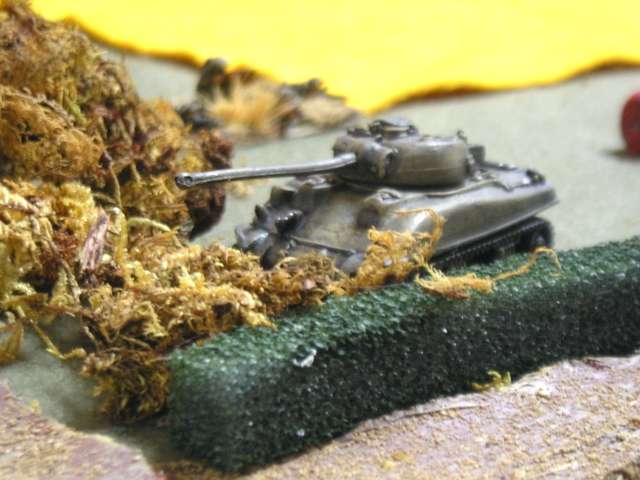


The Firefly is jumped by some surviving and quite fanatical SS Panzergrenadiers, and sustains light damage. However, it is rescued by C Coy of the North Novas, the stars of the game, who wiped out the few remaining SS troops.
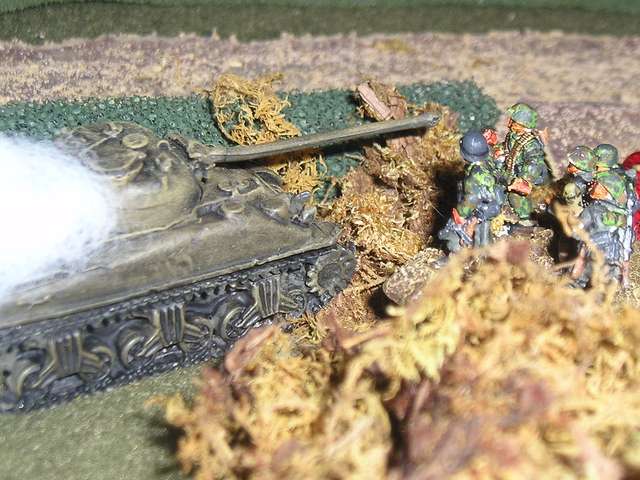


Another Sherman from A Sqdn moves into Authie and kills one of the two remaining Mk IVs with a lucky shot. Beside it a Vickers team from the Novas has taken up position in the ruined cafe and is supporting the advance of A and B Coys into the town. The other Mk IV, being heavily damaged alredy, failed its morale check and withdrew, along with the remaining German infantry. One PAK AT gun survived and withdrew to screen the withdrawal. At this point John and I were happy to call it quits.
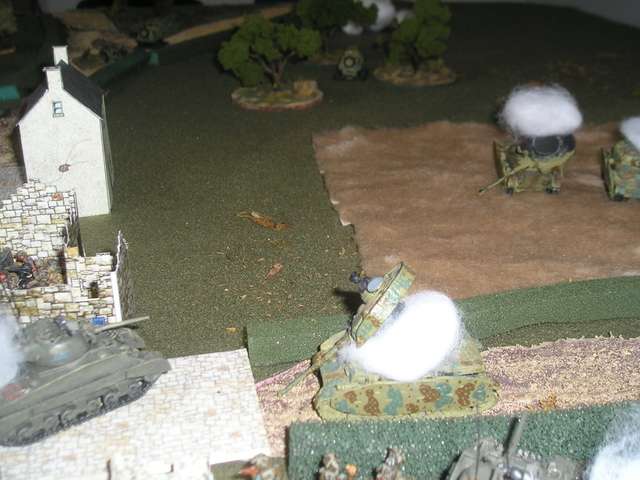


In our AAR, John felt that he didn't use his anti-tank guns as effectively as he could have, and also learned that he needs to shelter his infantry better. Had he done these things, he could easily have stopped me cold, given the too predictable axes of my advance.

We decided that we liked the Rapid Fire rules, although after playing a lot of the Too Fat Lardies rules, which emphasize leadership, fog of war and the friction of the battlefield, RF with its IGO/UGO structure seemed a little "gamey". However, there is much to like with these rules. Dad is currently working on enough figures for another Normandy scenario, the Battle of Rots, and hopes to report on that soon.

Wednesday, April 8, 2009

Some of My Son's Miniature Painting Efforts

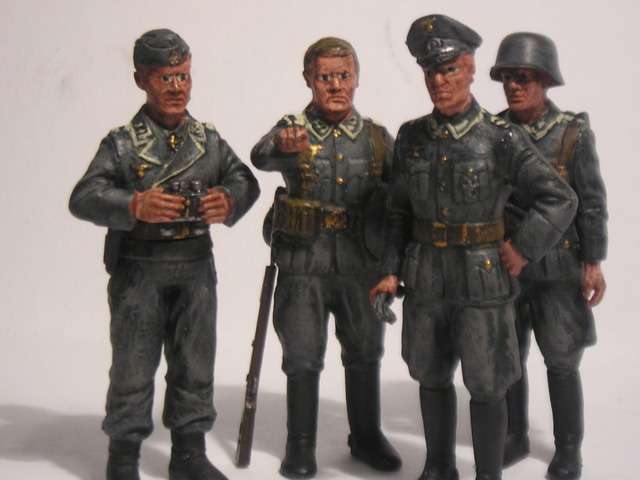
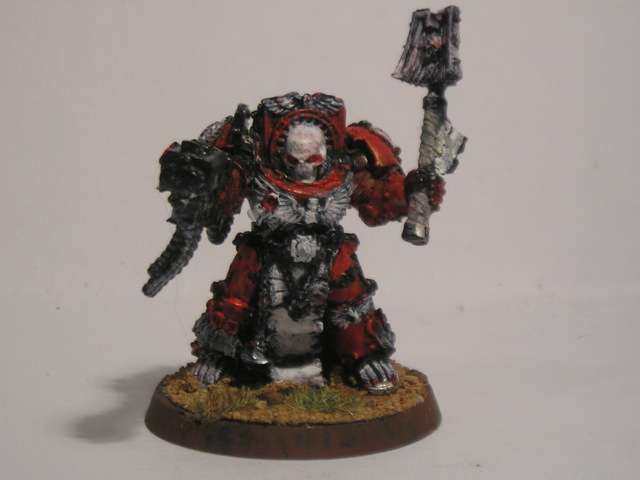
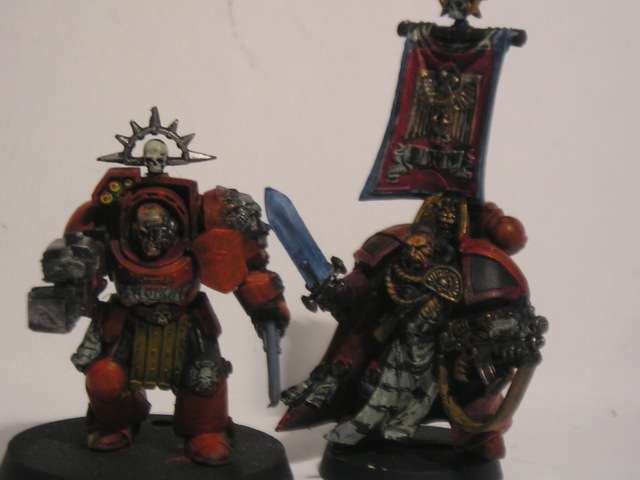
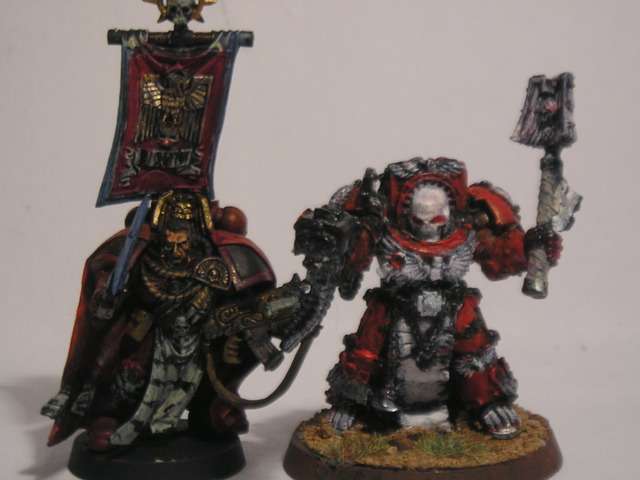
My fourteen year old son John continues to make Dad proud of his painting efforts. Recently he assembed some recent work for pictures for a school portfolio project illustrating some of his interests. I took the pictures and obtained his permission to brag on him a bit.

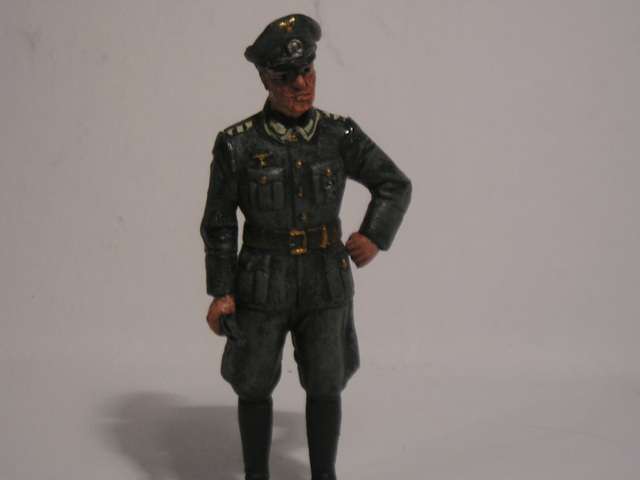
First up are some 1/35 scale German World War Two soldiers, I think by Tamiya.


We call the officer Leutnant Gruber, after our favourite character on the British comedy show, Allo! Allo!.


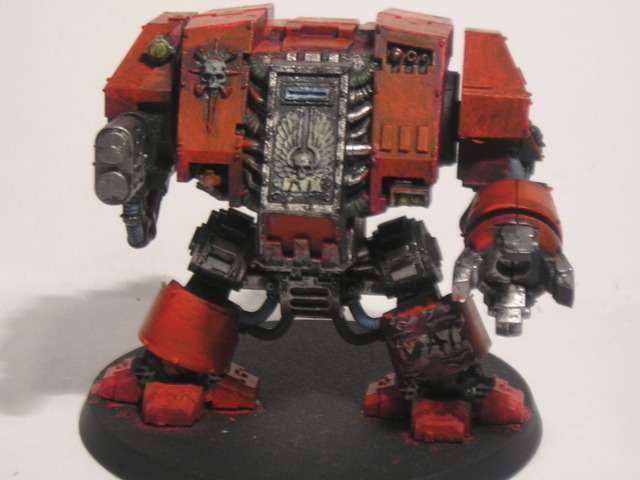
Here are some of John's Space Marines. I don't know the chapter name - Blood Angels, maybe? I just know I'm paiting up some Space Orks that I suspect will get badly slaughtered by these guys.


Bravo Zulu, John!

Saturday, March 28, 2009

A New Concept in Wargaming - Edible Minis

My son and I did some preliminary research and here`s an executive summary of our groundbreaking idea on edibile minis gaming.

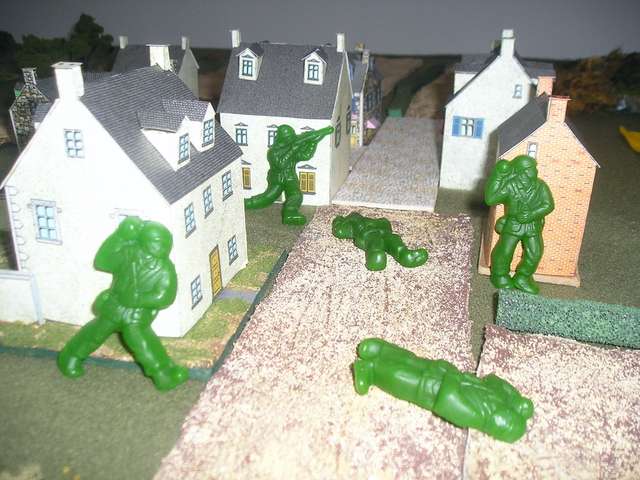
1) Buy some gummy green army men at the local store (here in Canada we found them in the candy section of a store called Bulk Barn).


2) Fight a battle using whatever rules set you like - we used our house rules, Two Minute Wargames, because we were hungry.


3) Eat the gummy army men.


Advantages:

1) no painting or basing required
2) easy storage (a plastic bag before, your tummy afterwards
3) green gummy army men are appropriate for most periods from 1940 on

Disadvantages:

1) Limited variety and flavours of green gummy army men available
2) Opponent is tempted to eat your troops while your not looking
3) Scale and accuracy of the minis is a bit dodgy

Enjoy this brilliant idea, thanks to my son John and I!

MP

Thursday, March 19, 2009

From My Workbench: 28mm Confederate Infantry

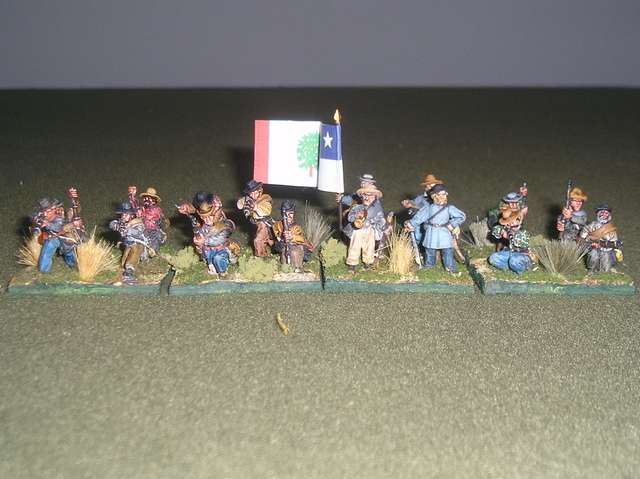
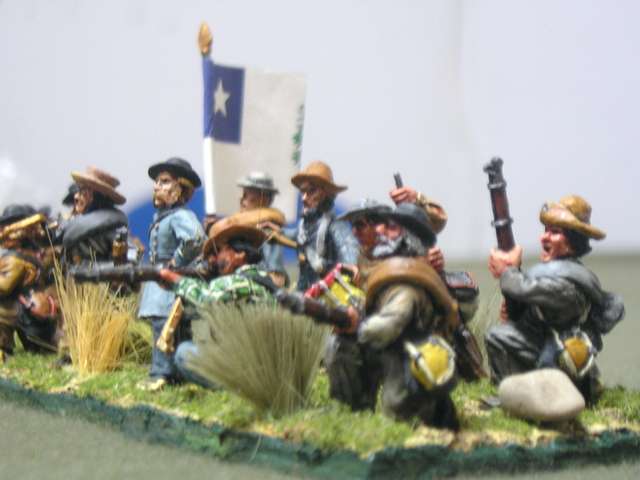
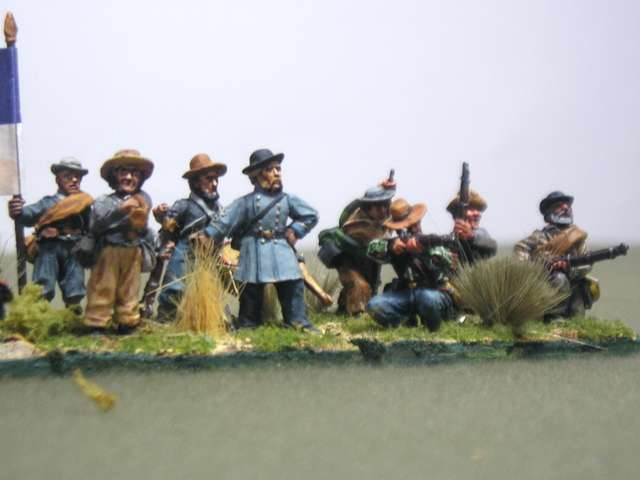
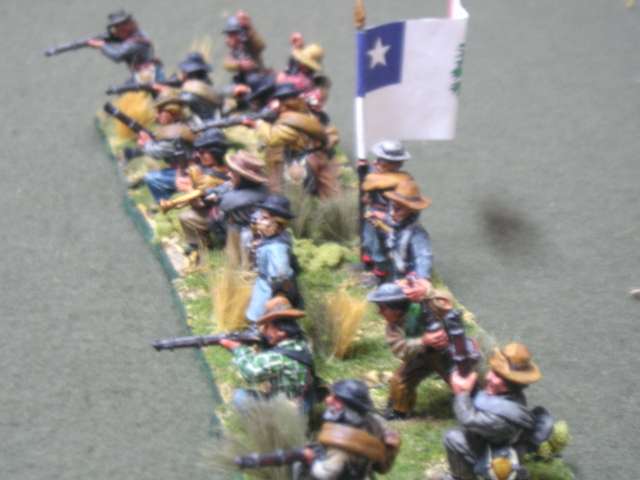
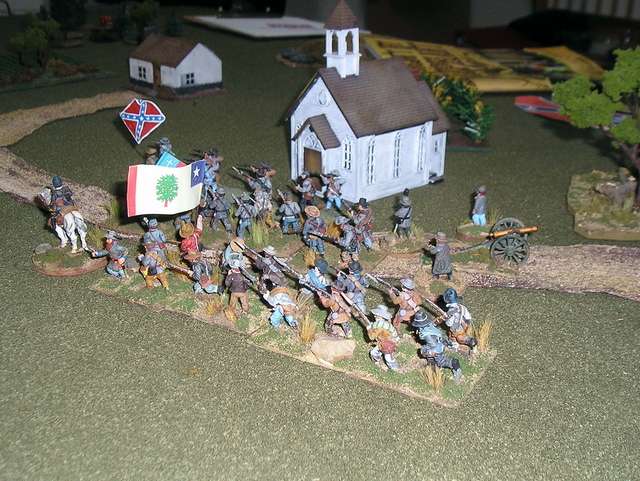
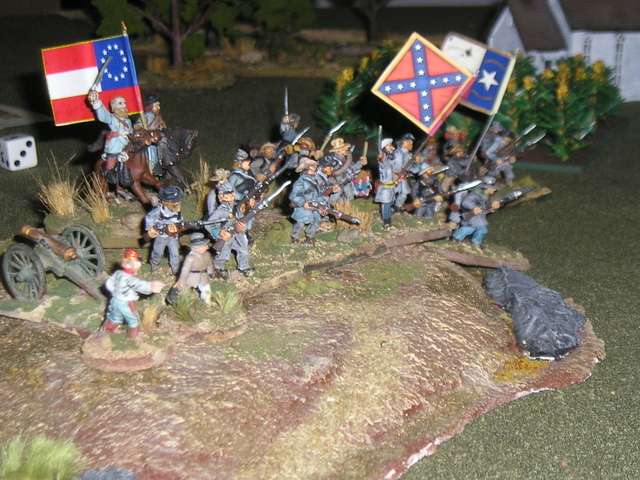
I'm happy to have finally finished these chaps, from UK manufacturer Redoubt Enterprises' brilliant 28mm American Civil War range. Acually the command stand are from Wargames Foundry's now defunct ACW range - they've been painted for some years and were just waiting for troops to command.


The banner is a slightly oversized Mississippi state flag that I picked up in, well, Mississippi, actually, from an obscure line called Flags for the Lads, bought in a hobby shop in Hattiesburg, MS, during a visit to my wife's family.


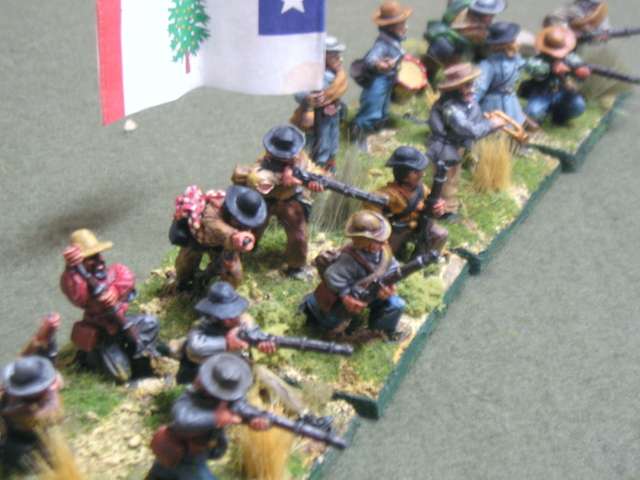
One of the challenges of painting confederate troops, I find, is that they require an individual look to be authentic, especially in the later war period when regular uniforms were either worn out and replaced with civilian clothing, or distributed haphazardly. I liked the checked shirt effect I managed on this fellow:


The 21st Mississippi's Colonel, standing cooly watching his boys load and shoot while the minie balls fly around his ears. He's brave, not smart.


This gets my rebel infantry up to a respectable six regiments of four stands each - I have at least another regiment's worth close to the front of the queue (a second regiment of the Union Irish Brigade is ahead of them, however) - a lovely set of reb skirmishers from Renegade.

Tuesday, February 24, 2009

Battle Report - American Civil War Game

One of my Christmas presents to myself was the set of American Civil War miniatures rules, They Couldn't Hit an Elephant, published by Too Fat Lardies. Like other TFL systems, these rules emphasize command and control and the friction of battle through command points for leaders and cards that activate units and leaders in a somewhat random manner.

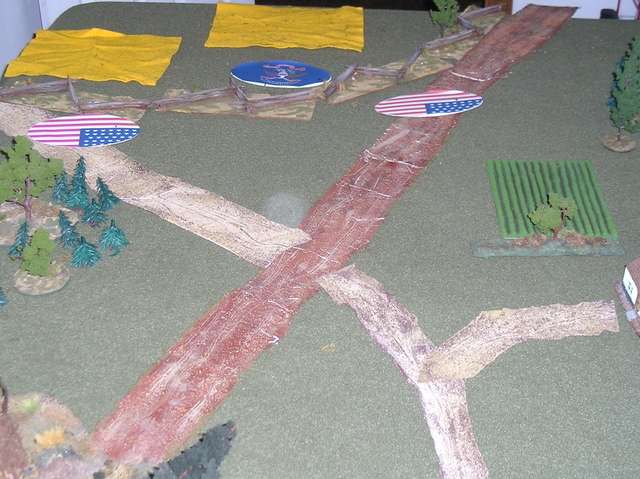
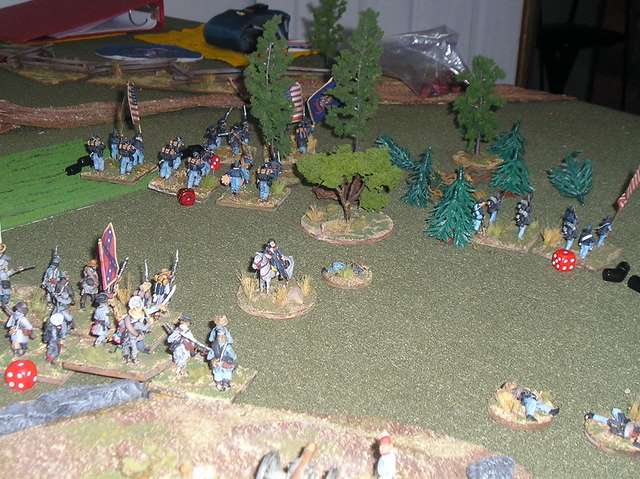
For this game, my son John and I put my entire ACW collection of 25 to 28mm figures on the table. We used the TCHAE random leader generator for 1865, and managed to get a bunch of second rate leaders (John says his leaders were worse than mine). We had two brigades (five regiments total) and two 3 gun batteries each. Probably we had too many leaders (two brigadiers and one divisional commander) and were so spared some bad command and control headaches. We each took two real blinds and one dummy, though John chose to use his dummy blind to group his two batteries of rifled cannon together.

In our little battle, John was represented on the table by General Jebediah Smith, an Inexperienced commander, and his two subordinates, Brigadier Whitewall and another guy so forgettable that his name is already lost to history. My CinC was General Thaddeus P. Cornpone, a Cautious Inexperienced commander, General Lone Star, an Inexperienced commander, and General Stanley McWhiskers, a Professional commander.

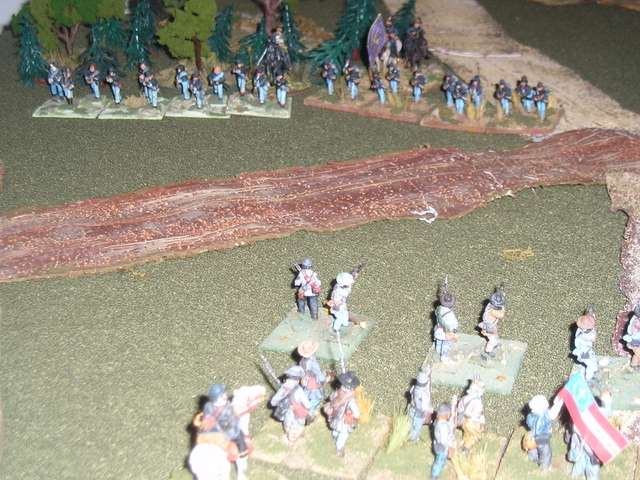
John's Union forces enter the table under blinds. My confederate commanders would do a lousy job of spotting them.


John spots the Mississipi brigade of General Stanley McWhiskers (named in honour of our newest cat) advancing in column of march. Once a force on a blind is spotted, it must be deployed on the table.


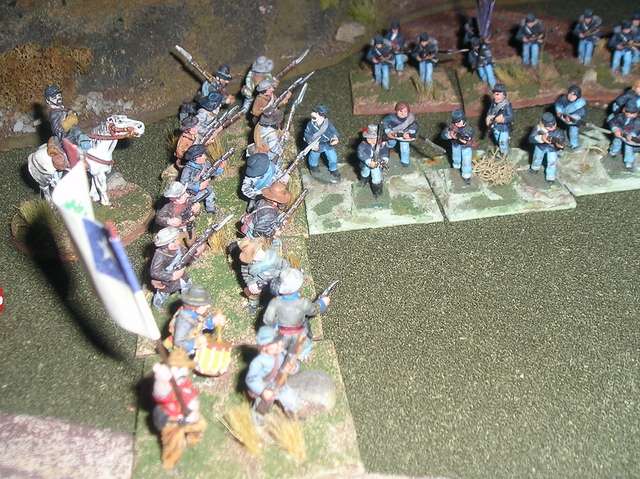
The cards favour one of my brigades, the Texans under General "Lone" Star, who claims what will soon become a strategic hill.


John spots the Texan brigade and they are deployed on their hill. A Union blind is coming up fast against them - it is a dummy? I haven't been able to spot it yet.


The Texans prepare to hold. The figures are mostly Old Glory - the artillery commander and the chap on the horse in the background are Dixon figures.


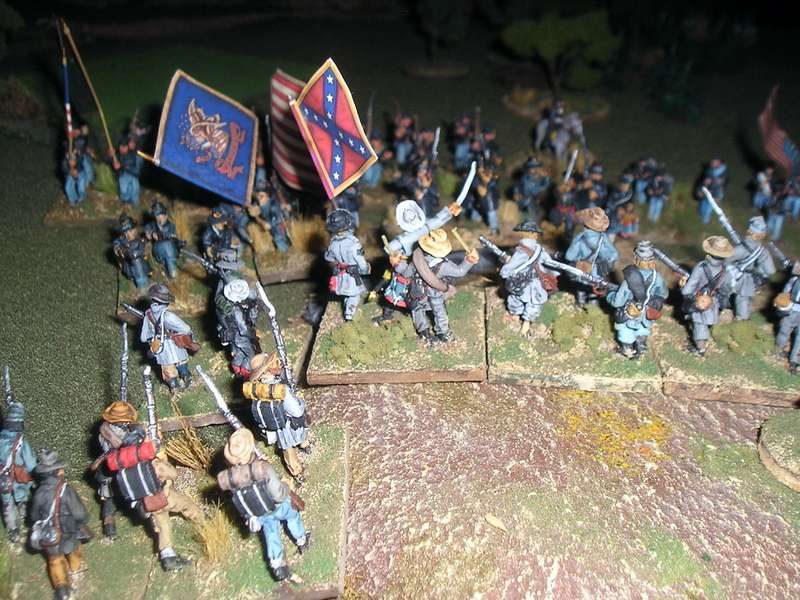
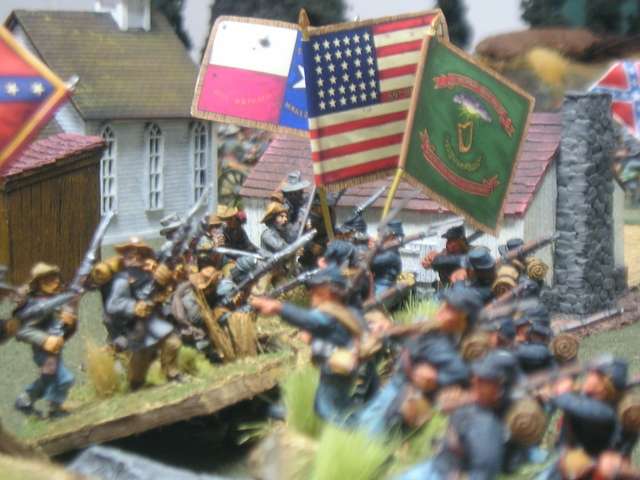
John reveals his brigade from its blind and throws it into battle. The lead regiment are painted as the Union Iron Brigade and are a mix of Wargames Foundry and Old glory figures. The lovely flags are from GMB designs. John lead with the men of the Iron Brigade and supported them with the Irish of the 69th New York. Like many Civil War commanders new to the battlefield, John found it hard to coordinate his attacks. At this point John realized that not allocating his batteries to direct support of his infantry brigades was probably not a good idea. The hill advantage to the defending Texans certainly worked against John's bluebellies.


Union troops storming up the hill, braving showers of close range cannister from the Confederate battery (second rate smoothbores but still deadly at close range).


"Hold 'em, boys!" General Star anchors his two regiments of veteran Texans. He would lead a charmed life in this game.


In the centre of the table, John's massed Union battery comes of its blind and engages the skirmishers screening the advance of McWhisker's Mississipi brigade. the artillerists are Wargames Foundry - the Union infantry in the background are ancient Minifigs figures I started painting back during the first Gulf War. One of the rules we forgot was the ability of commanders to use their command pips to direct the fire of artillery more effectively. We both had commanders to spare and they might have made the artillery fire more effective.


John's other brigade, two regiments of average Union infantry, comes off its blind facing McWhisker's brigade. With his next card, John would adroitly move this brigade to completely flank McWhiskers.


On the hill, the Iron Brigade has been thrown back with heavy losses, interpenetrating and disordering the 69th NY which was supporting its attack. Lone Star seizes the moment to throw the supporting 4th Texas down the hill and into the Irish ranks. Isn't that little outhouse in the background the cutest thing? Another thing we forgot was the rule whereby victorious units have to test to see if they will pursue routing units. There were several charges and routs in the game where pursuits might have made a difference either way.


Meanwhile, disaster on my left flank. The Union brigade is lucky with its cards, and hits the leading two of McWhiskers' three regiments in their flank, routing them towards the Confederate centre. Those Yankees may be old Minifigs, but they're deadly in a flank attack.


John's luck runs out. The next card favours McWhiskers, who countercharges with his one intact regiment of Mississipians. They stop the Union brigade and throw it back towards its artillery.


On the right flank, John's Yankees are busy skeddadling. His general tries to rally them with cries of "Think of your mothers, boys, what would they say?" but to no avail. Lone Star drives the routing bluebellies off the board with his Texans. In these rules, once a unit falls below half strength, it's pretty much toast.


In the center, Genl. Cornpone was able to rally McWhiskers' routing regiments, while John had rallied his boys, and so a standoff developed on the left flank. However, the battered but victorious Texans were now threatening the Union batteries in the centre, forcing them to limber up and, says John, "strategically redeploy" rather than retreating. However, sadly for the Union, once limbered they were attractive targets for the Confederate gunners, and within minutes half the Union guns were knocked out. At this point, we called it a day. Jebediah Smith would withdraw and write a report to Abe Lincoln citing "unfortunate circumstances" as the reason for his delay in subduing the rebel forces and asking for immediate reinforcements. General Cornpone would send a report to Richmond simply saying "We whupped 'em good. Good fight. Too mussed up to chase 'em though".

Here the happy generals, clad in Dad's civil war reeneacting gear, pose for the newspapers.


Concluding thoughts - we both liked these rules. They were simple enough to be playable and they gave us a good game. We both felt some of the frustrations of the civil war battlefield. Even as I write this, new figures are being painted for the rematch. Will Jebediah Smith be able to turn the tables on Cornpone and drive him back to Richmond?

Blog Archive

Followers