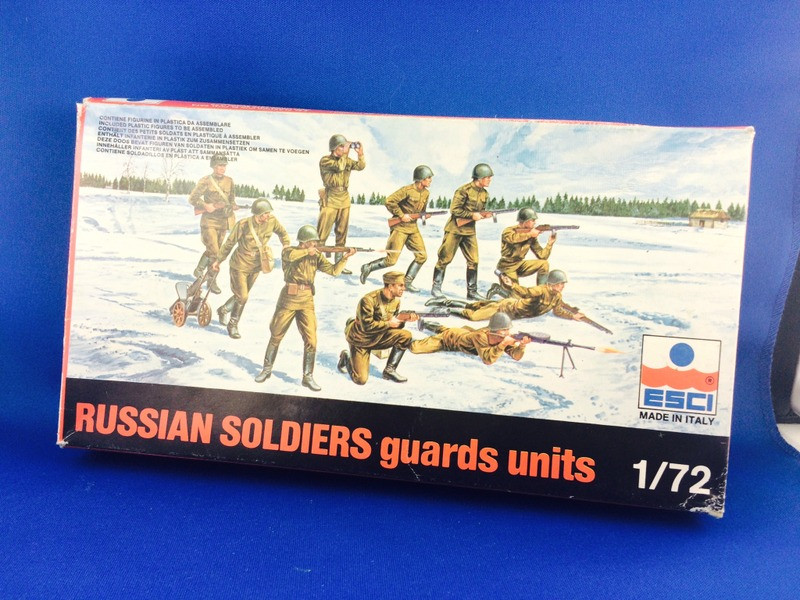
Back in the 1990s I started building a Soviet army in 1/72nd / 20mm. Some were ESCI figures, of which I still have this box to paint.

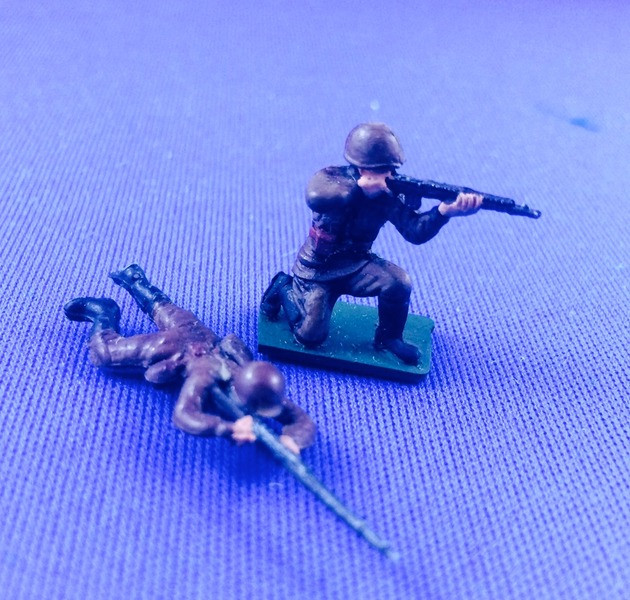
I had a copy of the Osprey book on the Red Army in the Great Patriotic War, but not a lot of painting smarts, so I tended to paint them all in Tamiya Flat Earth brown, so they looked like this. The basing was pretty minimal - cereal box cardboard with green paint and some simple green flocking. I’ve taken these chaps off a base so I can repaint them in dribs or drabs, as the spirit moves me while at the painting bench.

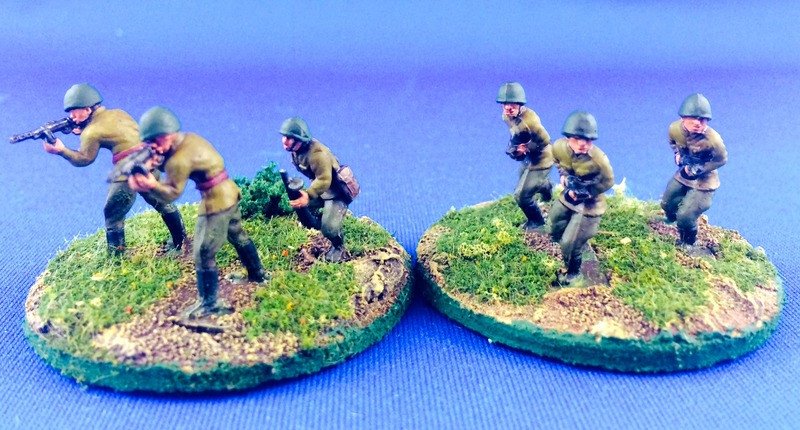
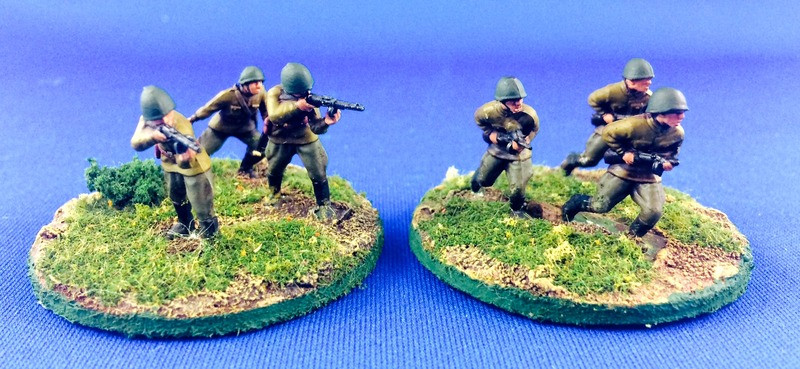
I’m fairly happy with way I’ve been able to clean these figures up. A fairly simple process. Following a speed painting tutorial I saw once on The Guild website, I did the helmets in Vallejo Russian green, the tunics in Vallejo Dunkelgelb primer, and the trousers in Vallejo Russian Uniform. I left the red leather belts from the original paint job untouched, but added some fresh black to the books, some Army Painter gunmetal silver to the SMGs, and some Citadel Bestigor Flesh to touch up the faces. I then hit them all with Army Painter Strong Tone wash. Basing done to my usual spec for 20mm WW2 fire teams, a piece of MDF cut with a circular saw and my normal SOP for terrain and flocking.

I like the running figures, they have that rugged, determined quality of Soviet Realist artwork. Onwards, comrades!

Hopefully they’ll last for another two decades of gaming.
Blessings to your brushes!
MP+
These figures bring my 2015 totals to:
28mm: Foot Figures: 35; Mounted Figures: 10, Artillery: 2, Vehicles: 2, Scenic Pieces: 2
20mm: Vehicles: 1; Artillery: 1, Foot Figures: 6
15mm: Armour/Vehicles: 5; 15mm Scenic Pieces: 5
6mm: Scenic pieces: 7

Good work! Though I'm a bit perplexed by the line/crest running down the middle of the Russian's helmets. Surely a mistake in the mold; but I'm no expert.
ReplyDeleteHey LSP! Good to see you dropping by. Yes, I think you are seeing mould lines. I really should have taken a file to those helmets ever so lightly.
DeleteNice repaints Padre :)
ReplyDeleteGood refurbish Michael.
ReplyDeleteThank you Fran and Tamsin, very kind.
DeleteLooking good, not like old fella's at all. I find it very satisfying to refurbish and extend the life of my old soldiers, there's probably dome deep psychological implications there.
ReplyDeleteCould you expound a bit on cutting round bases with a circular saw? (too me that means a table or handheld saw with round 7" or 10" round blade) Good for straight lines, not so good for fiddly usually. I like circular bases for command groups etc but have never made any myself.
I will do a little tutorial here in the not too distant future, but what I meant to say was a circular drill bit, the kind you use for tasks such as cutting holes in doors for doorknobs, etc.
DeleteI thought it must be something like that. I have an adjustable one that can be a pain and never considered cutting round bases but I seem to recall smaller fixed ones that might be just the thing. I look forward to seeing how you set about it.
DeleteAre these the old hard plastic figures? I have some of them - possibly my oldest plastic figures having served since about 1980!
ReplyDeleteThey are indeed the old hard plastic figures, almost certainly OOP now. I haven't seen these ESCI figures in stores for a long long time.
DeleteVery nice Michael! You have made a wonderful job of these!
ReplyDeleteYou've done a very nice job on smartening those up Padre... perhaps I should show some of my old figures some love too.
ReplyDeleteCheers,
Pete.
A repaint after a while is a good idea as one's painting skills and knowledge progress. I've been considering doing just that with my 15mm shermans.
ReplyDeleteMany thanks, Rodger, Pete and Dai. I often begrudge the time to repaint figurs because time is so fleeting and timey-wimey, but then I am usually happy with the results afterwards.
ReplyDelete