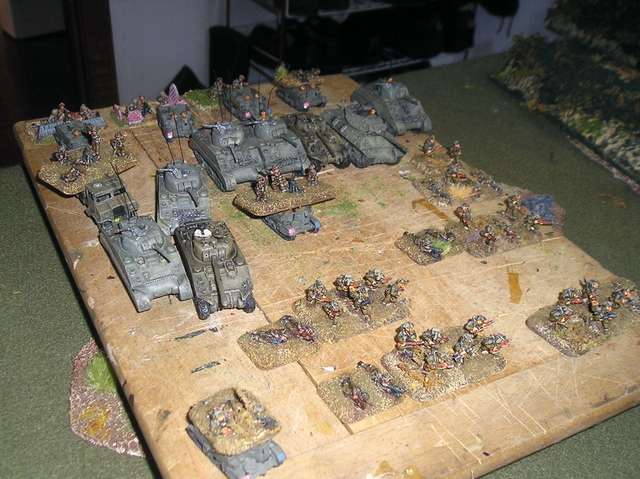
Here's the Canadian force. The miniatures here are mostly Battlefront, though the two tanks with a slightly darker paint job are Old Glory Sherman Firefly tanks, a variant of the Sherman carrying a 17pdr cannon. In Rapid Fire terms, the Canadians had two squadrons of Shermans, an independent troop of Achilles M10 tank destroyer, four companies of infantry with their HQ company and support company, and a carrier platoon. In support was an offboard battery of 25pdr guns with an onboard Sherman observation tank.
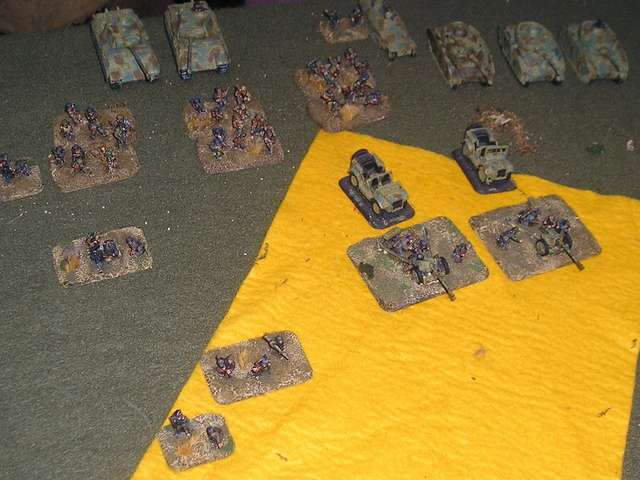
And the German force representing elements of 12th SS Division, consisting of a platoon or zug of Panzer Mk IV tanks, two Panther G tanks, two PAK 75 AT guns with transport, a platoon of panzer grenadiers and a headquarters group (two HMGs, a command team, an OP team, and two antitank or "panzerknacker" teams. The Germans had the support of an offboard battery of 105mm guns. All miniatures are Battlefront.
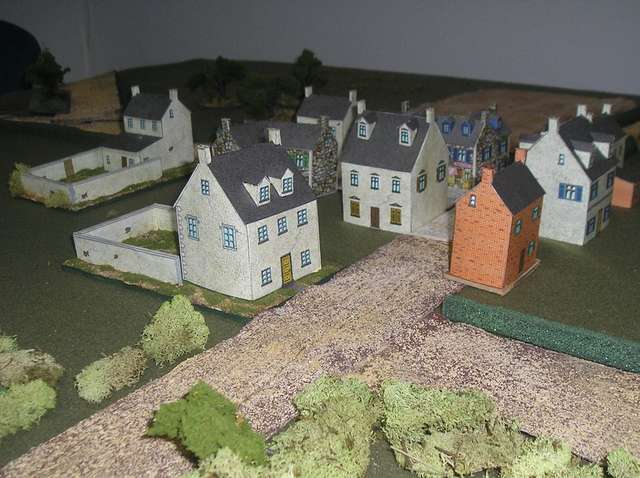
The battlefield, showing the central feature, my spiffy village courtesy of Paper Terrain:
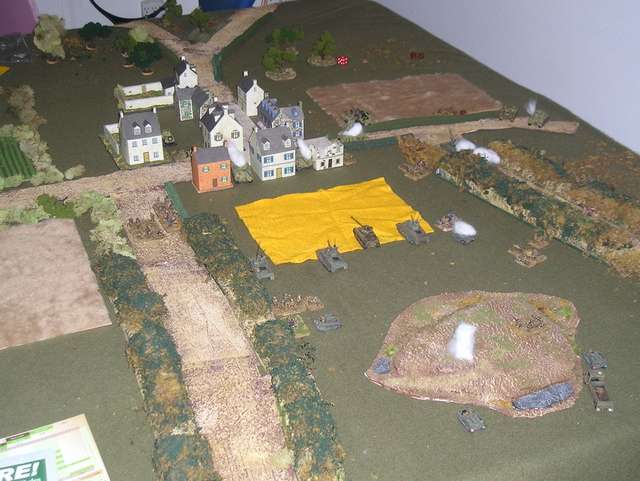
And the larger table - since I forgot to take one before the battle started, this table shows the battle at midway point. We rolled randomly to see what side the Canadians entered from, and they got the two parallel roads screened by hedgerows and the open field in the centre - the yellow felt represented a crop field and offered moderate cover.
Achilles TD troop leads off on the left, while A Sdn of the Fusiliers take up positions on the ridge in the centre overlooking Authie.

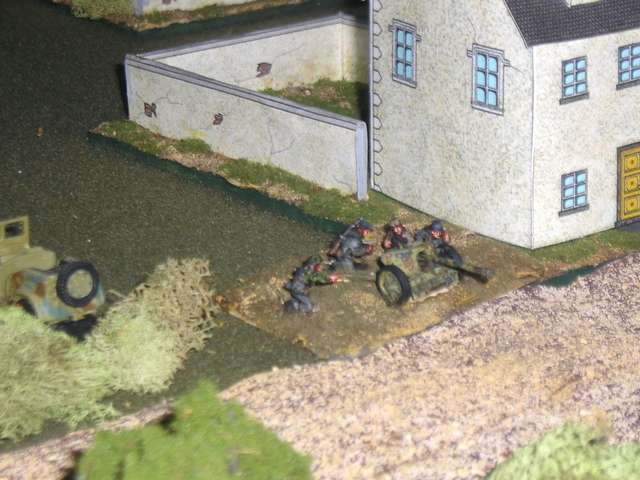
The tank destroyers immediately take fire from this German AT gun, which may son posted to cover the road. Good call on his part. The result, heavy damage, forces a morale check which, because the TDs are acting as an independent detachment, is hard to beat. The TD leaves the table for the rest of the game.
B Squadron of the Sherbrook Fusiliers advance confidently up the road on the Canadian right.
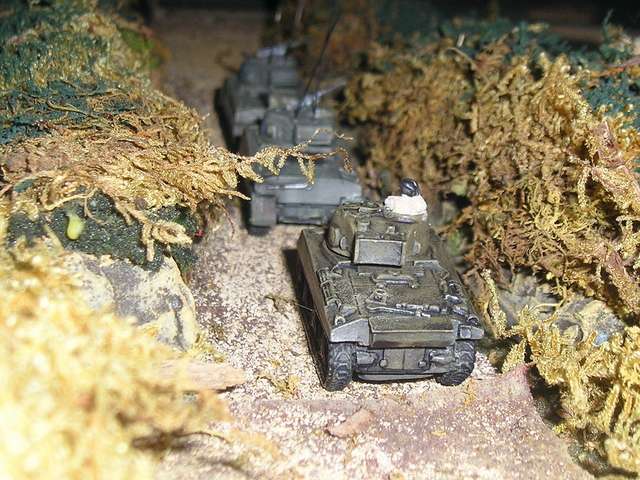
D Company of the North Novas advances behind A Sdn of the Fusiliers:

Ambush! My son John unleashes his zug of Panzer IVs - the thick hedgerows prevented my spotting these guys until it was too late. Should have known he'd be all sneaky and tricksy. The German tankers knocked out the first two Shermans, and the Firefly failed its morale and had to remain in place for several turns.
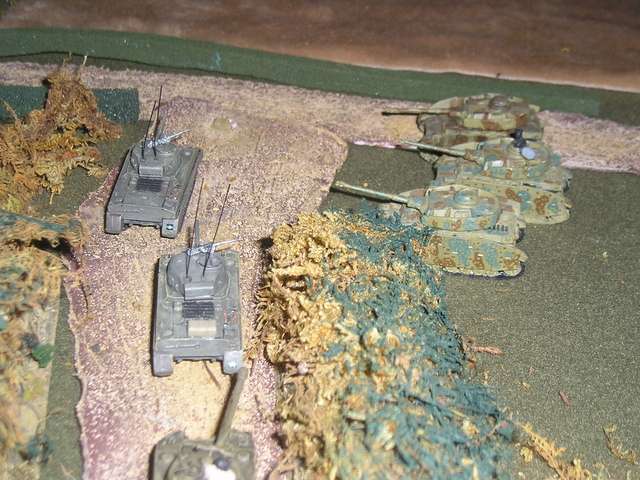
In the centre, A Squadron of the Fusiliers bears down on Authie. Carriers bring up a Vickers heavy machine gun team and a PIAT (Projector Infantry Anti-Tank) tank-hunting group on the right. A German panzerknacker anti-tank team is spotted in one of the houses and put on the board, but at present they are out of range of the Canadian armour.

Flushed with success, John shifts his Panzer IVs over to engage A Squadron, but this time the Canadian tankers are ready. One Mark IV is destroyed and another receives light damage. They pull back.
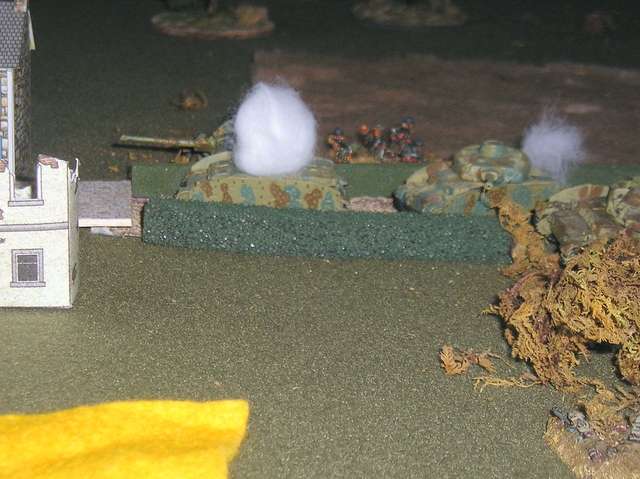
D Coy of the North Novas finds a gap in the hedgerows and tries to push forward with on the extreme right, hoping to outflank the two reamining Mark IVs.
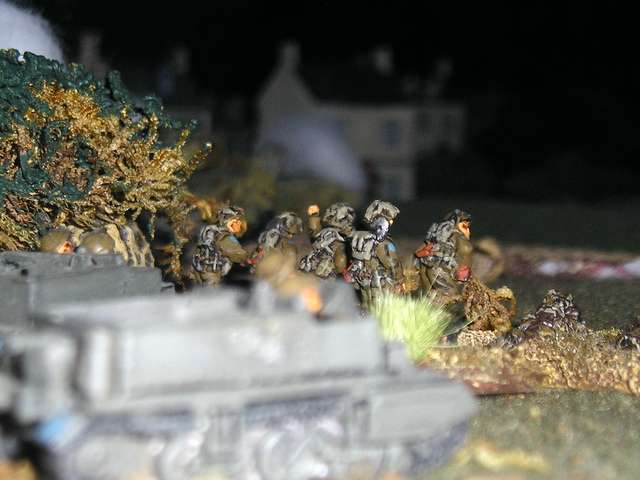
Unfortunately they are caught by coaxial machine gun fire when the Mark IVs shift back to the Canadian right, catching D Coy in the open. Reduced to nearly half strength, the company pulls back, screened by the company PIAT team which remains to duel the tanks. Heroically, they inflict light damage on the second surviving Mk IV before being wiped out.

The surviving Firefly from B Squadron also moved into the open to try and defend the retreating North Novas, but was also knocked out.

Note to self - make some brewed up markers for tanks that look more convincing than white puffballs.
However the battle began to turn against John. He decided it was time to commit his mobile reserve and moved his two Panther Gs to the edge of town, confident that they would blow the Sherbrookes off the field.

Undaunted, A Sqdn concentrated their fire on the newcomers, and incredibly, destroyed the two Panthers immediately! Emboldened by this development, C Company of the North Novas advanced on A Sqdn's immediate right with the intent of rushing into Authie.
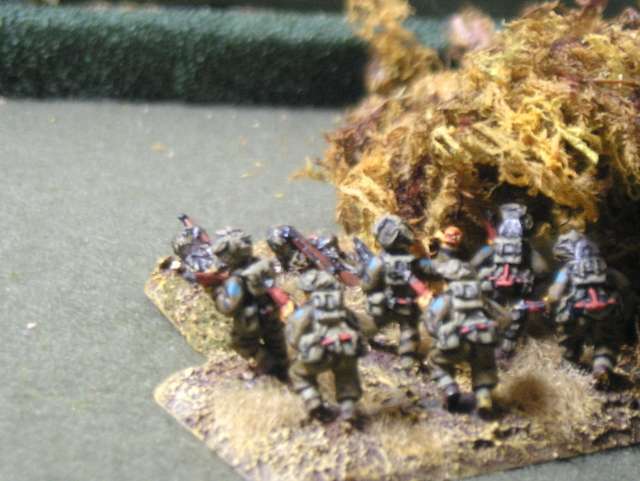
At this point John made the mistake of moving his infantry out of the buildings in the village, where they were impossible to spot unless my troops were right on top of them. This company of SS Panzergrenadiers line a hedge to block C Coy's advance, but they were now visible to several command elements. Minutes after this picture was taken, they were half-destroyed by fire called in from the offboard artillery.
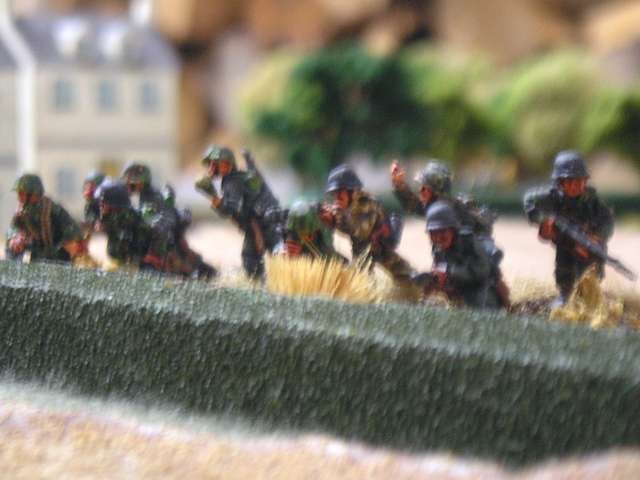
With the Grenadiers blown out of the way, C Company of the North Novas (those crazy brawling Cape Breton boyos!) rushed across the lane and put the bayonet to the crew of a PAK 75 that John had deployed behind a hedge.

On the left, John moved two more companies of Grenadiers out of the sheltering buildings in a counterattack down the road. However, this move exposed them to machine gun fire from several of my Universal (Bren Gun) carriers and from more observed artillery fire.

The survivors attempted to halt the advance of the Fusiliers in the centre with a few Panzerfaust shots but were driven off by the supporting infantry of A Coy of the North Novas, seen here advancing on Authie from the Canadian left. You can also see one of the Paper Terrain buildings, showng the ruined shell after the outer, intact version of the building is removd - a nice feature. By this point several buildings had been brought down by tank HE and offboard artillery fire.
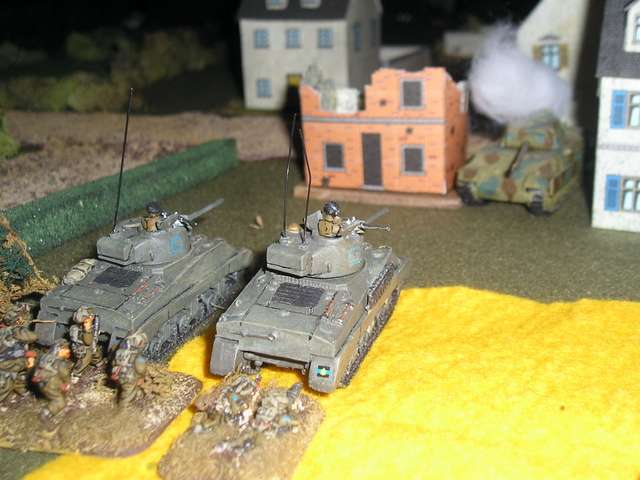
A Sqdn's Firefly deploys to engage the two remaining Panzer Mk IVs, which are still being pesky.
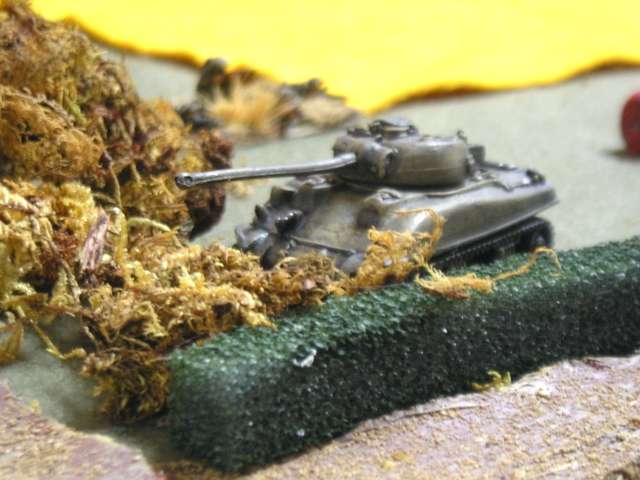
The Firefly is jumped by some surviving and quite fanatical SS Panzergrenadiers, and sustains light damage. However, it is rescued by C Coy of the North Novas, the stars of the game, who wiped out the few remaining SS troops.
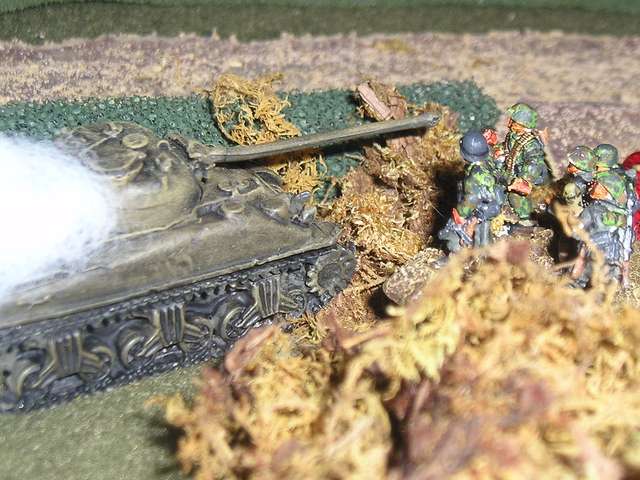
Another Sherman from A Sqdn moves into Authie and kills one of the two remaining Mk IVs with a lucky shot. Beside it a Vickers team from the Novas has taken up position in the ruined cafe and is supporting the advance of A and B Coys into the town. The other Mk IV, being heavily damaged alredy, failed its morale check and withdrew, along with the remaining German infantry. One PAK AT gun survived and withdrew to screen the withdrawal. At this point John and I were happy to call it quits.
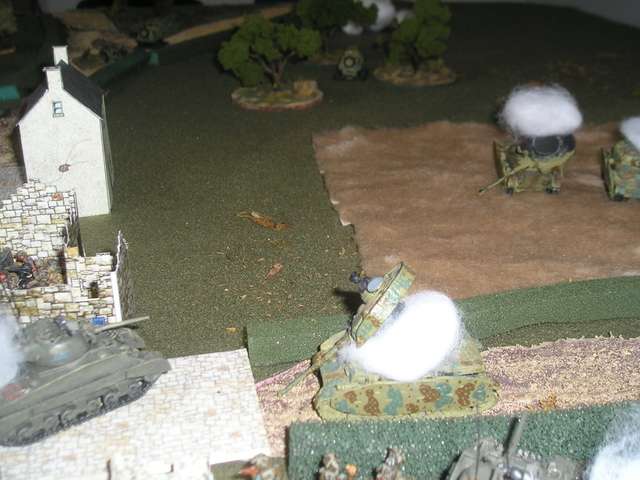
In our AAR, John felt that he didn't use his anti-tank guns as effectively as he could have, and also learned that he needs to shelter his infantry better. Had he done these things, he could easily have stopped me cold, given the too predictable axes of my advance.
We decided that we liked the Rapid Fire rules, although after playing a lot of the Too Fat Lardies rules, which emphasize leadership, fog of war and the friction of the battlefield, RF with its IGO/UGO structure seemed a little "gamey". However, there is much to like with these rules. Dad is currently working on enough figures for another Normandy scenario, the Battle of Rots, and hopes to report on that soon.

Hi there,
ReplyDeleteNice pics. Really enjoyed your report. Shame you don't in the UK instead of being stuck in Canada.
Would have liked to seen a nice game like that at the Grimsby Wargames Society where I usually go. Just bought myself a box of Valiant Miniatures American GI's which hope to see battle at some point in the future.
Thanks
Jason